The saga continues with my charcoal electrode . . .
My next experiment was to try an make the water container itself into the anode for the battery. I started by forming a box out of stainless steel mesh:
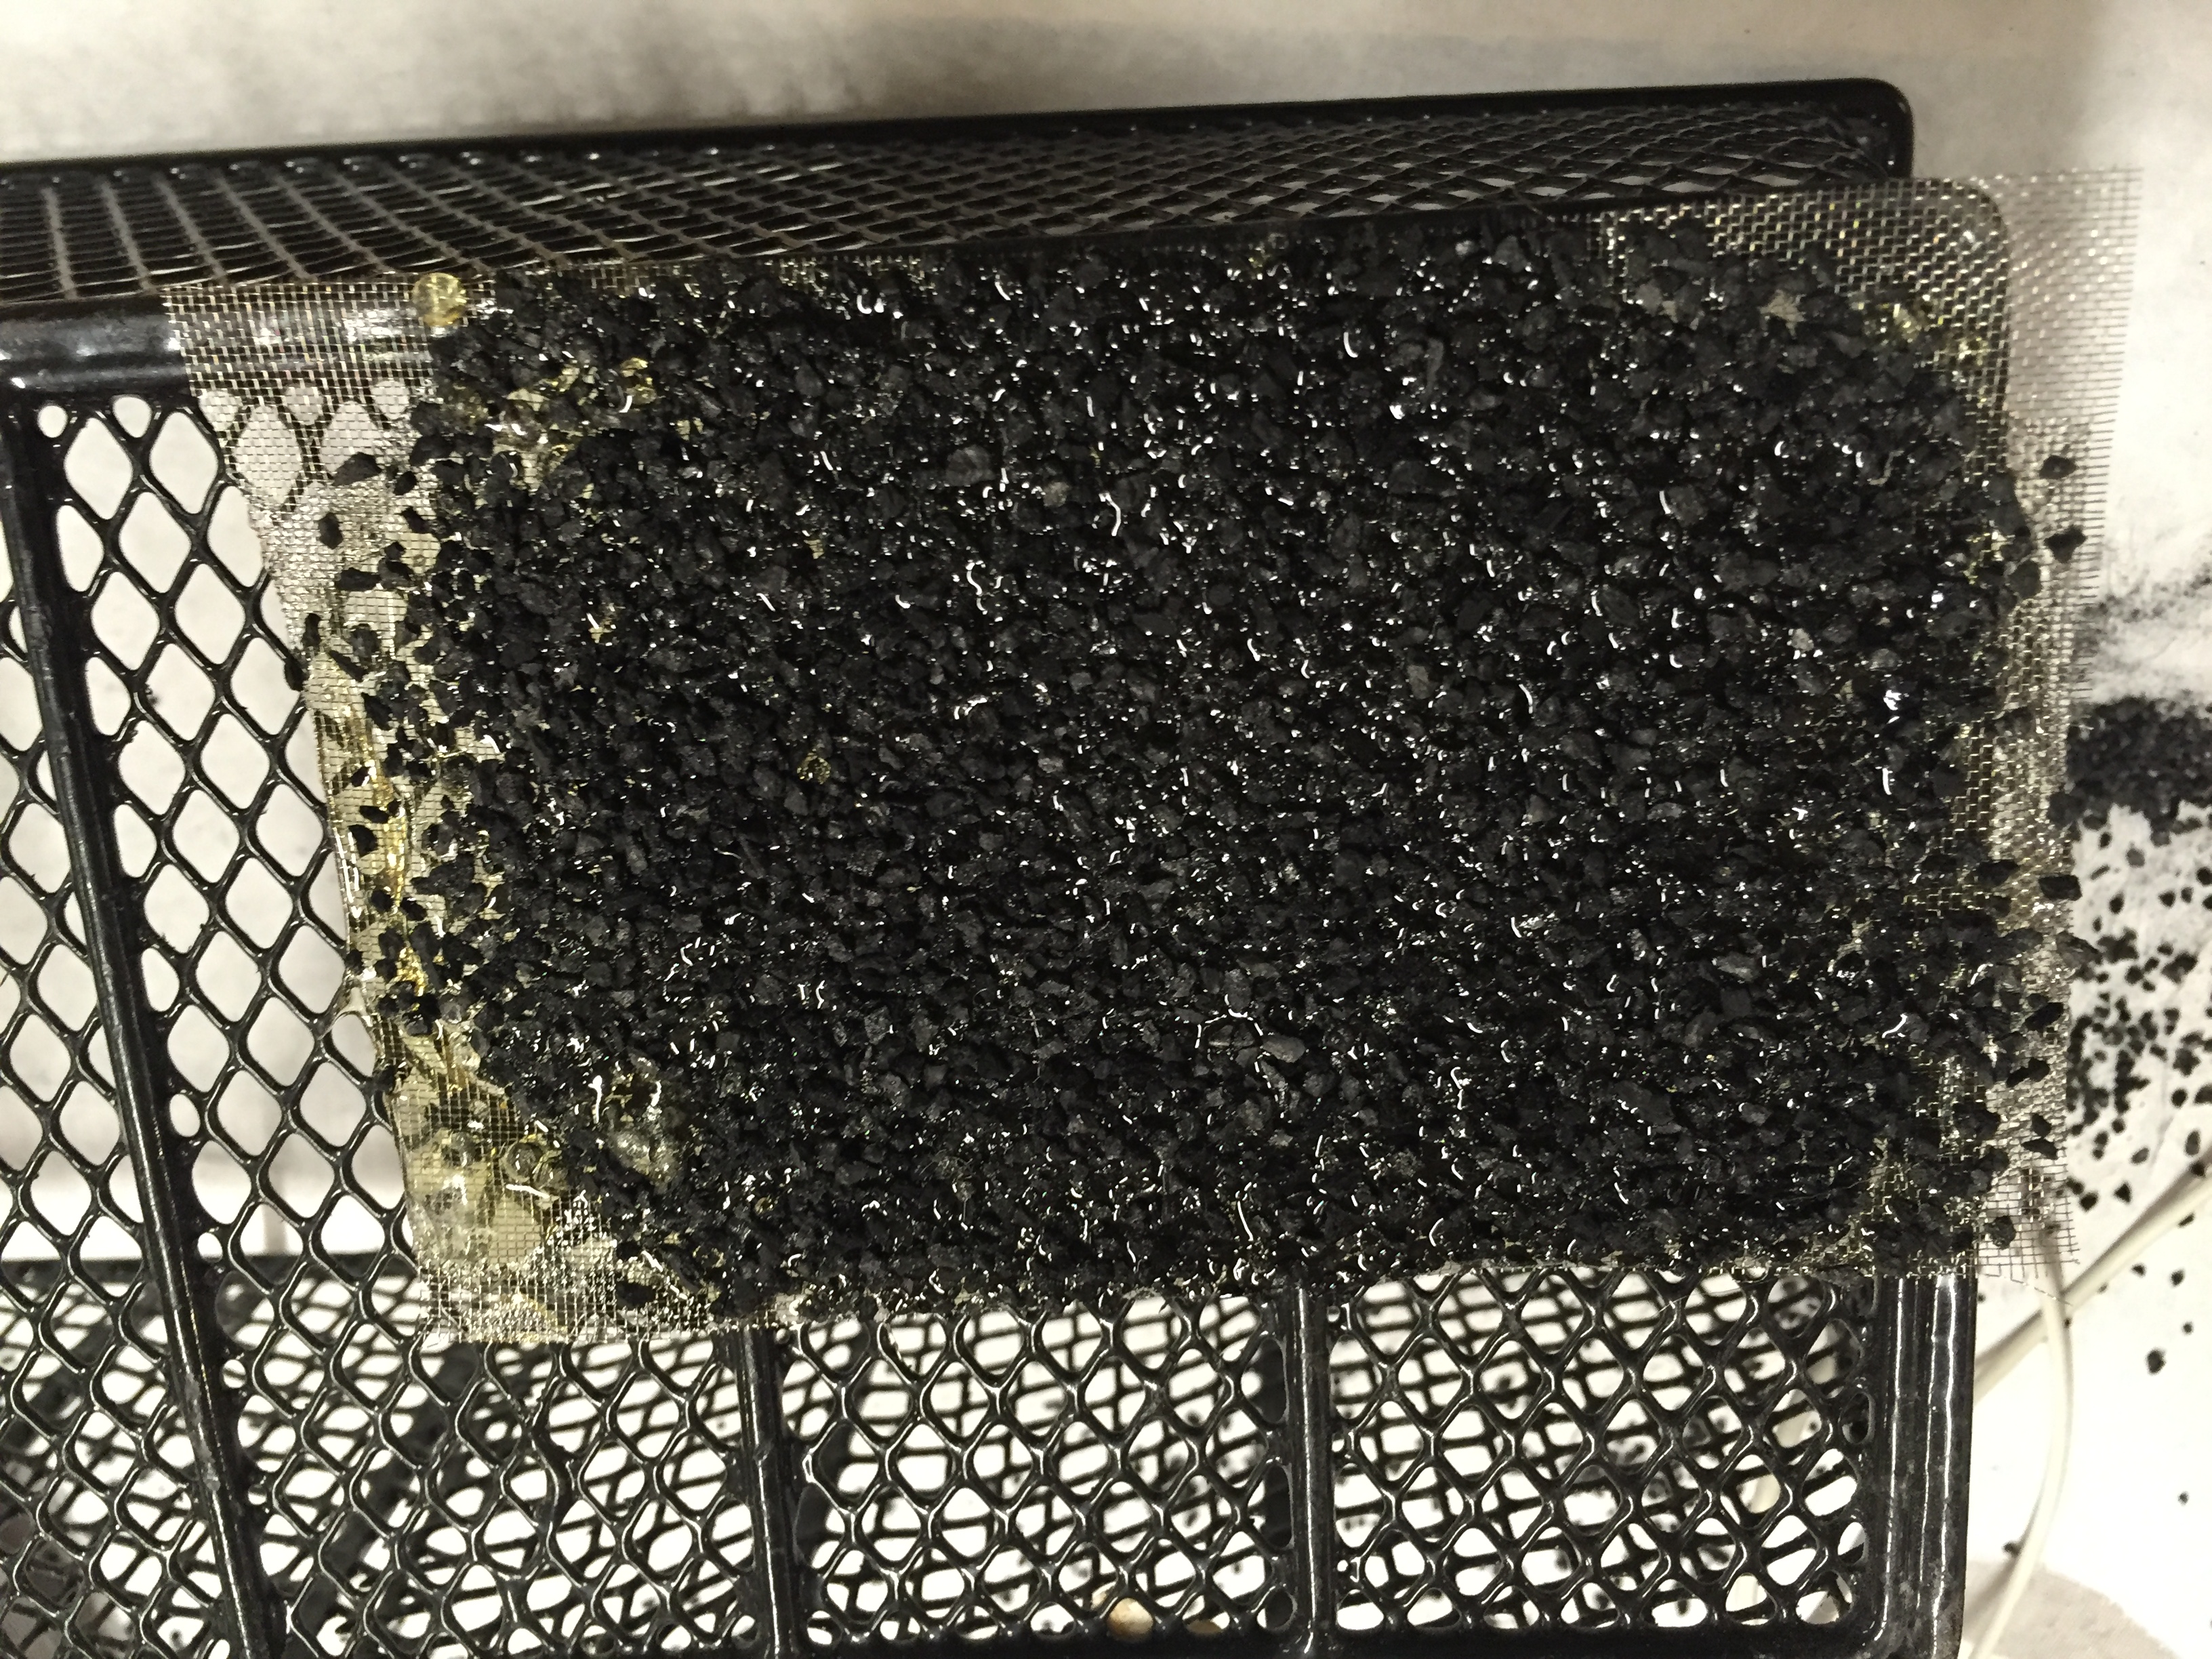
I then combined activated carbon with pine sap in a 2:1 mixture over the stove, and formed it into the mesh box:
I was hopeful this would would work, but unfortunately its resistance was never lower than 30K Ohms between the mesh and any inside surface. I initially thought this might be due to the mixture being too thick, or the stainless steel mesh being too open.
Later on I realized that letting the heated pine rosin and the activated carbon sit for too long was causing the carbon to become oversaturated with the non-conductive rosin. Anywhere more than 30 seconds and the carbon starts to do what it does best – absorb!
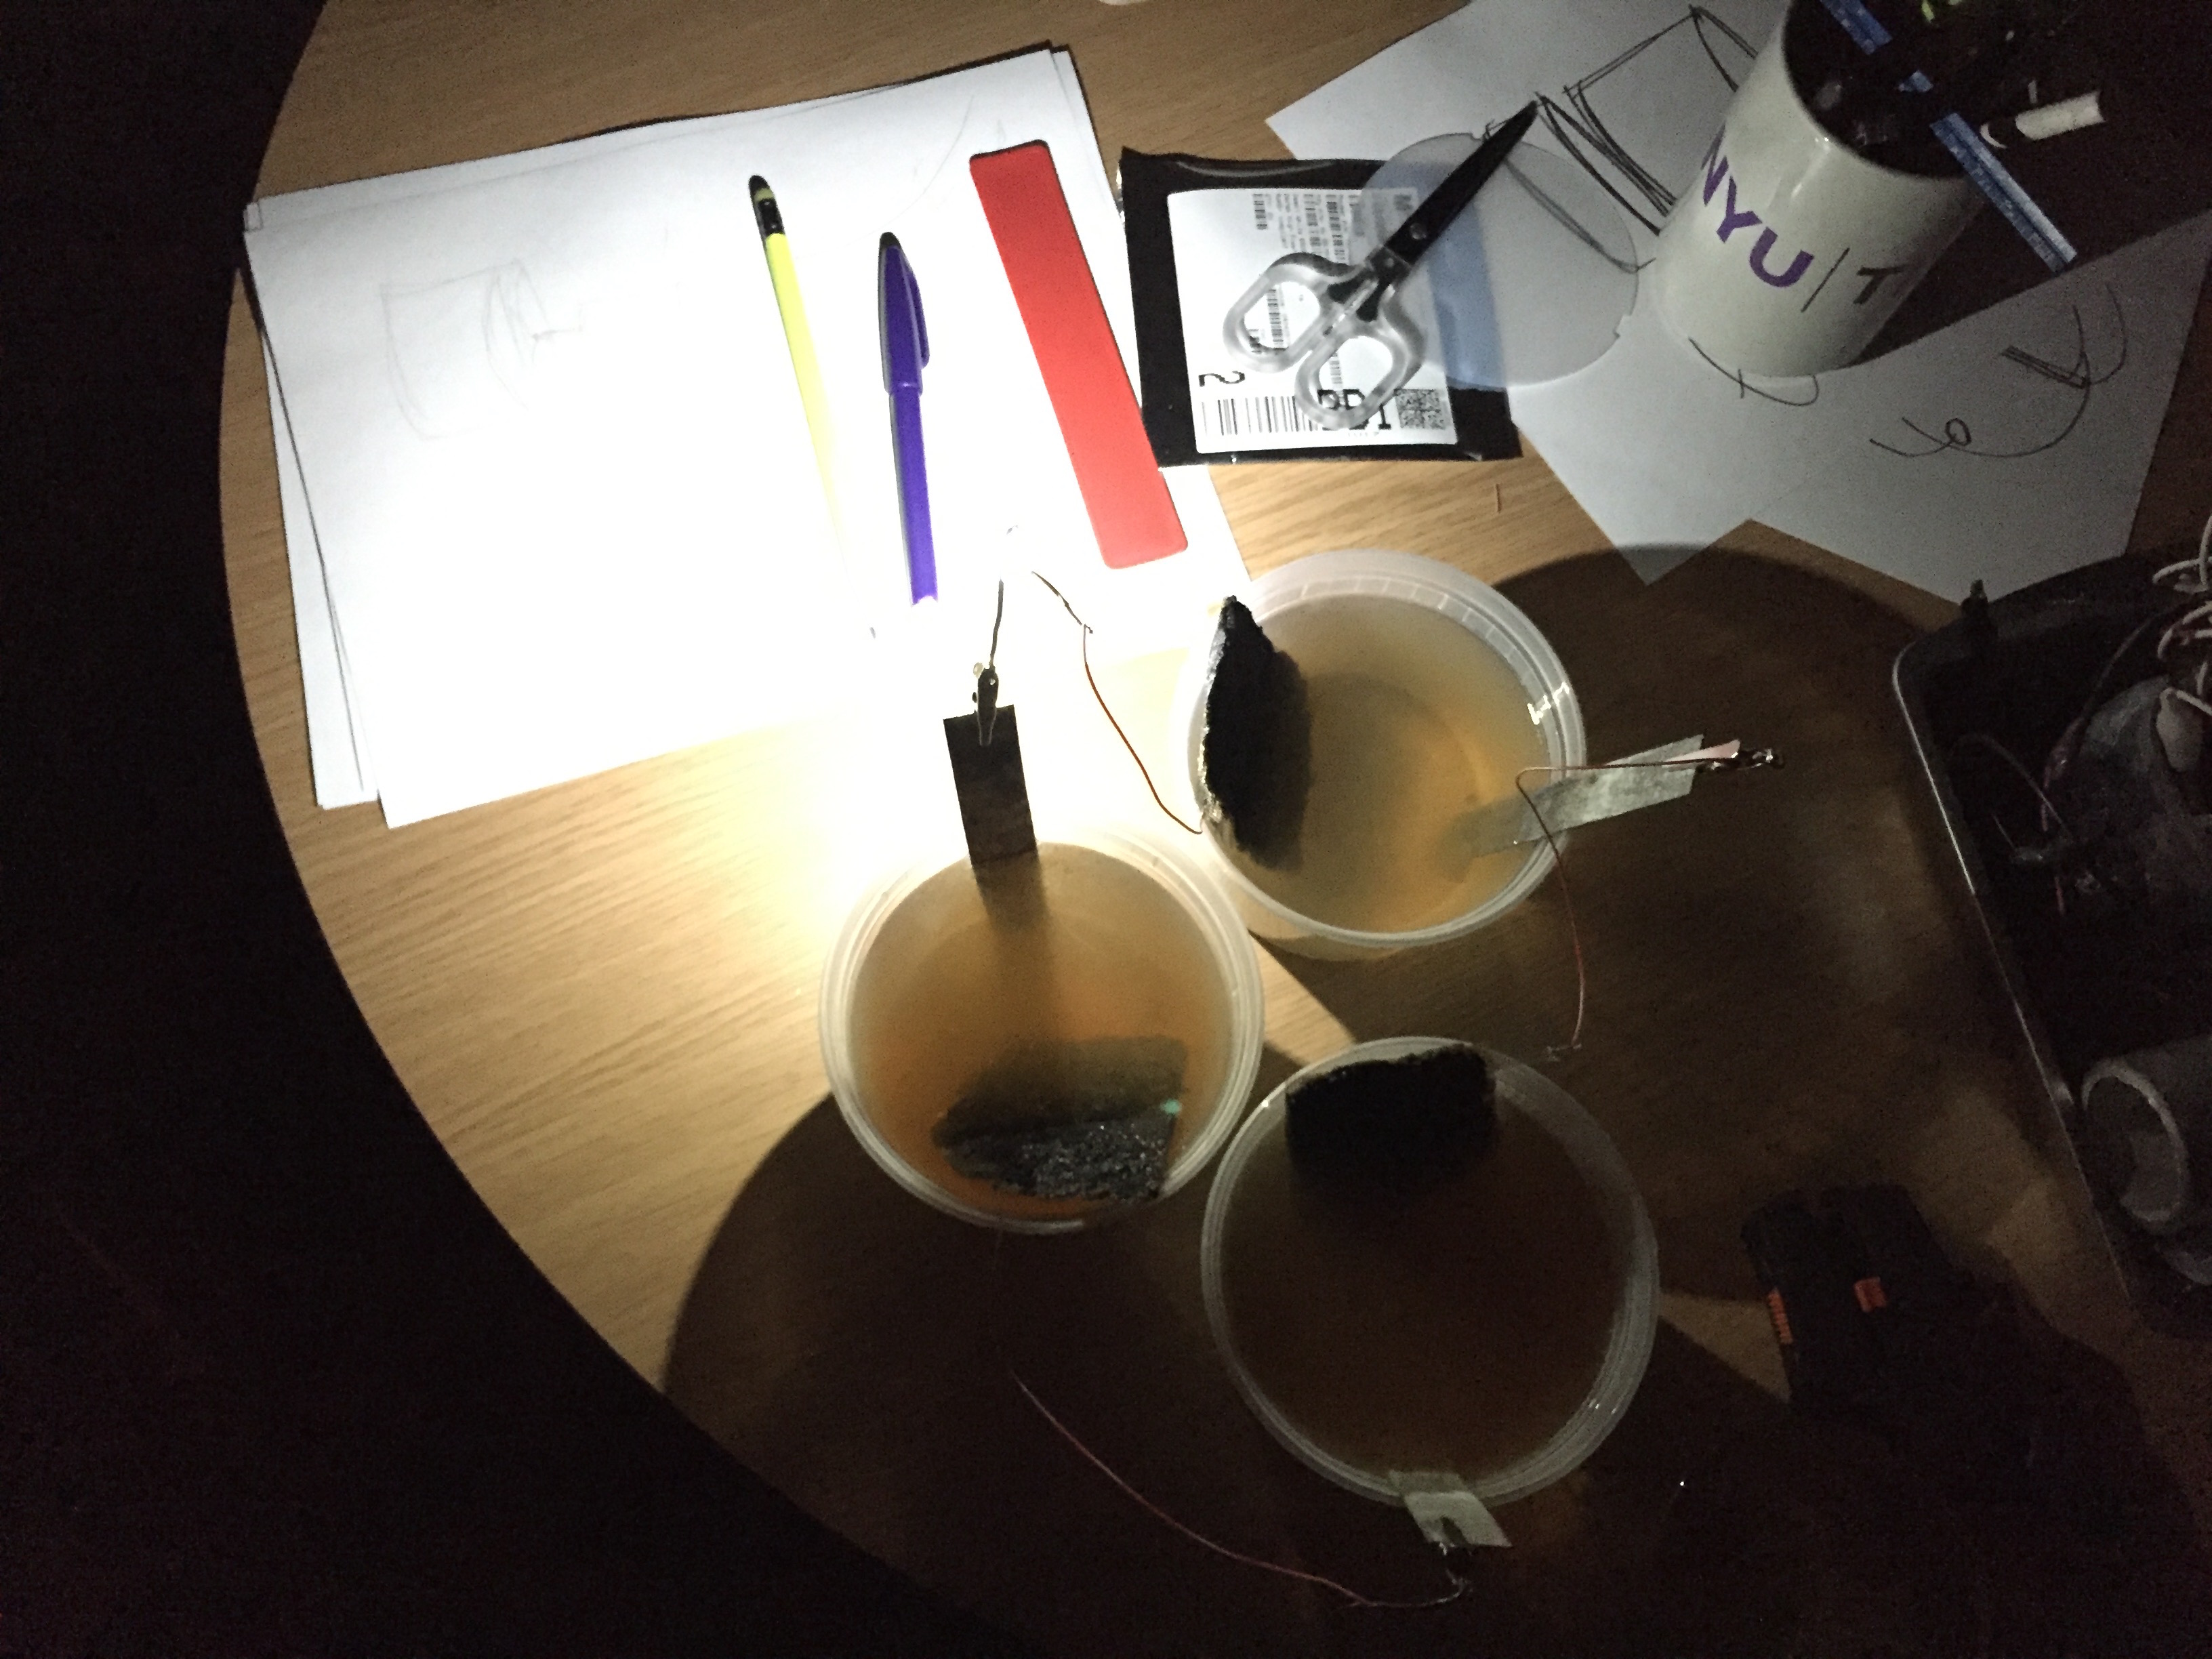
Since I was having so much trouble getting a conductive mixture, I went back to experimenting with simple electrodes.
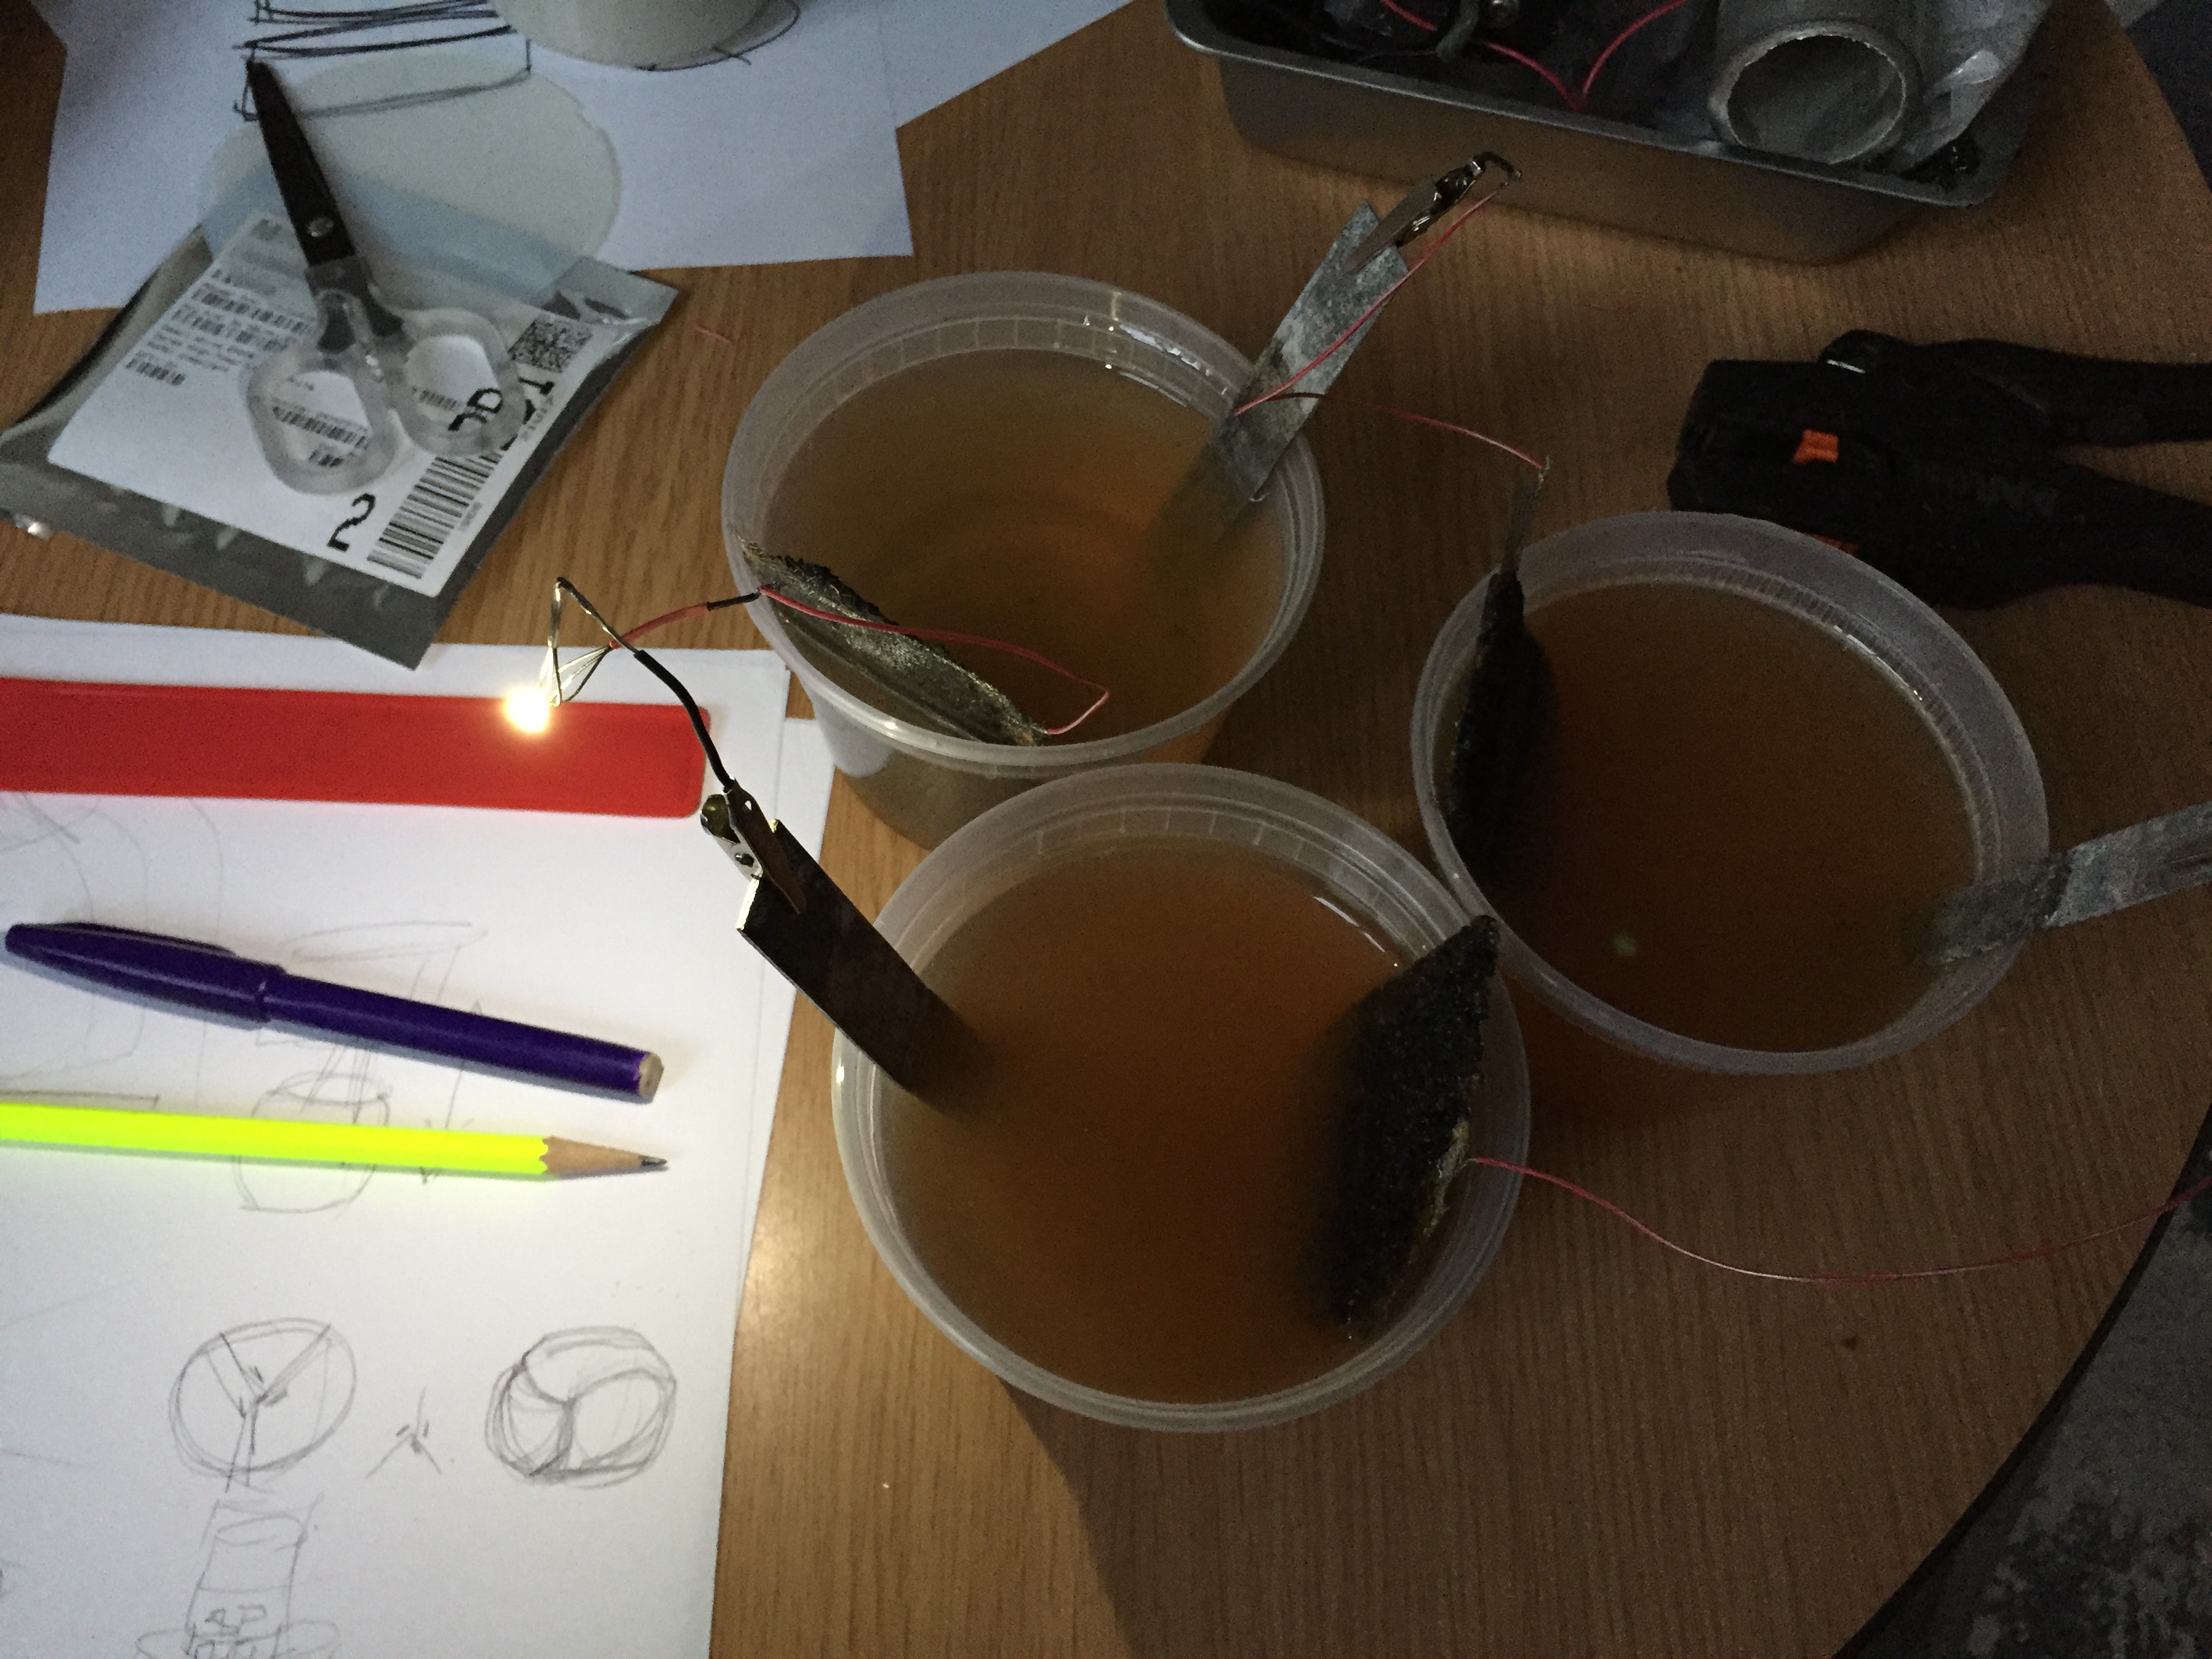
I went back to the tighter steel mesh and tried sprinkling the carbon over the sap instead of mixing them together:
This brought the resistance down significantly, but it was still to high:
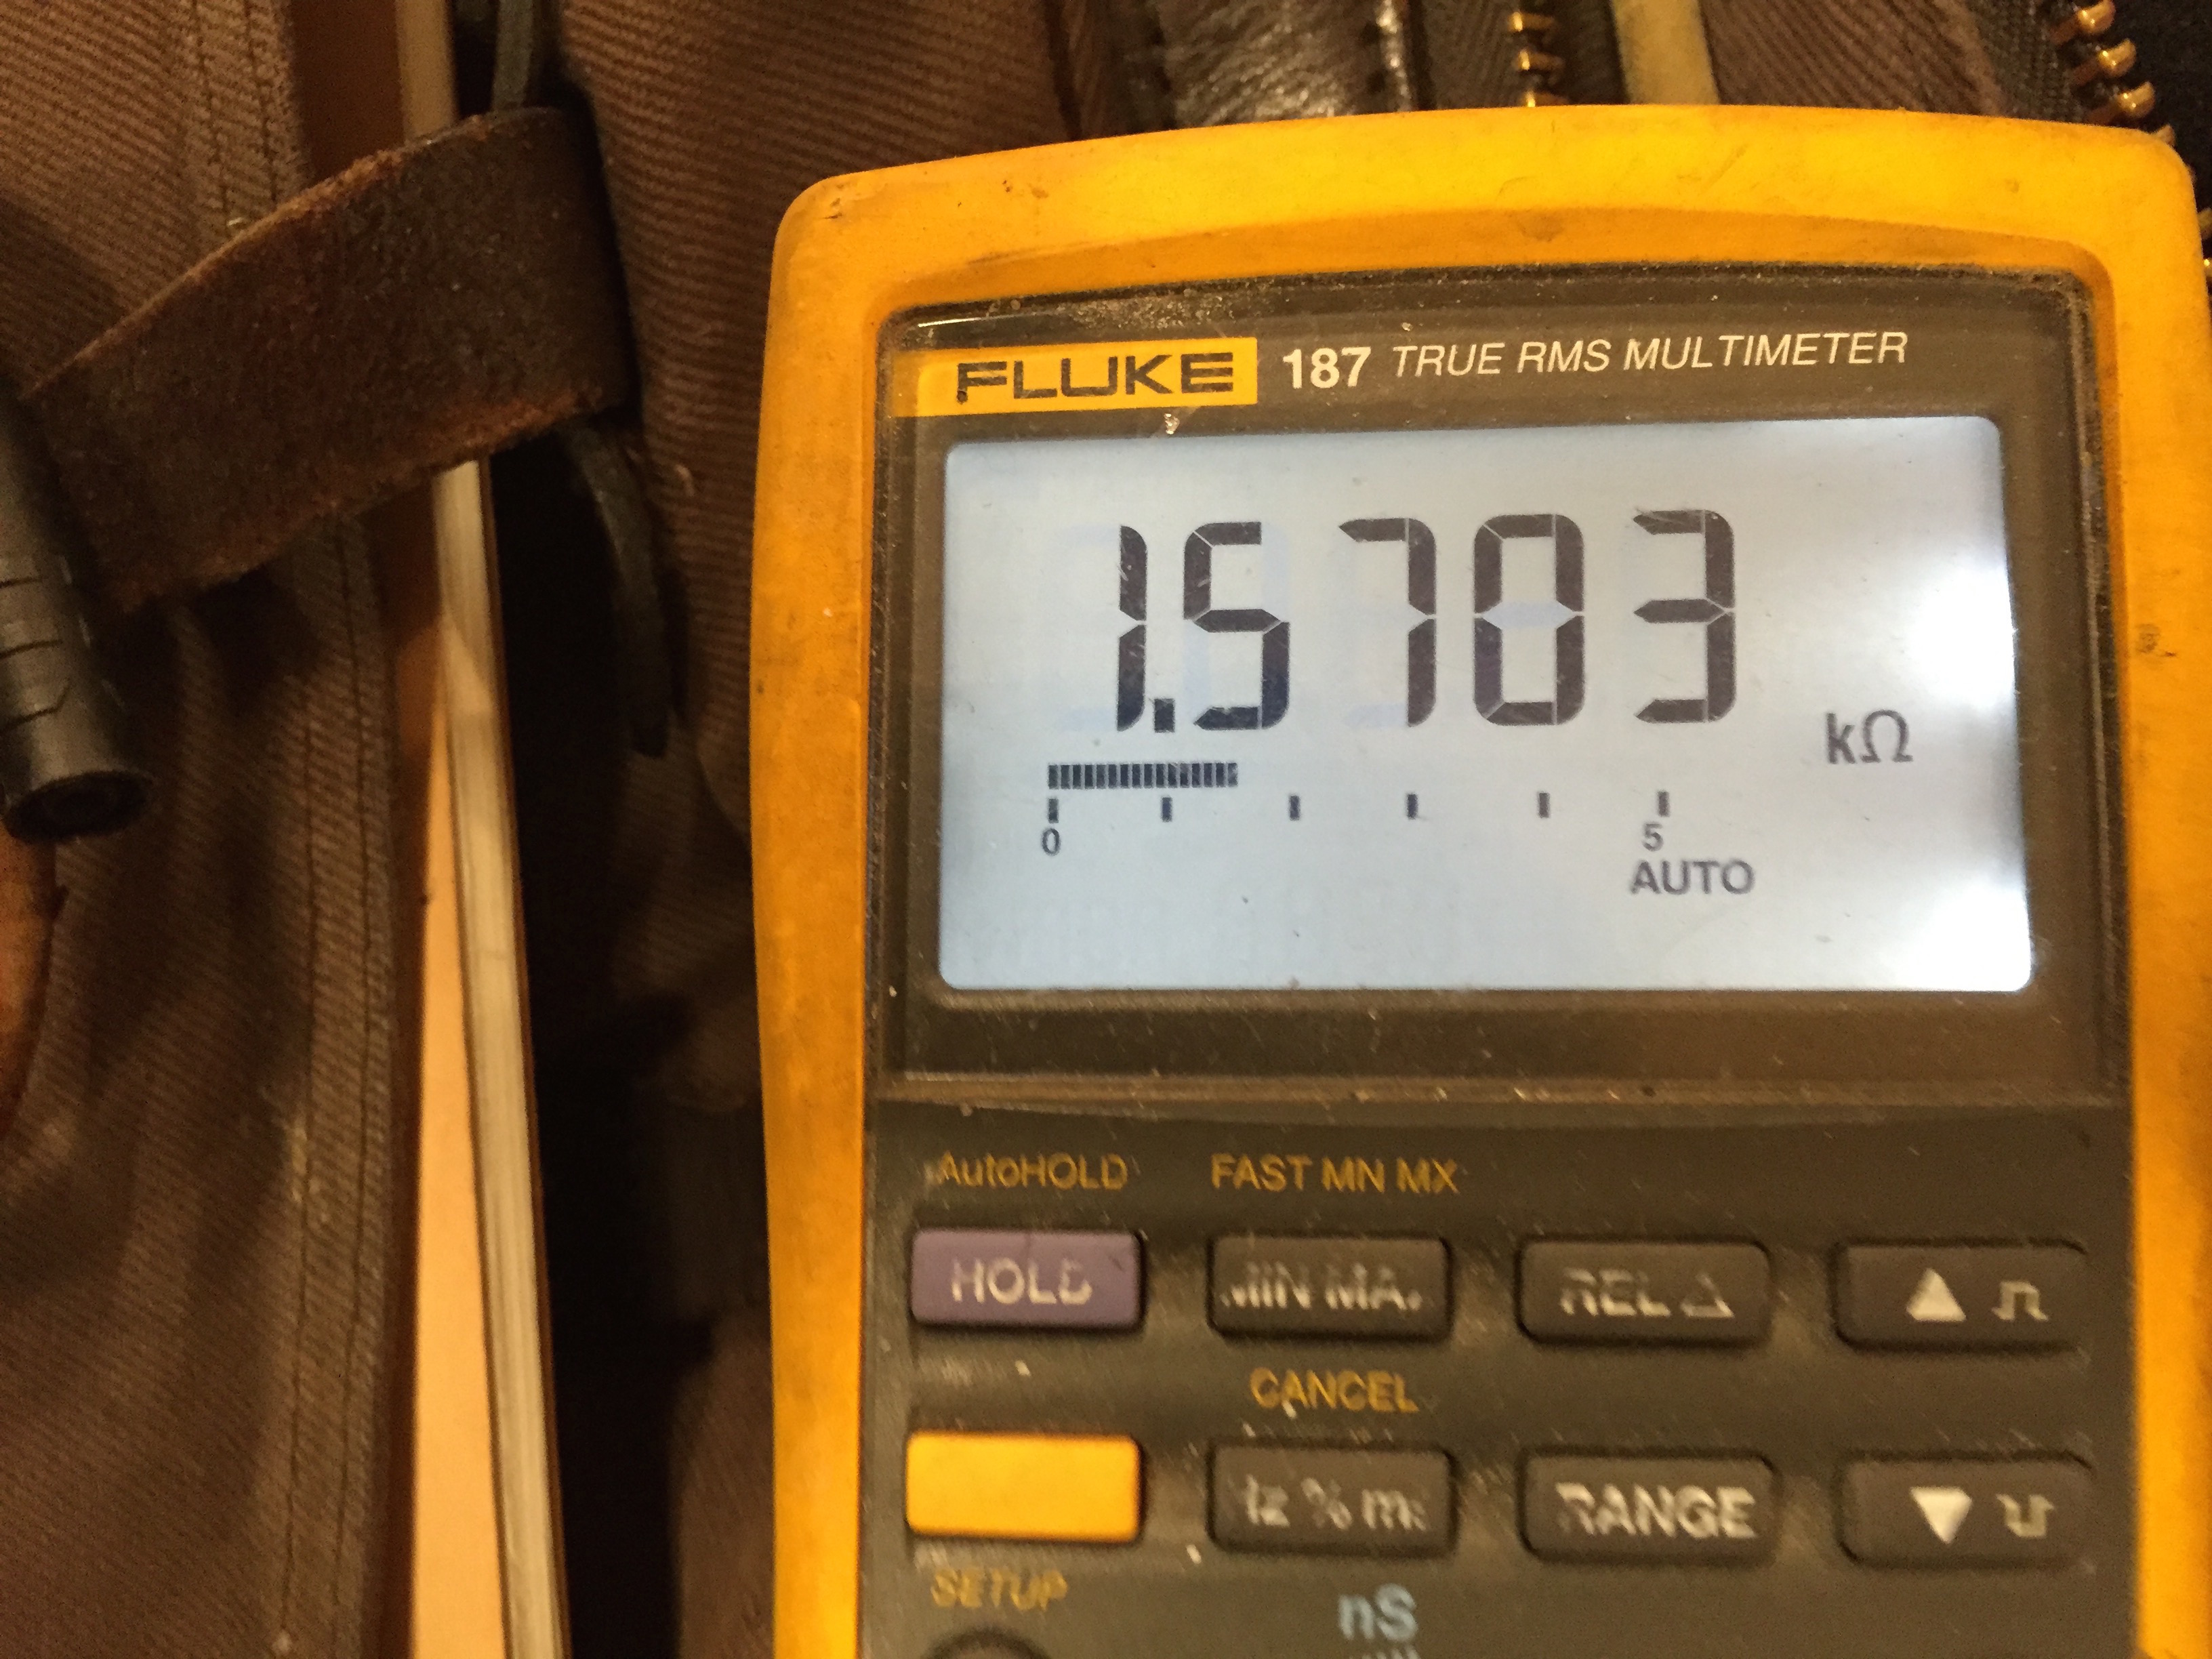
At this point I was ready to give up completely on using the pine rosin. I decided to give it one more shot, and mix something conductive with the rosin.
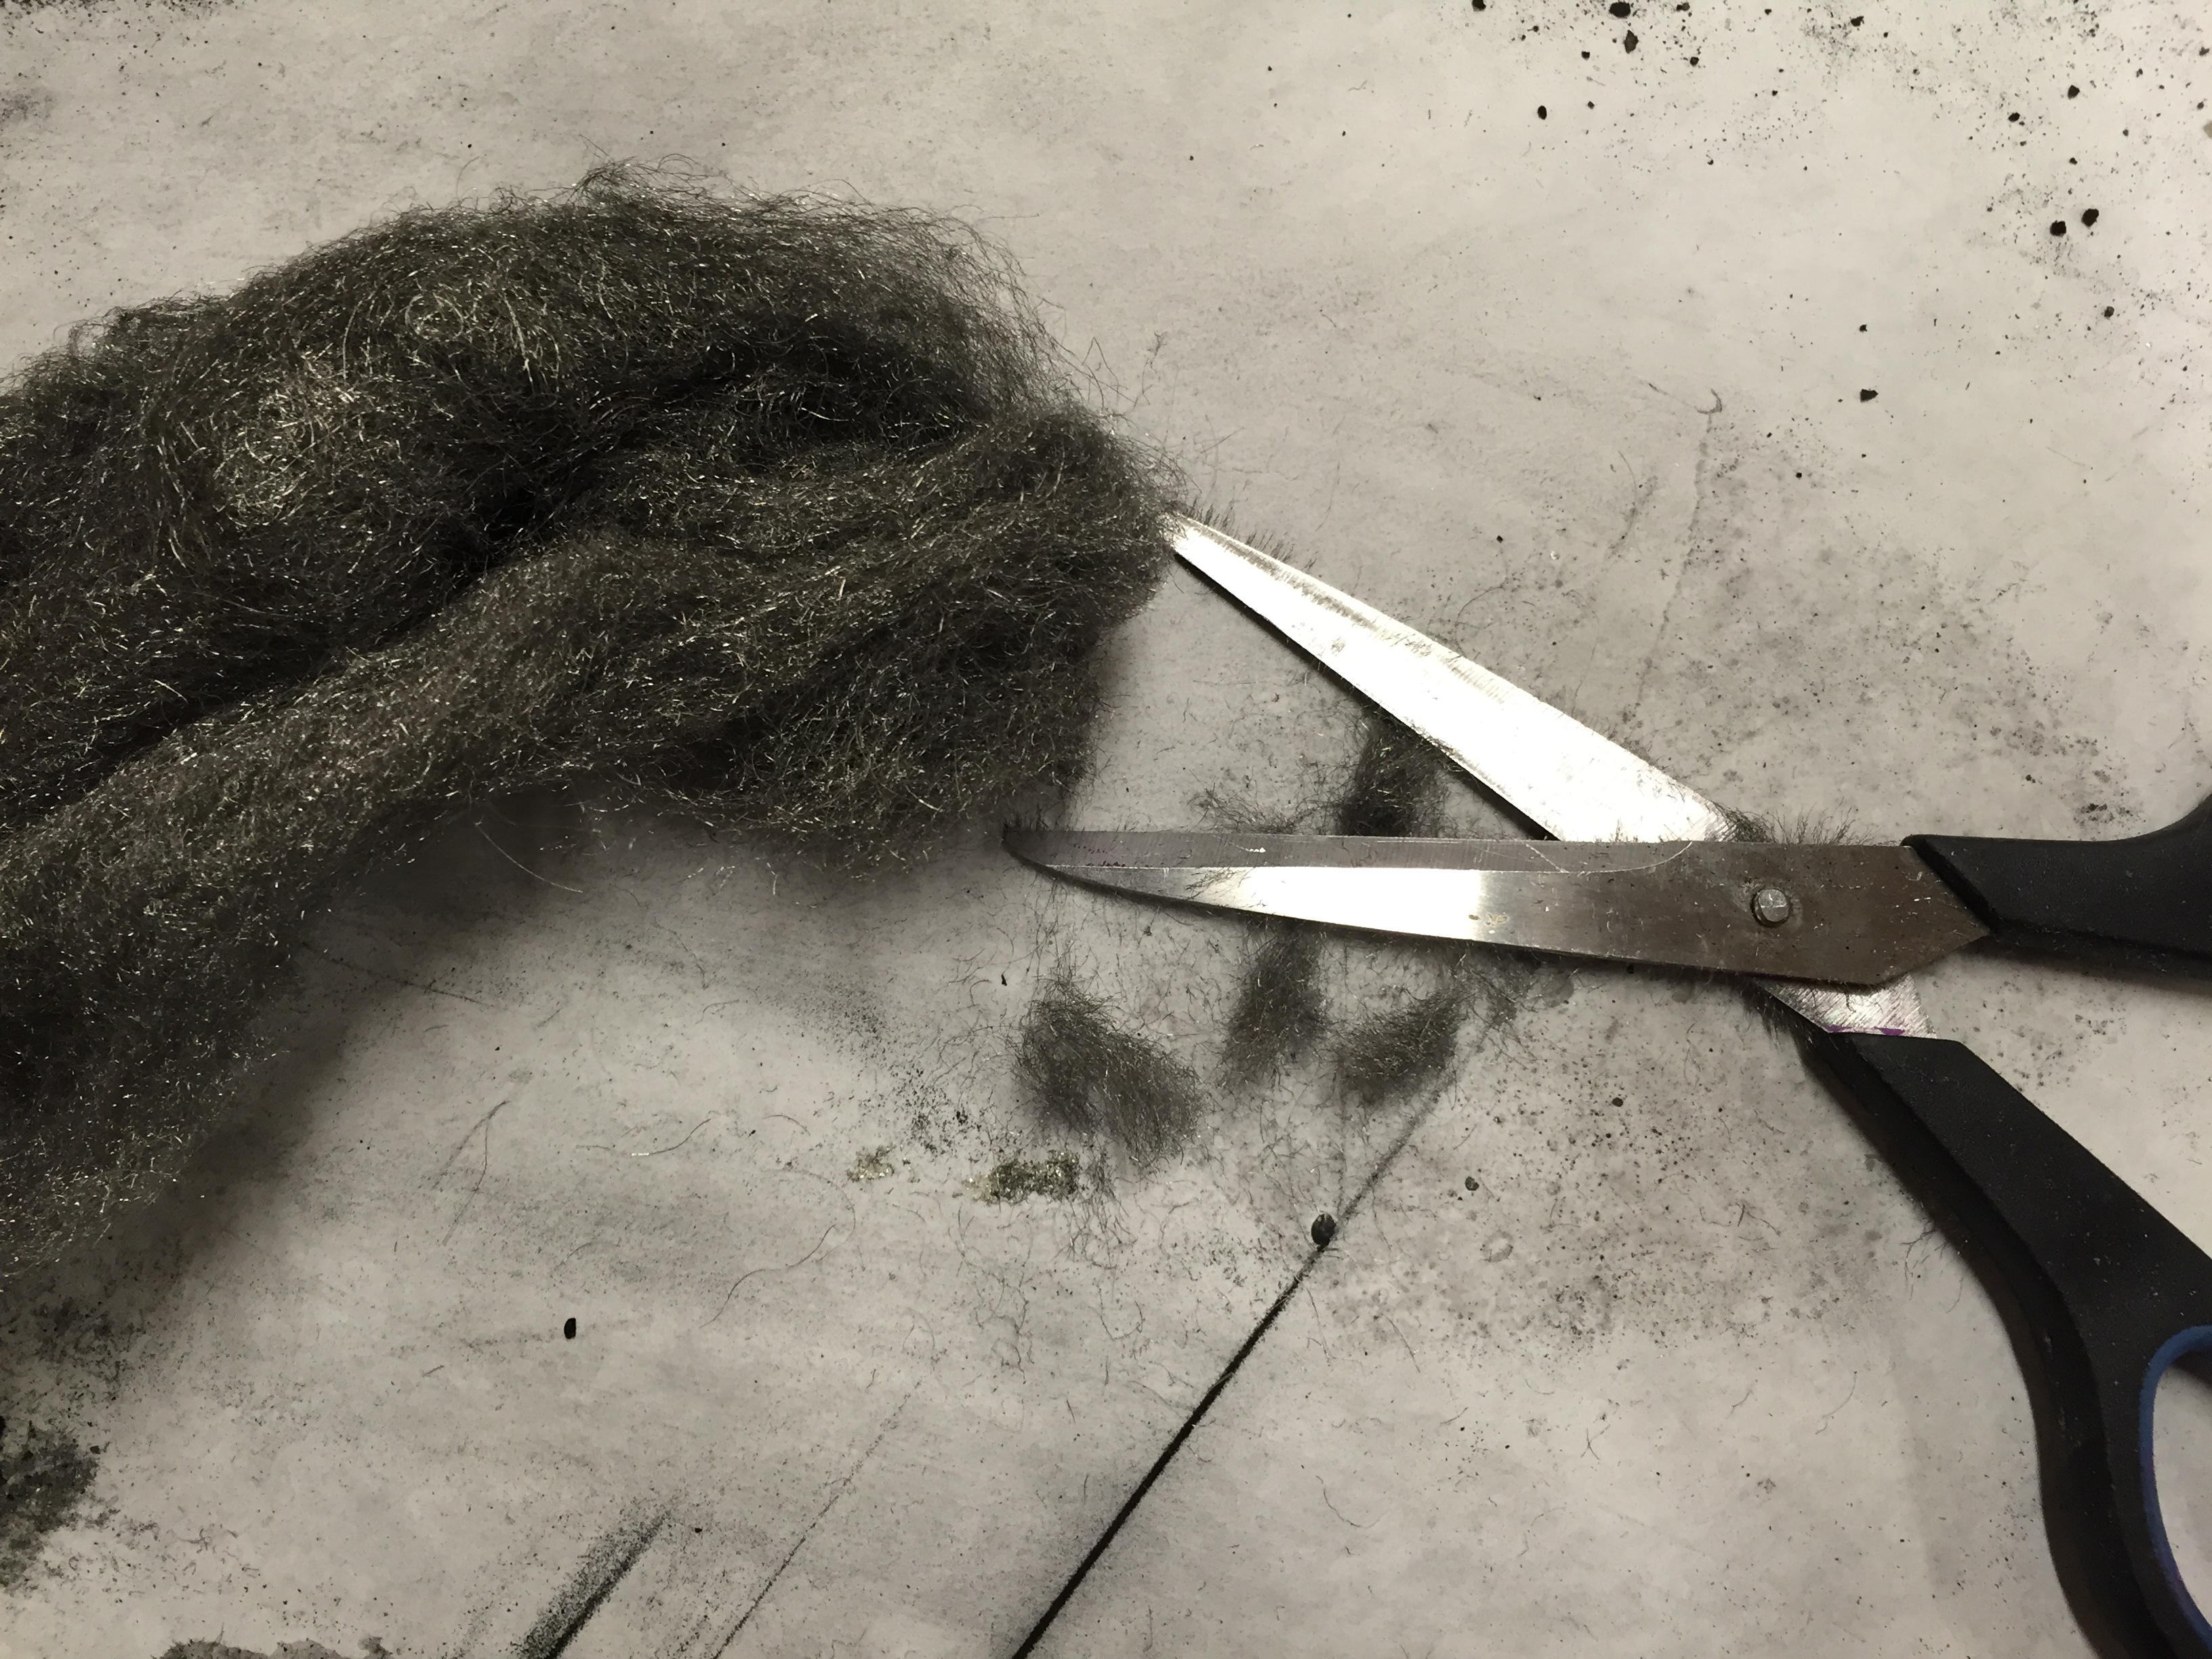
I cut up some steel wool into small bits and mixed it with the melted rosin:
I put the steel mesh in first, then added the steel mesh and rosin:
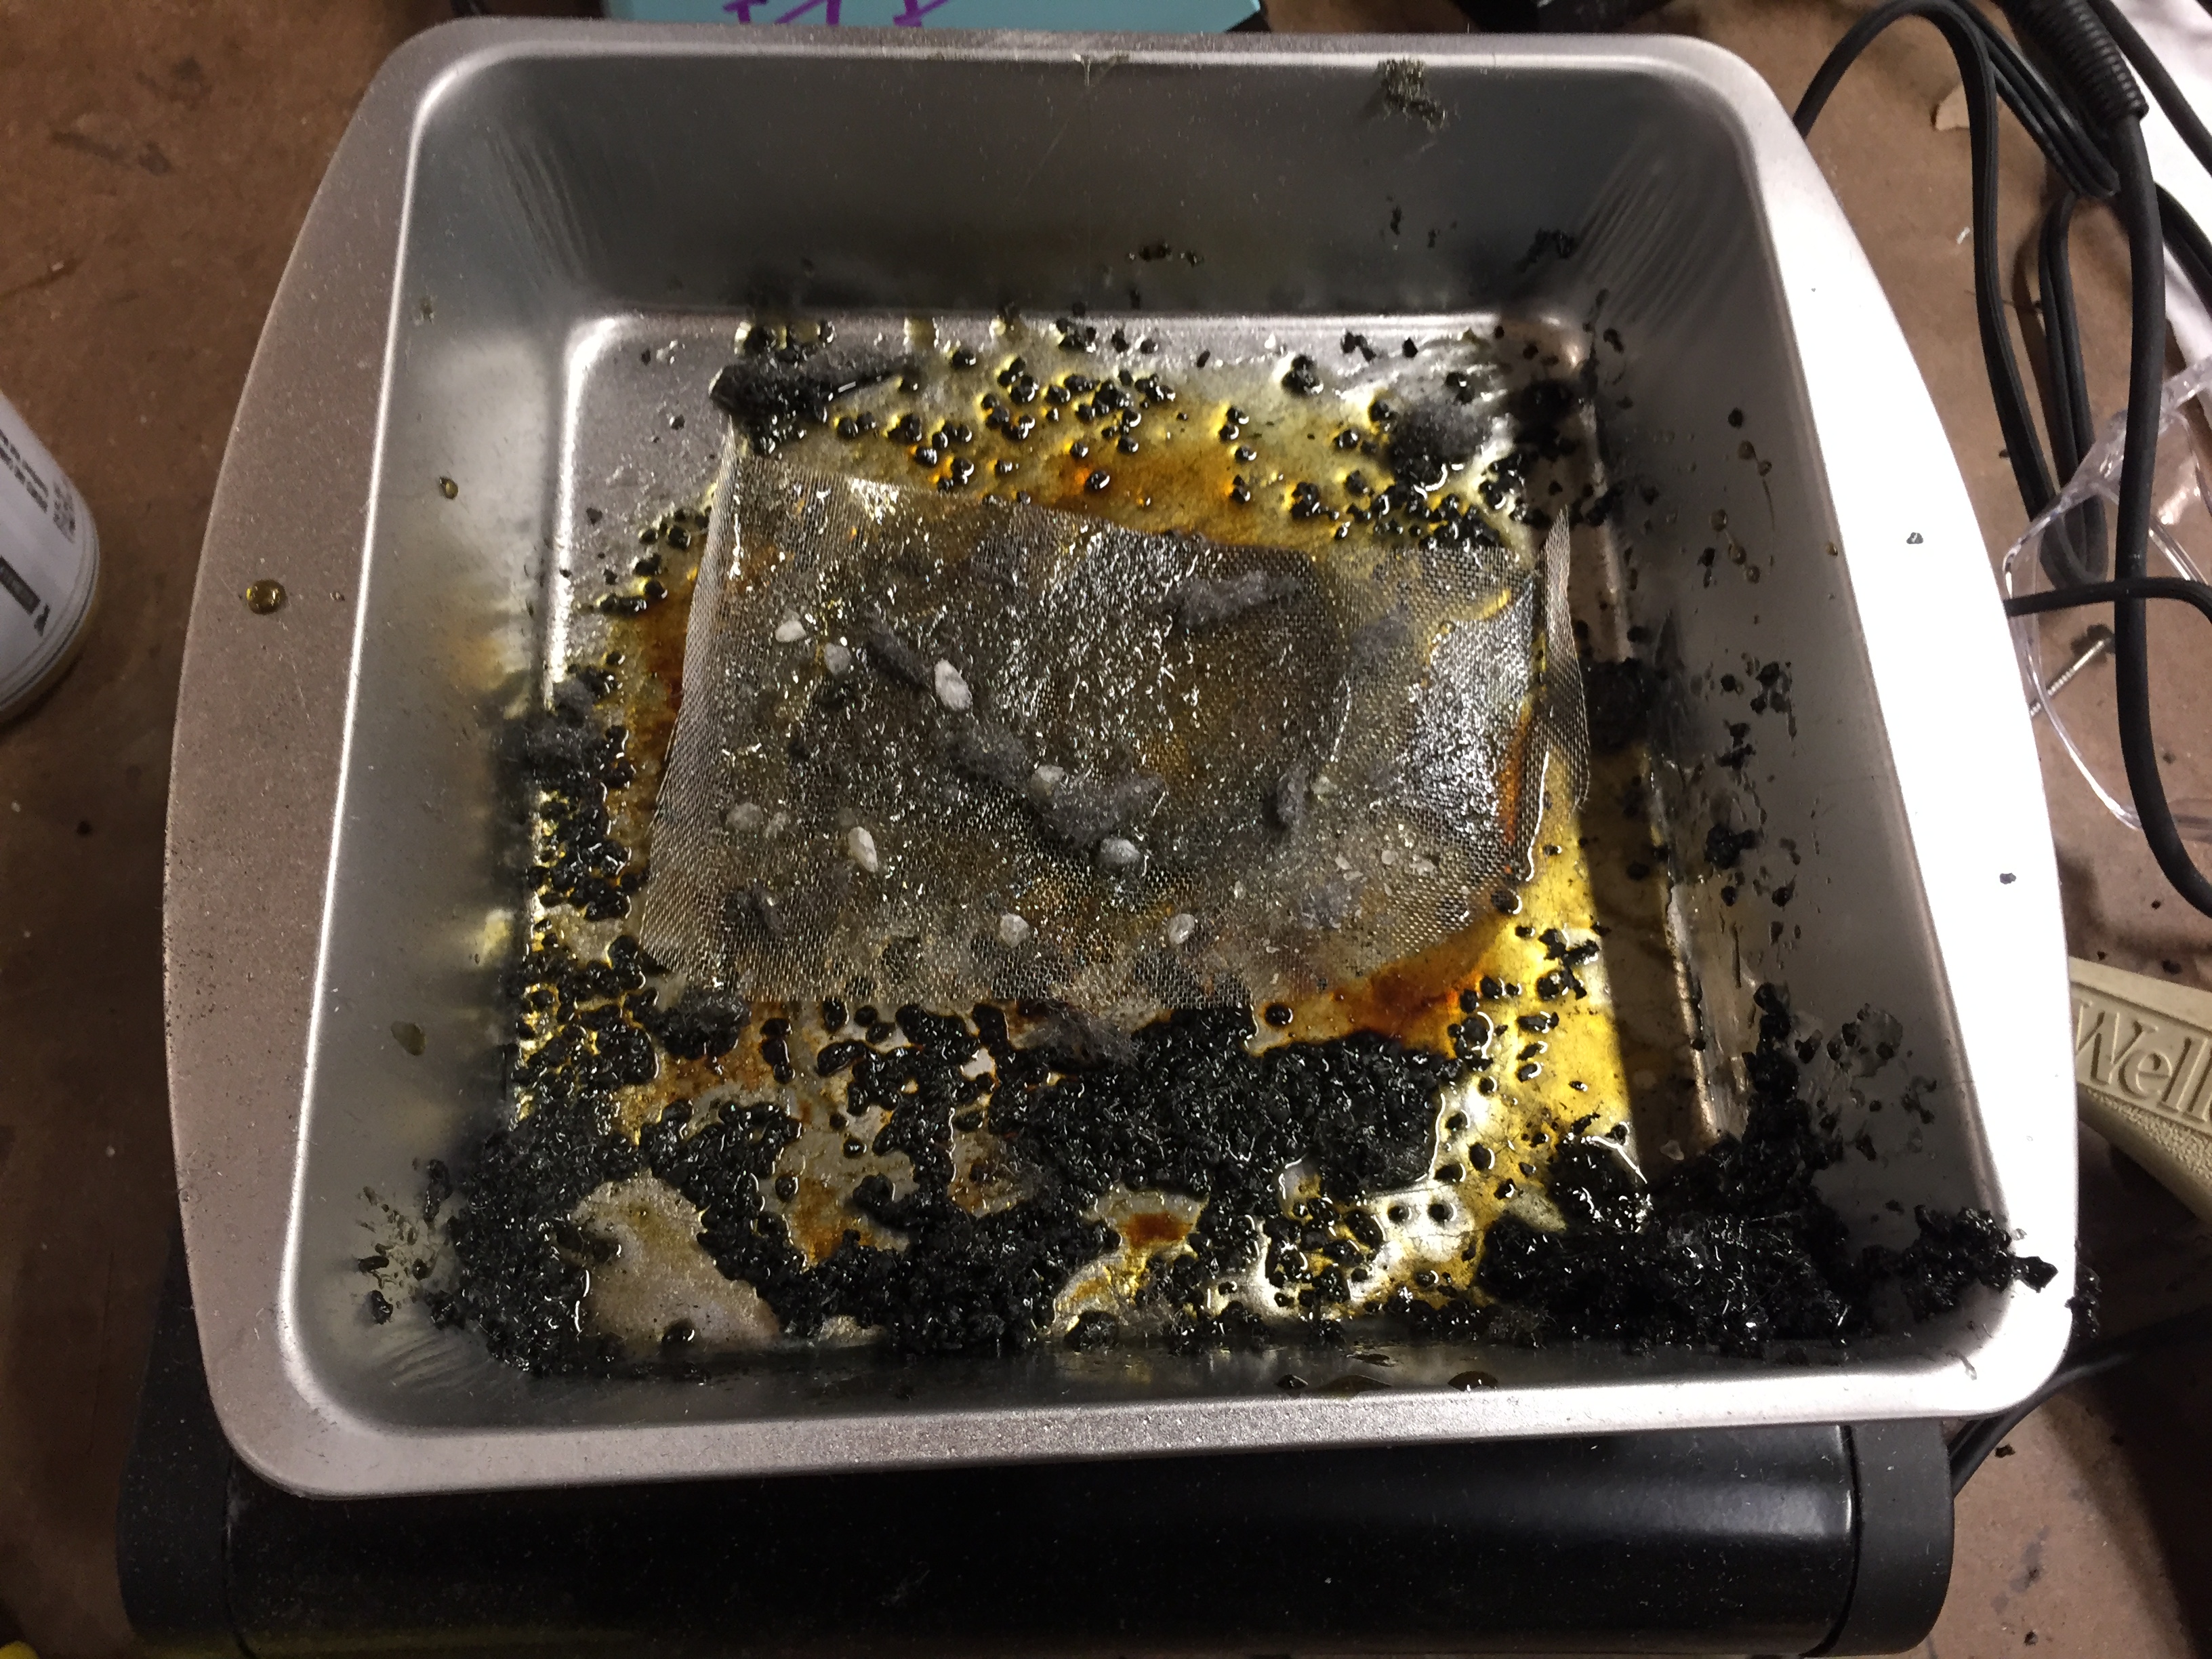
Then sprinkled the carbon on top. This time I removed the mesh almost immediately and pressed the carbon granules by rolling them with a pipe before the sap cooled back down:
Success! I was now getting closer to 10-30 Ohms between the back mesh and the charcoal.
Finally I was able to power an LED array without any boost circuitry by using three separate cells wired in series with the LED’s. I am only using ten LEDs in parallel. No resistors or anything else.
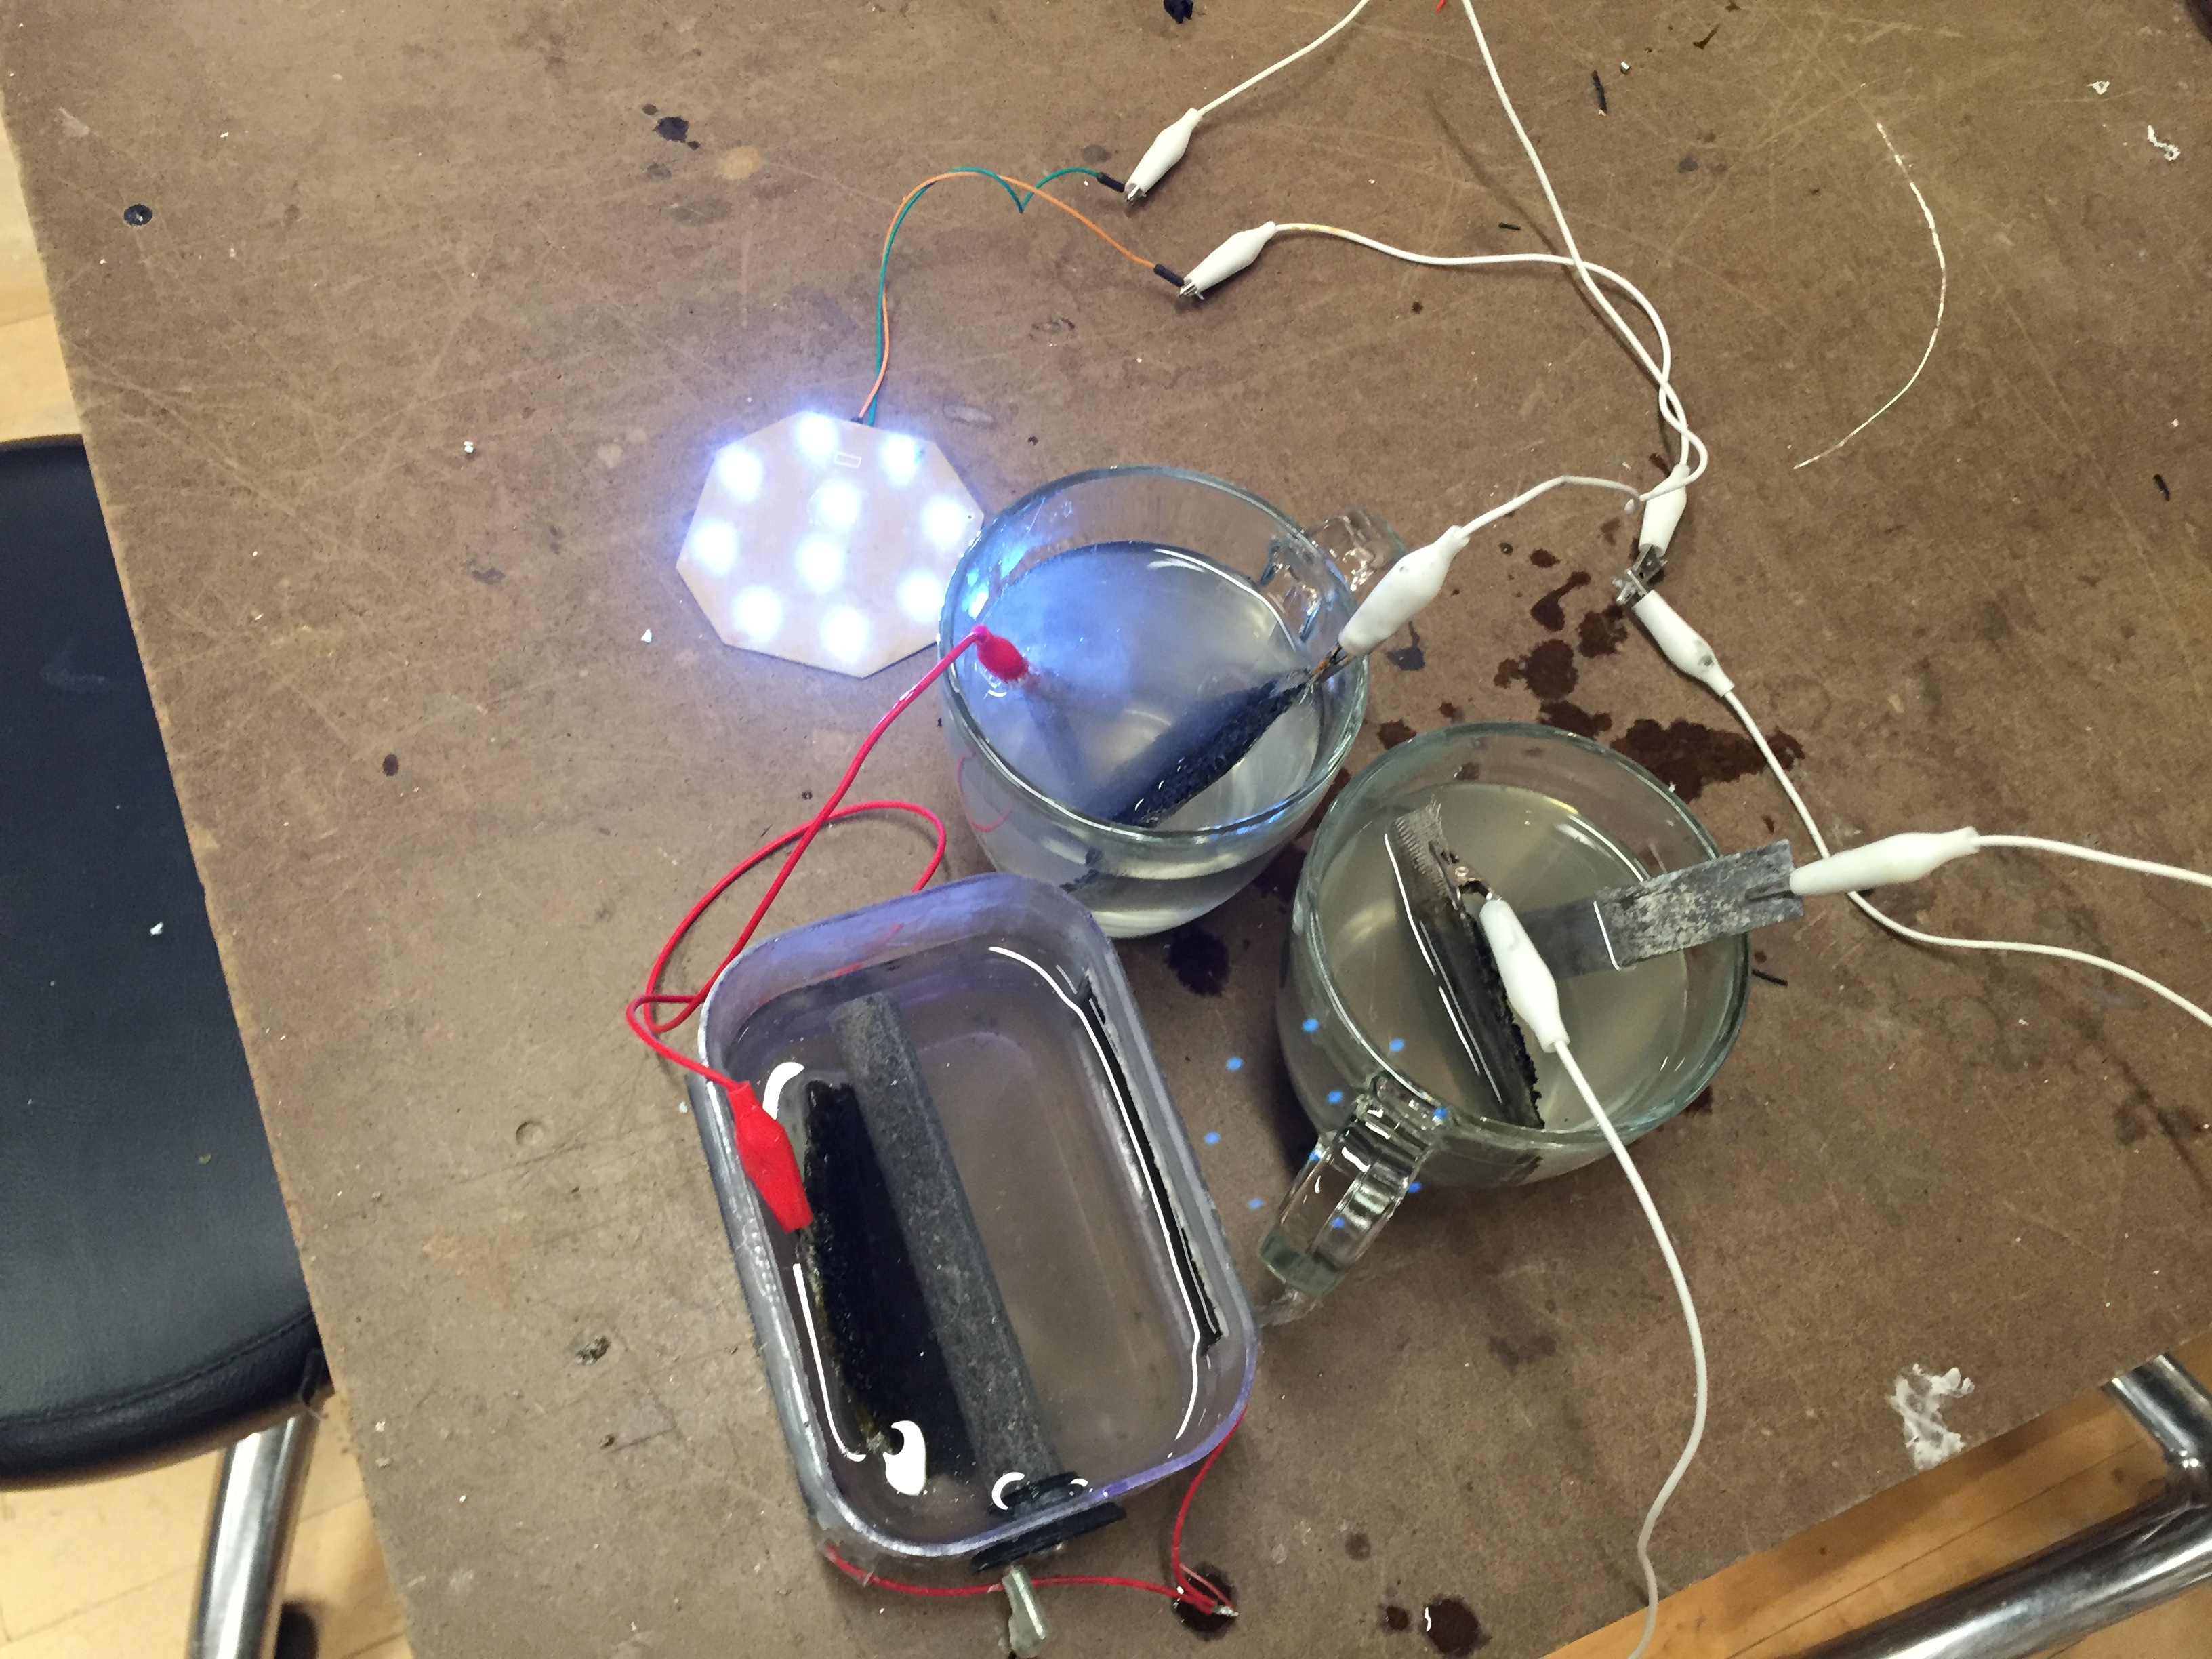
I went home an tried the cells with the LEDs I ordered for the project (more on that later).
My batteries kept close to 100lumens of LEDs lit the whole night! The only byproduct was that the steel turned the water brown. I am hoping by covering the steel mesh with the sap completely that this effect will be diminished.
For now I’m very happy with the result.
Good job Aaron. Nice for sharing. Rosin is same with resin? Thanks from asrul Indonesia.
Yes they mean the same thing