Category: Temporis Restaurant
Temporis Links
Fourth Trip

Third Trip


Second Trip


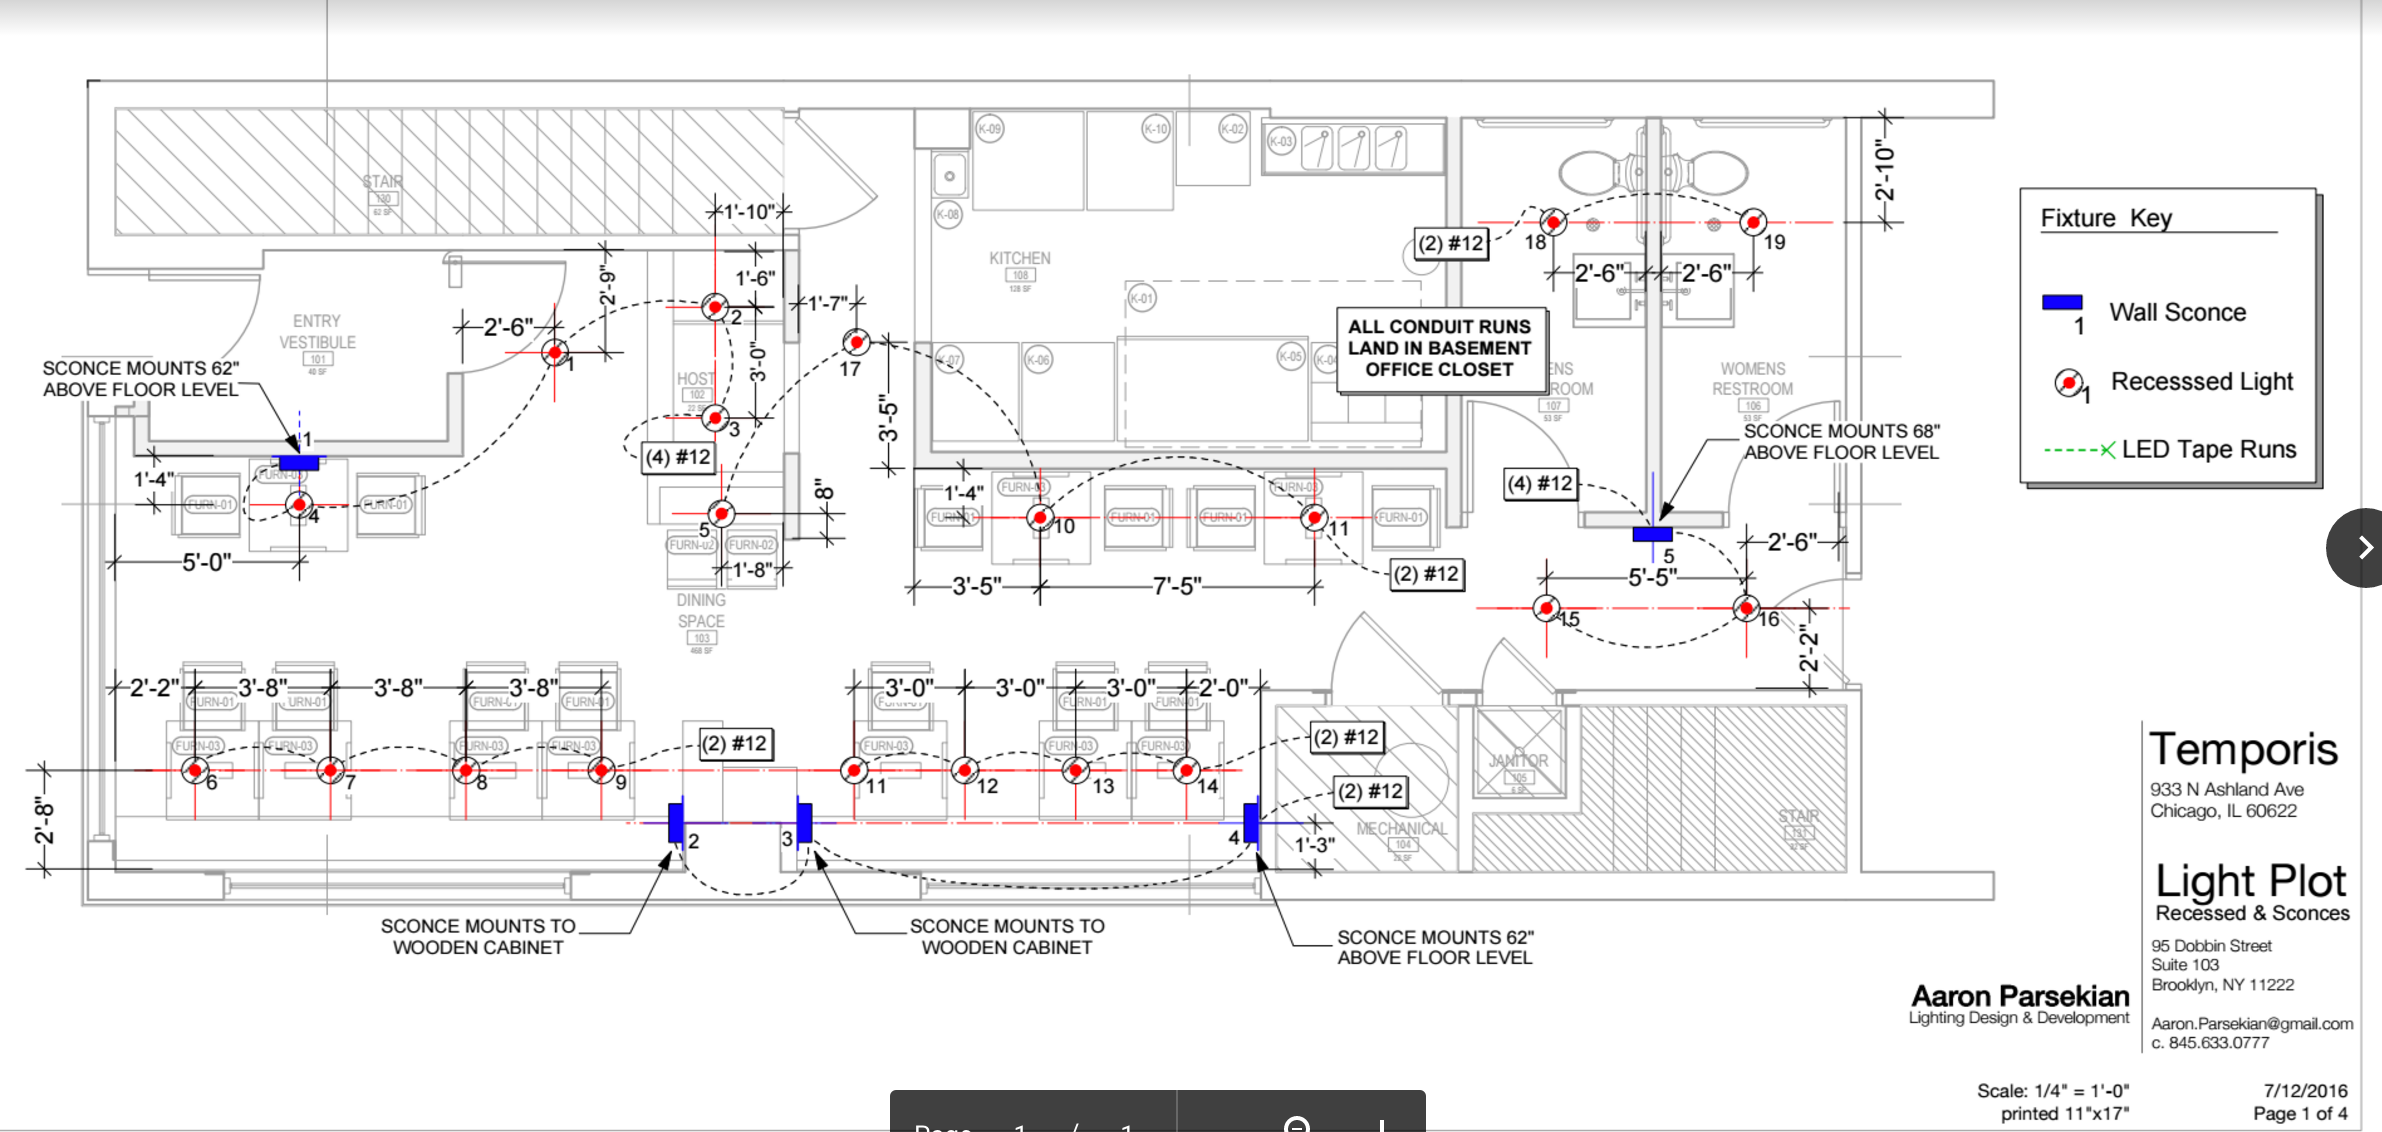
Updated plans & LED coves
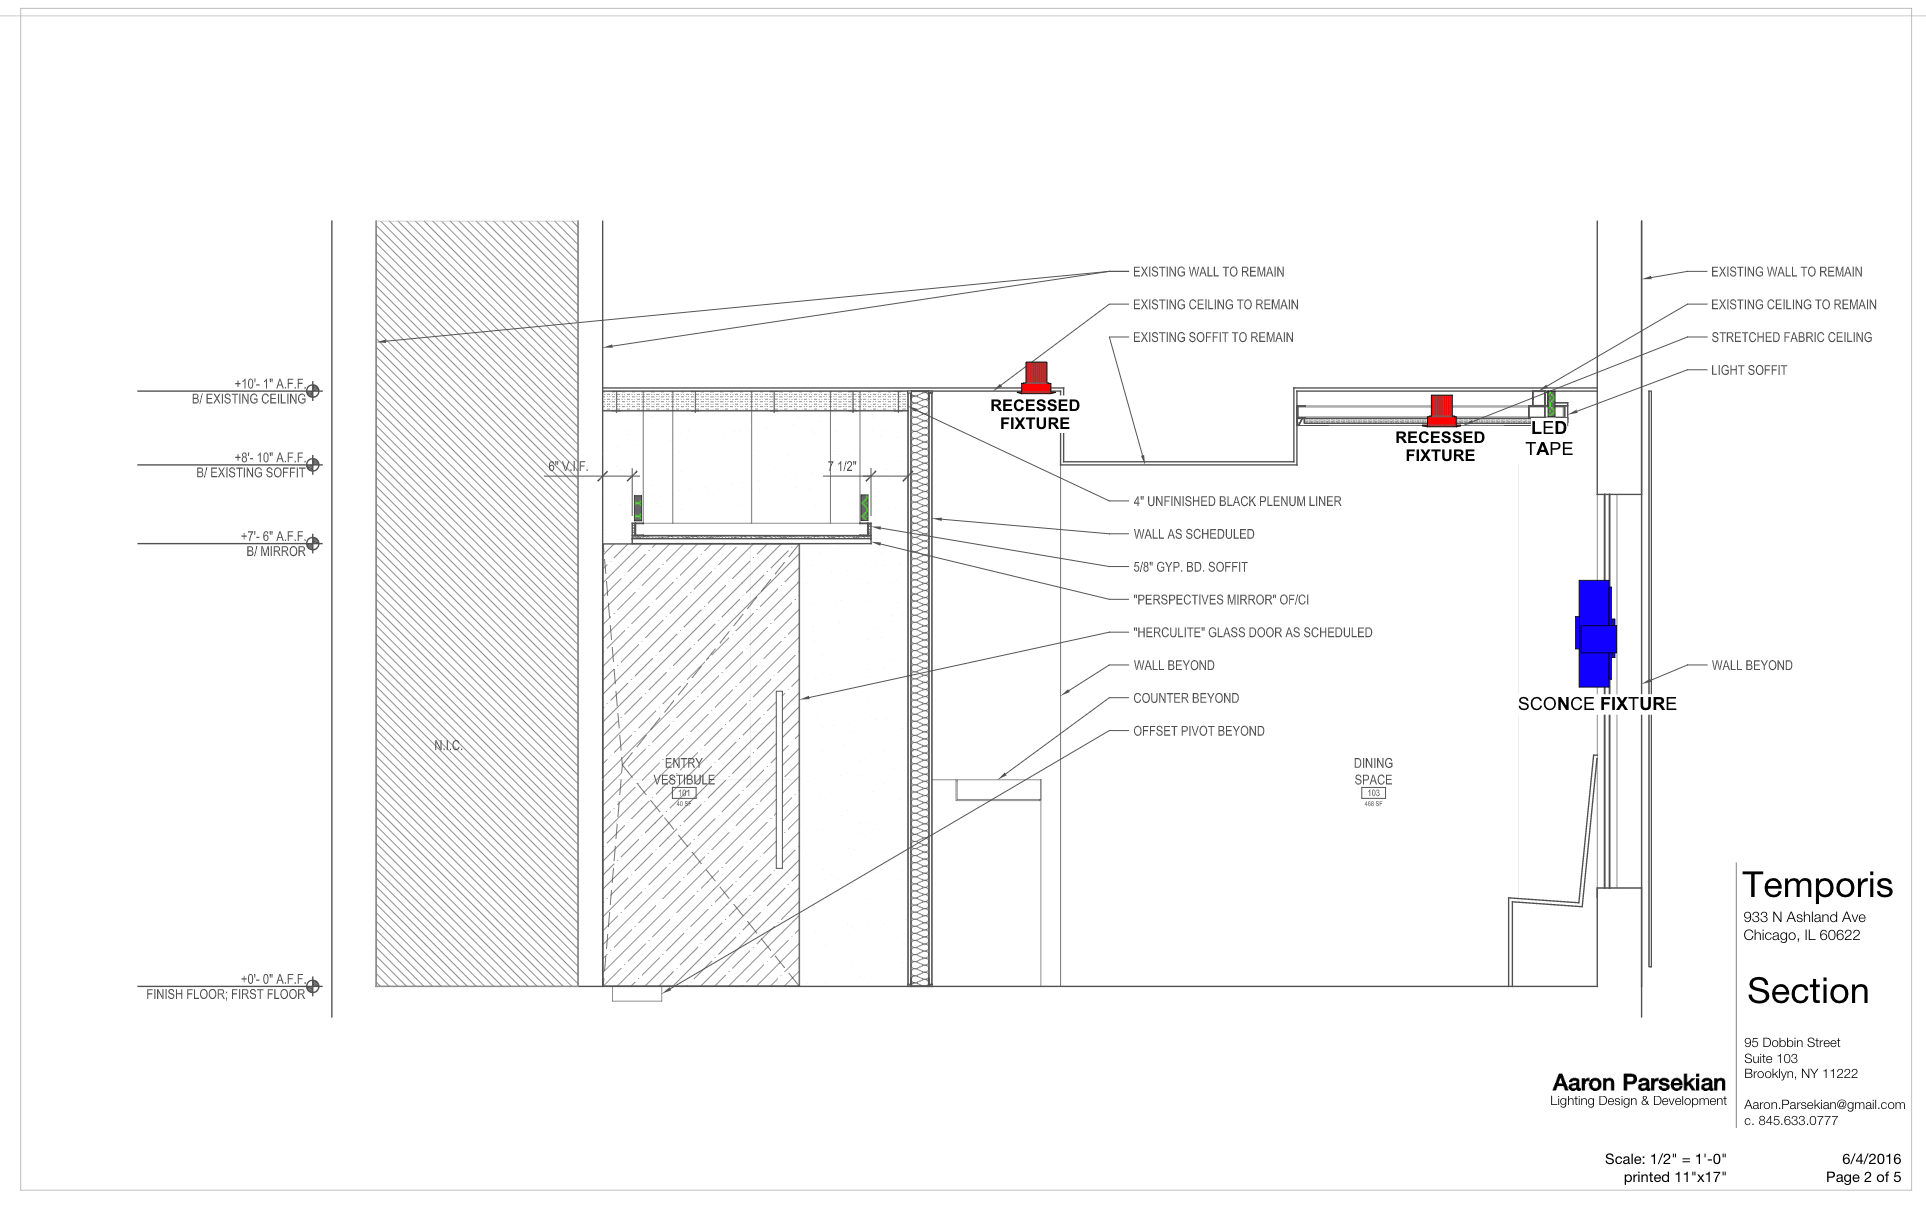
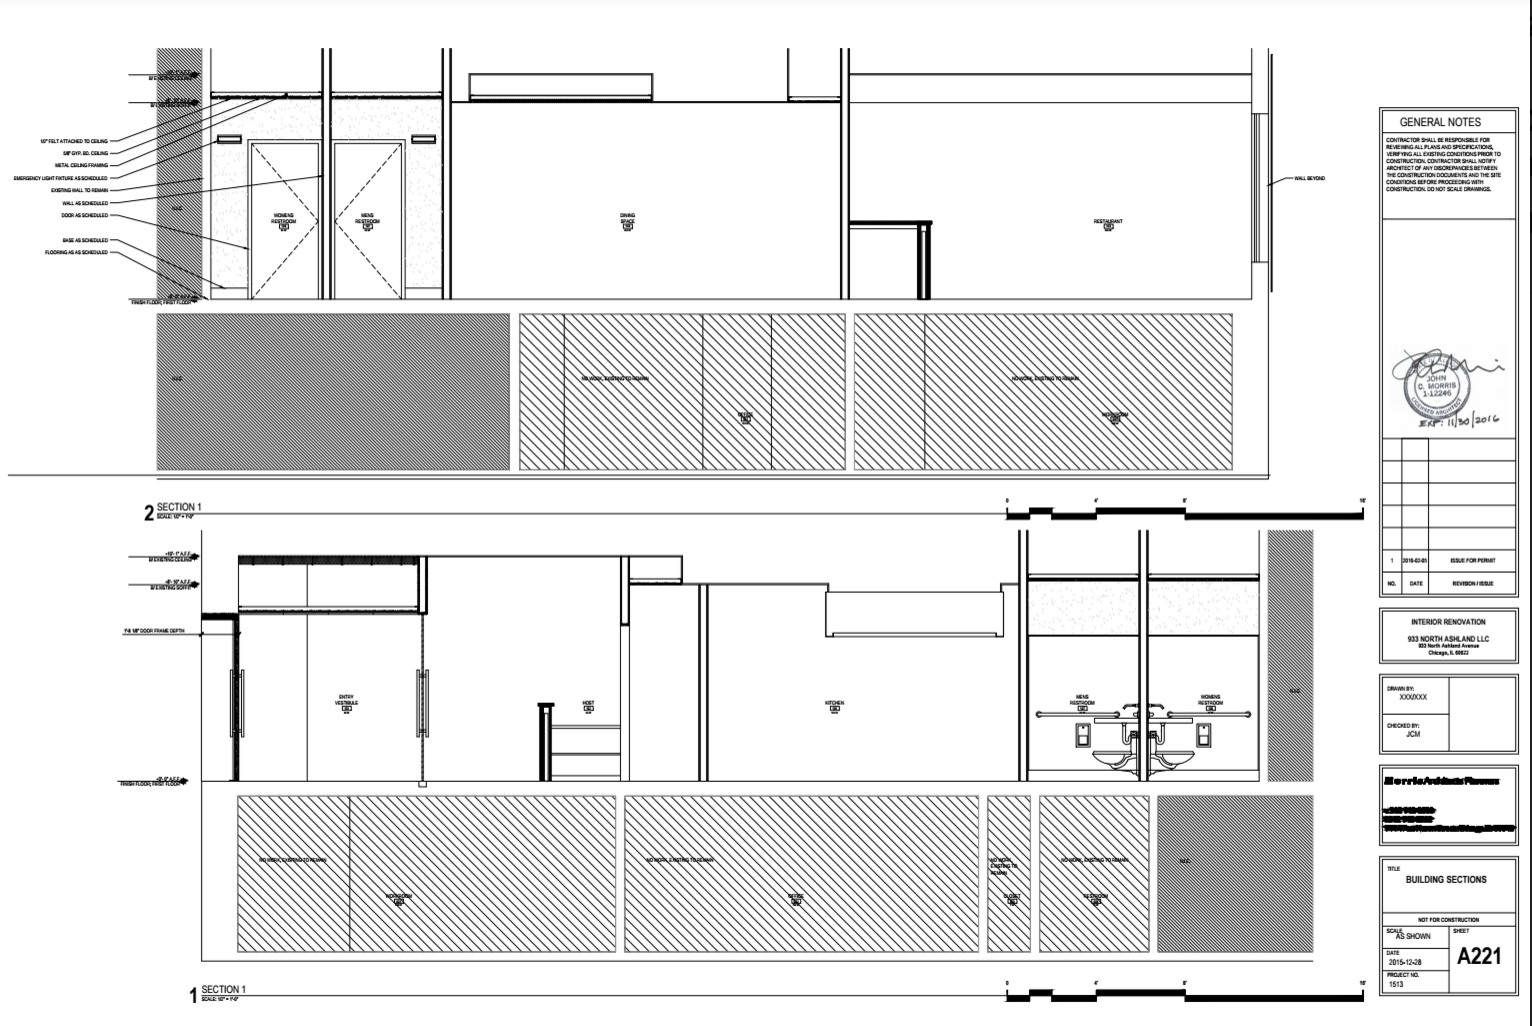
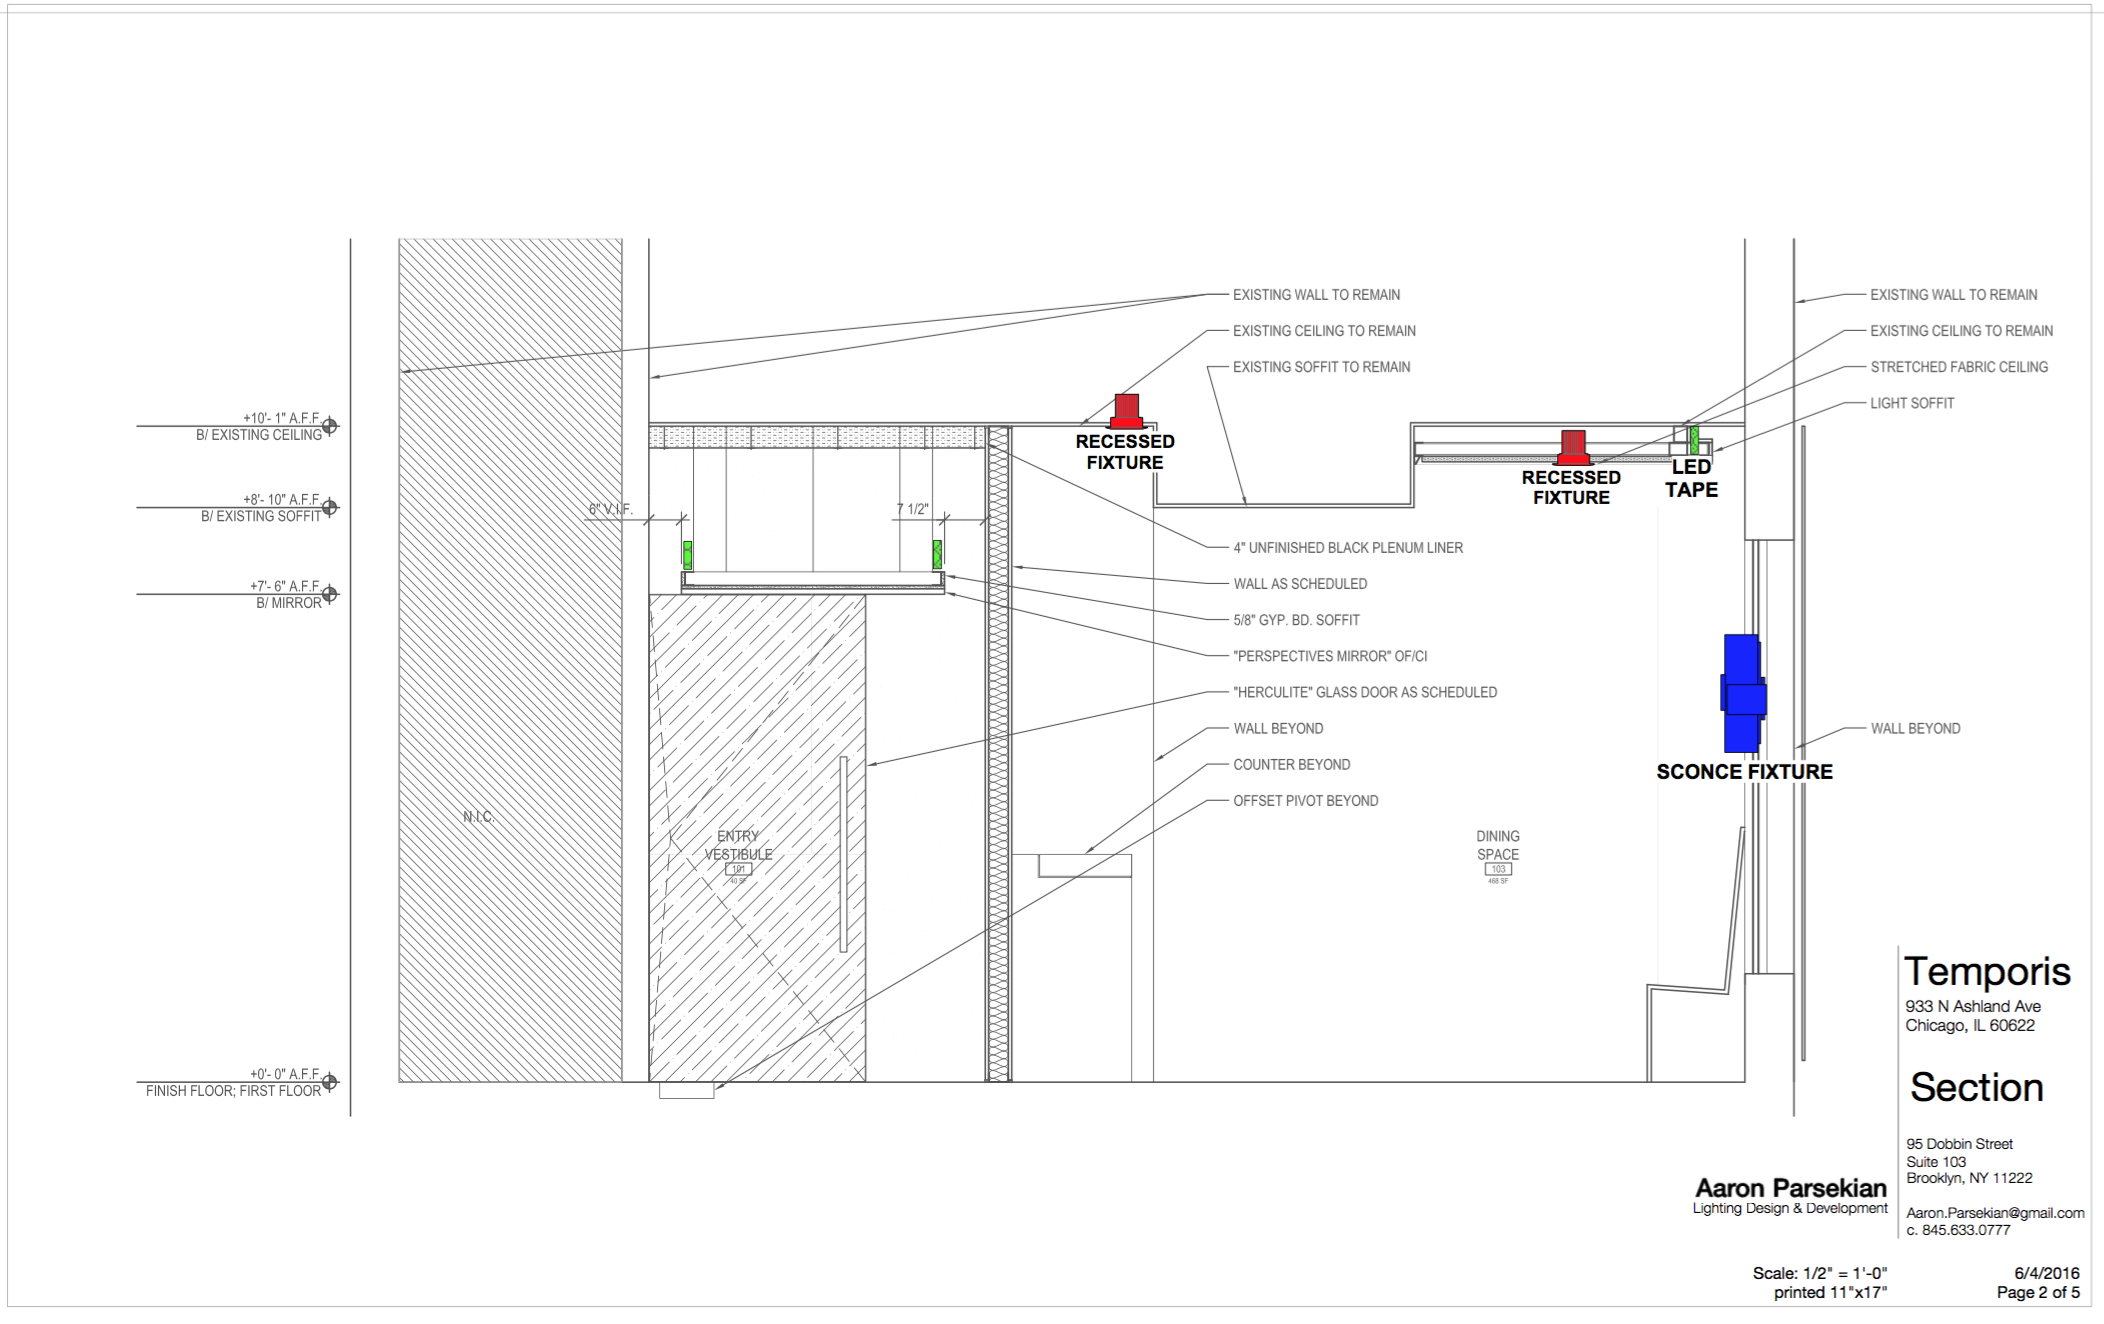
The Architect sent over the final bid documents. We decided on the placement of the coves in the ceiling for LED’s

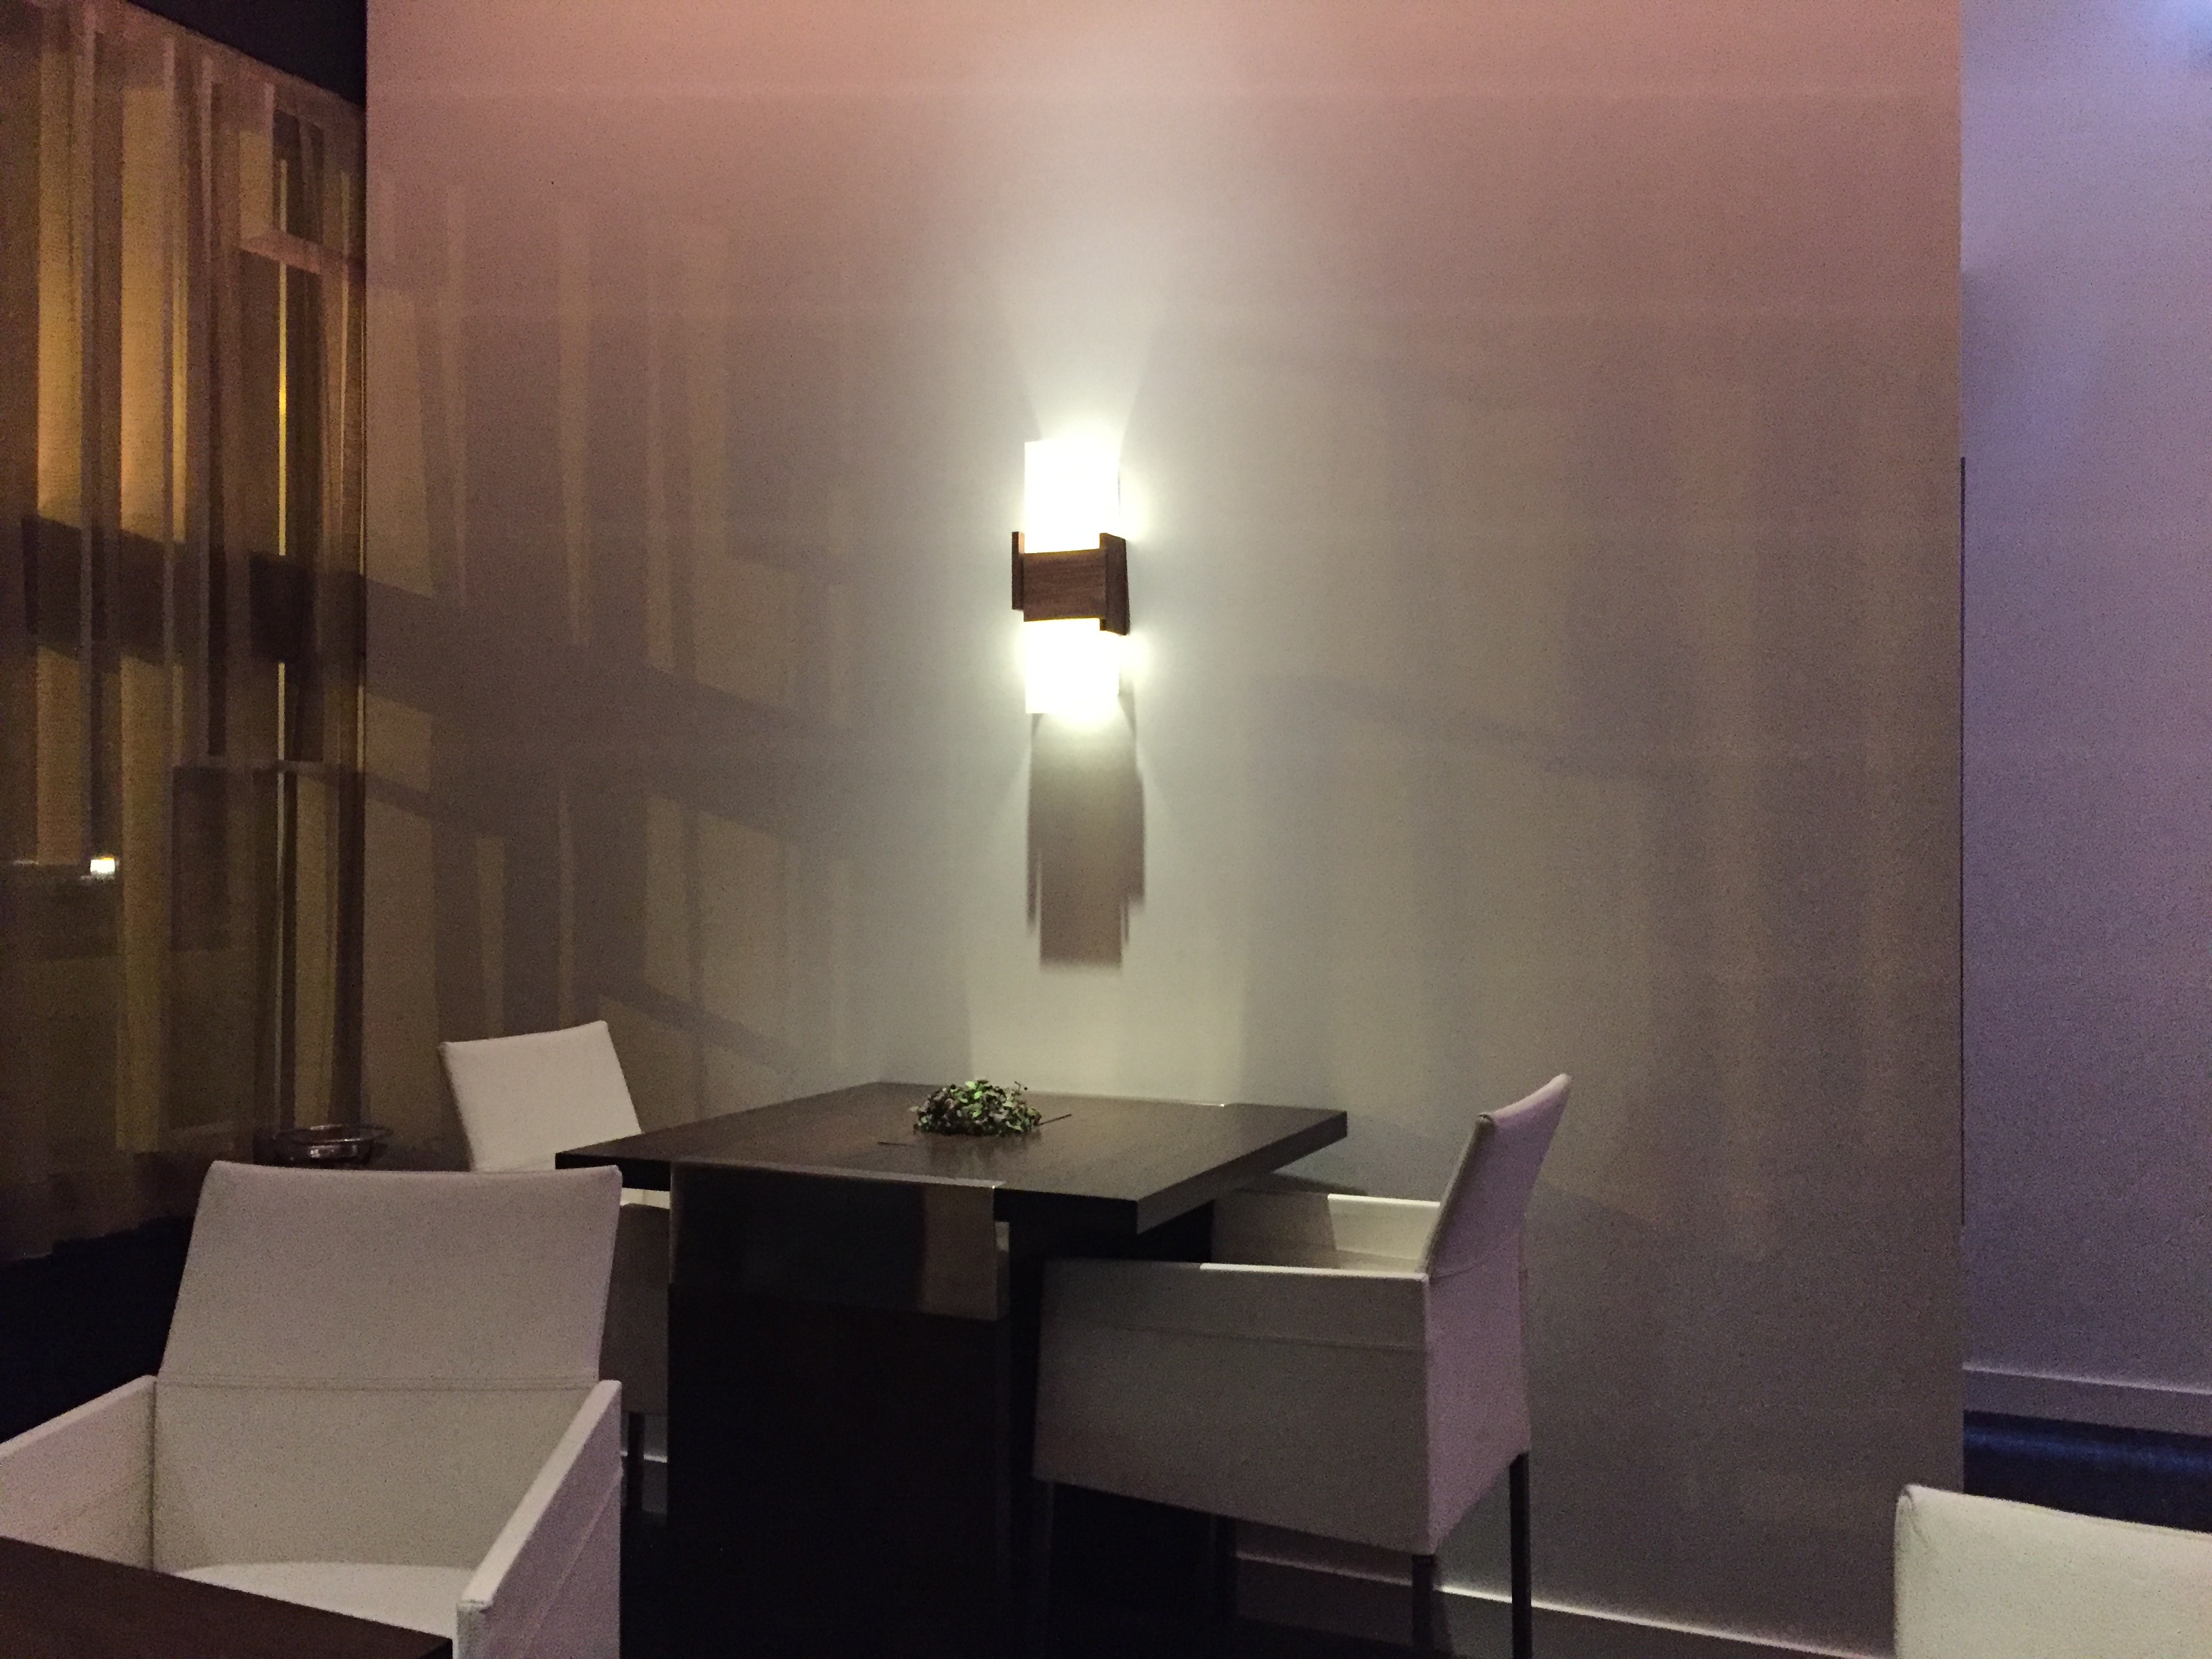
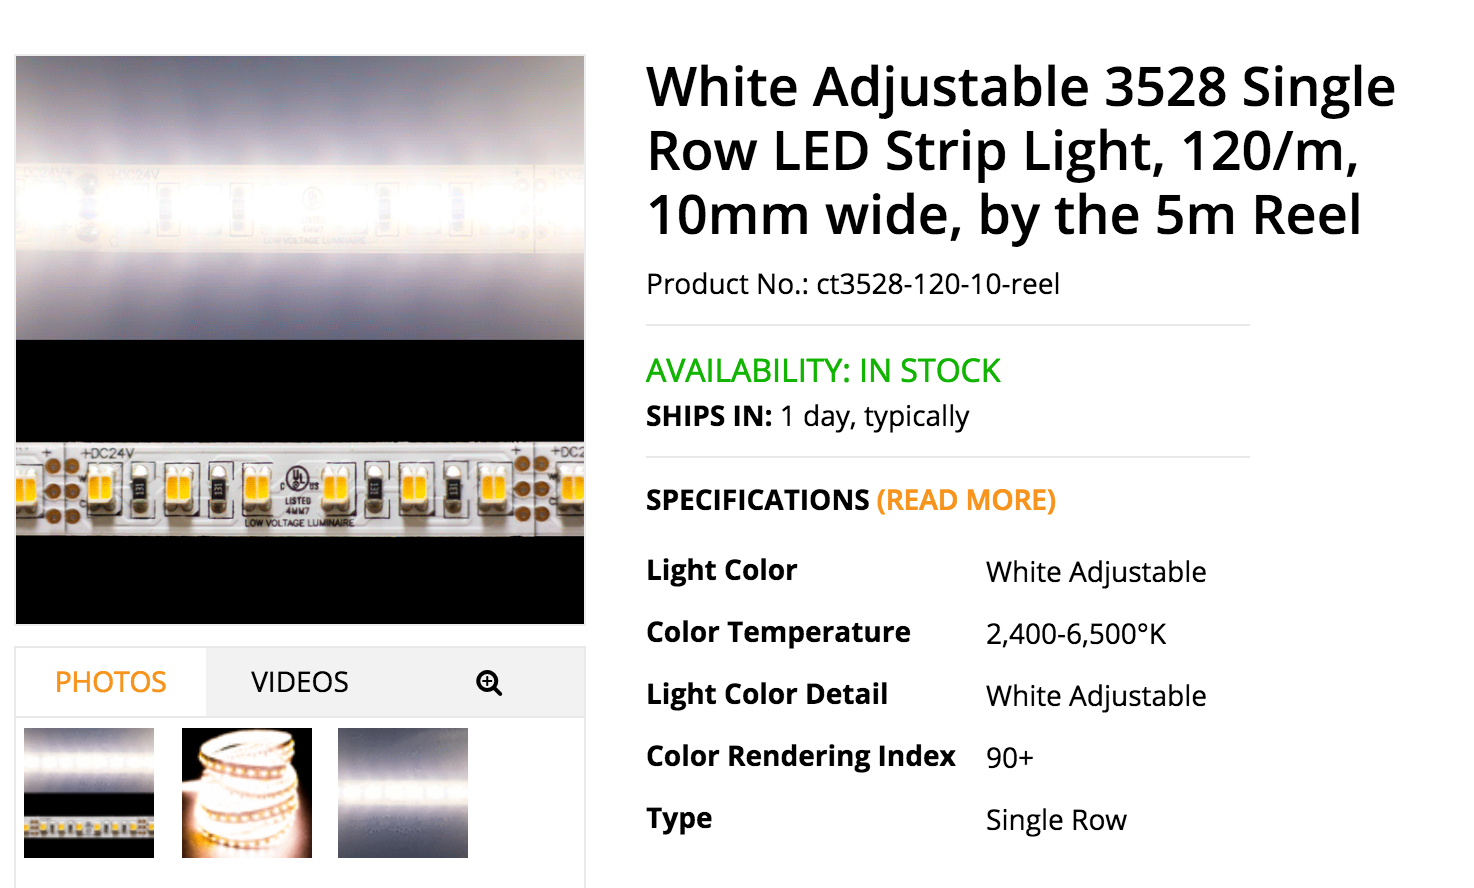
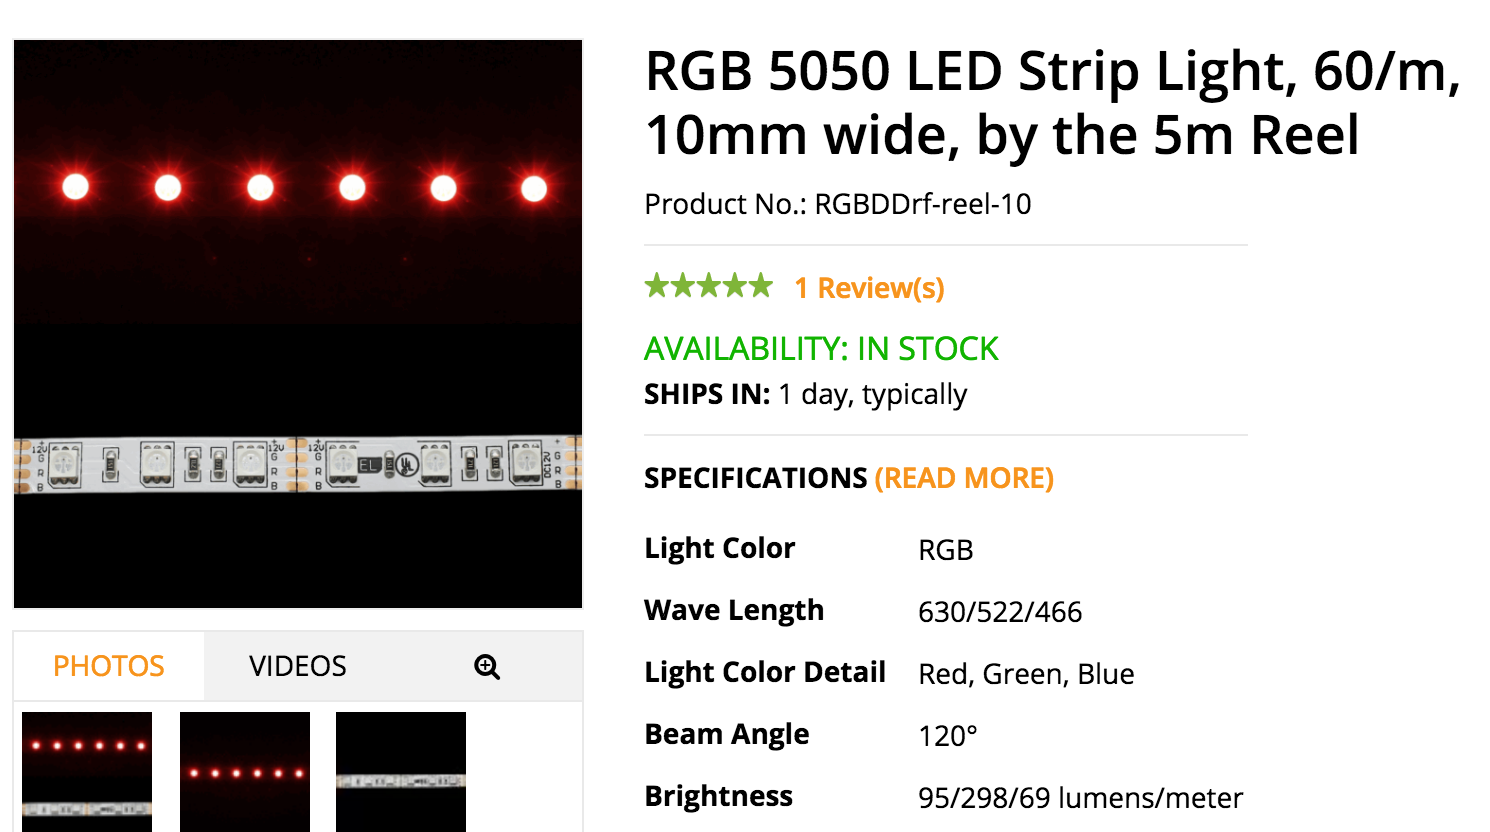
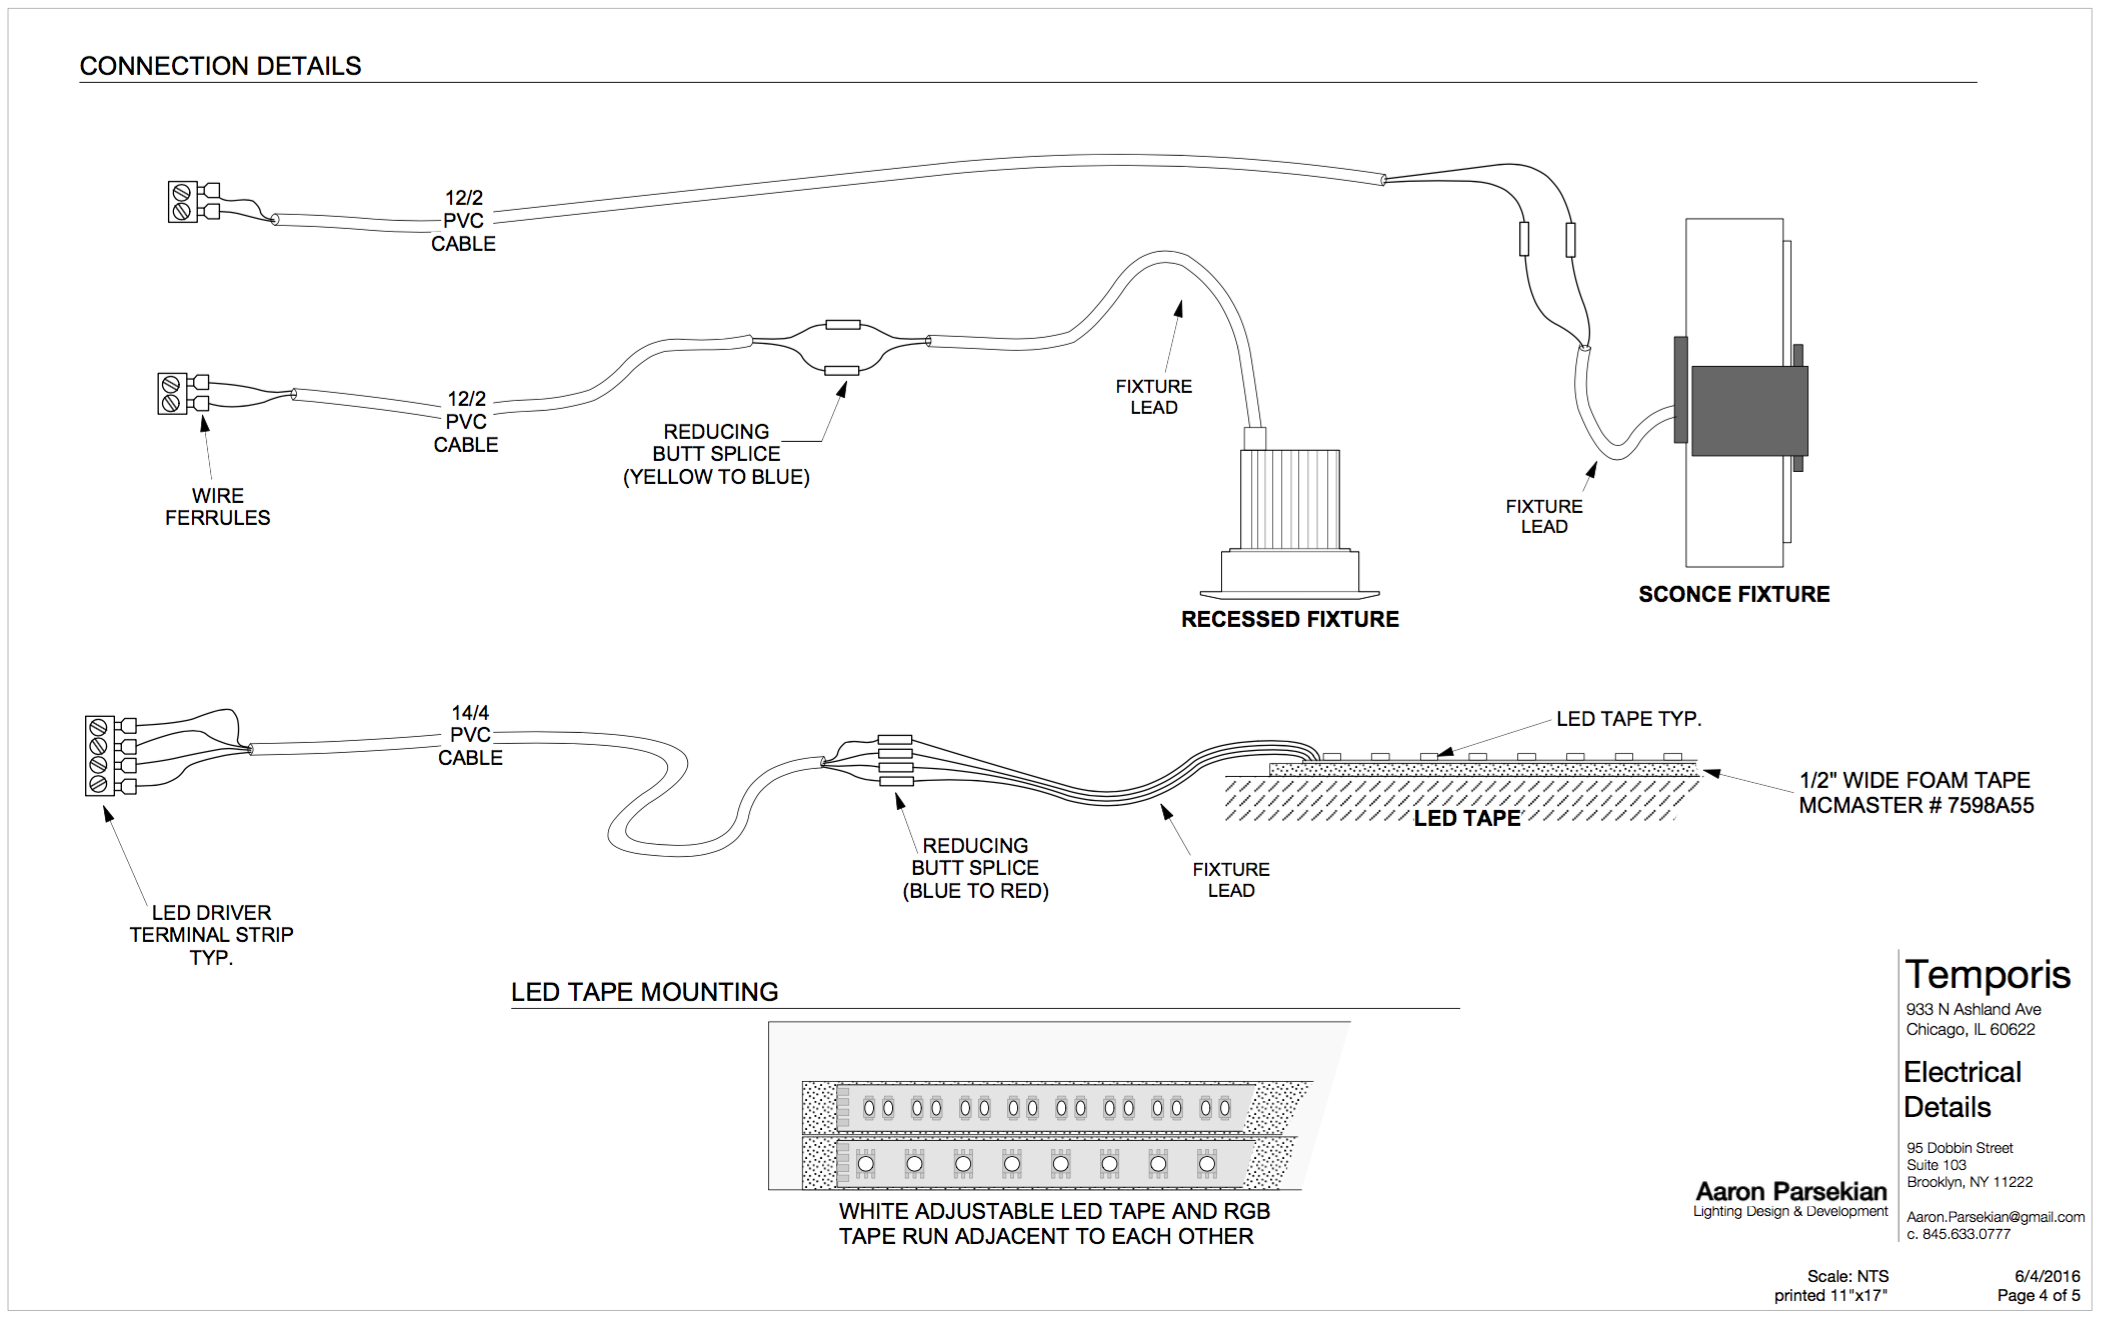
Each cove will get two strips of LED tape that run next to each other: One RGB strip and one white adjustable strip. Having both RGB and warm white to cool white tape will allow me to color the ceiling and the curtains with some nice pastel colors. These colors will change for each season.
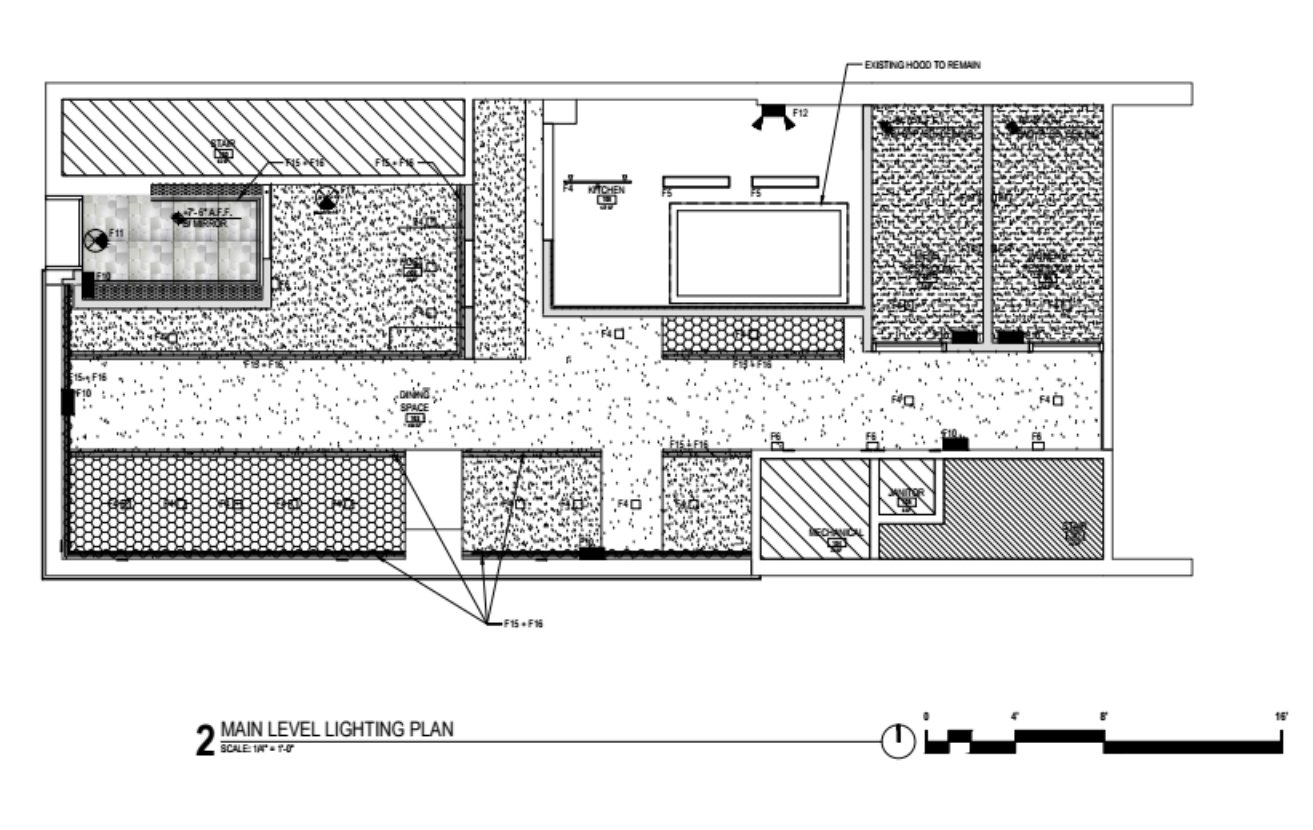
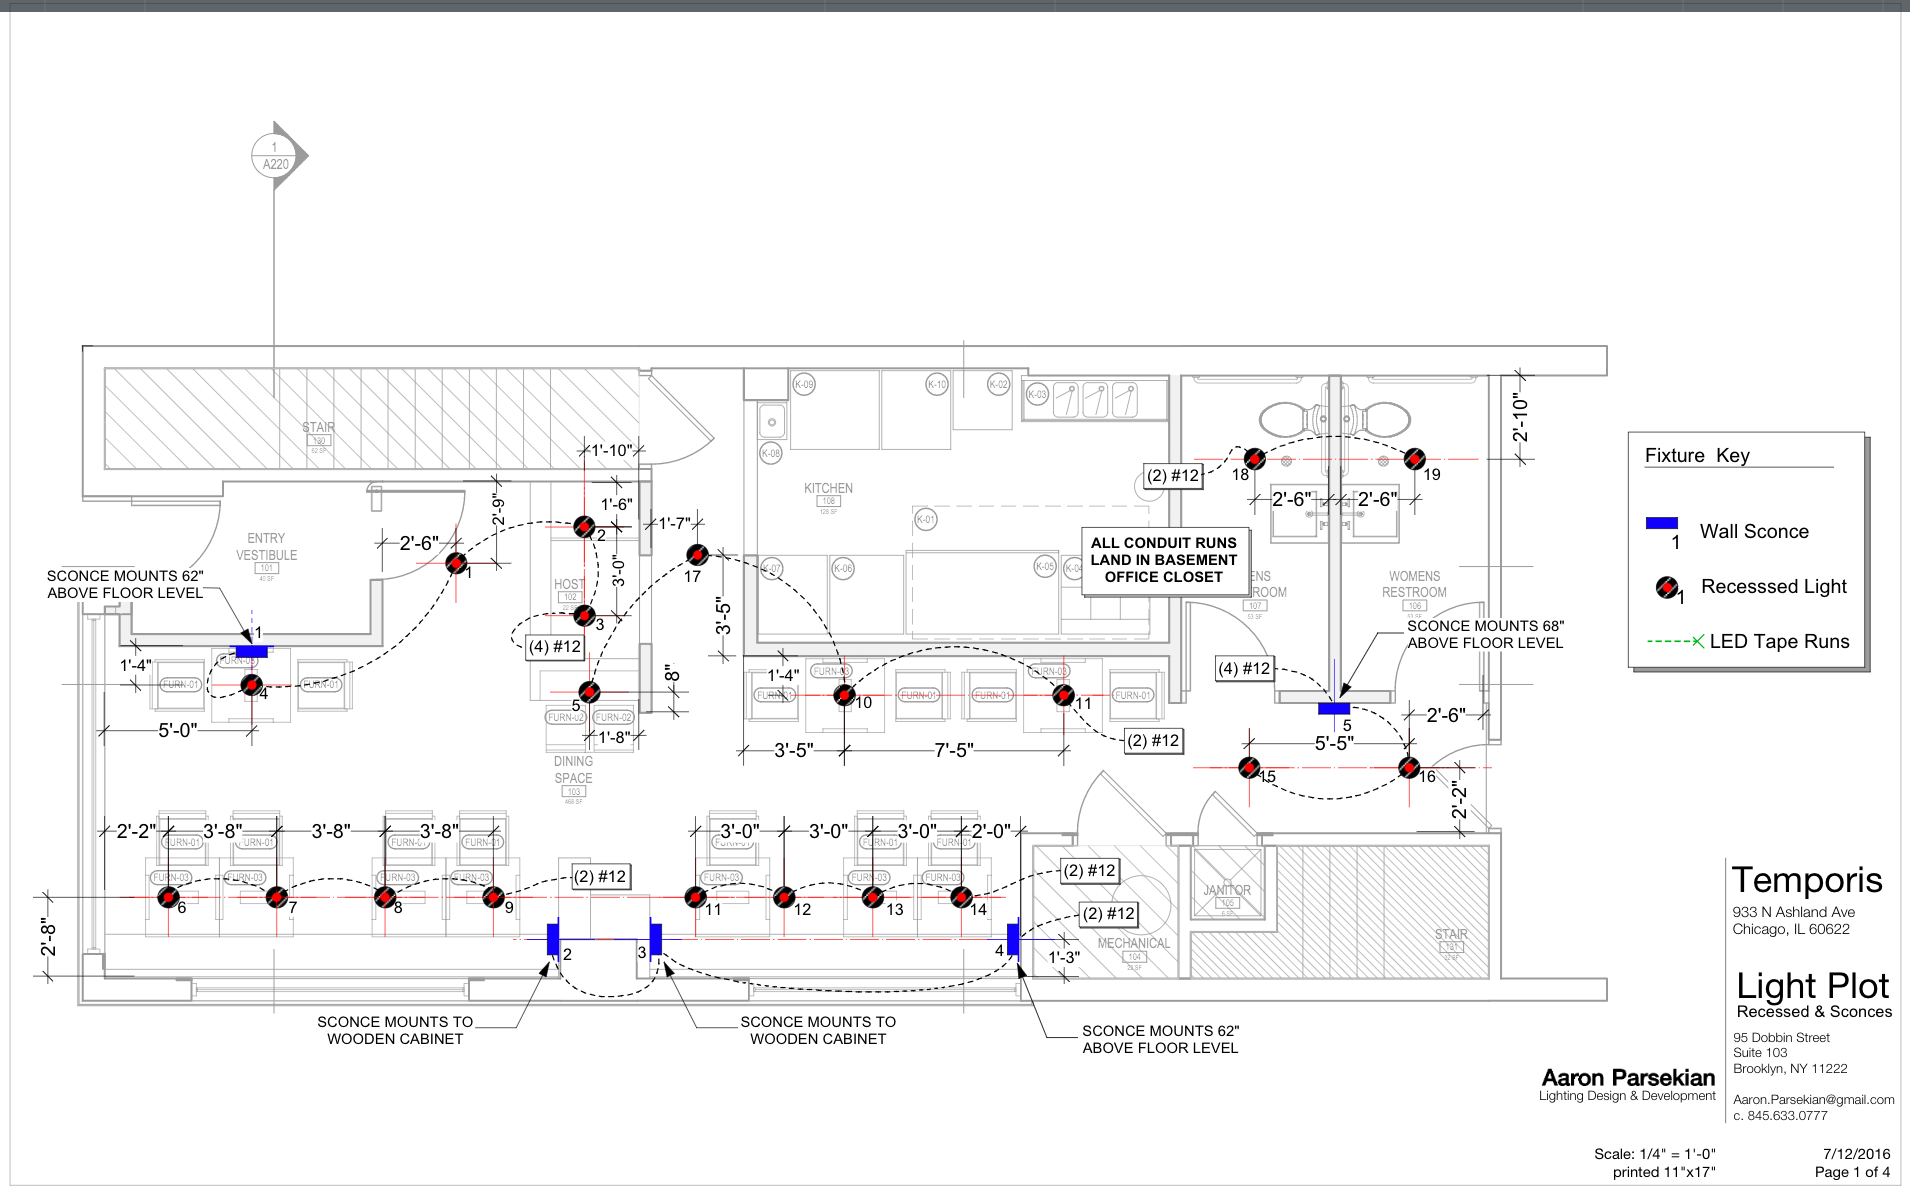
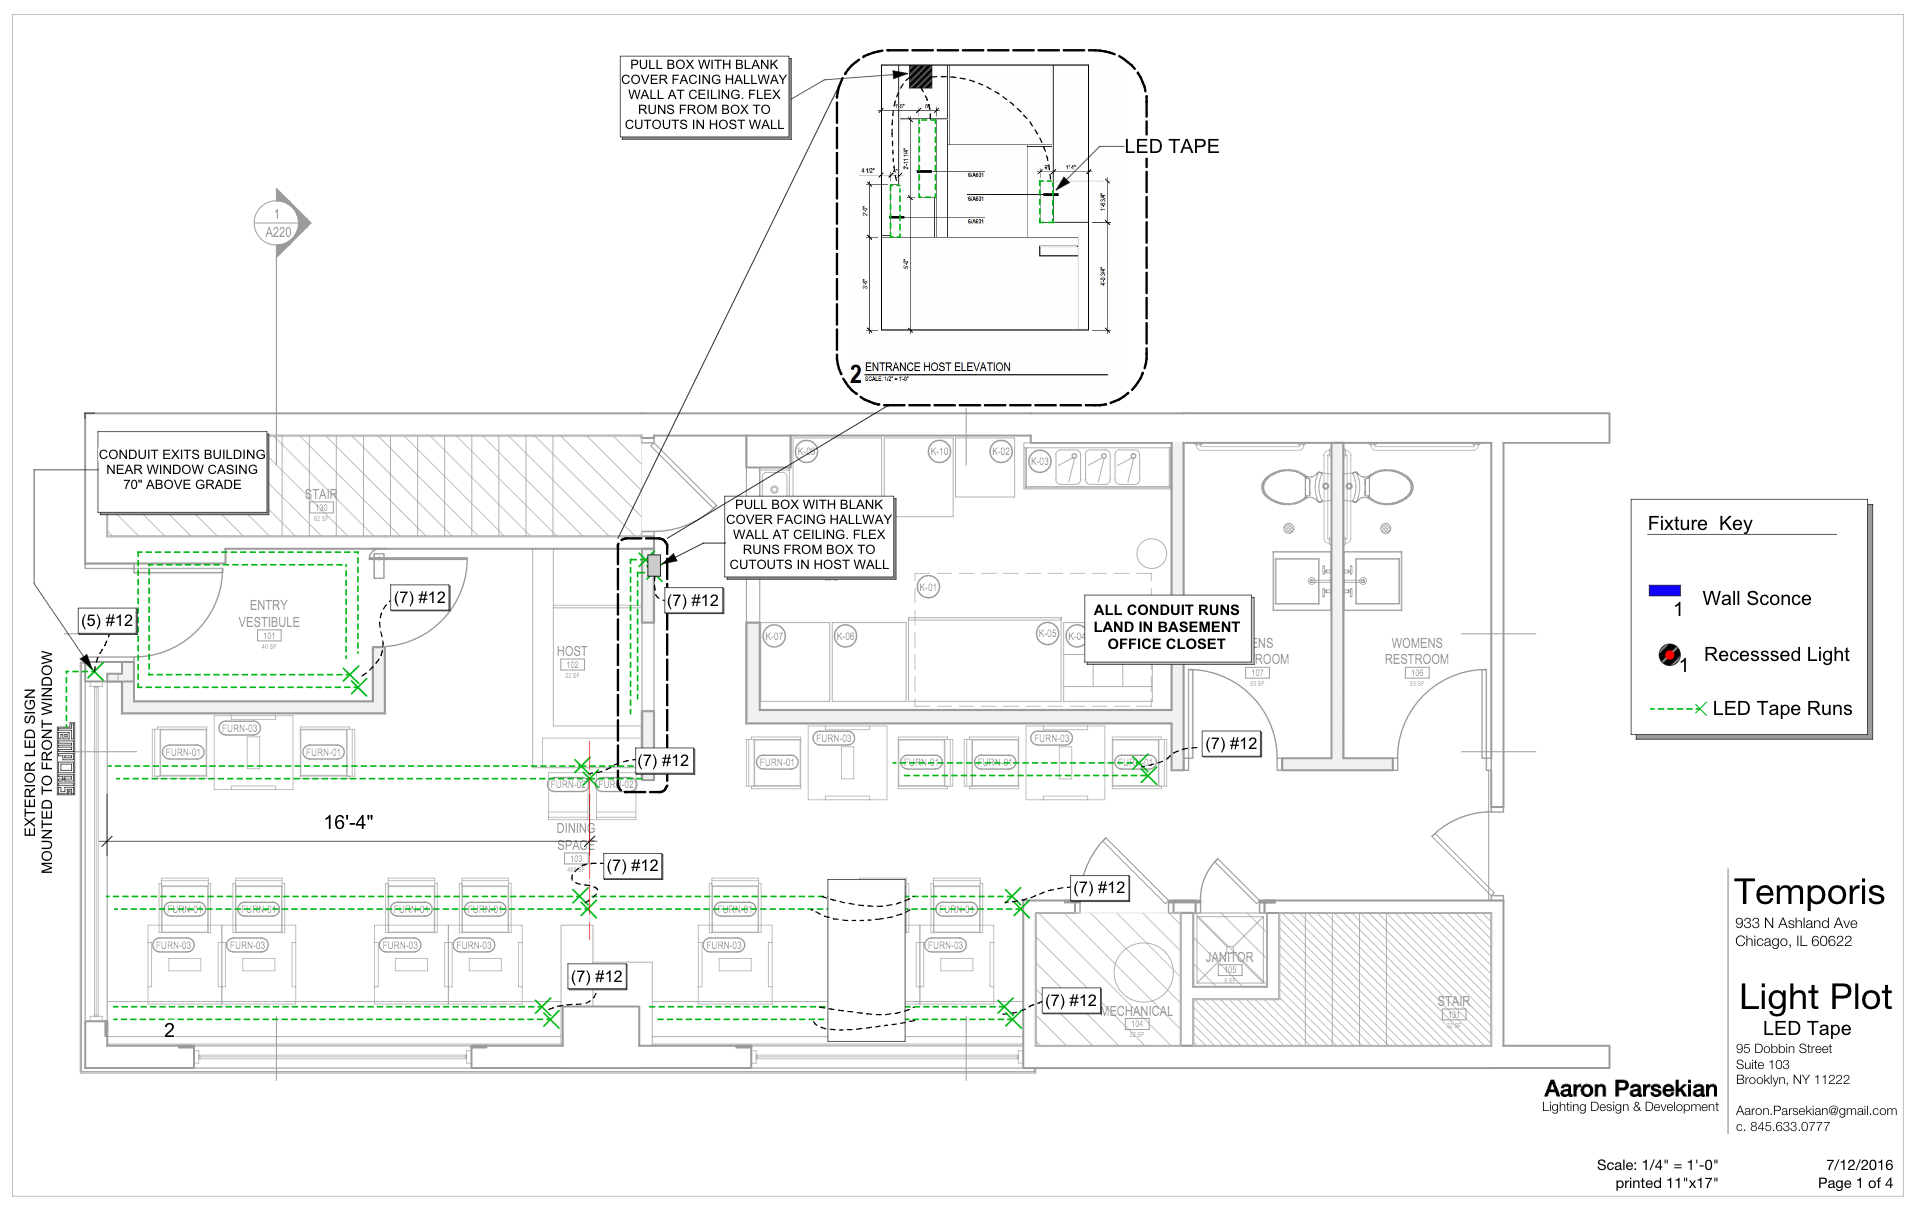
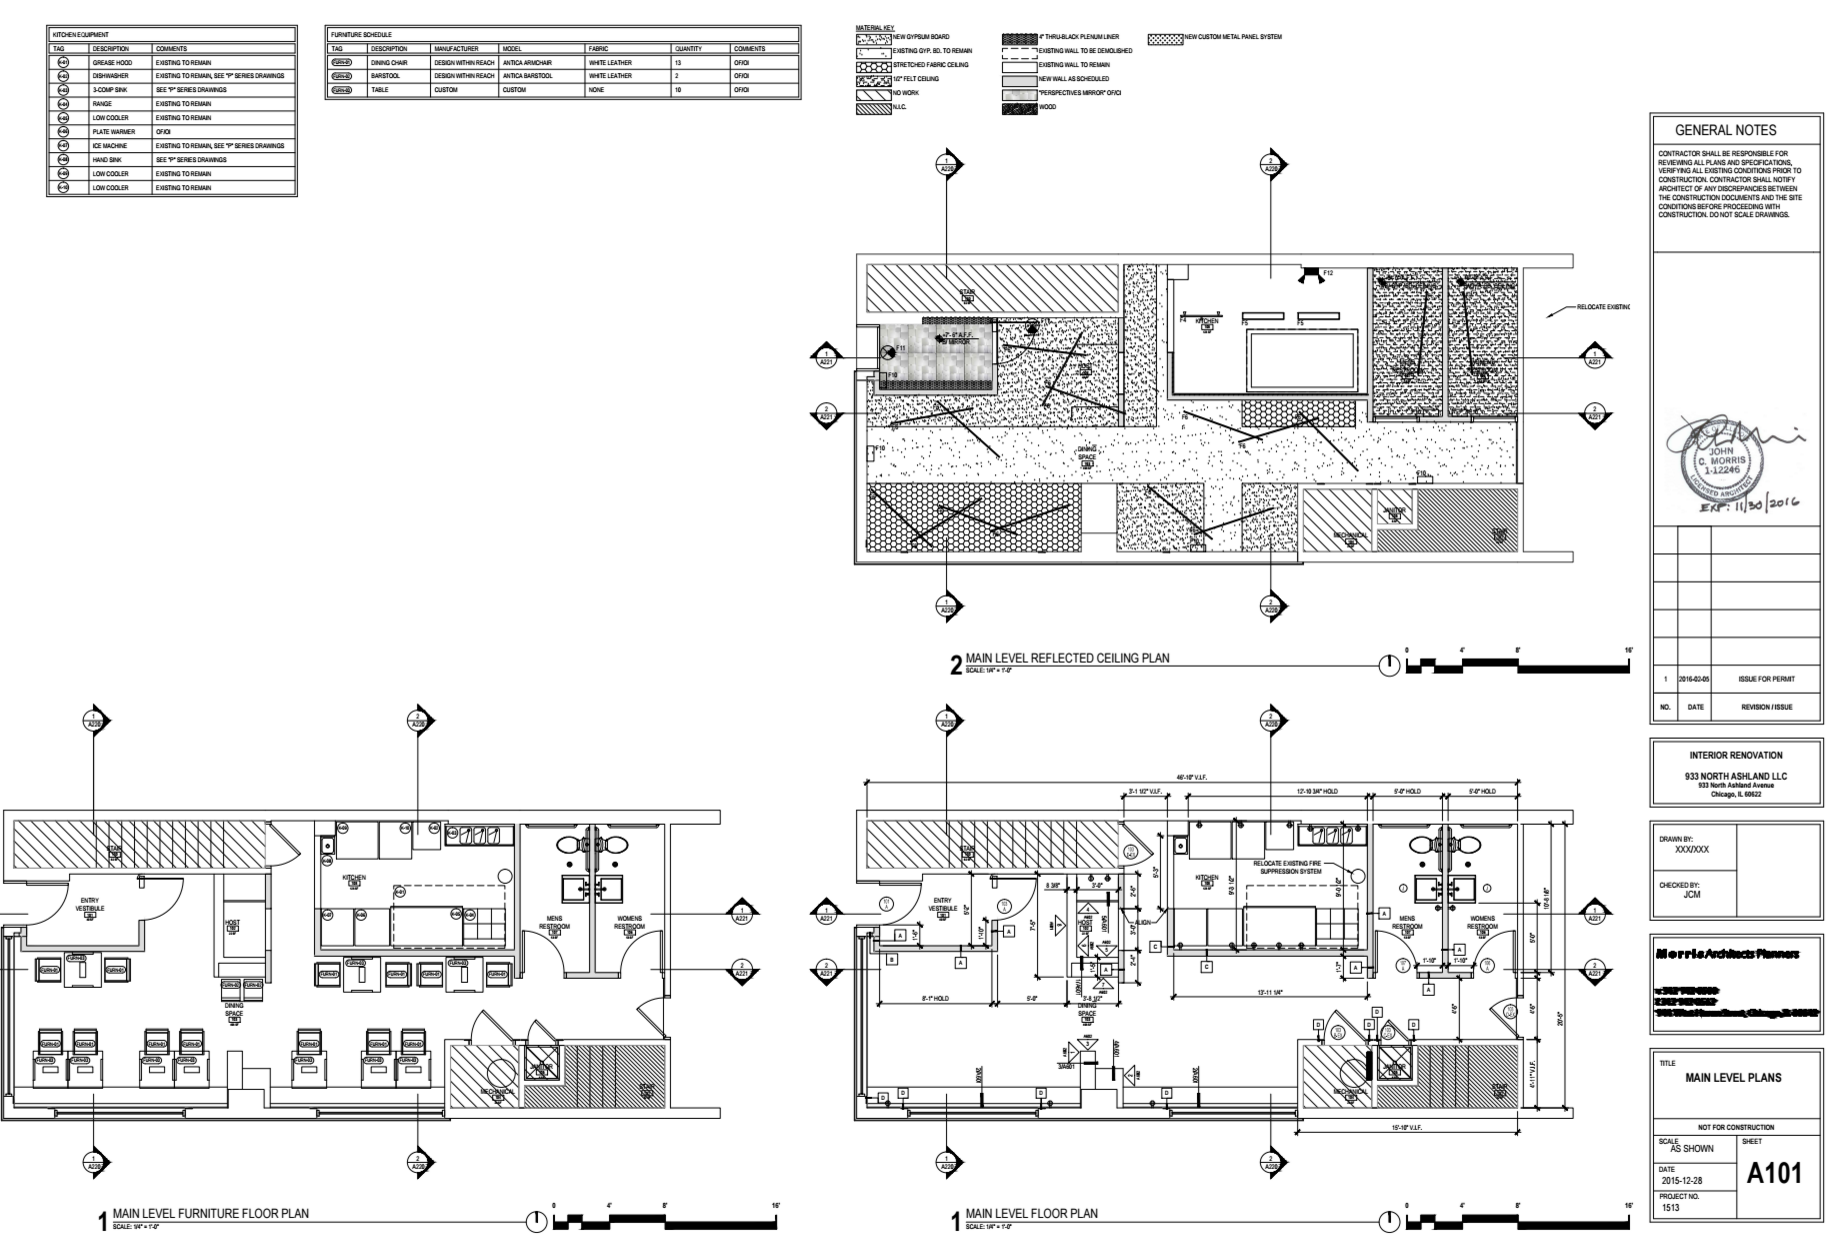
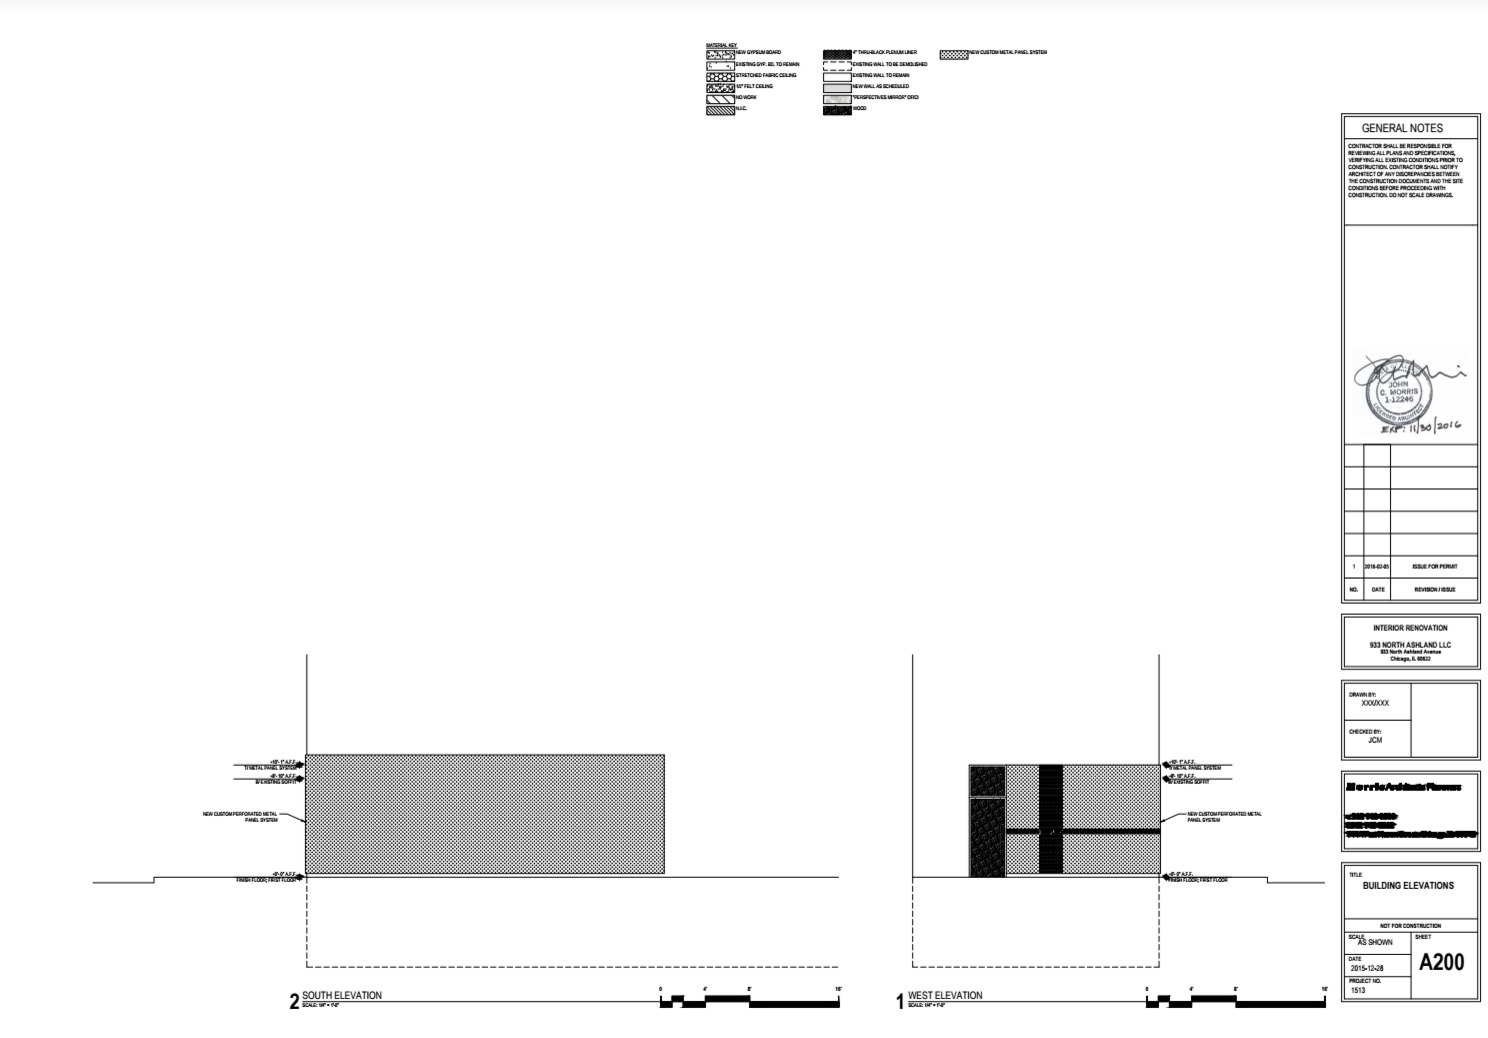
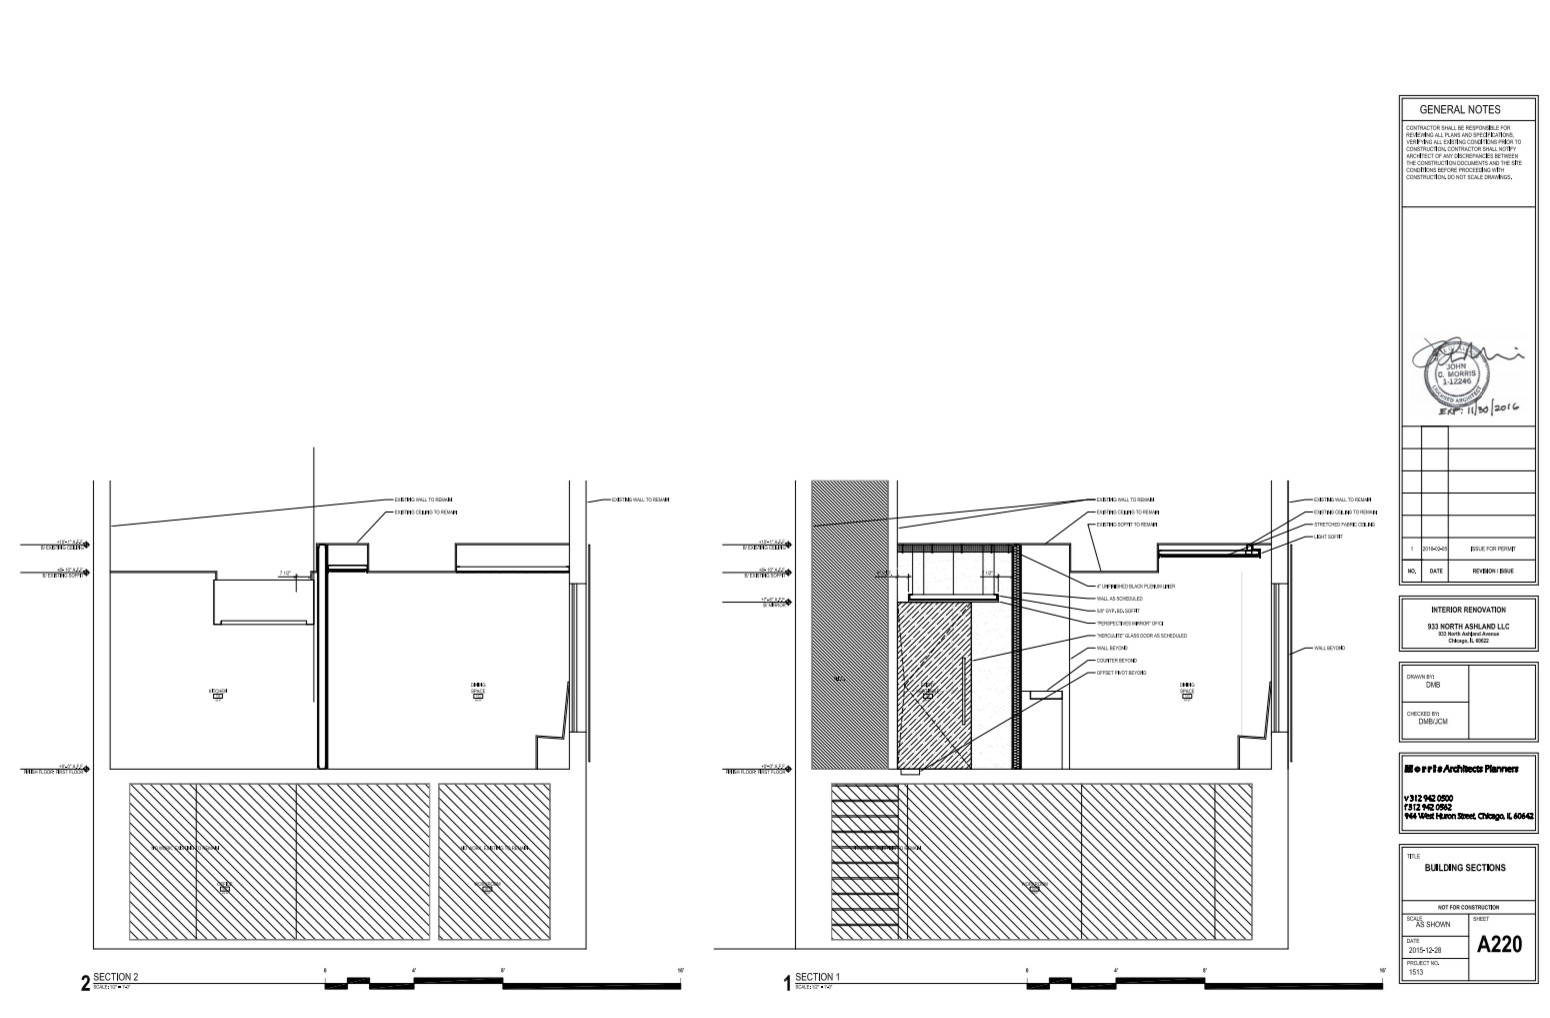
I went ahead and updated my own drawings as well:
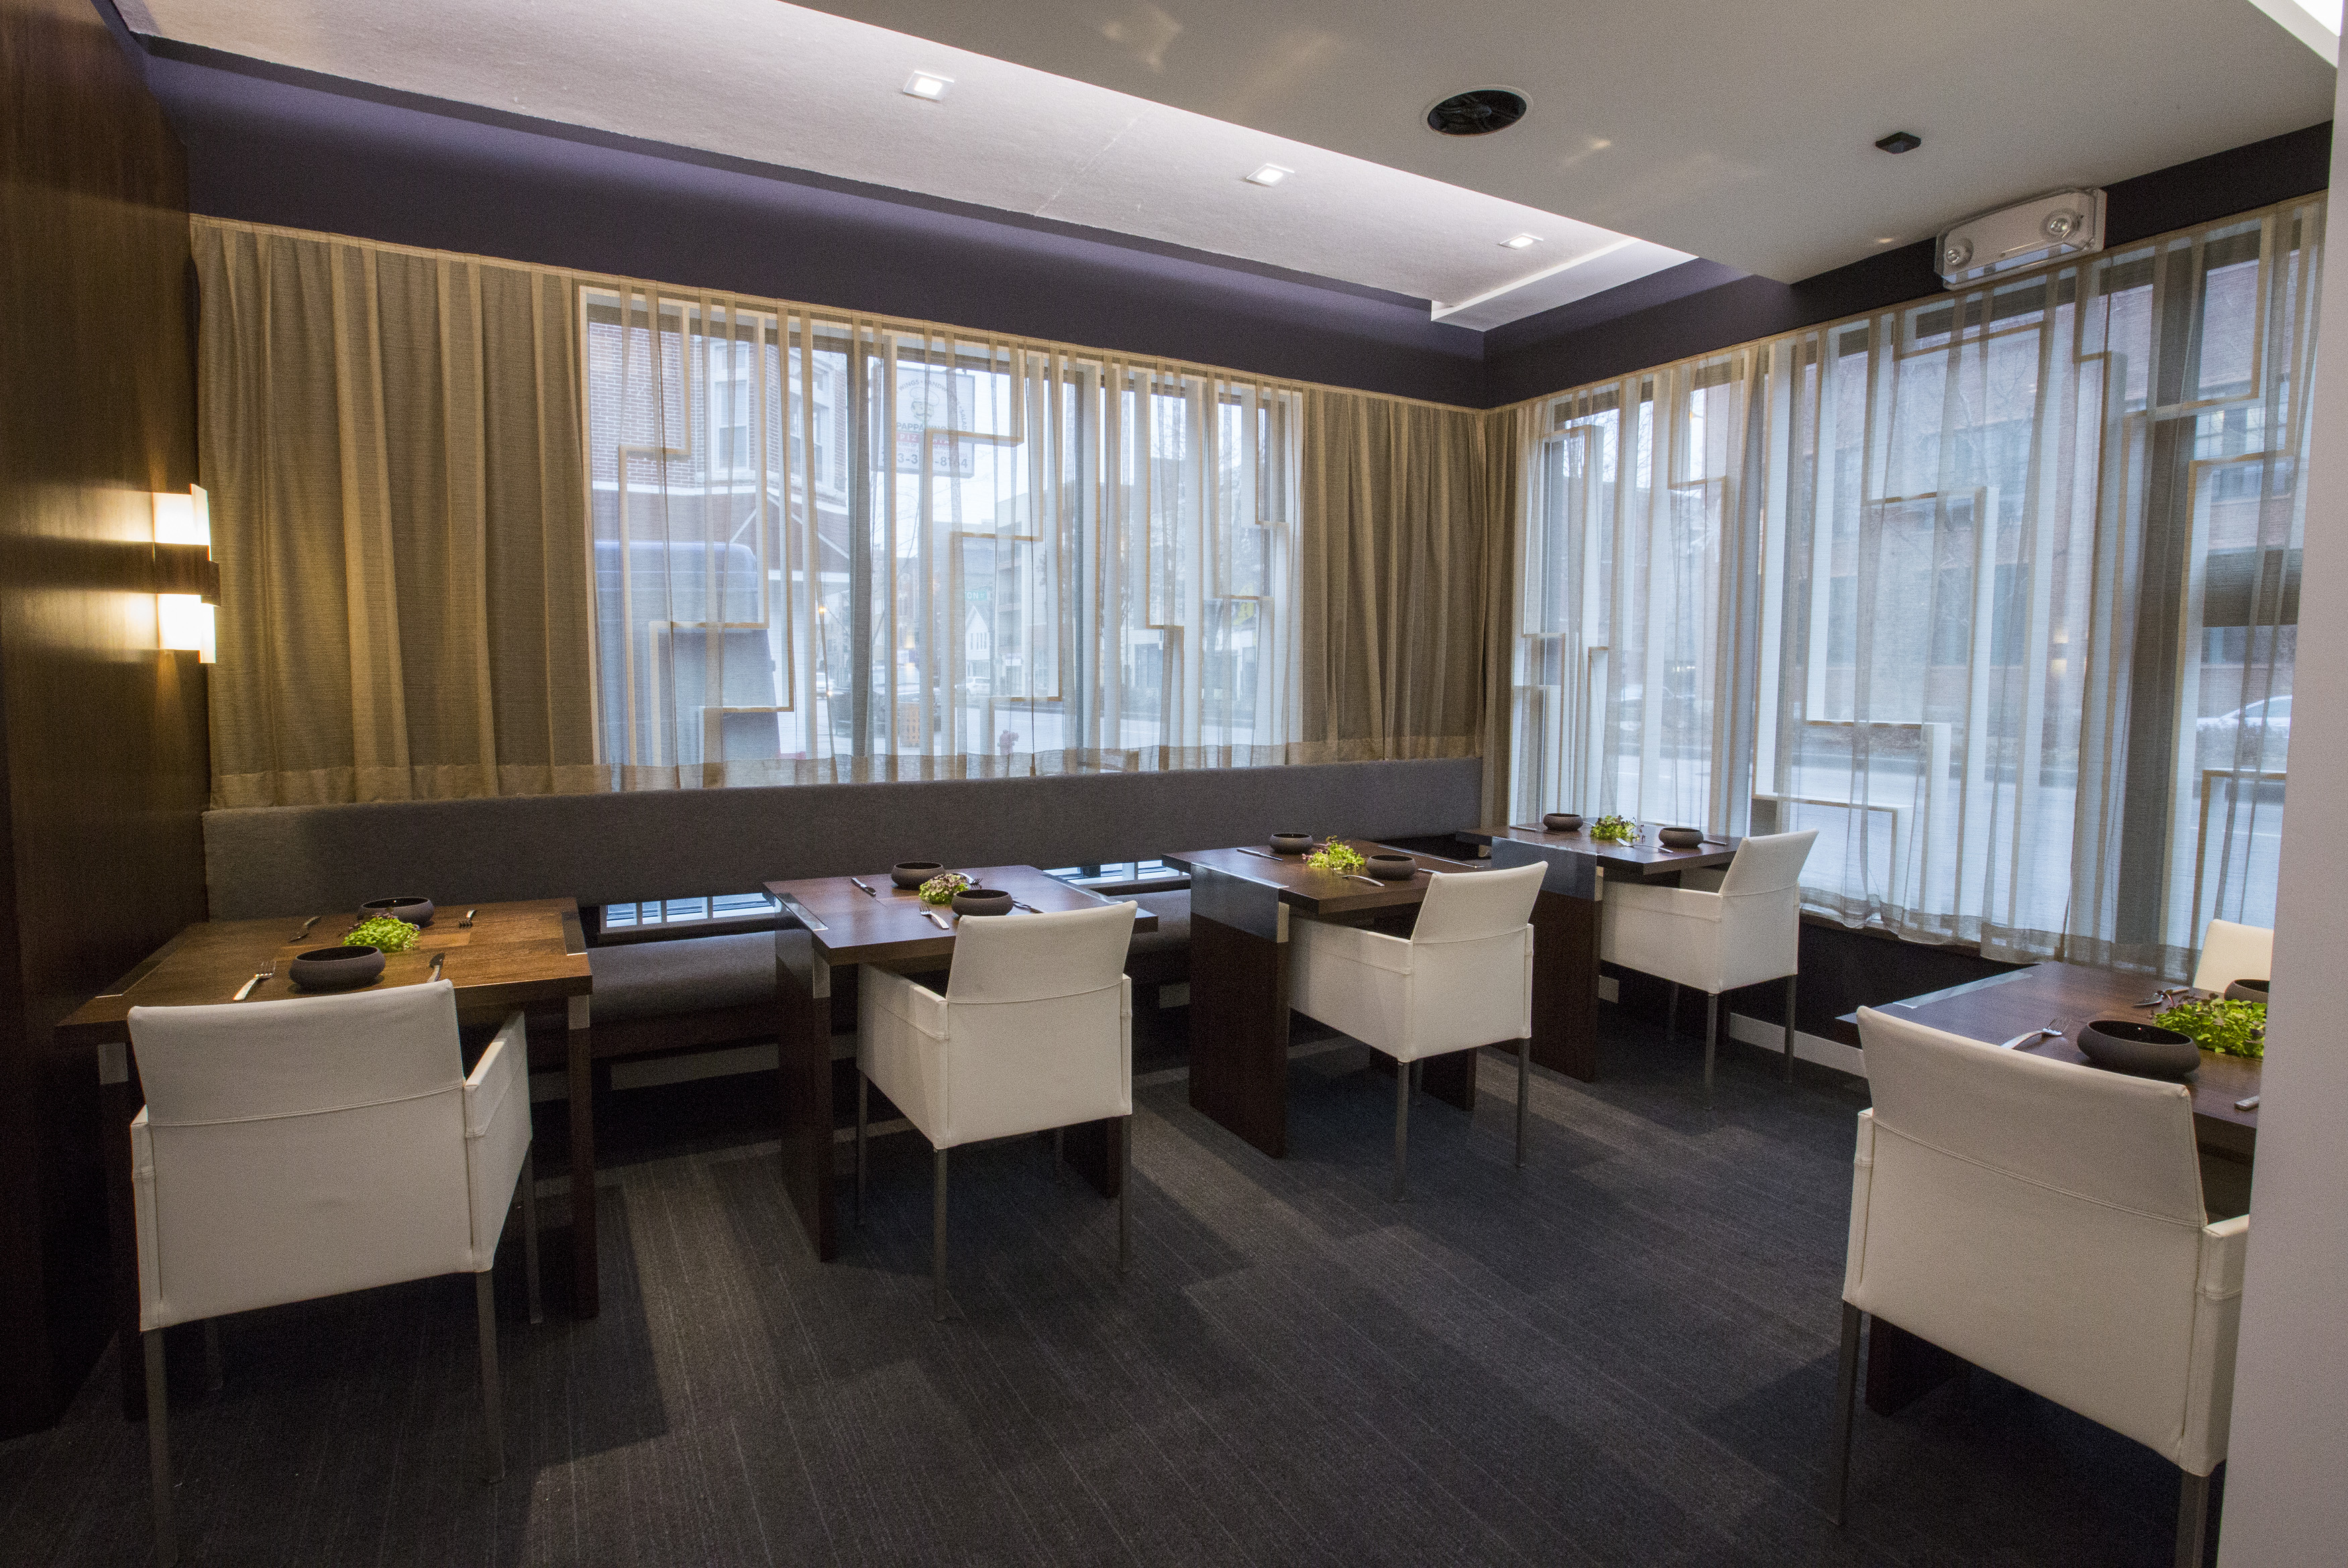
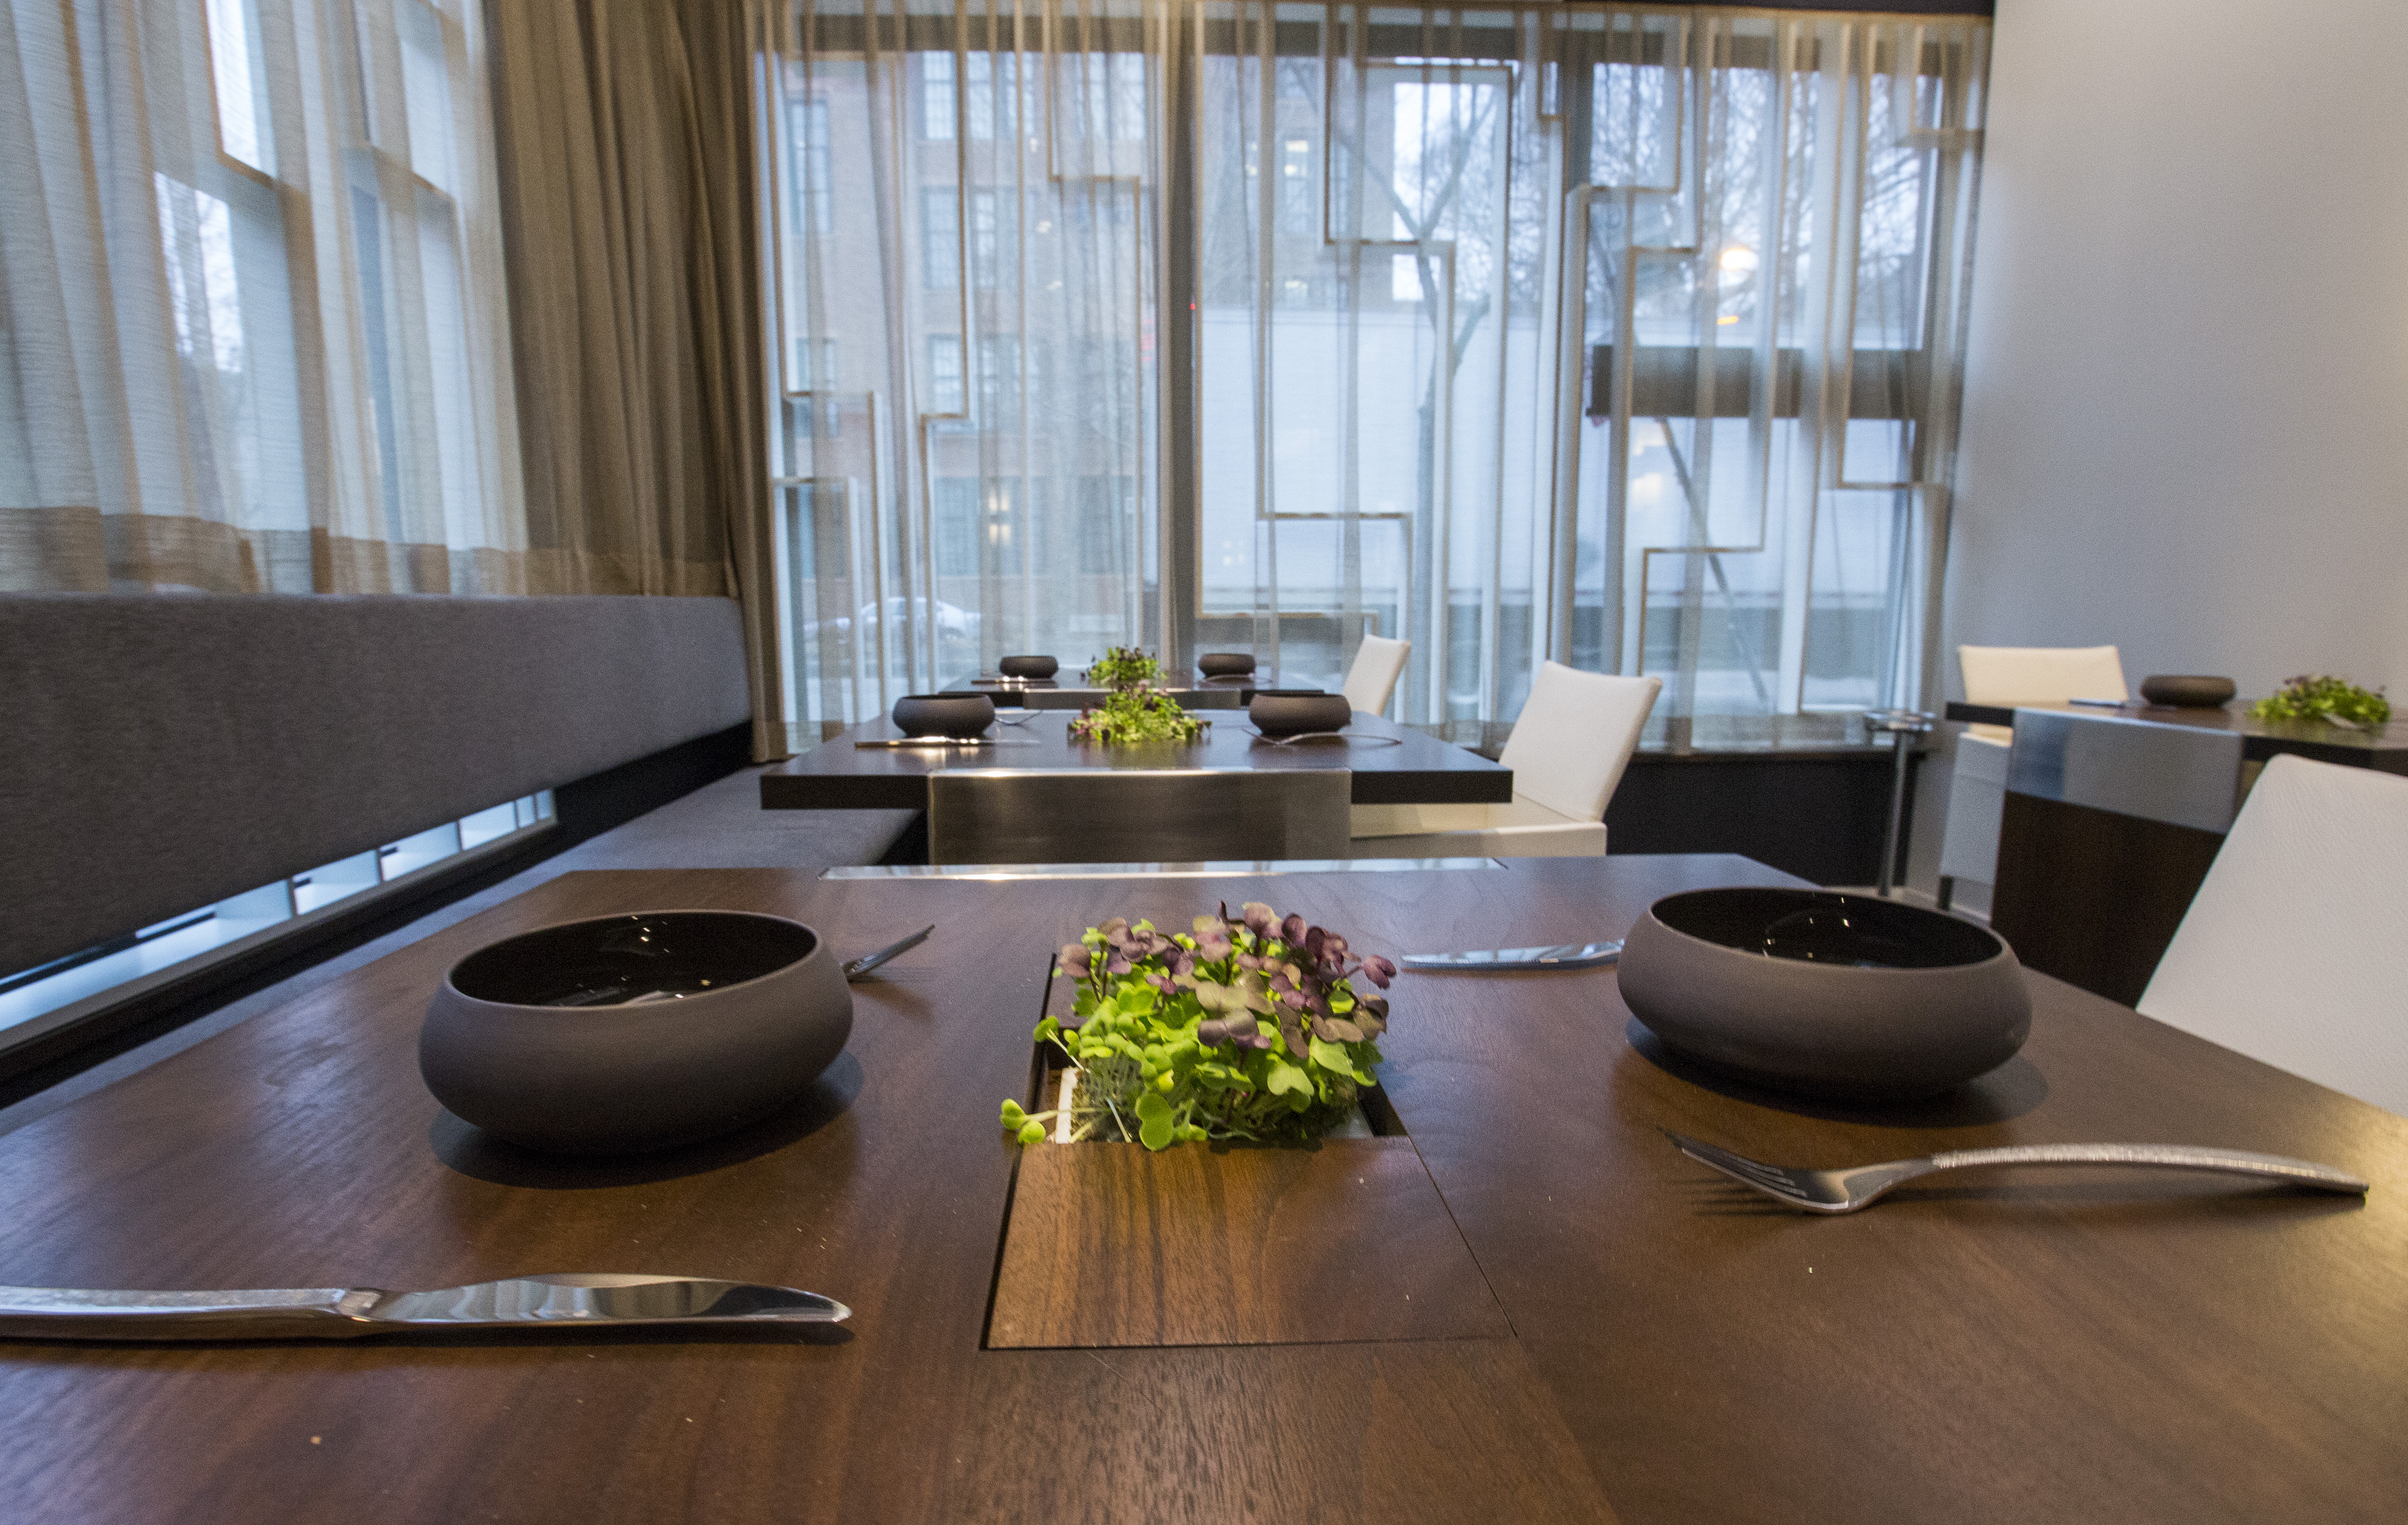
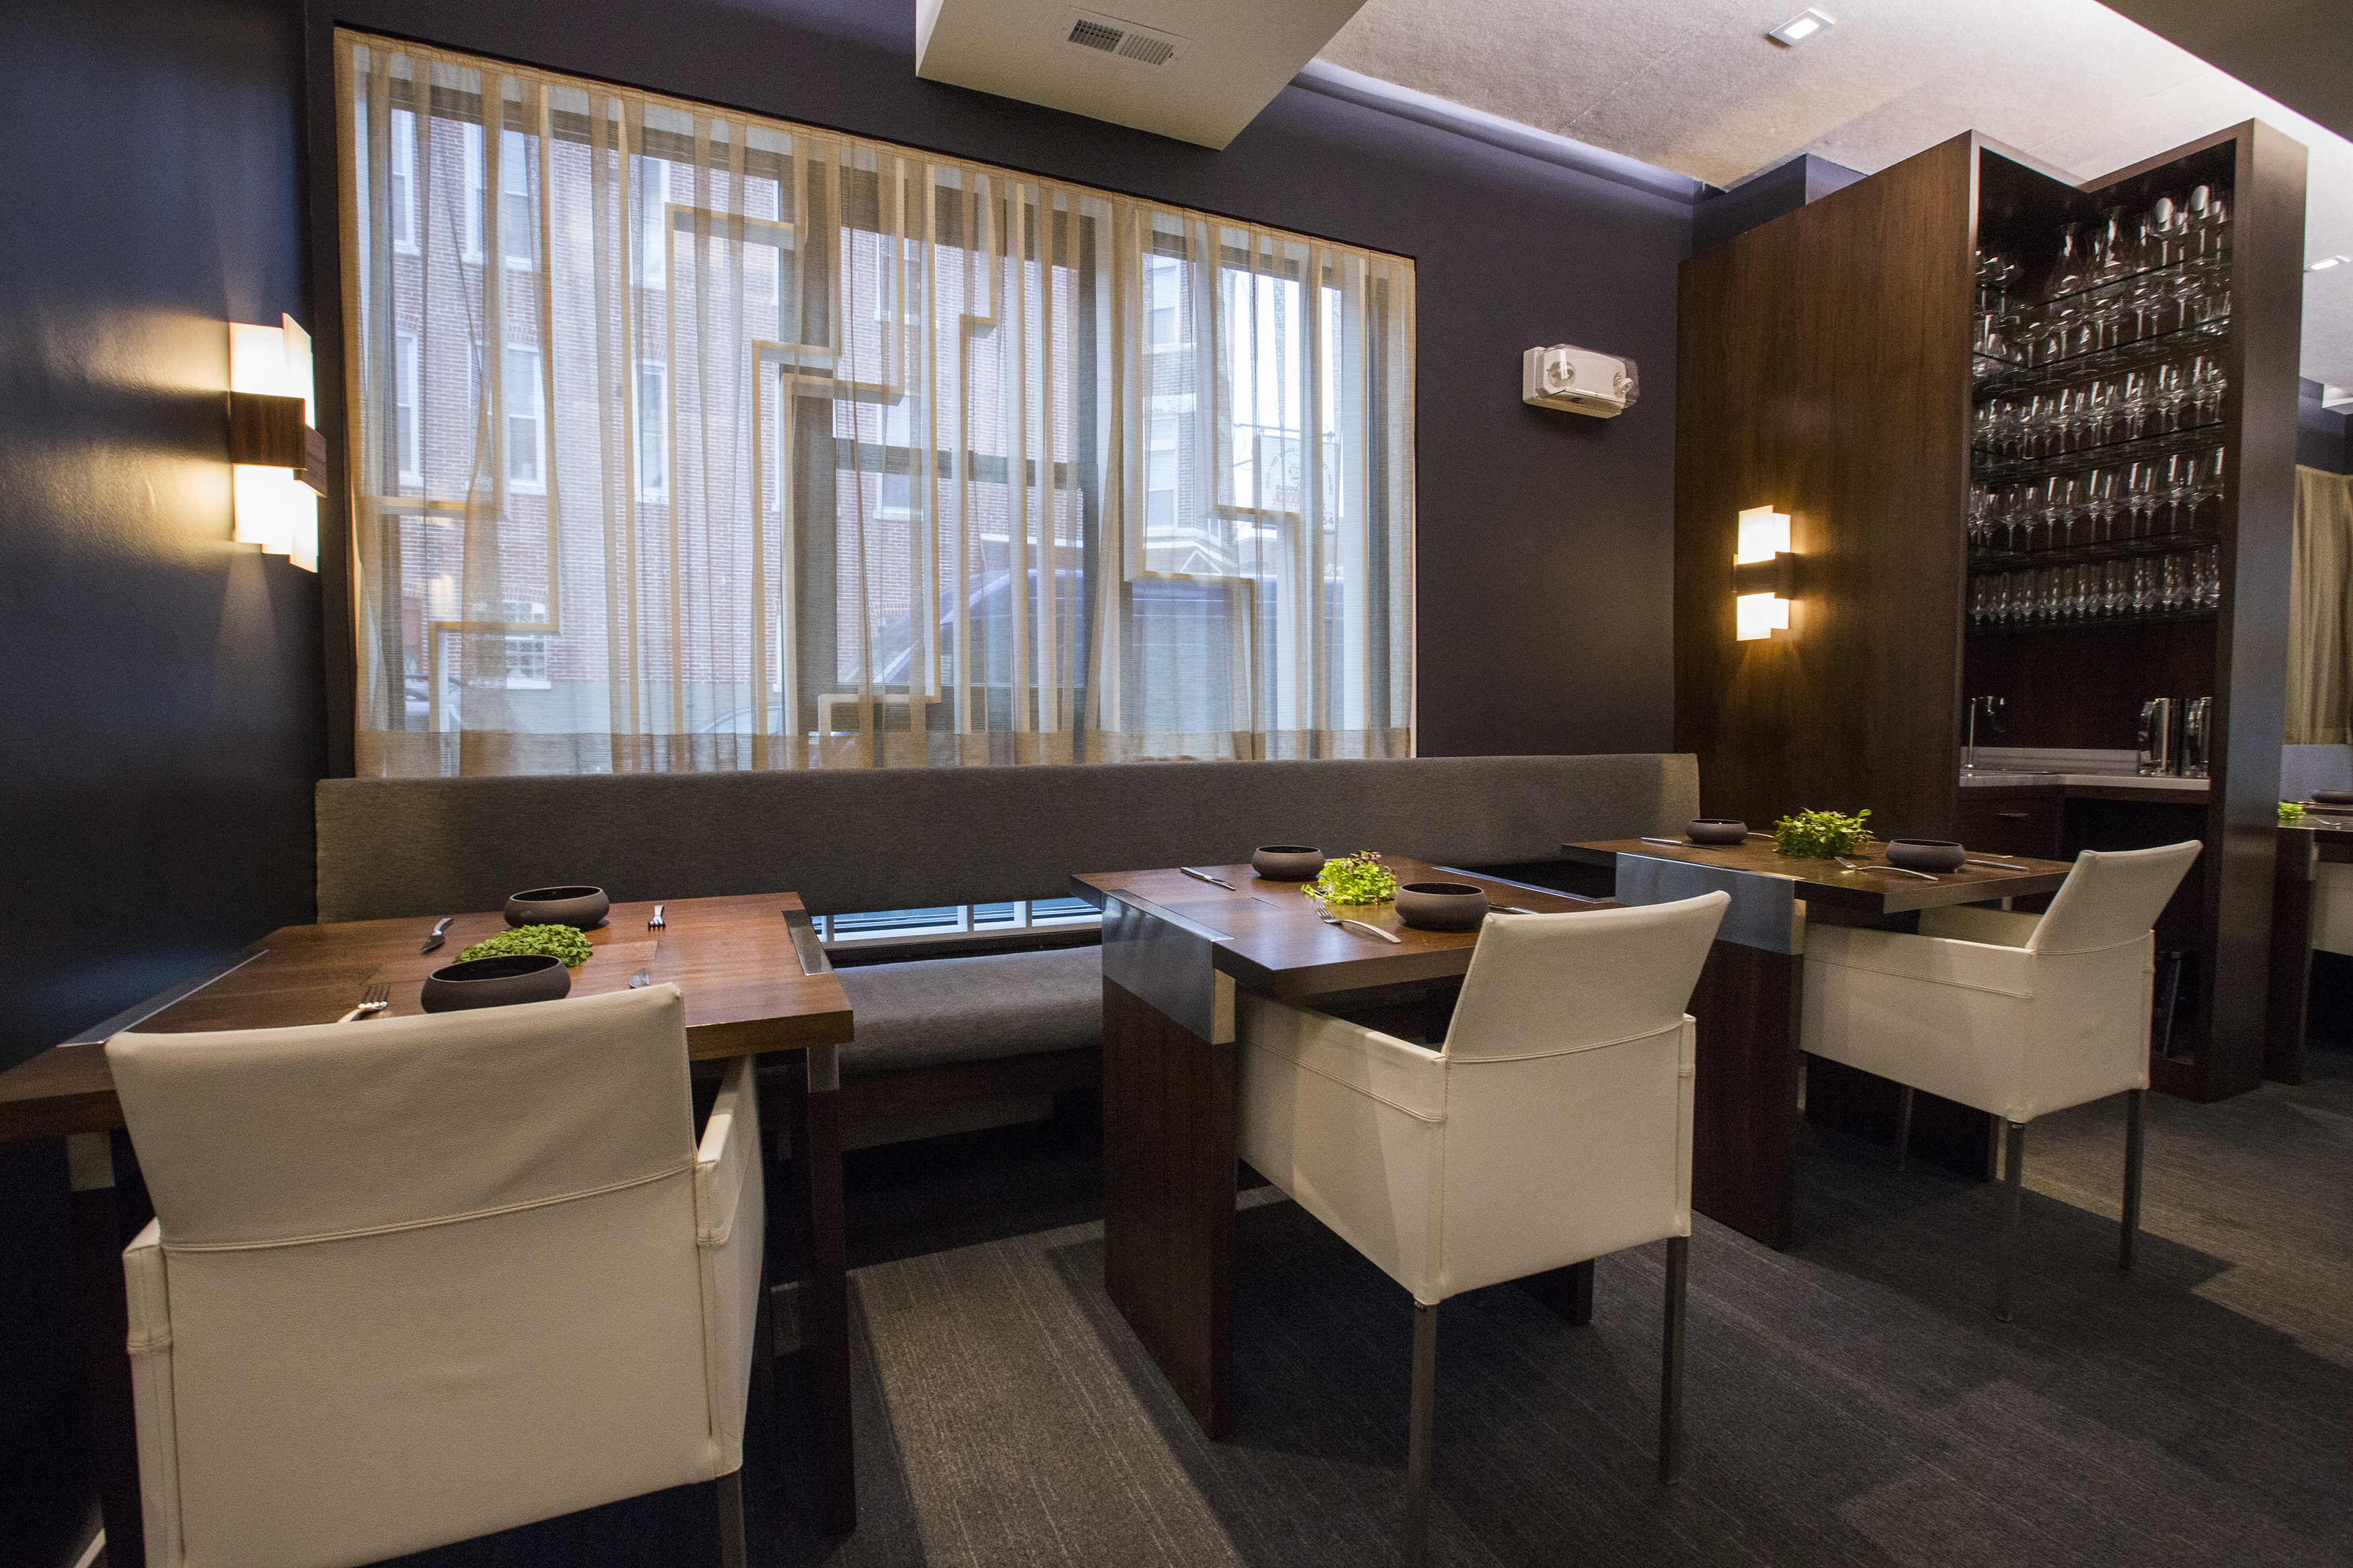
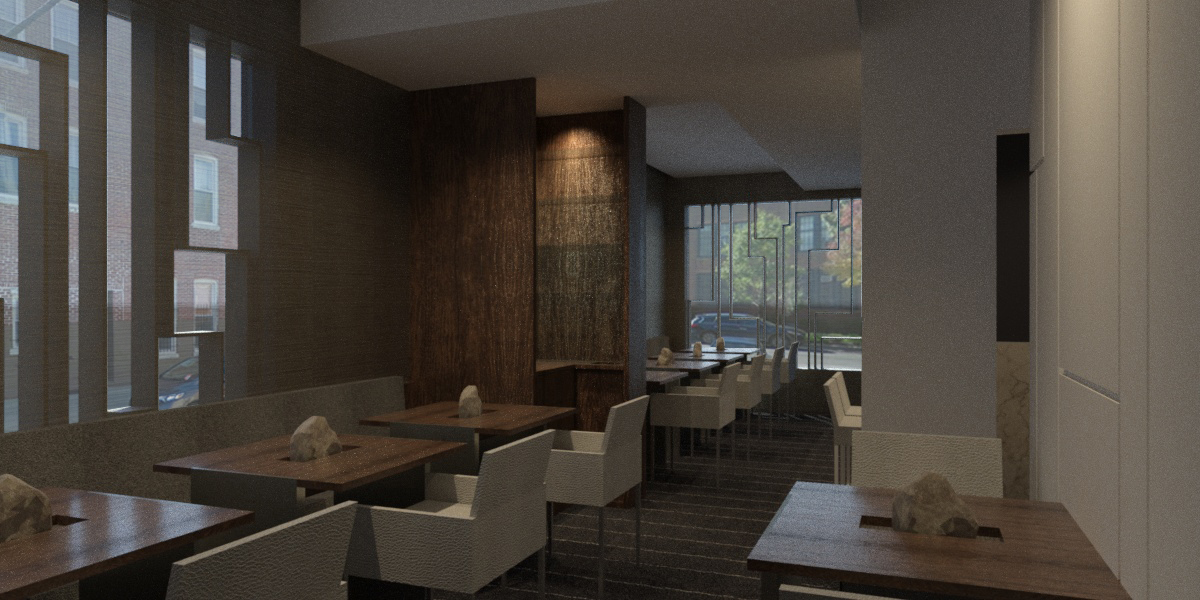
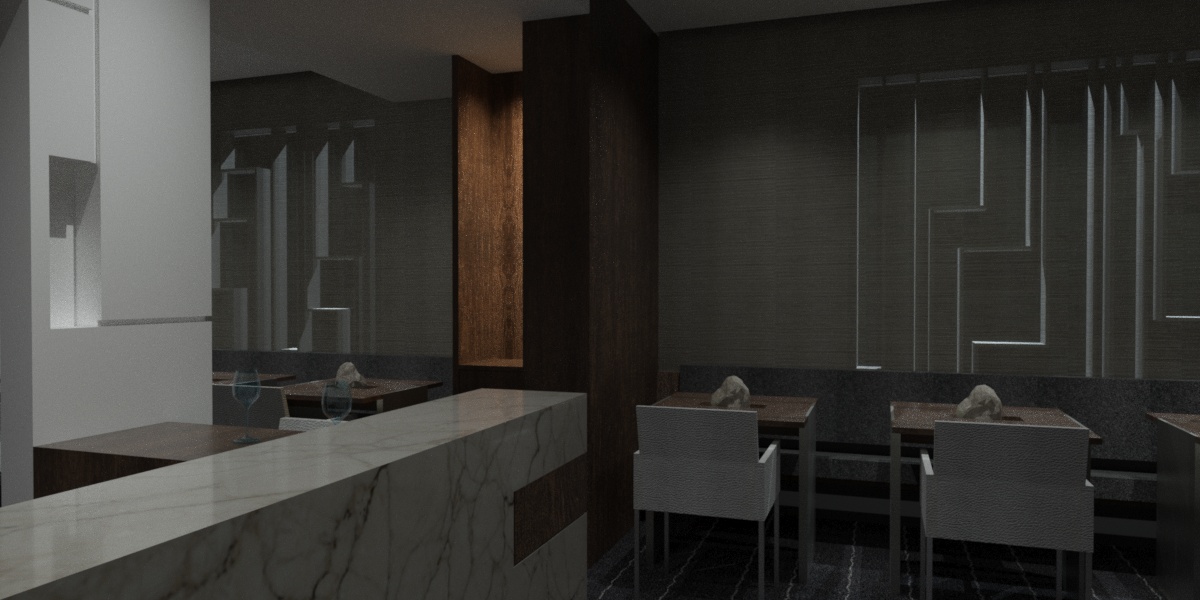
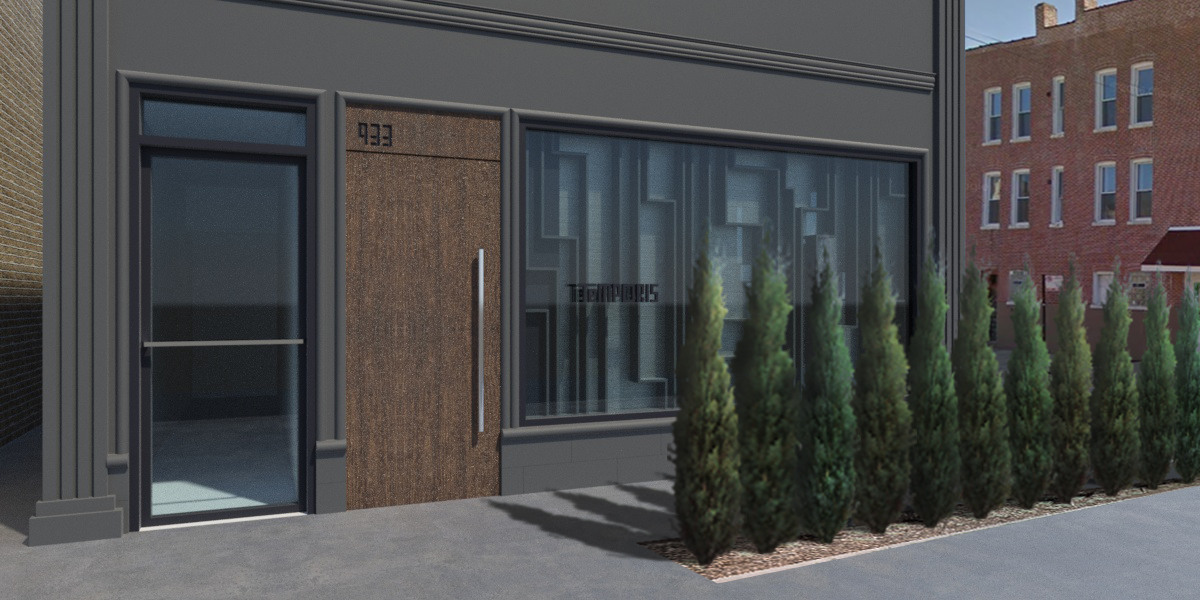
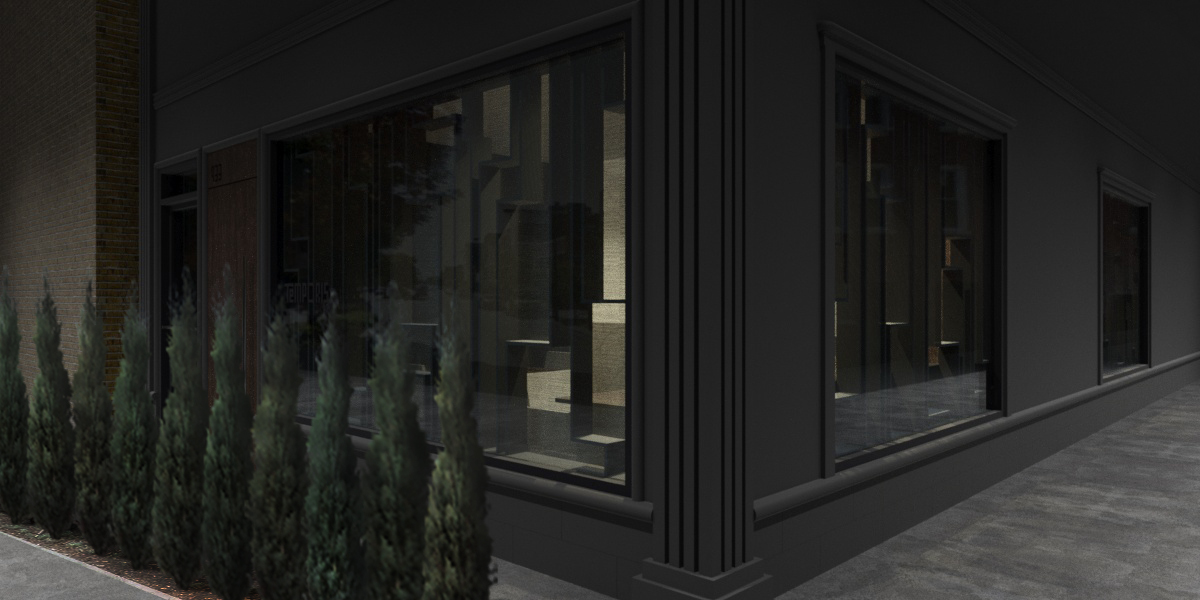
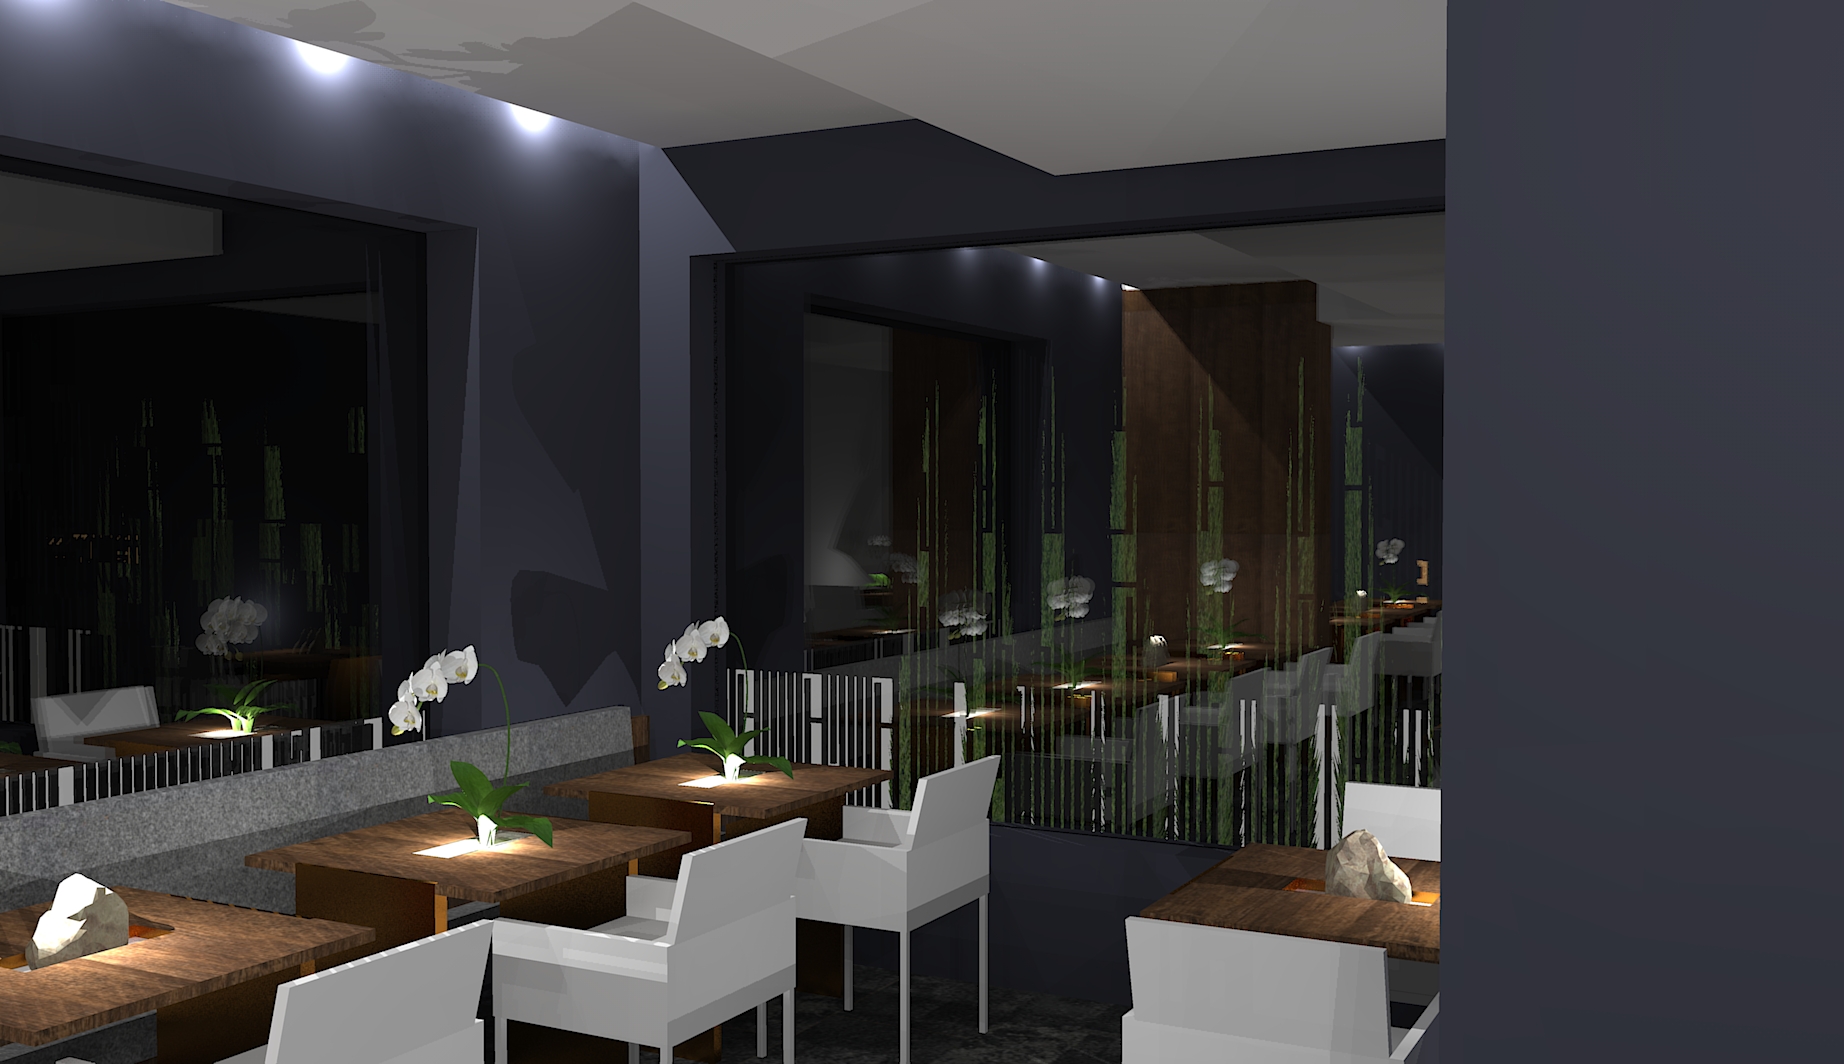
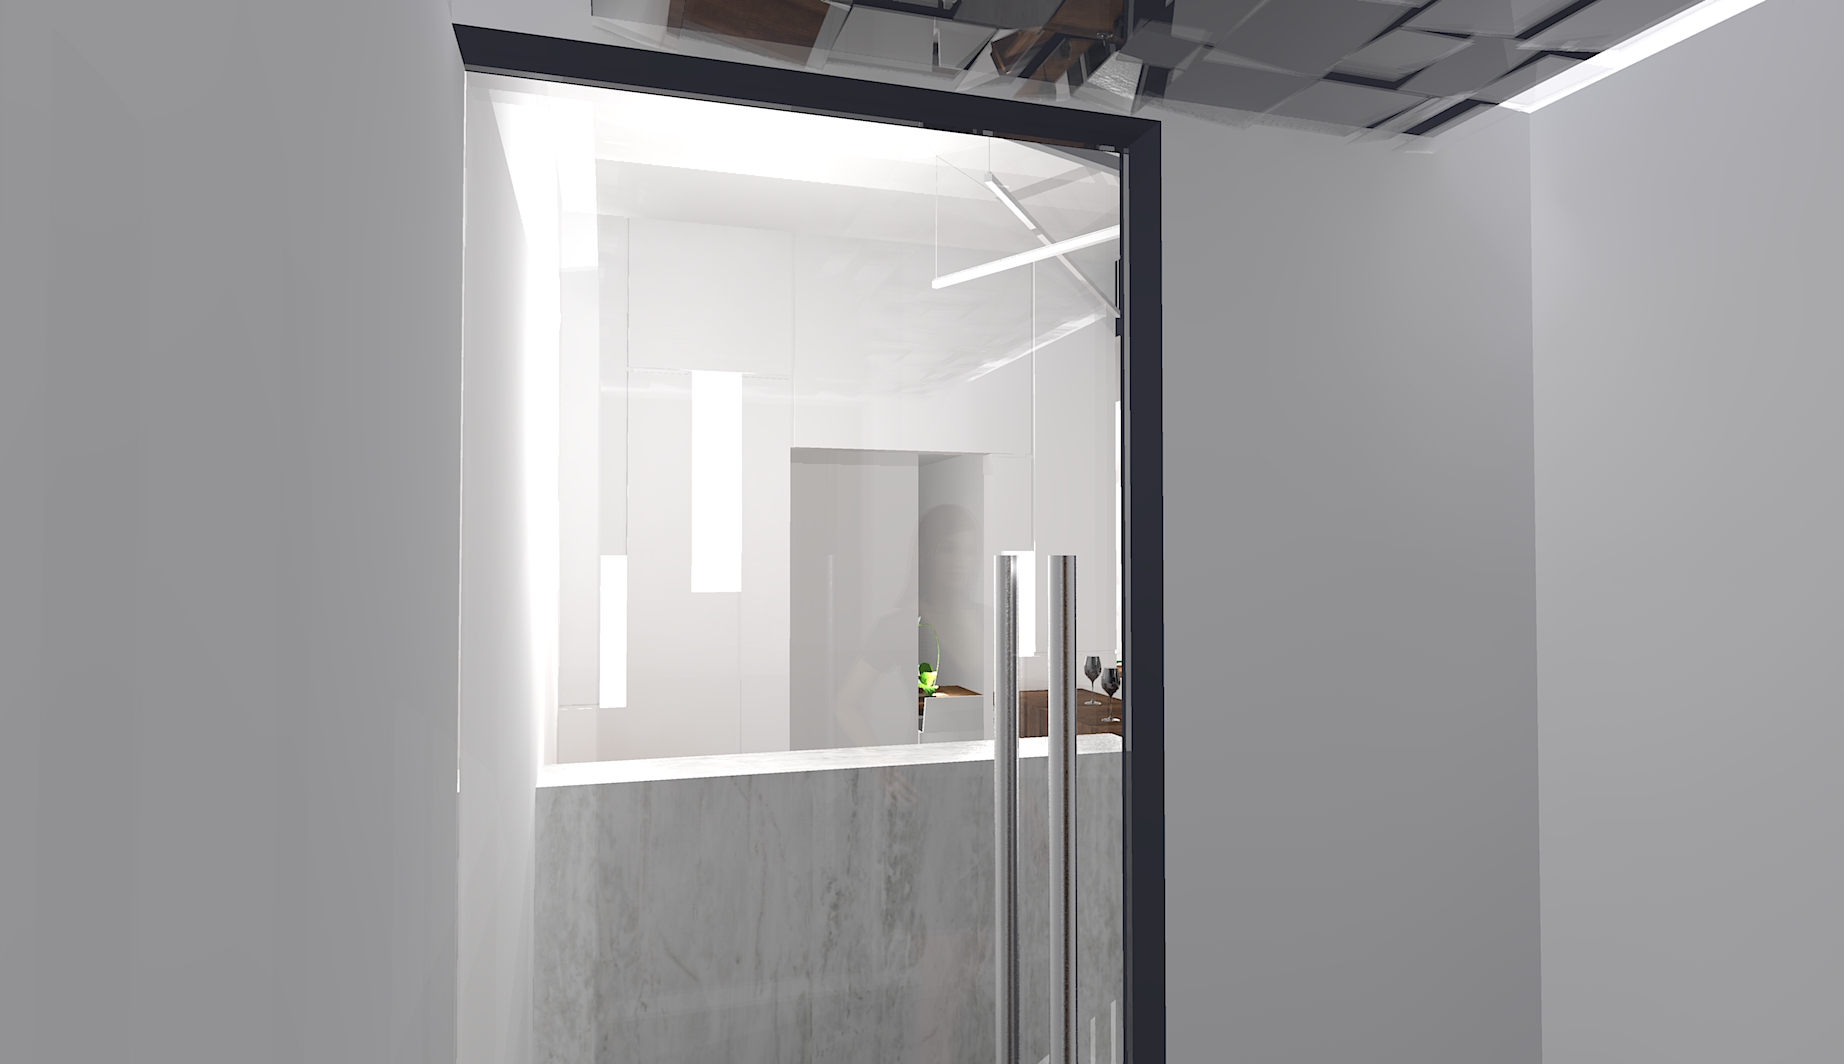
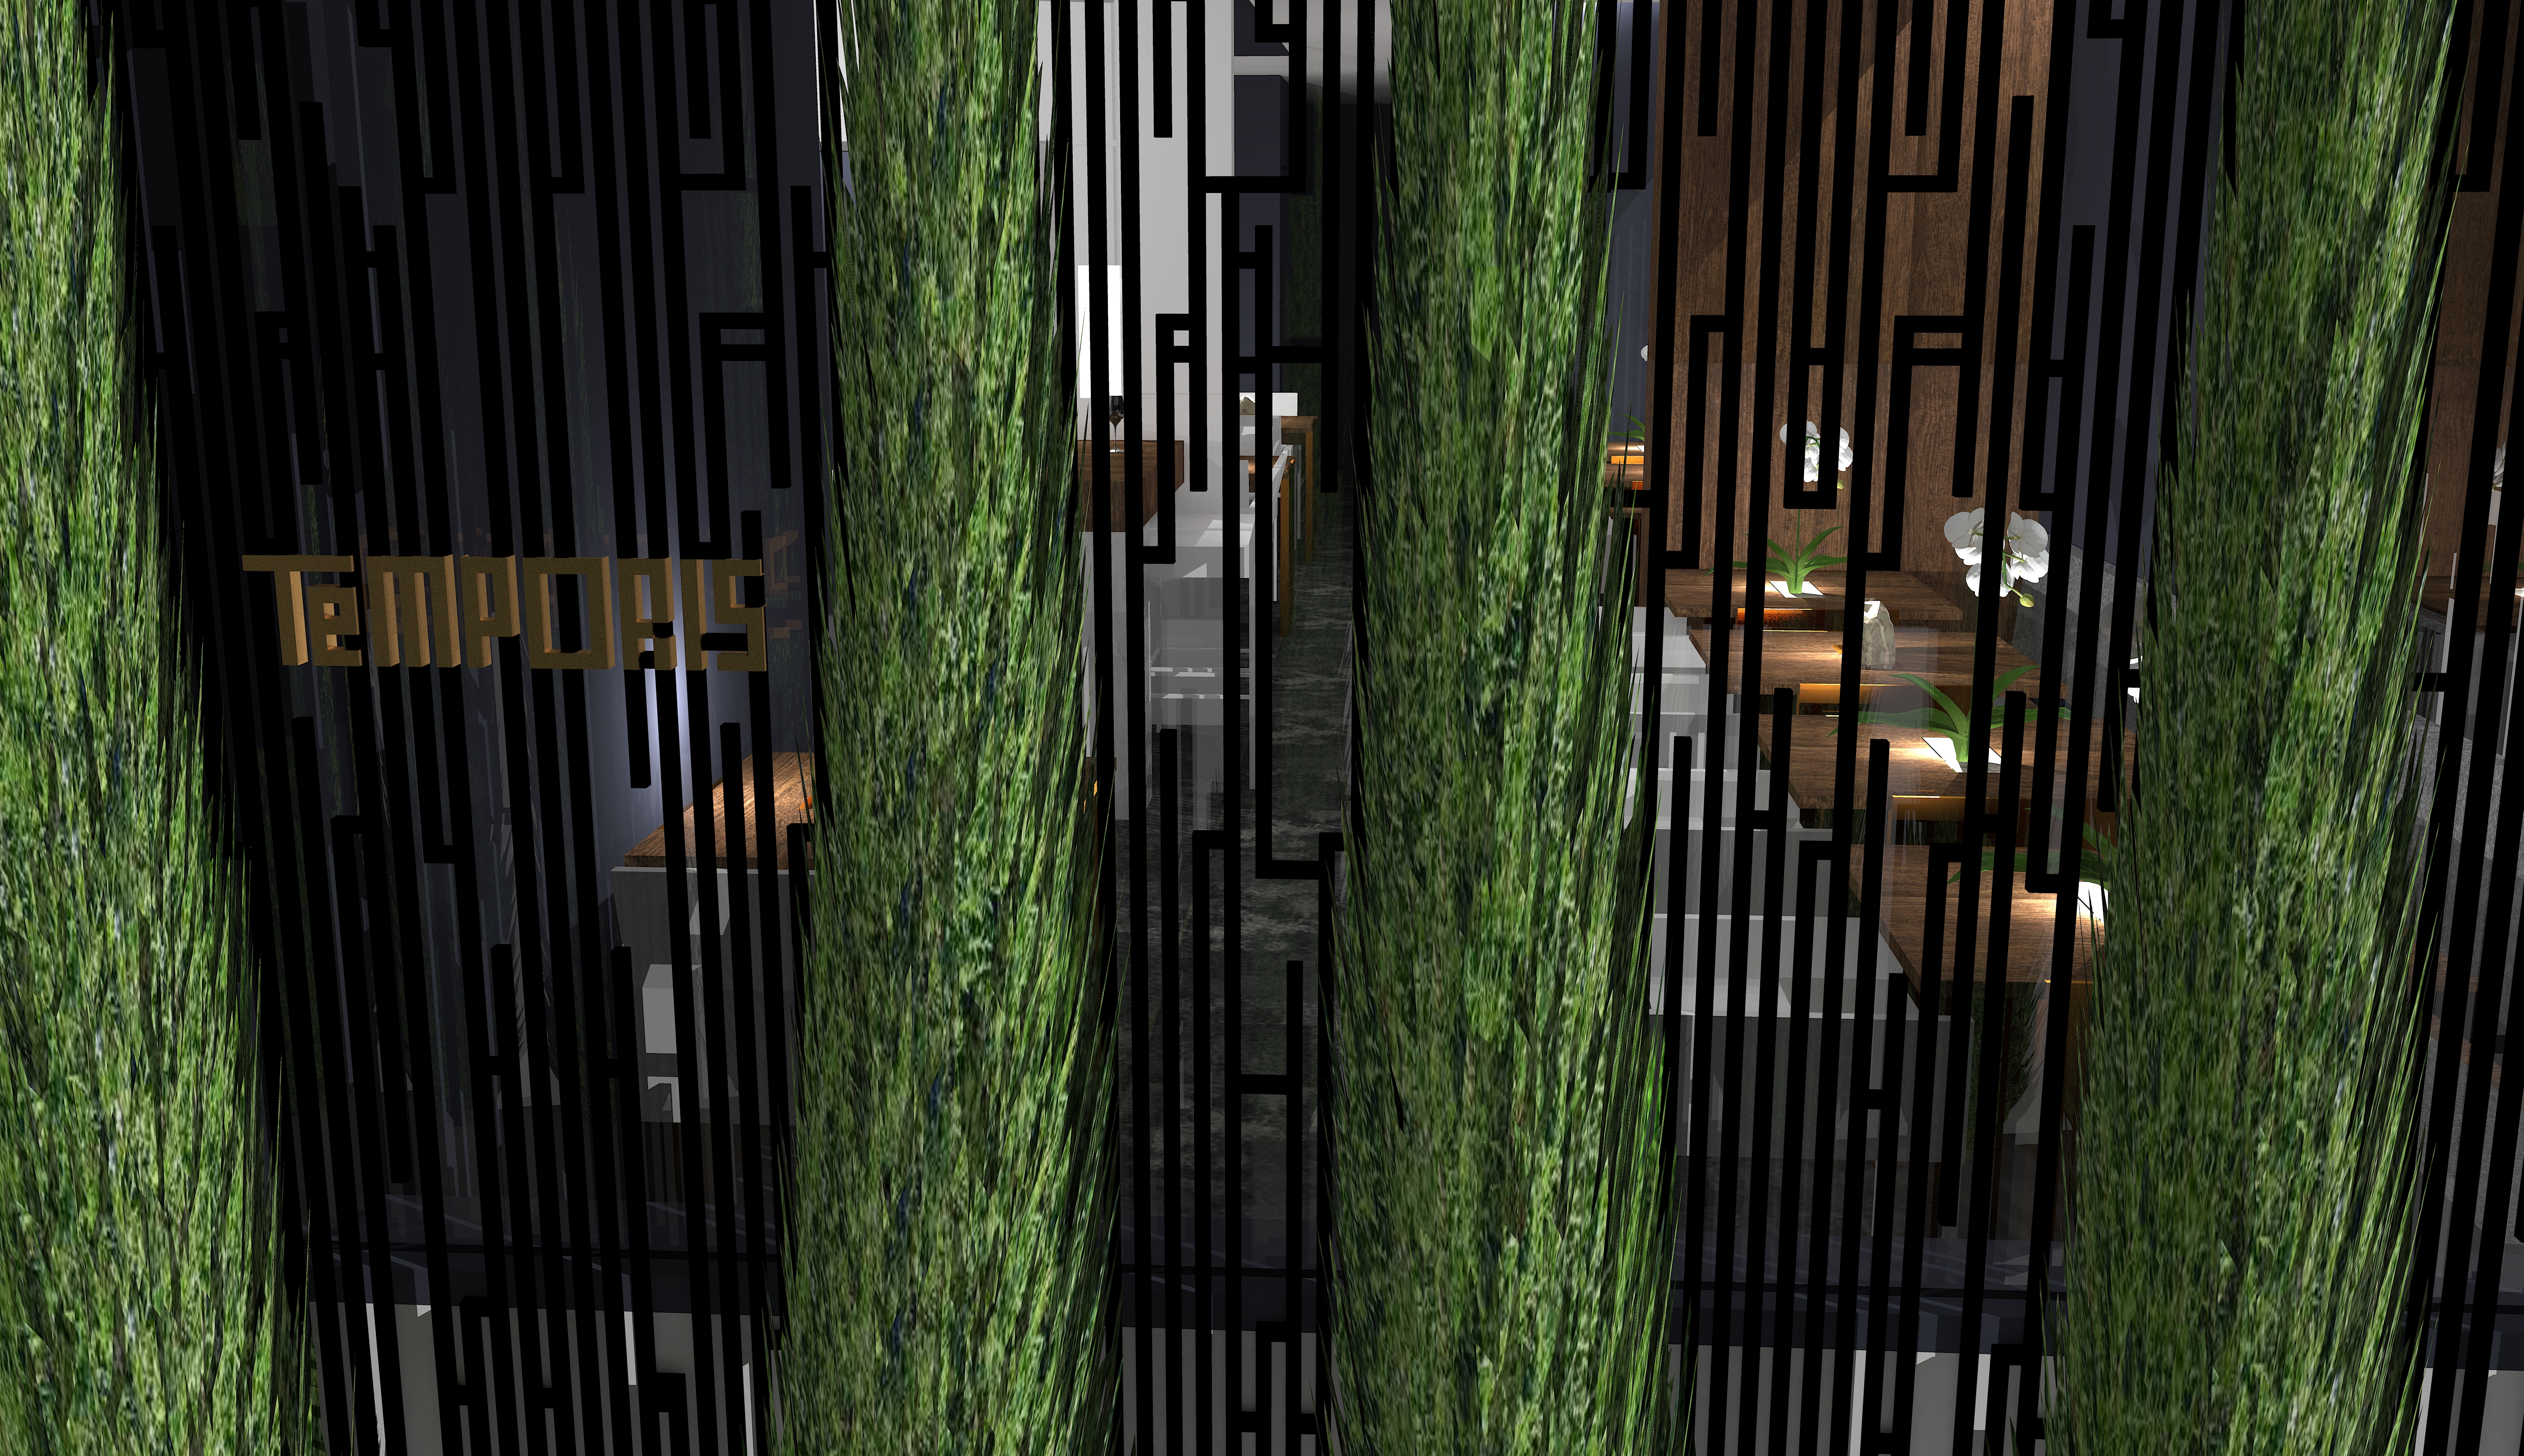
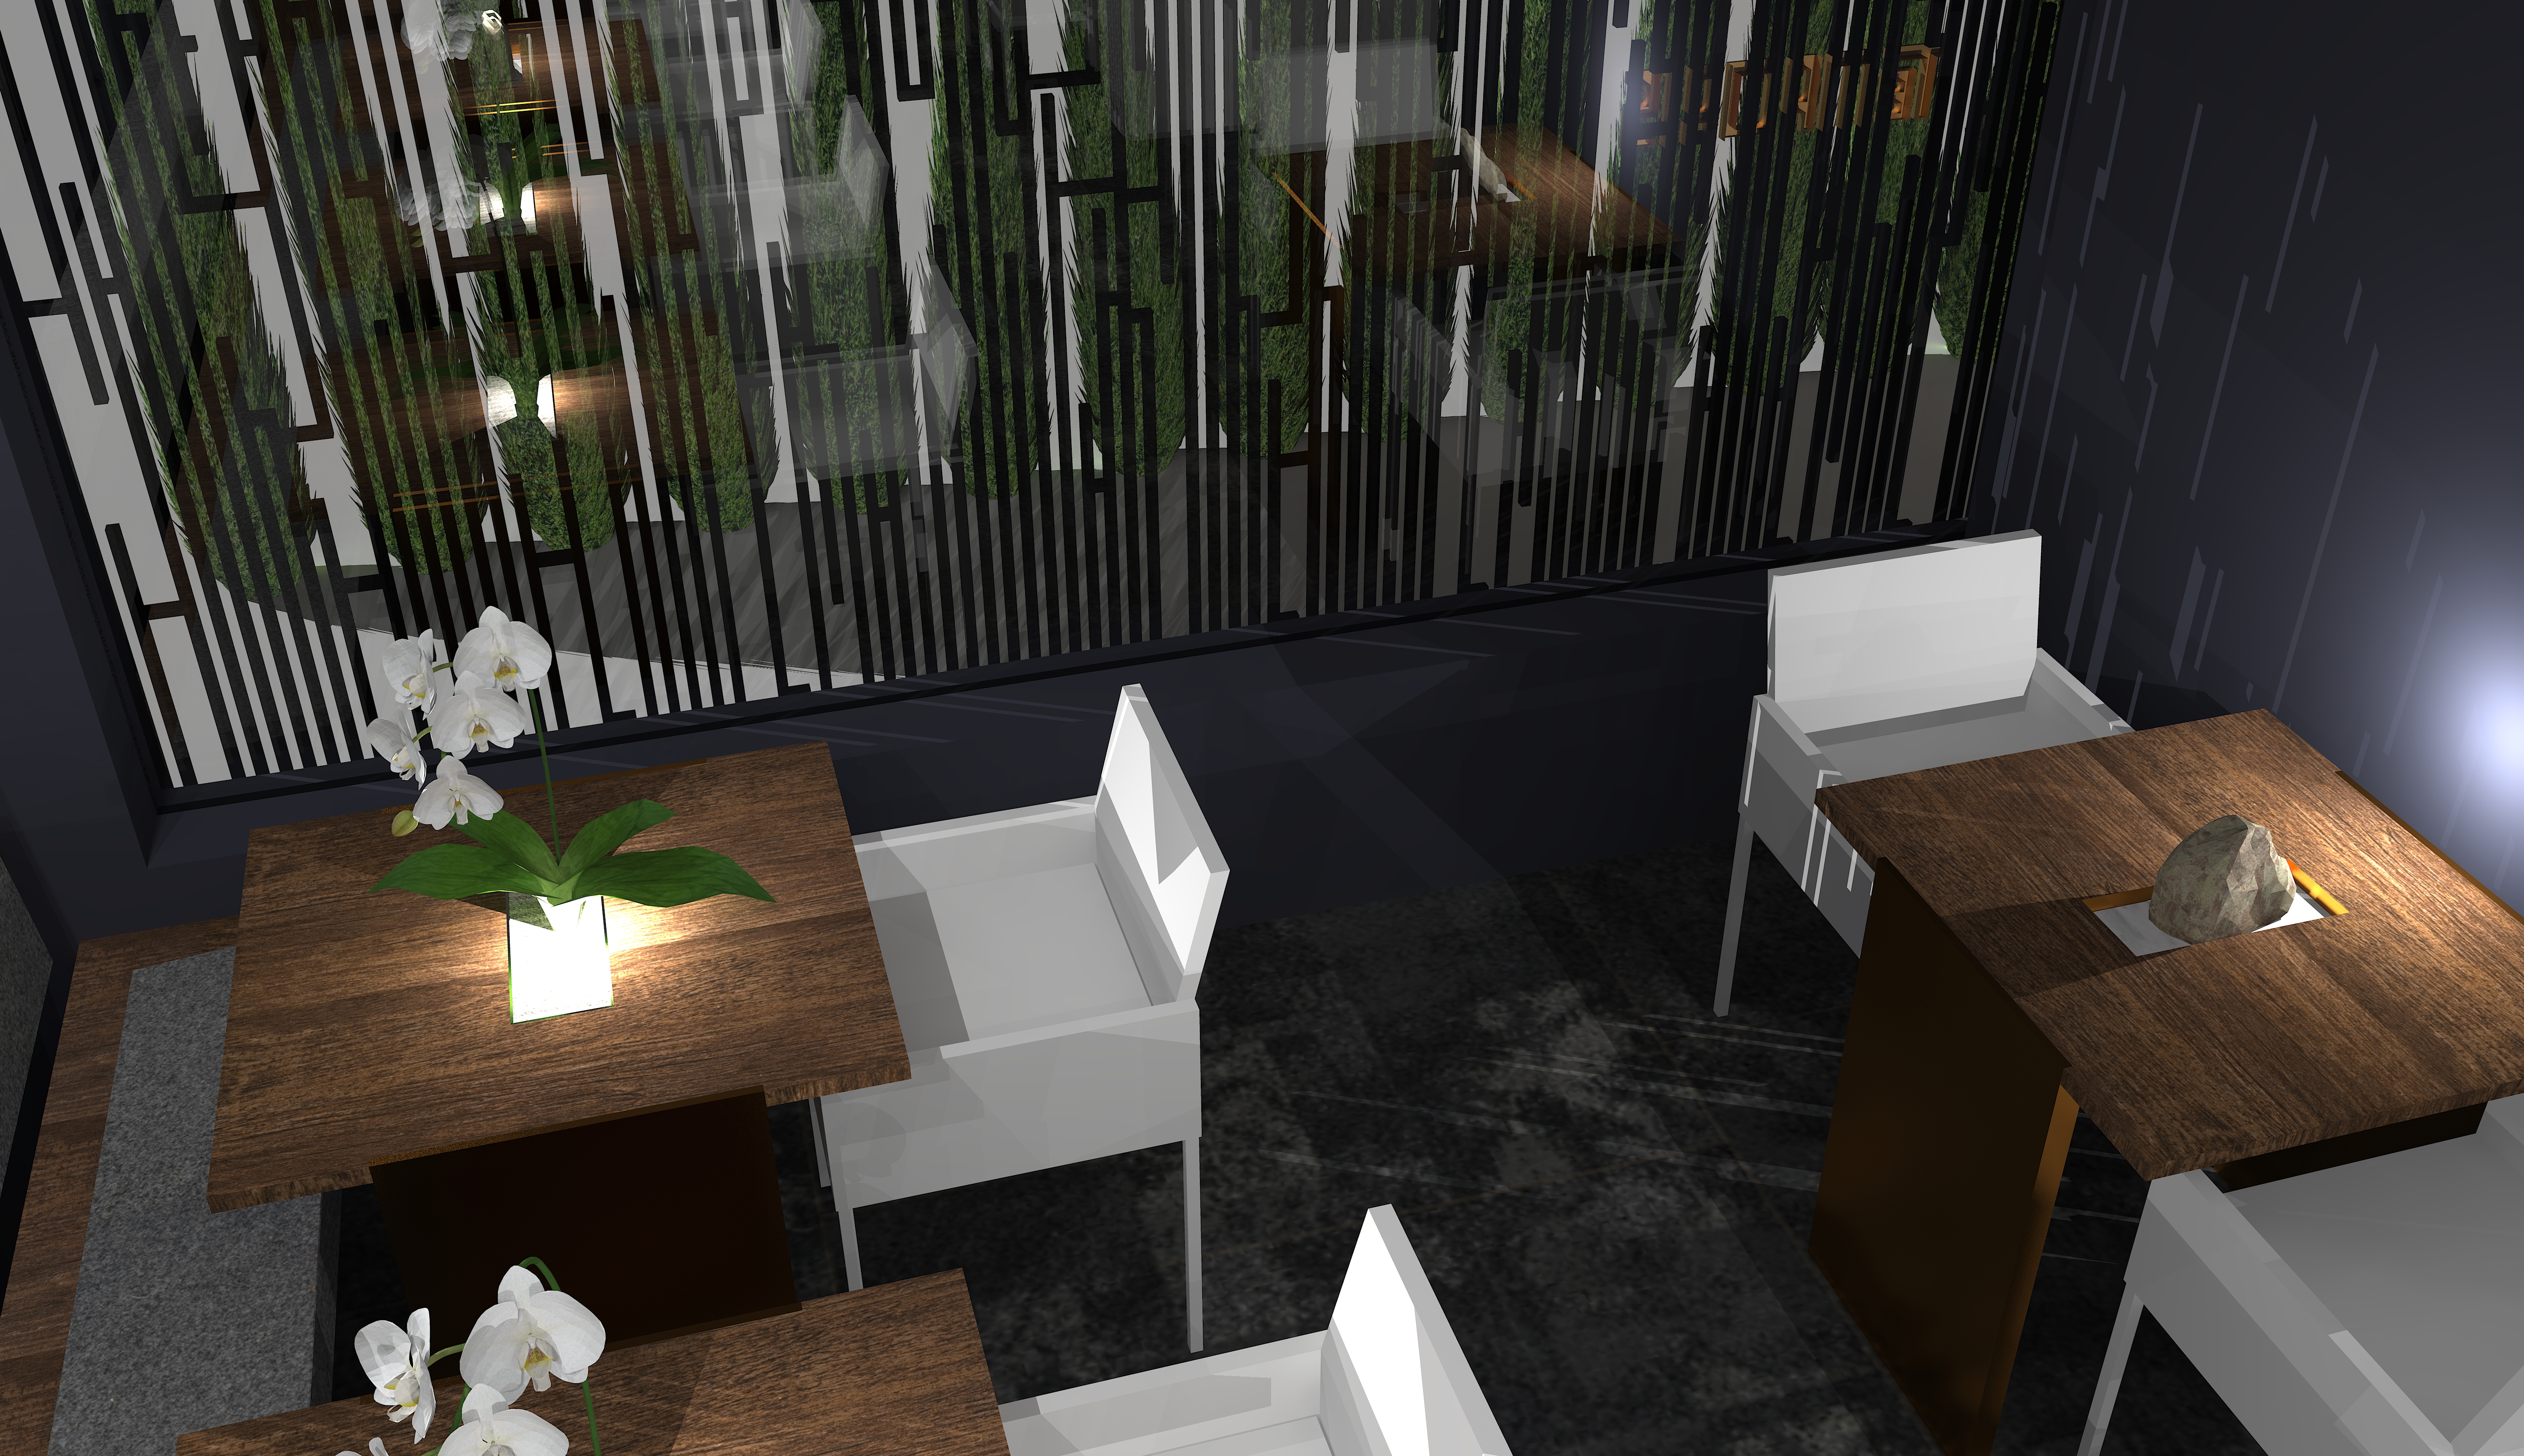
Here are the newest renderings:
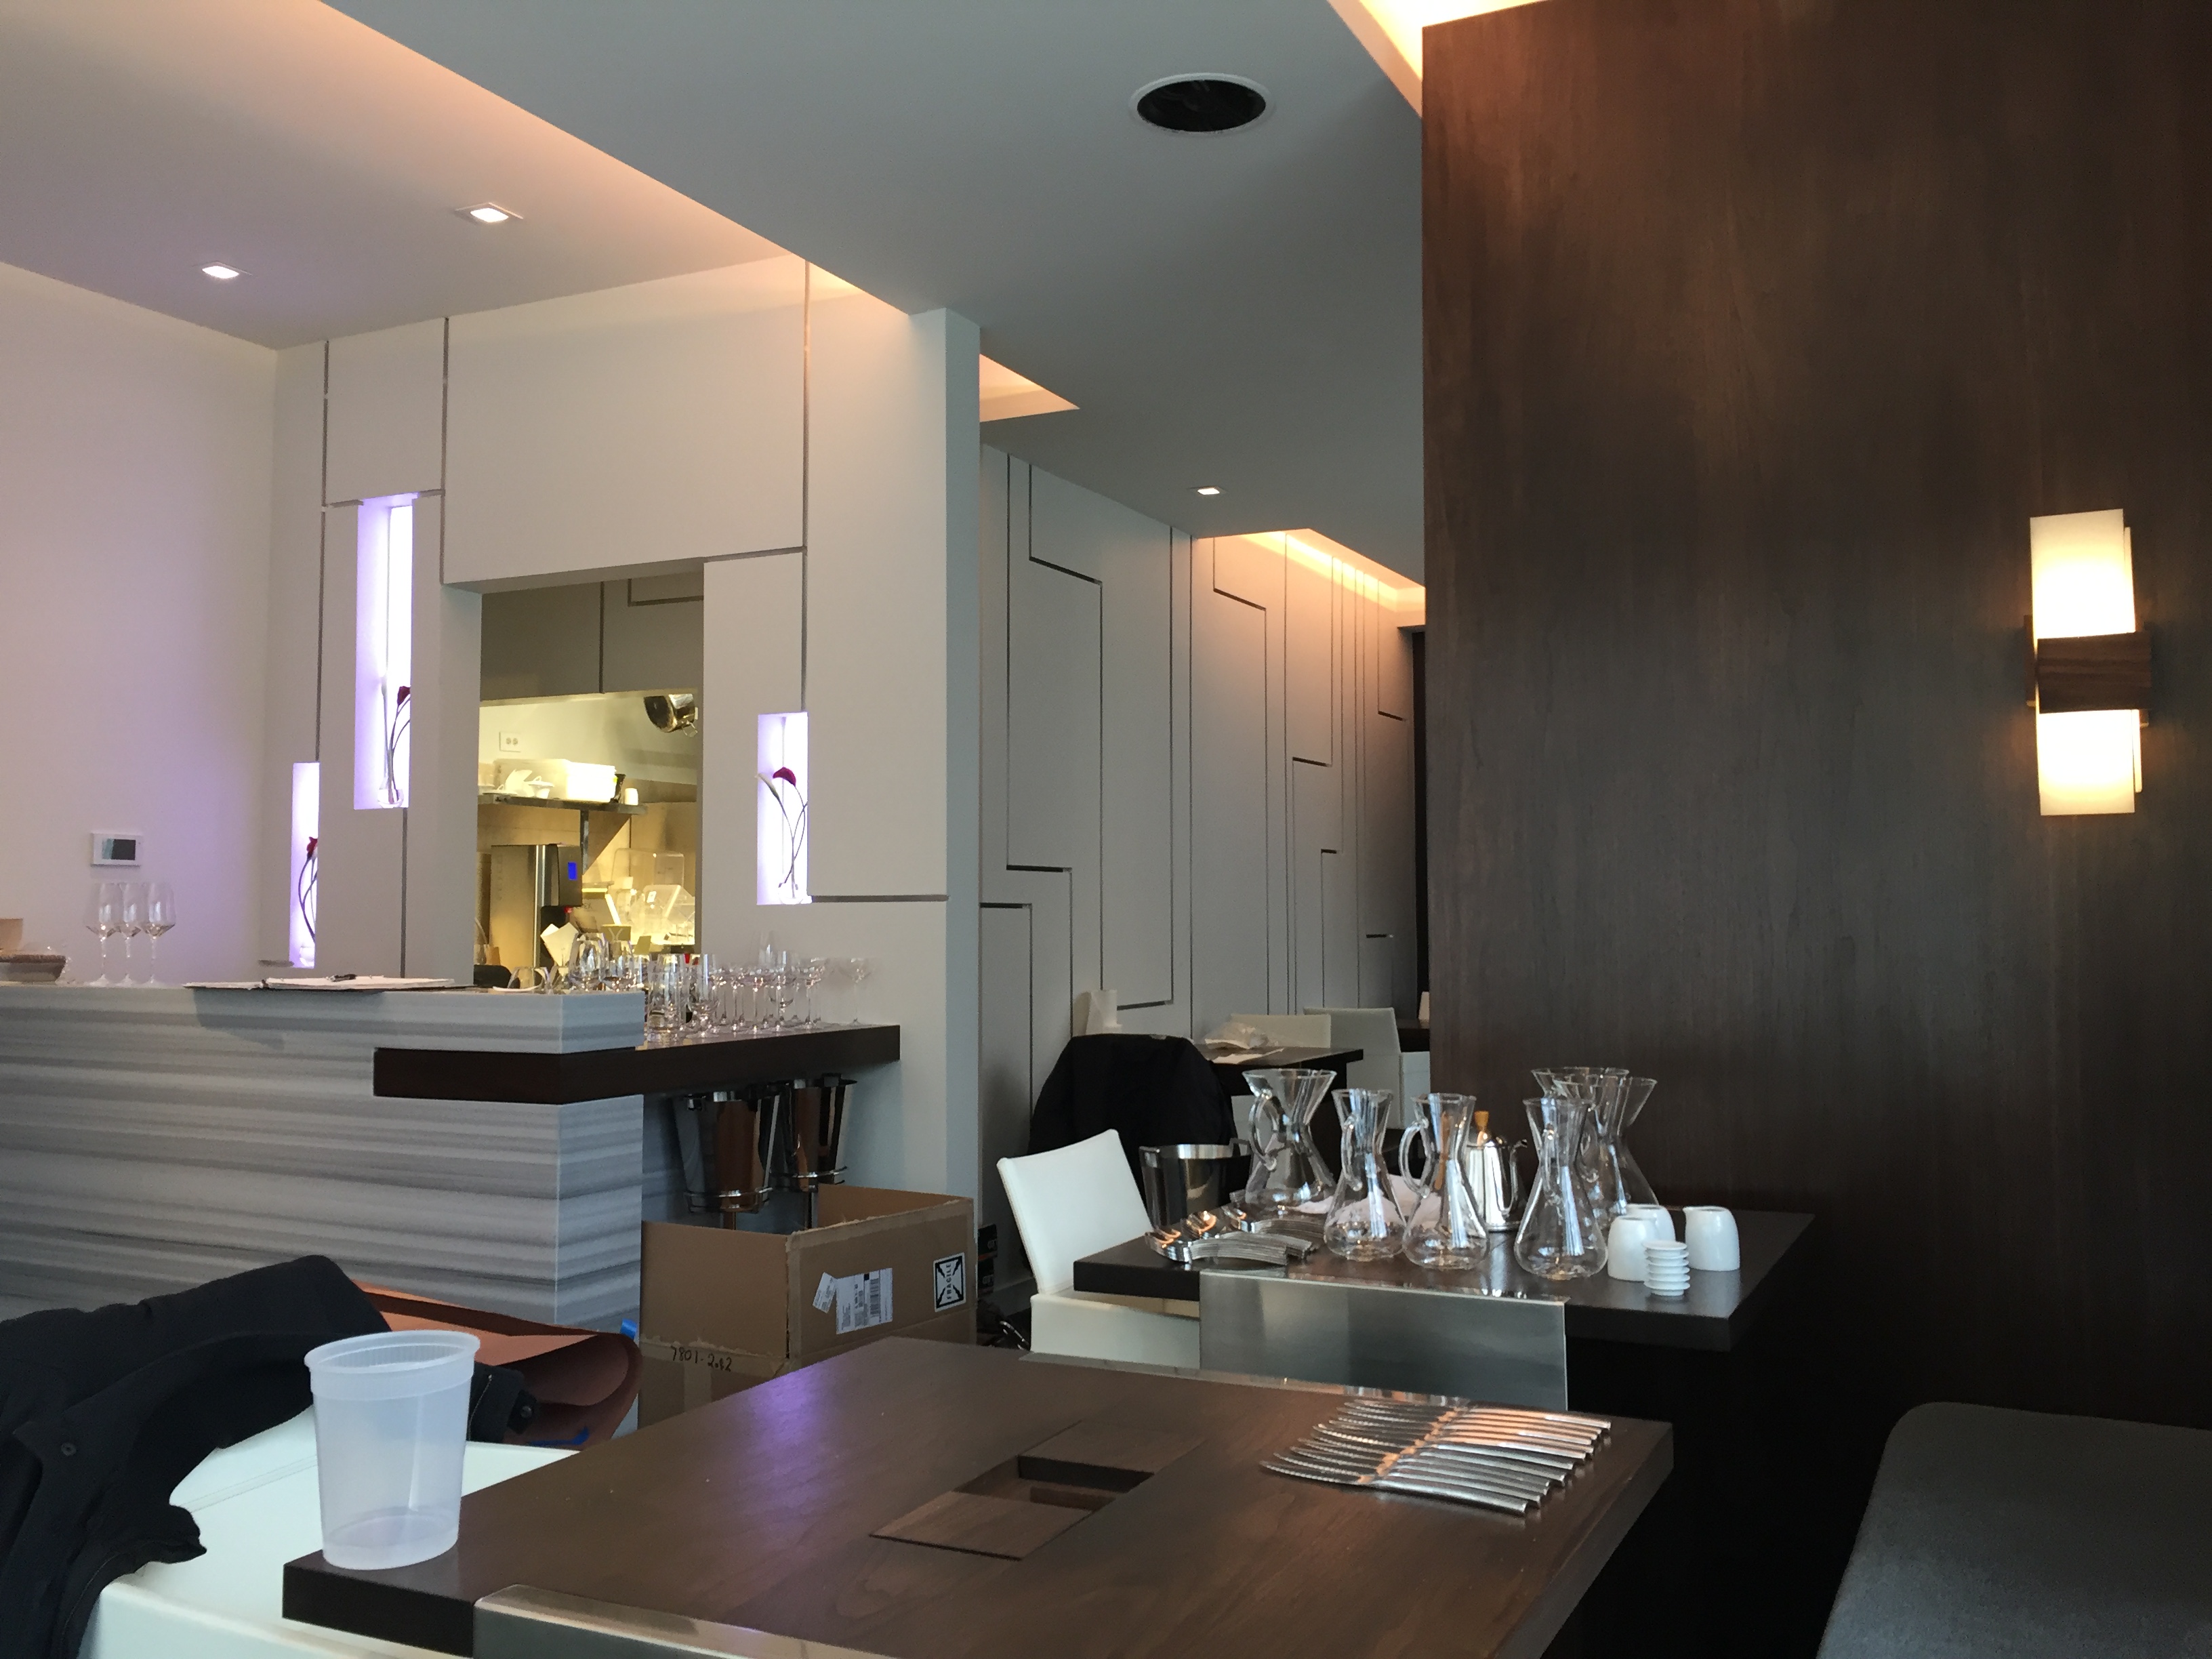
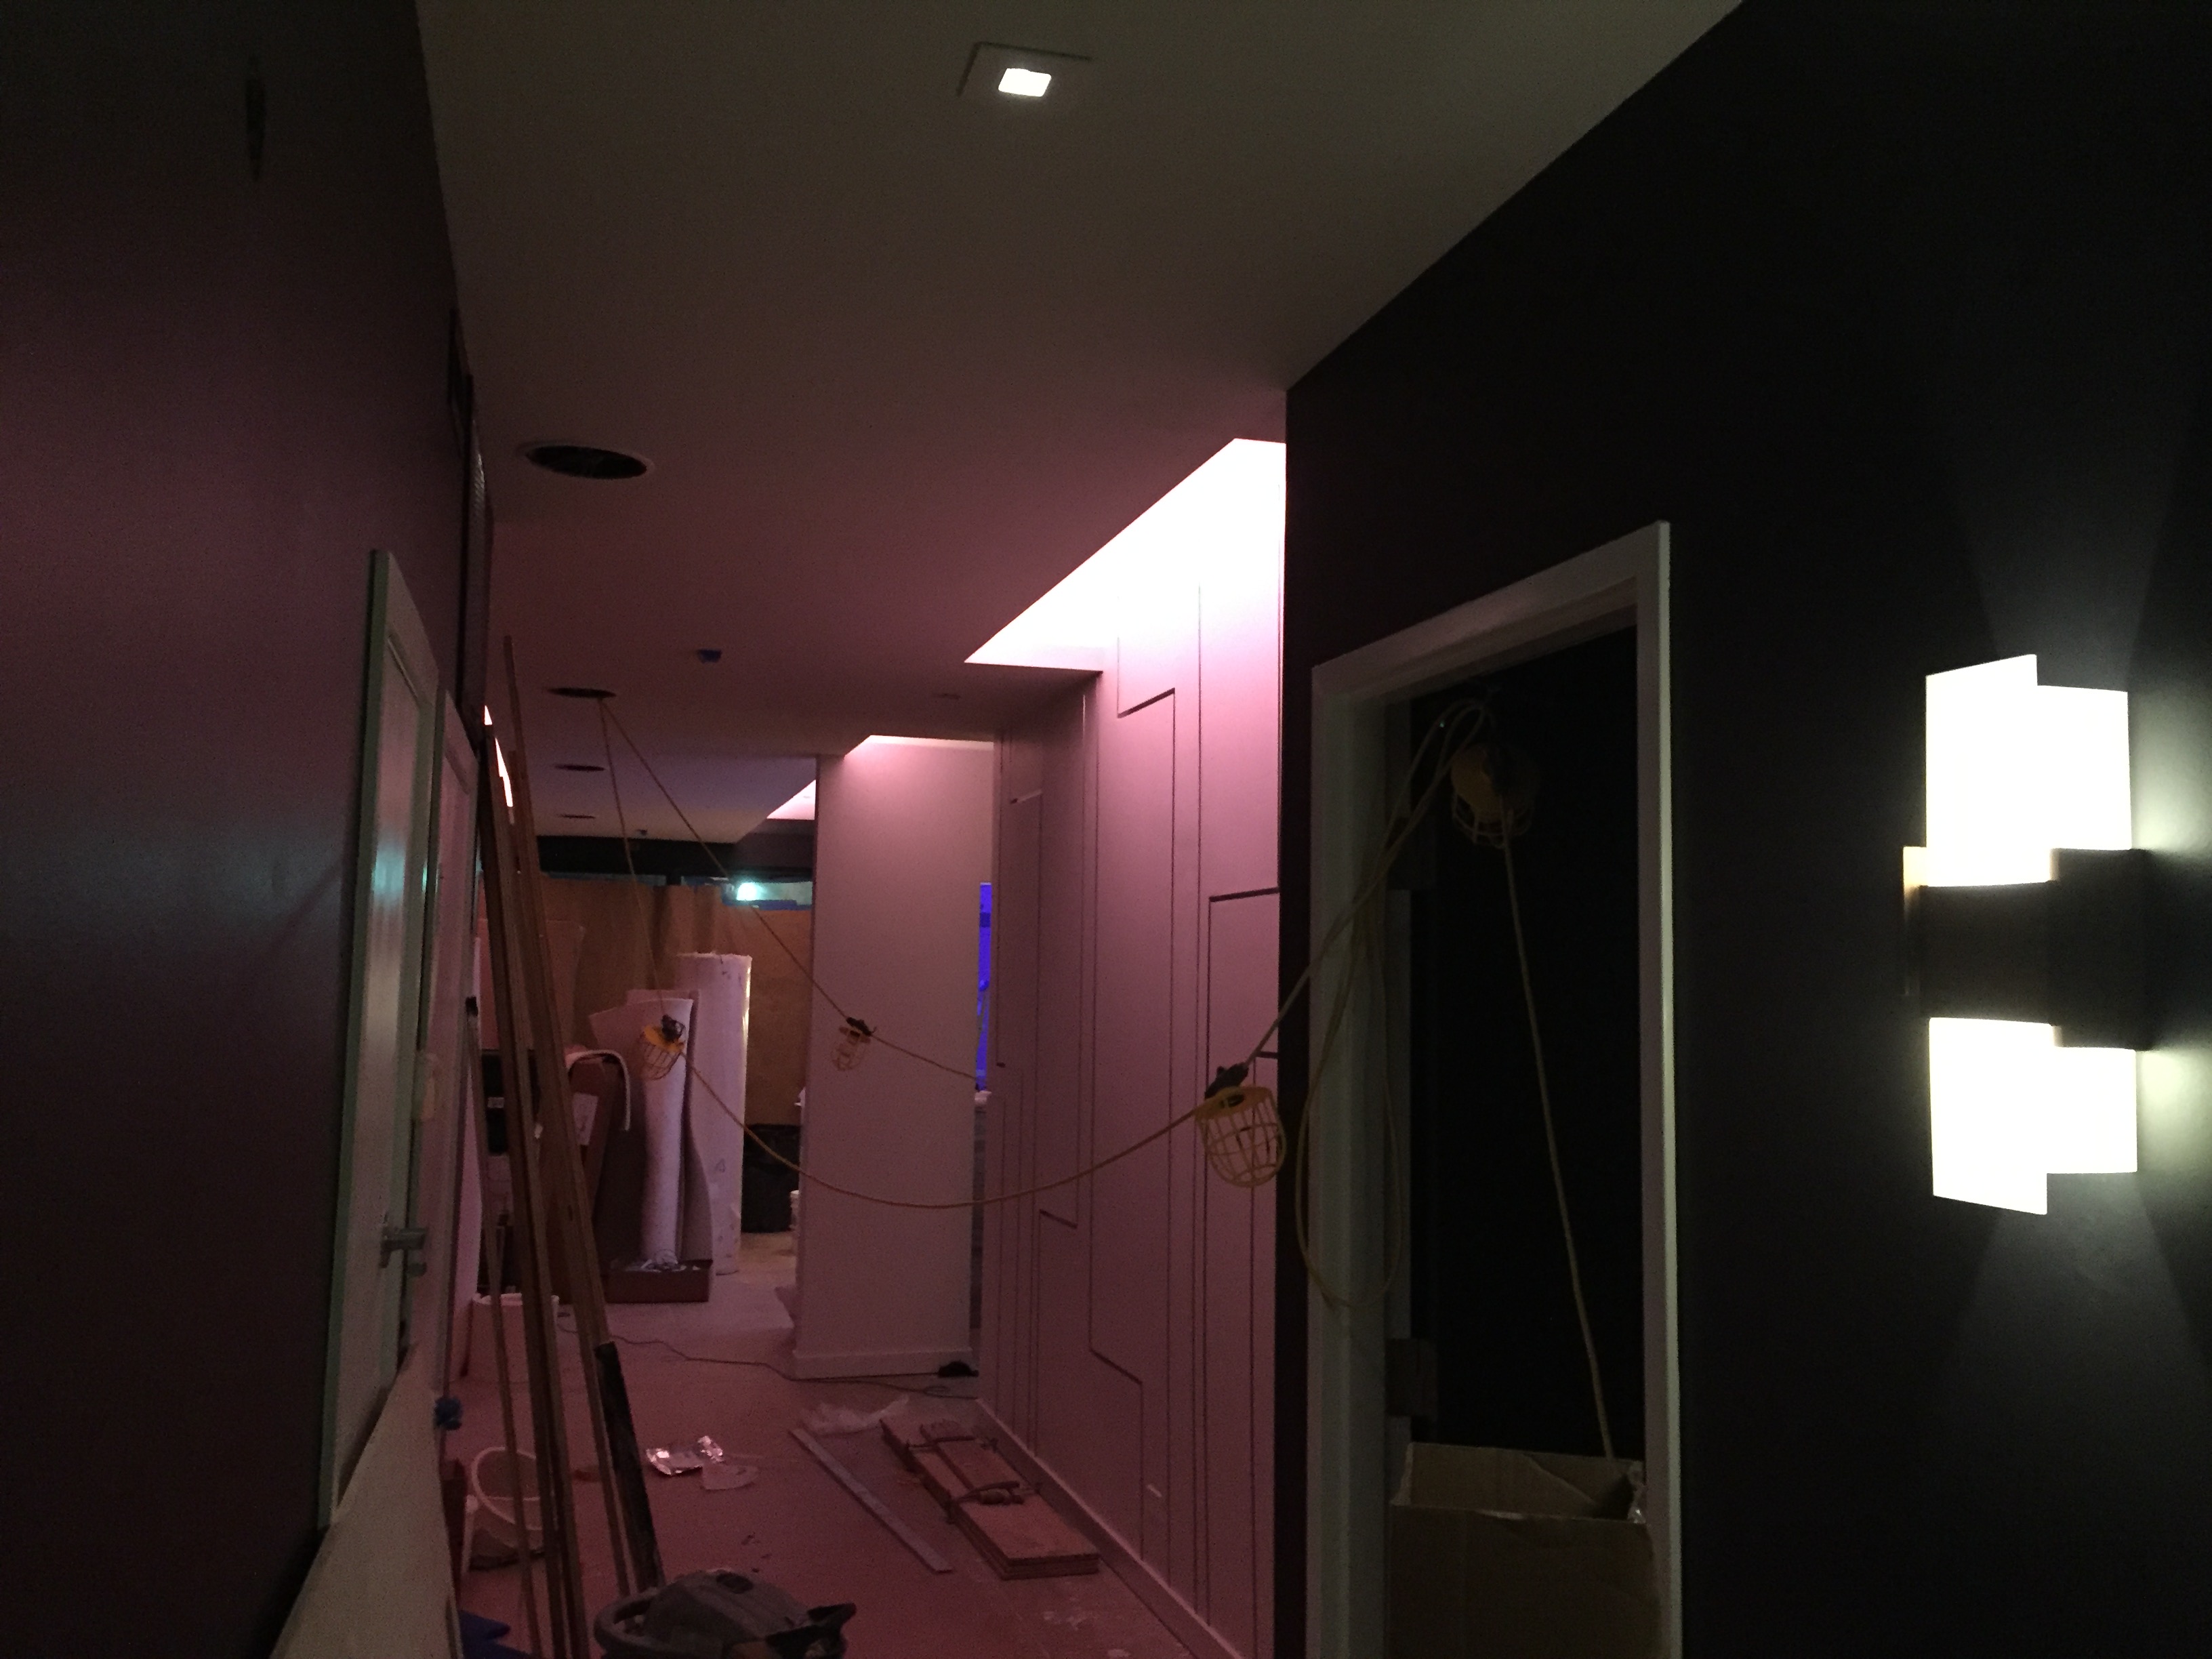
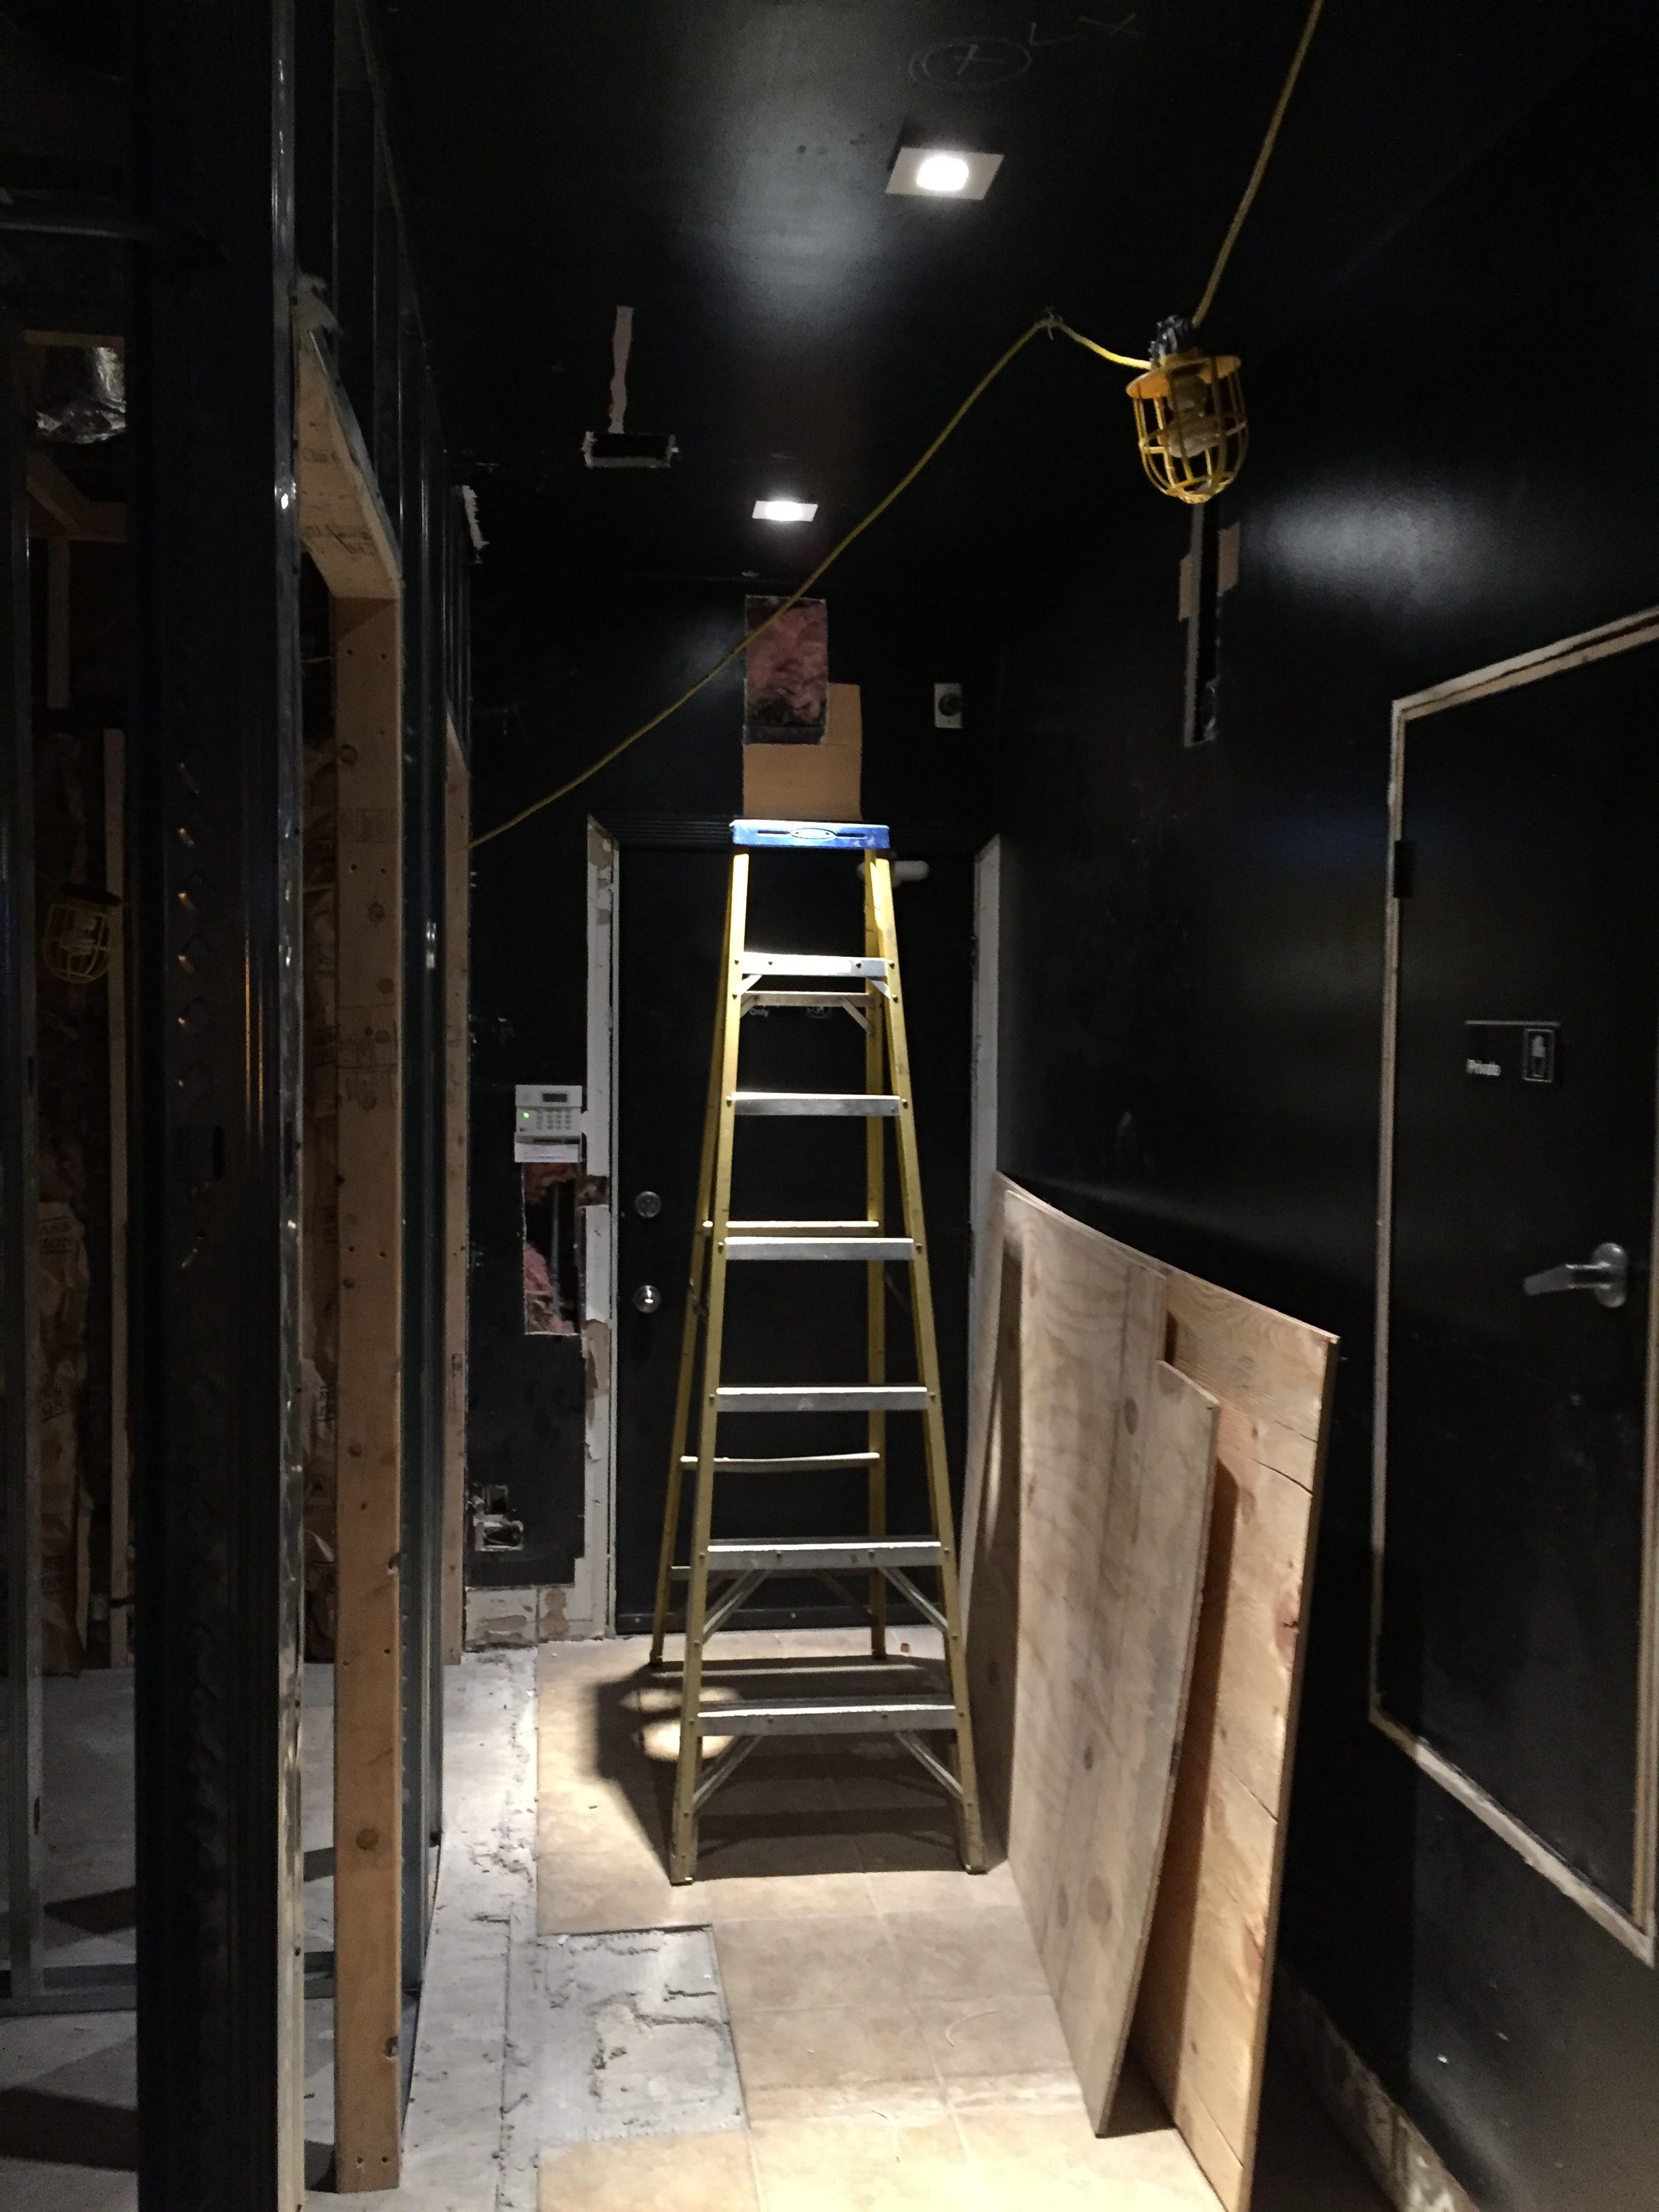
Construction progress – Chicago, trip one
My first trip to Chicago begins July 5th. The old sushi bar has been demoed, and the new walls have been placed.
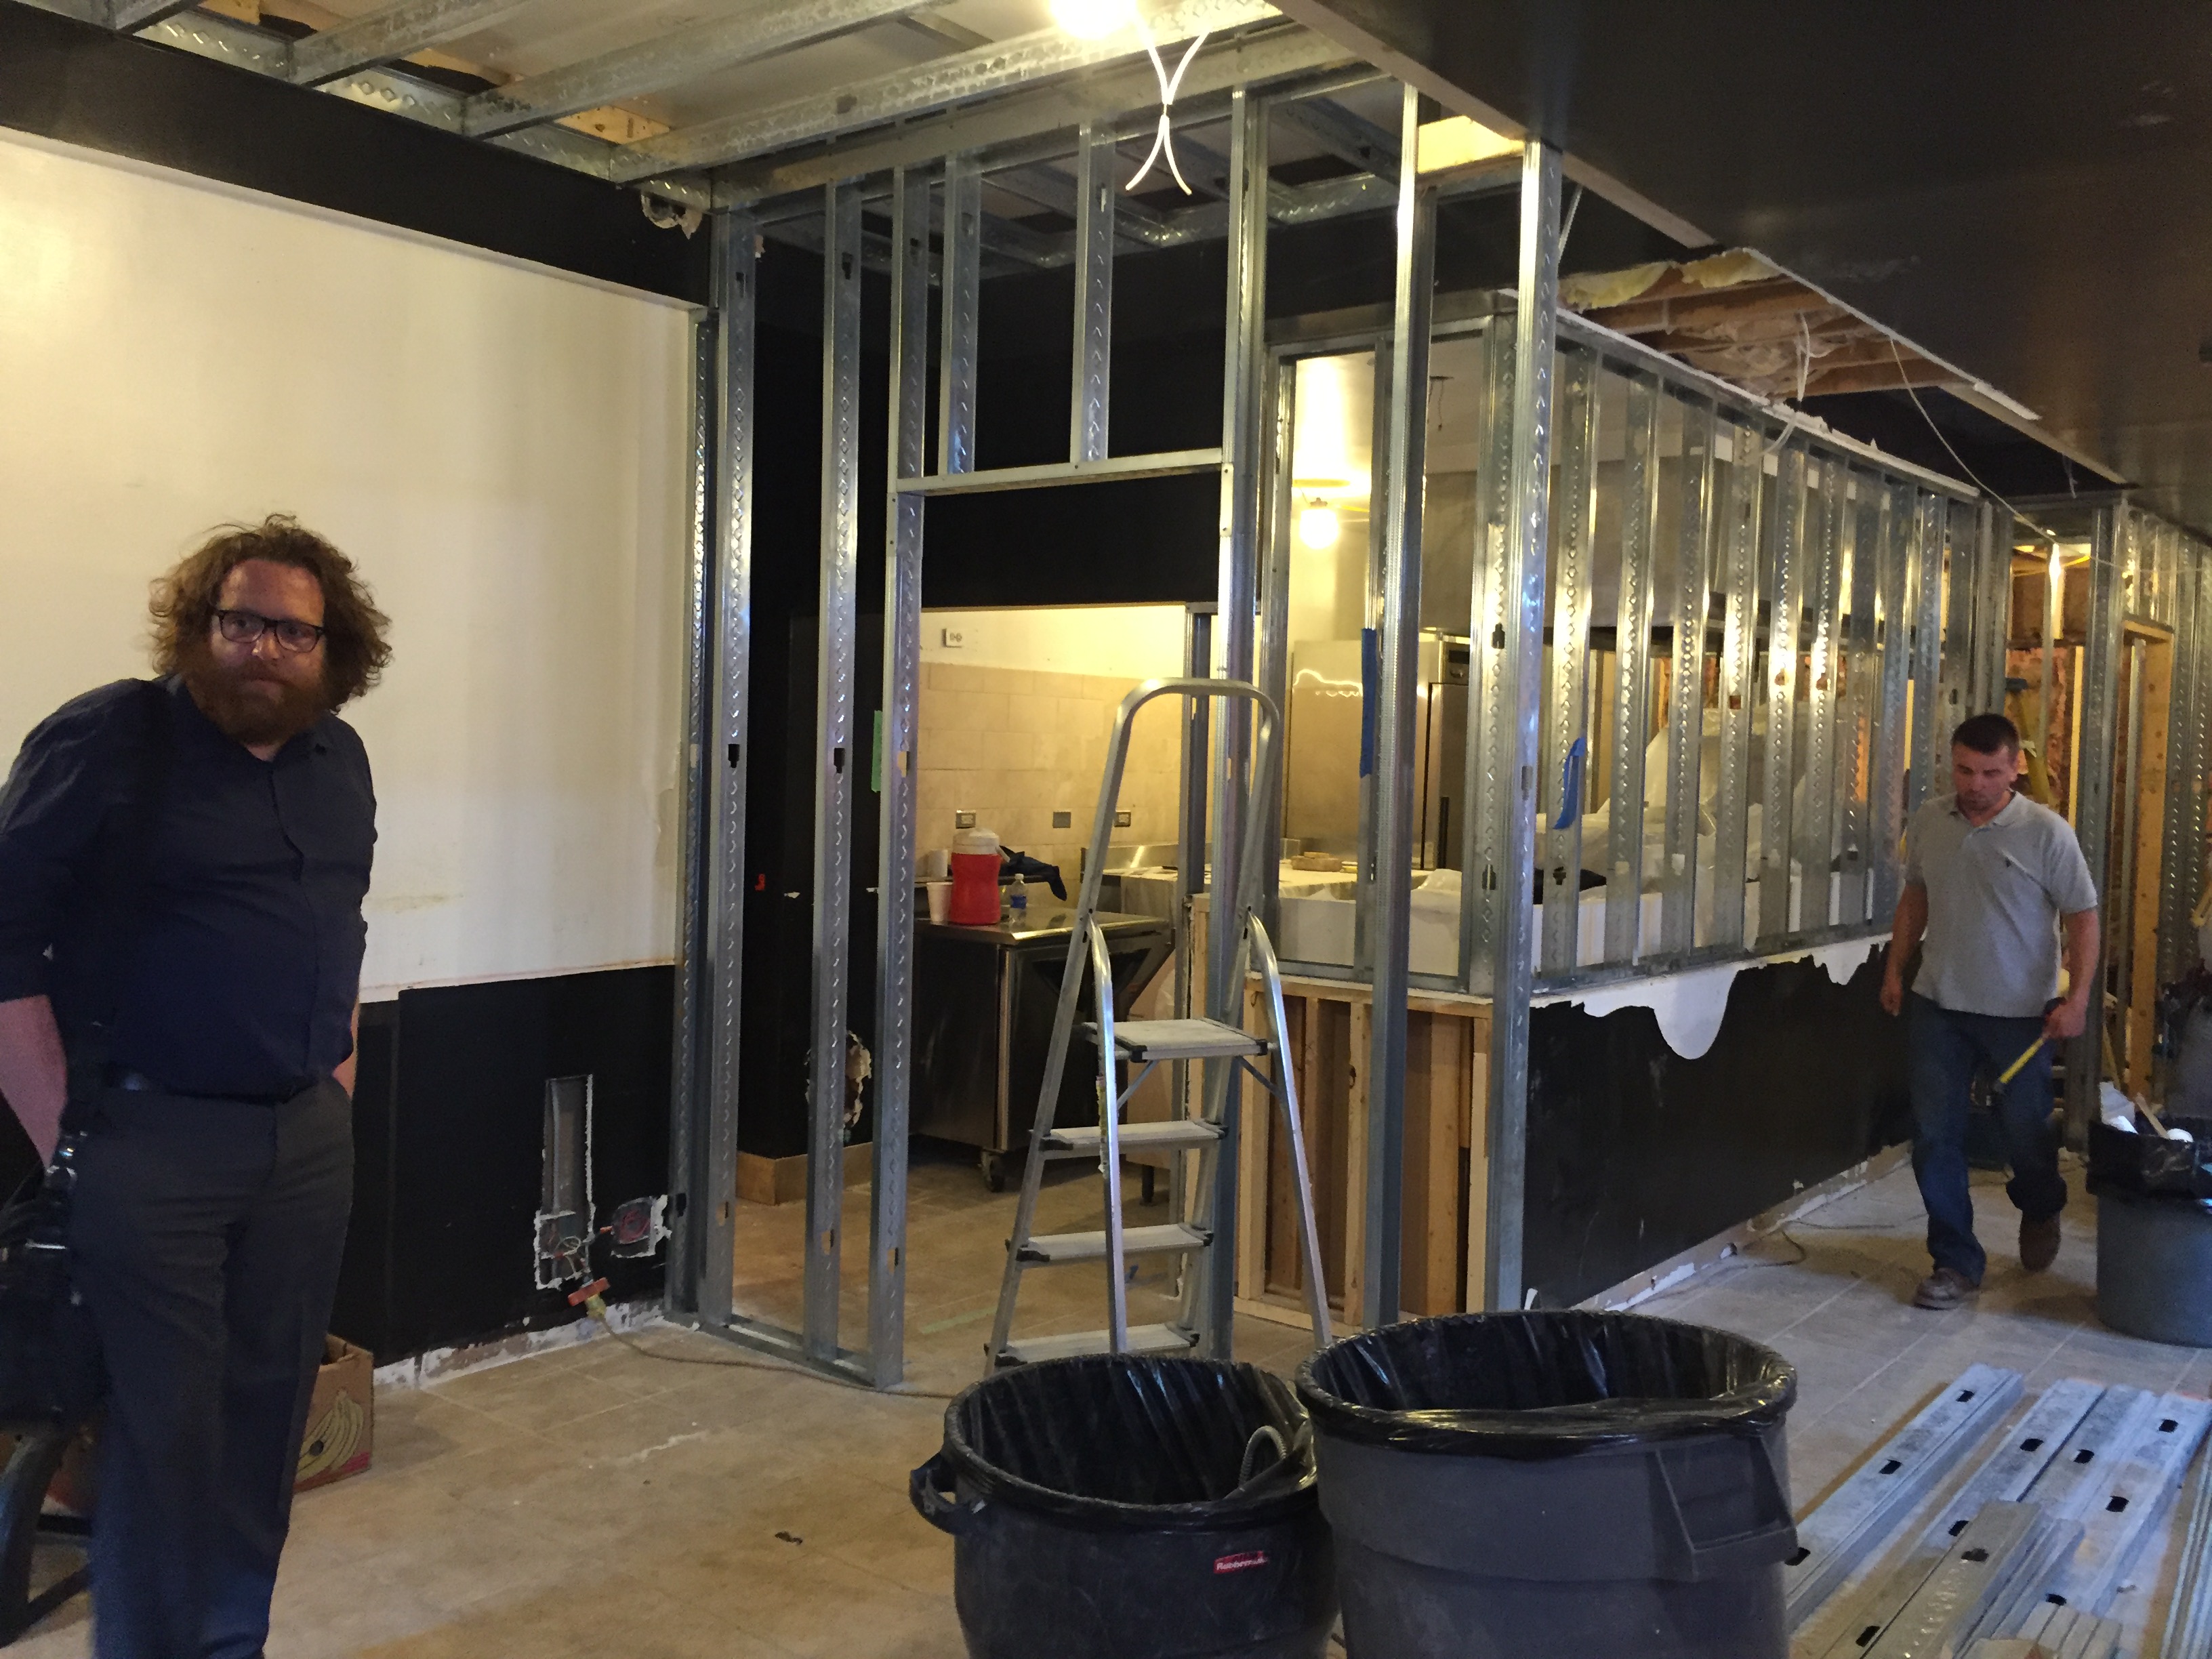
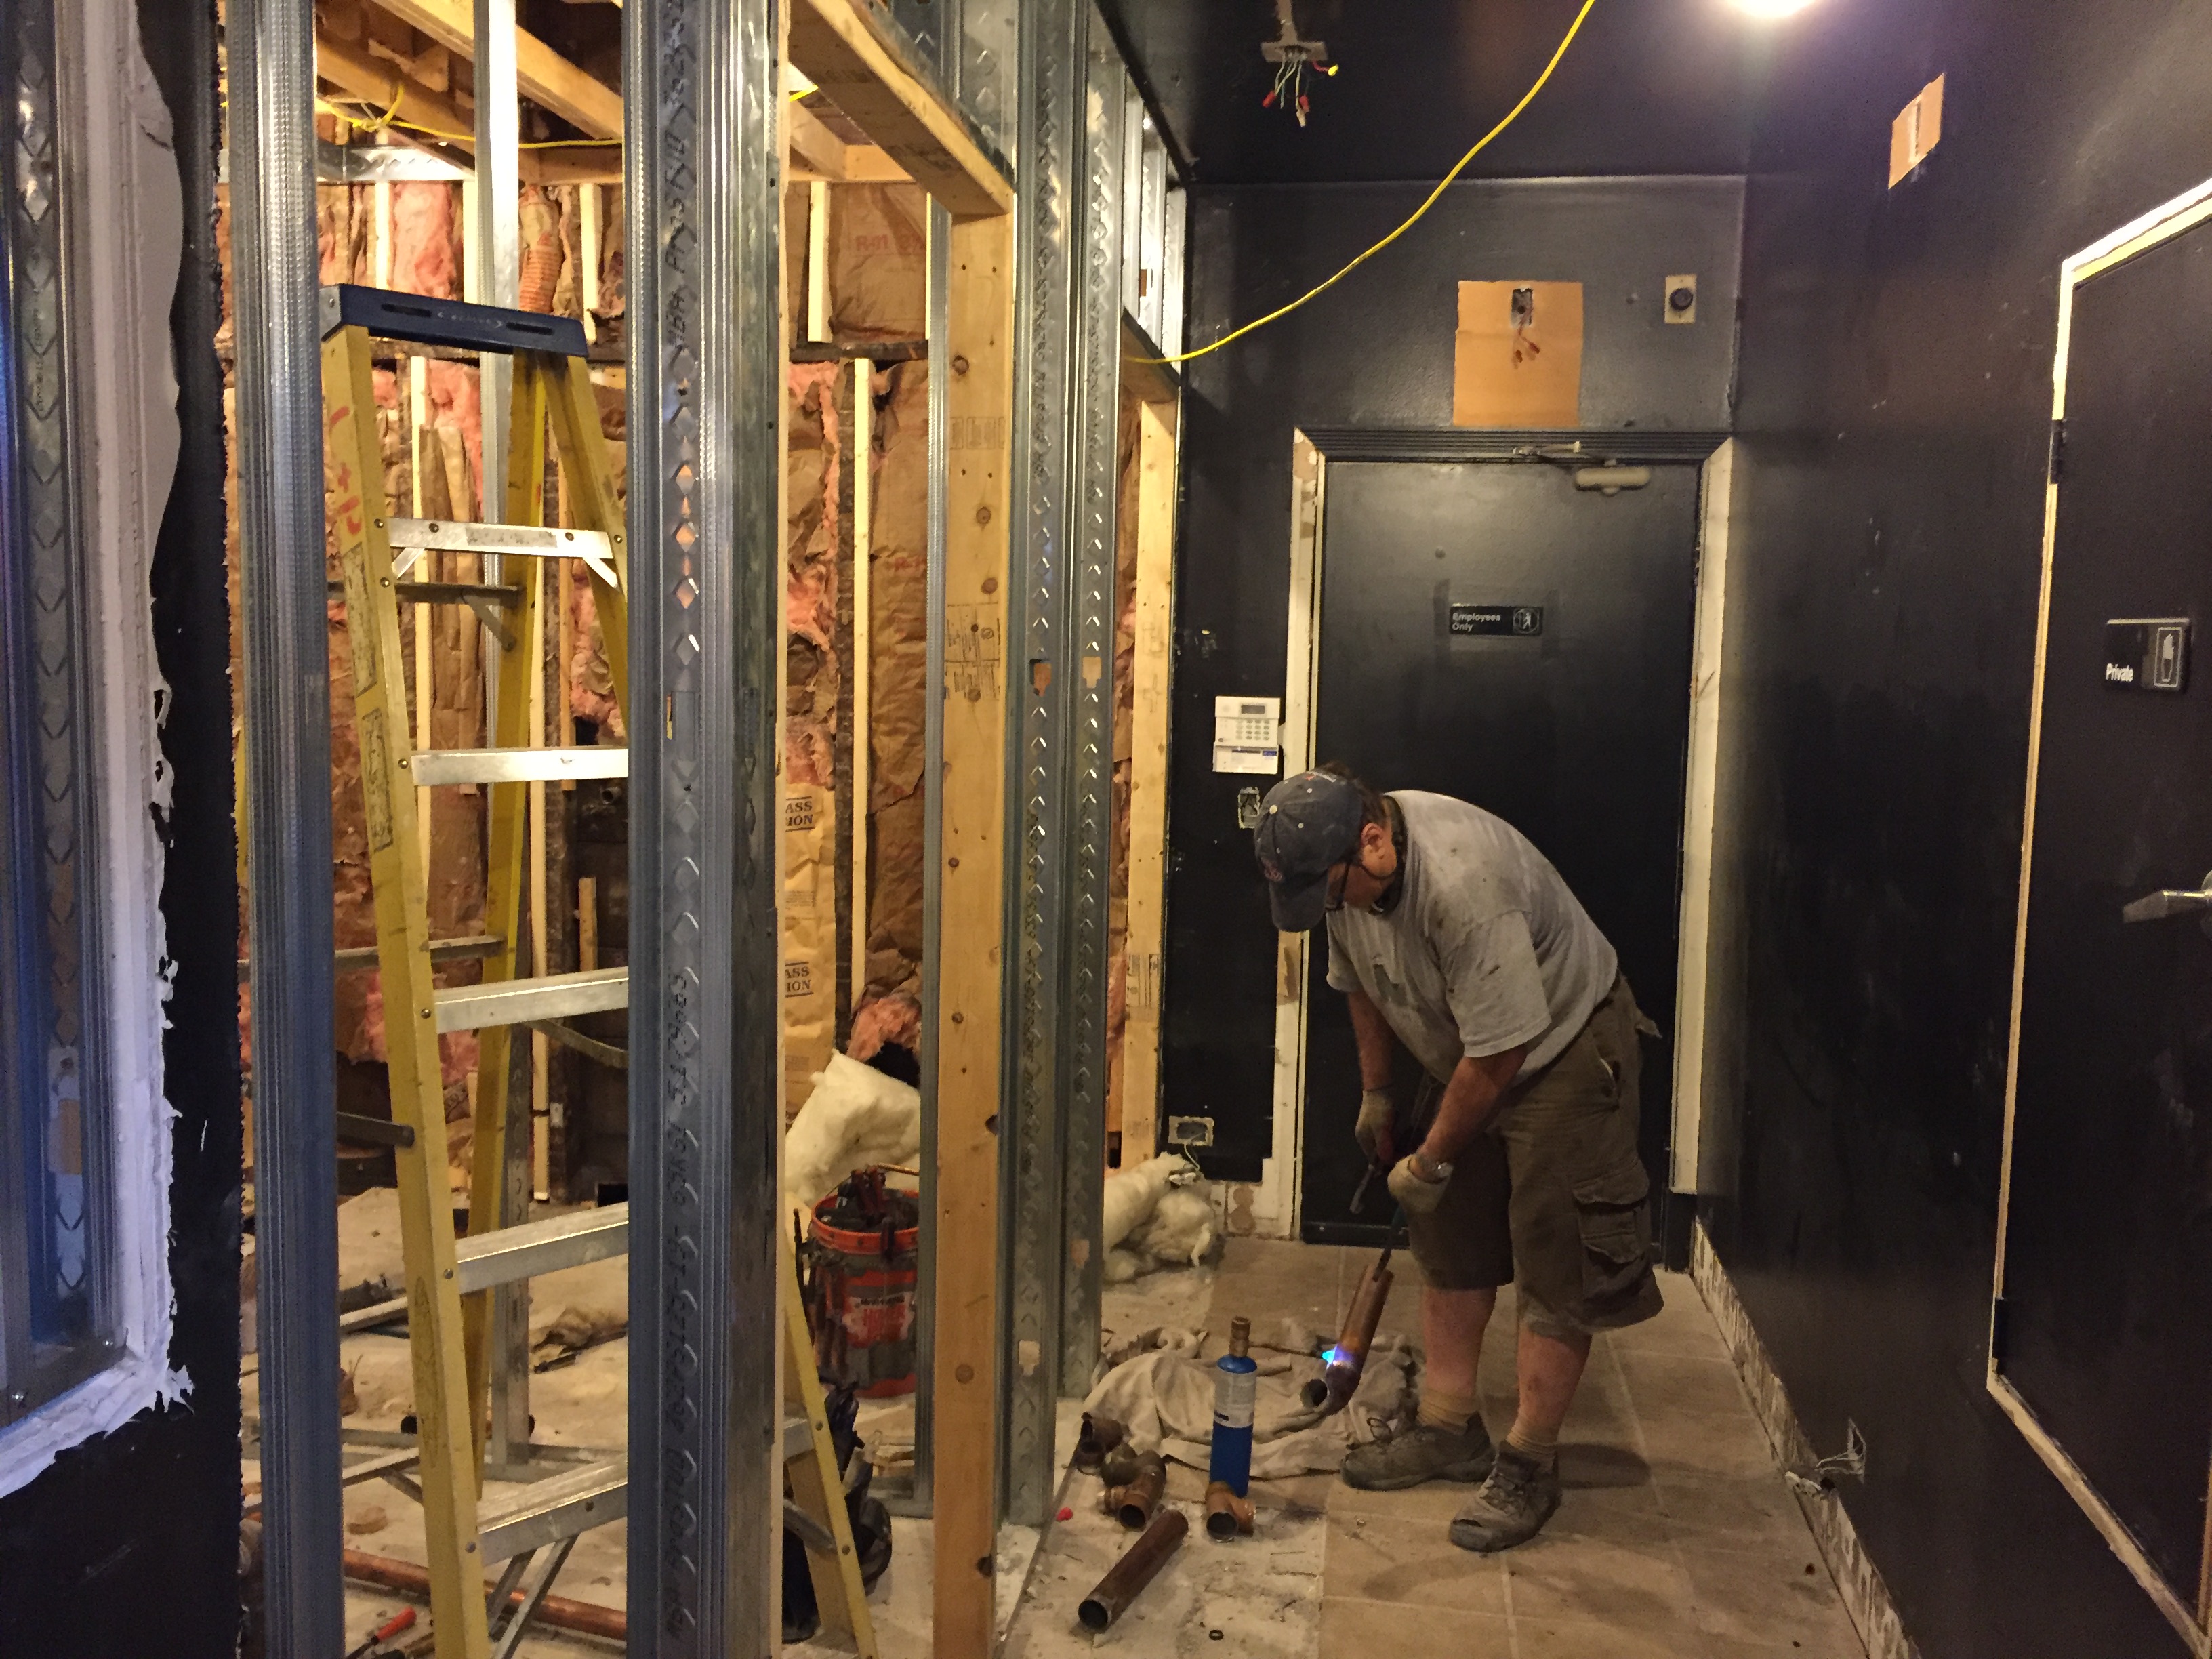

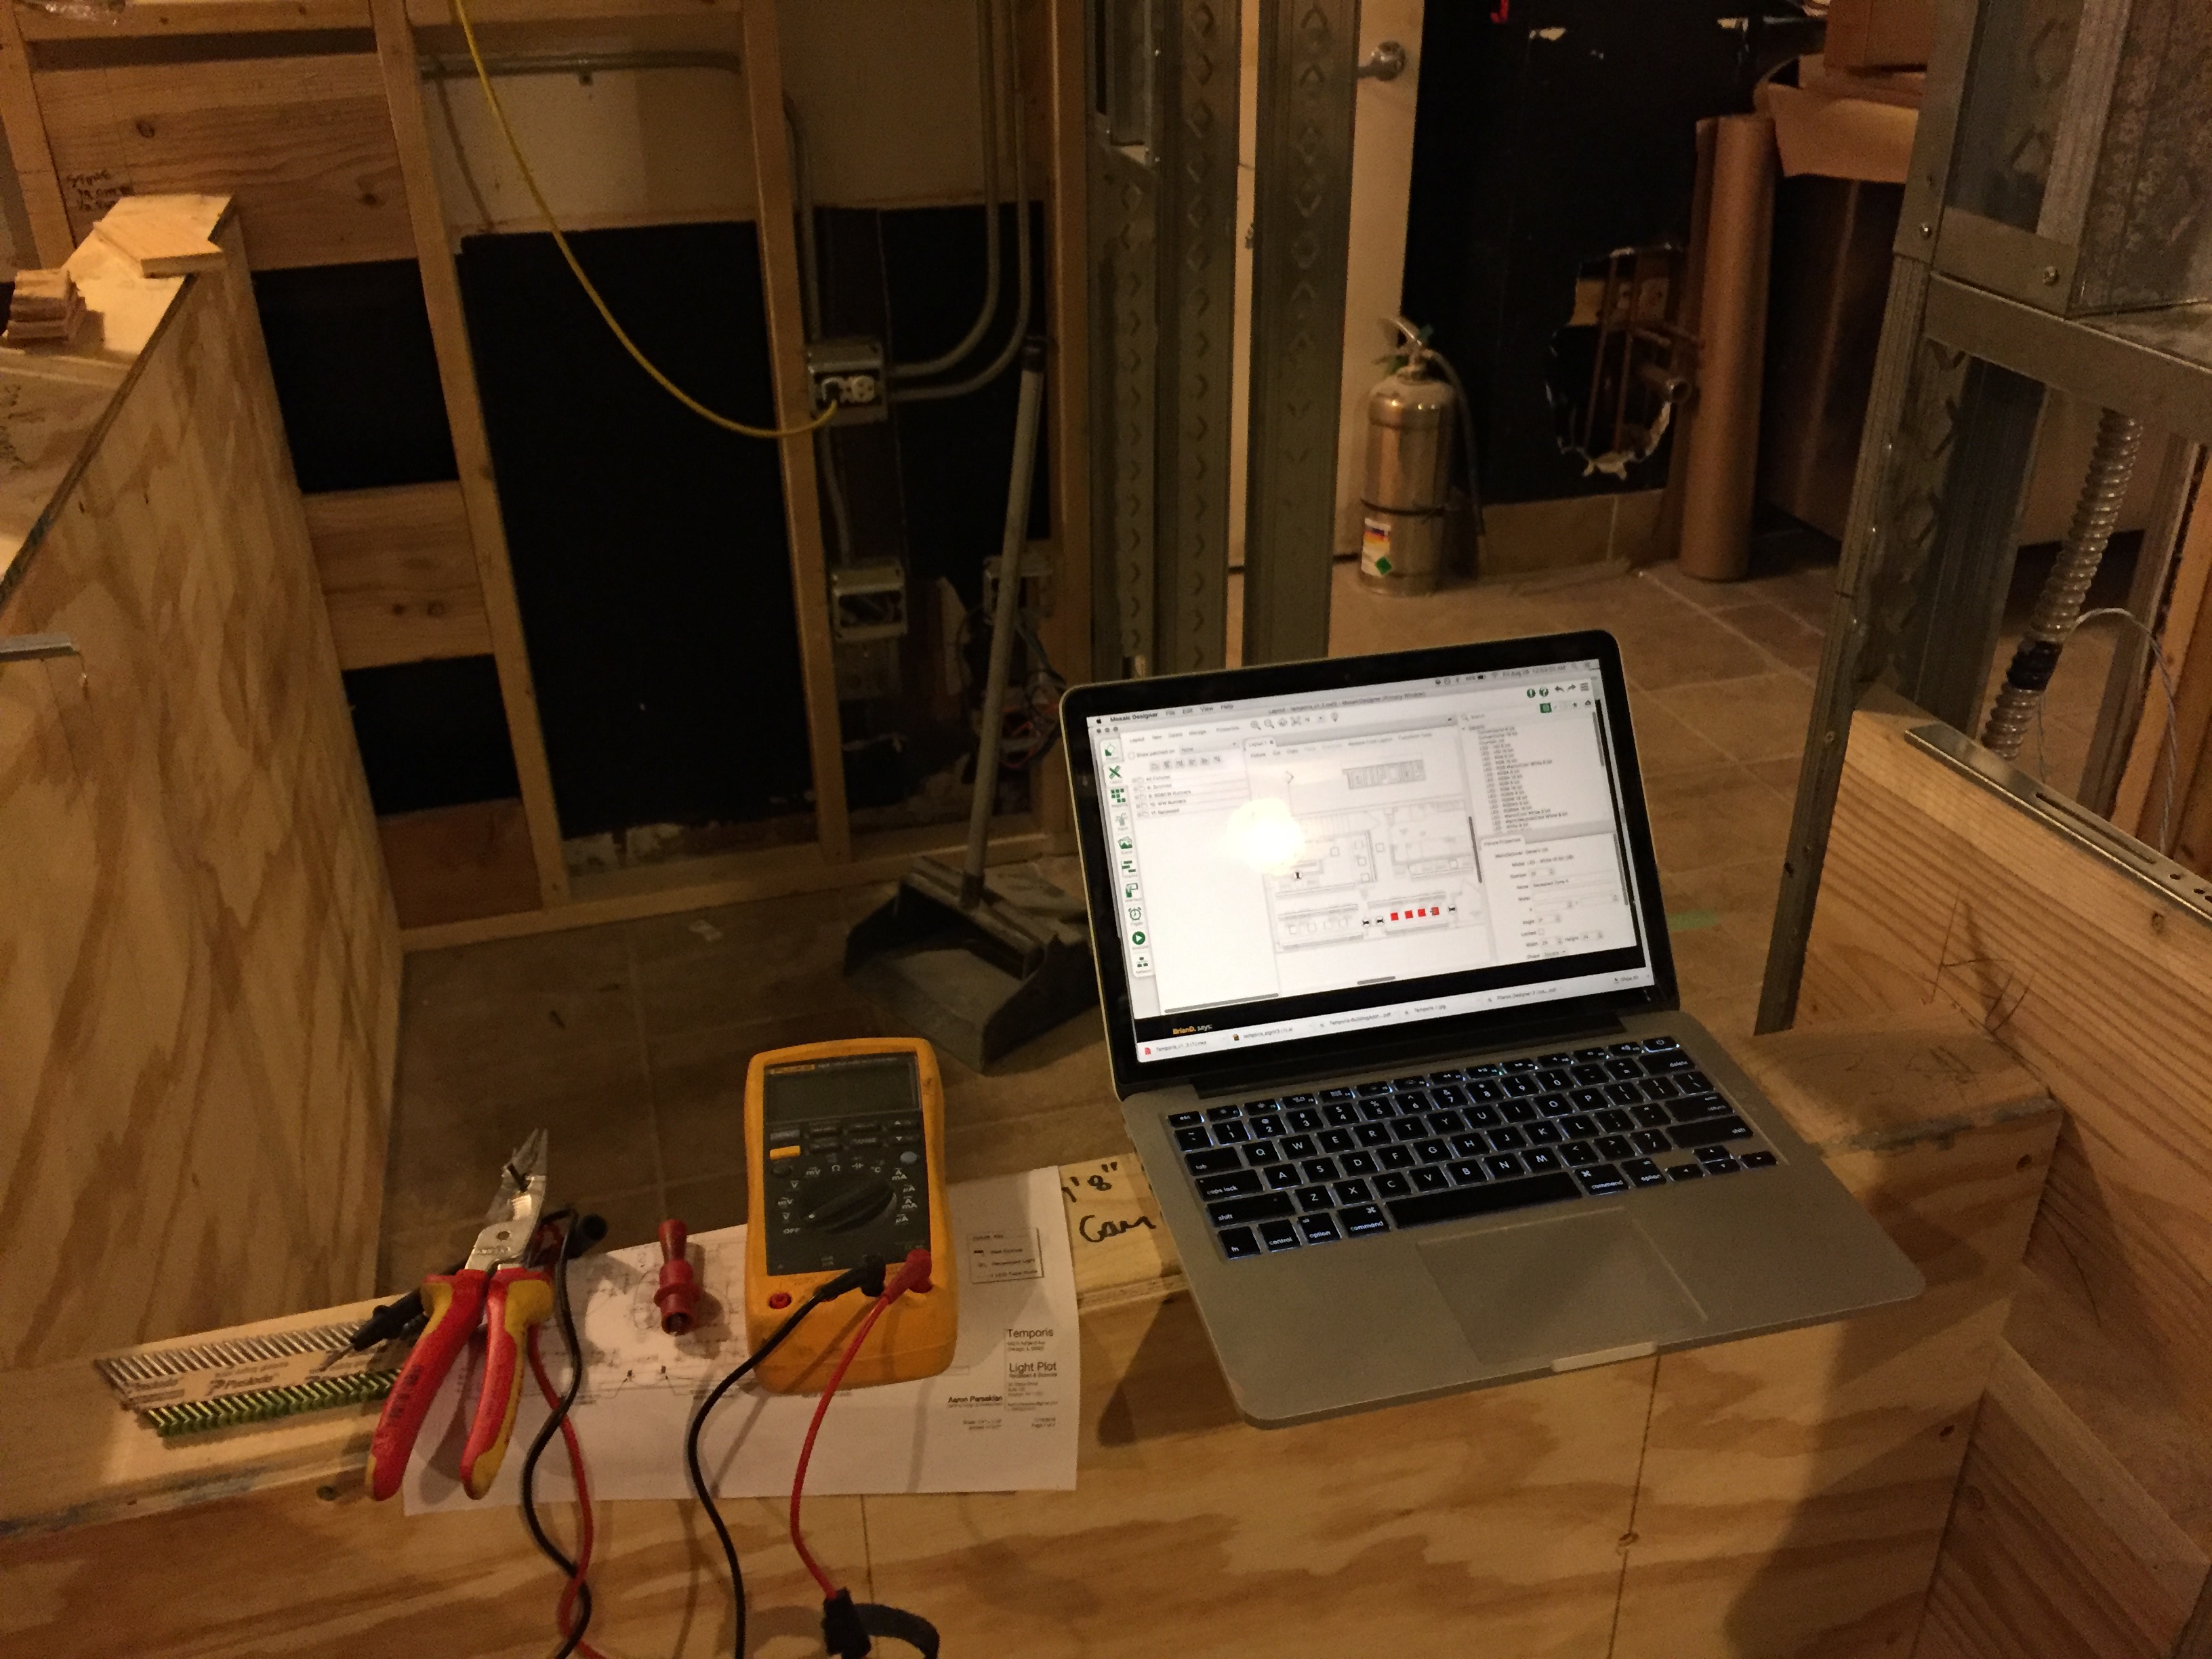
Next trip installation begins.
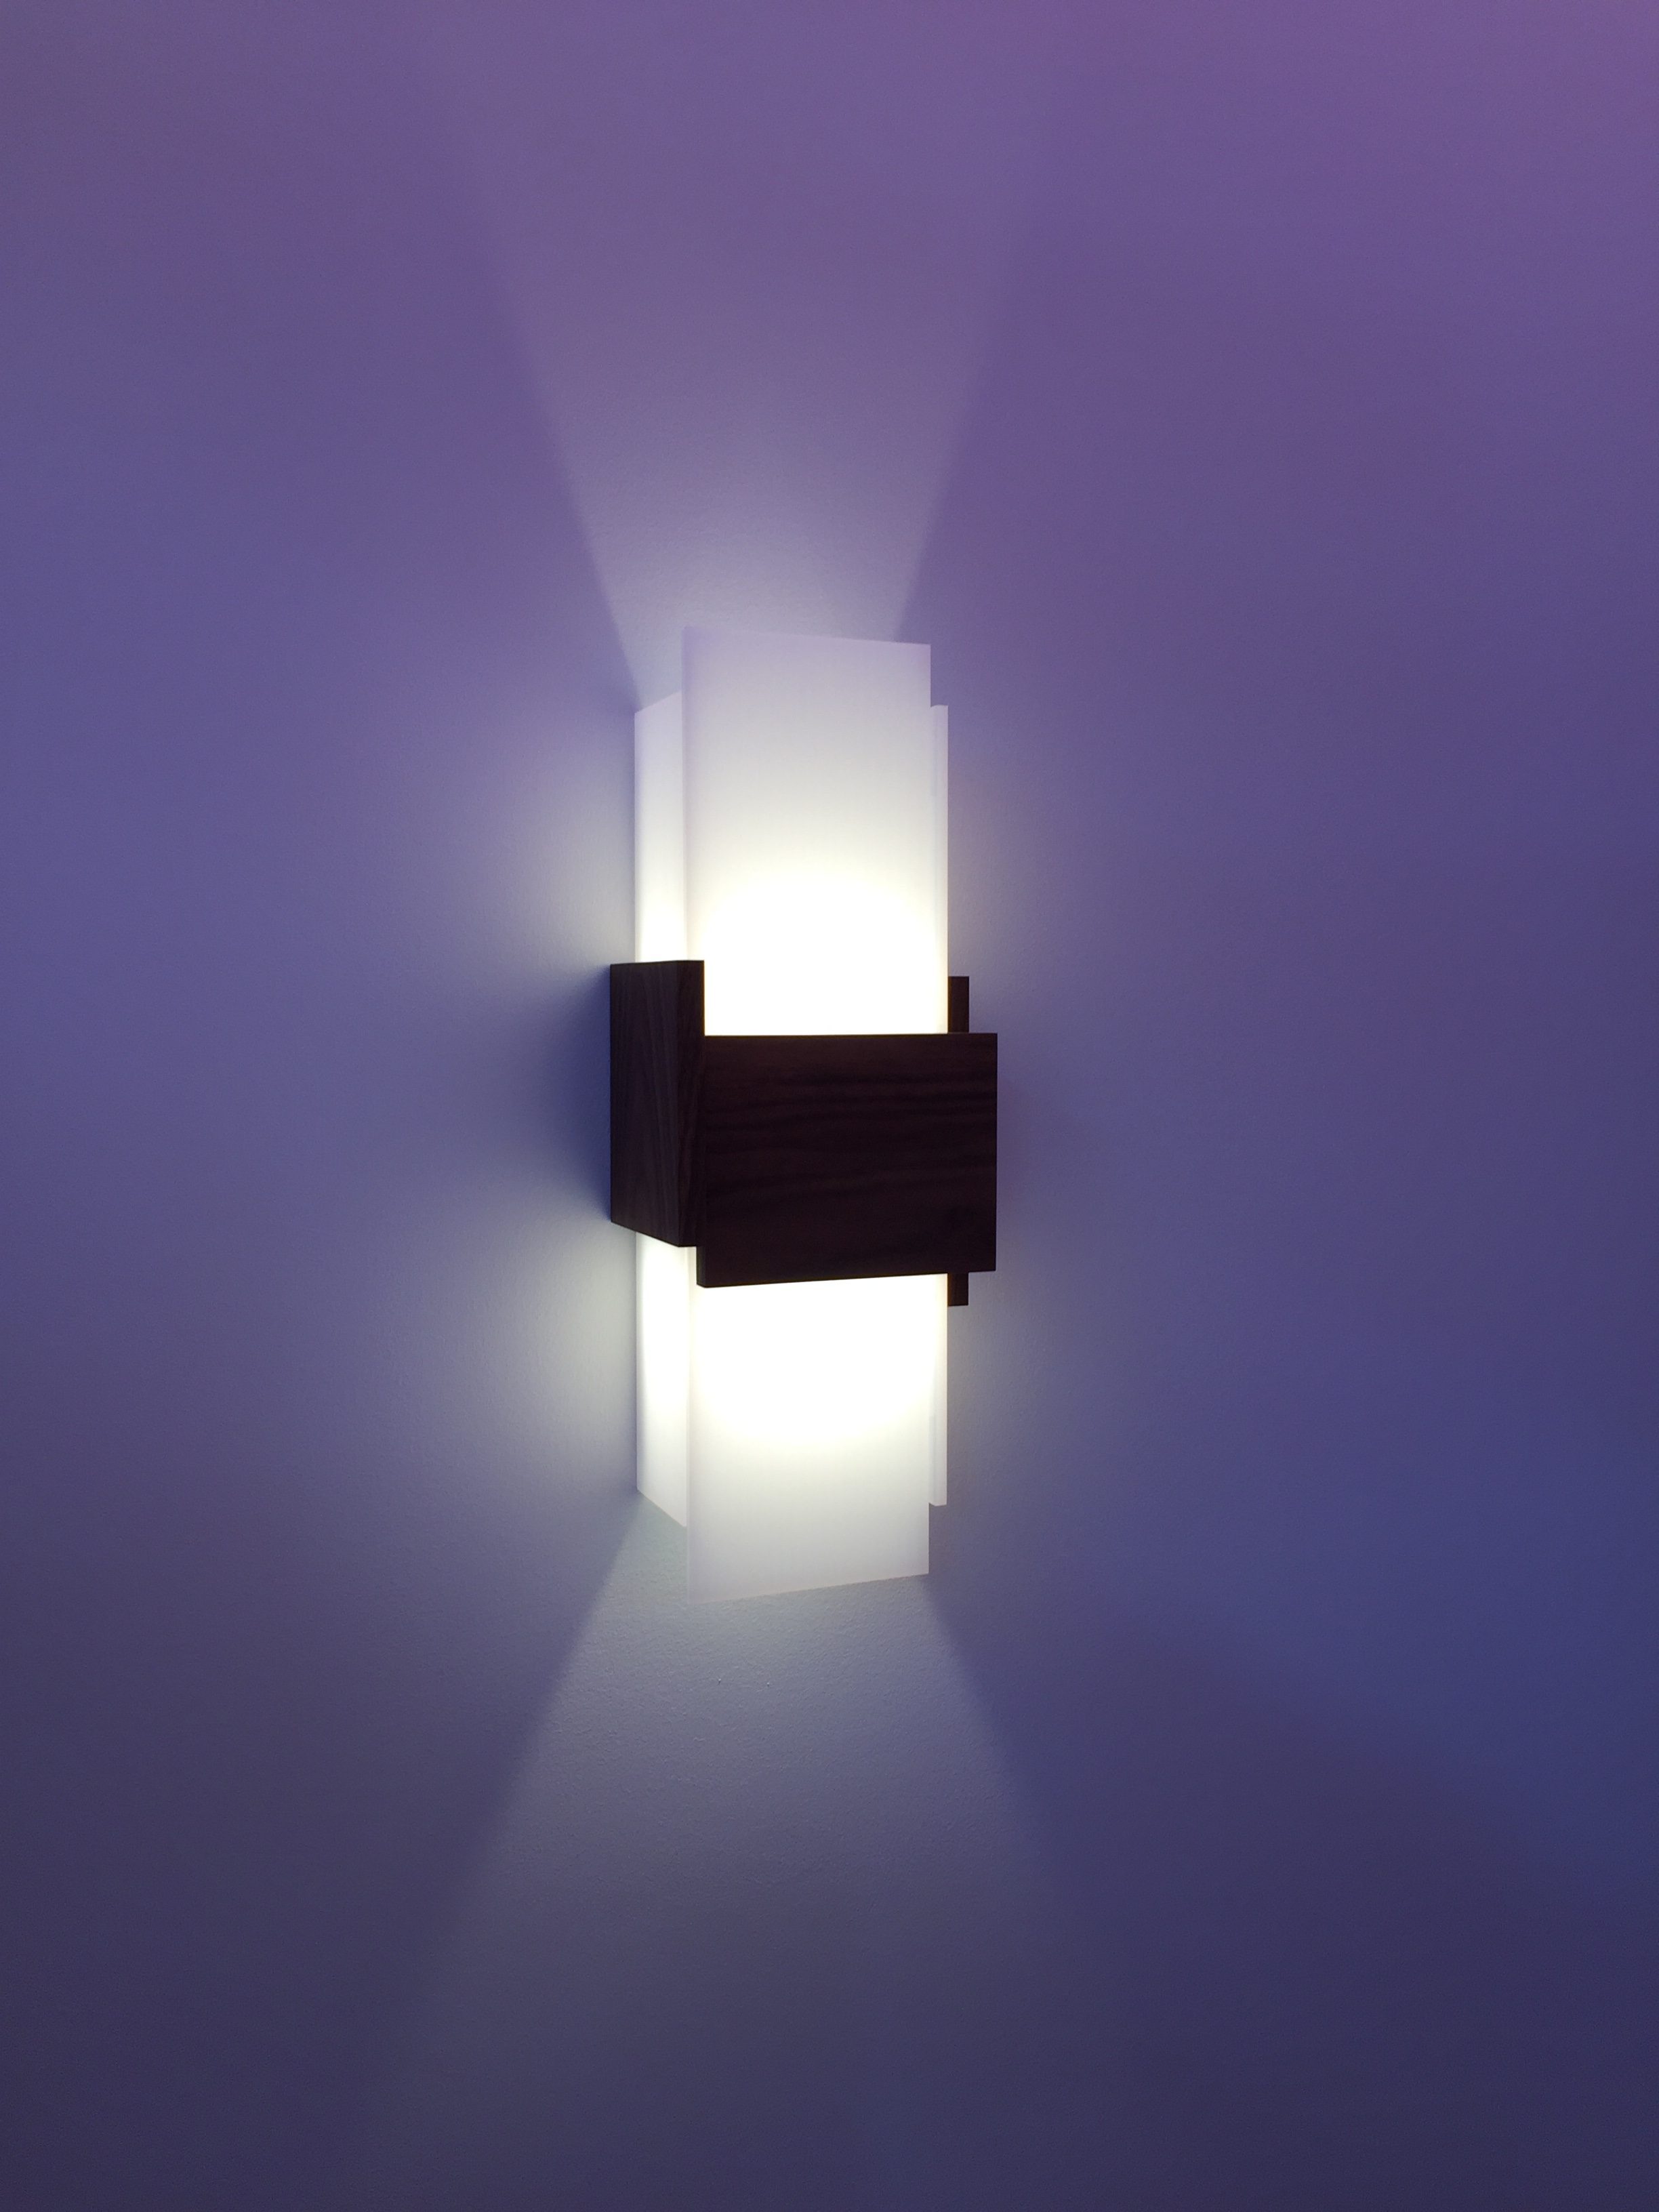
Down Lighting
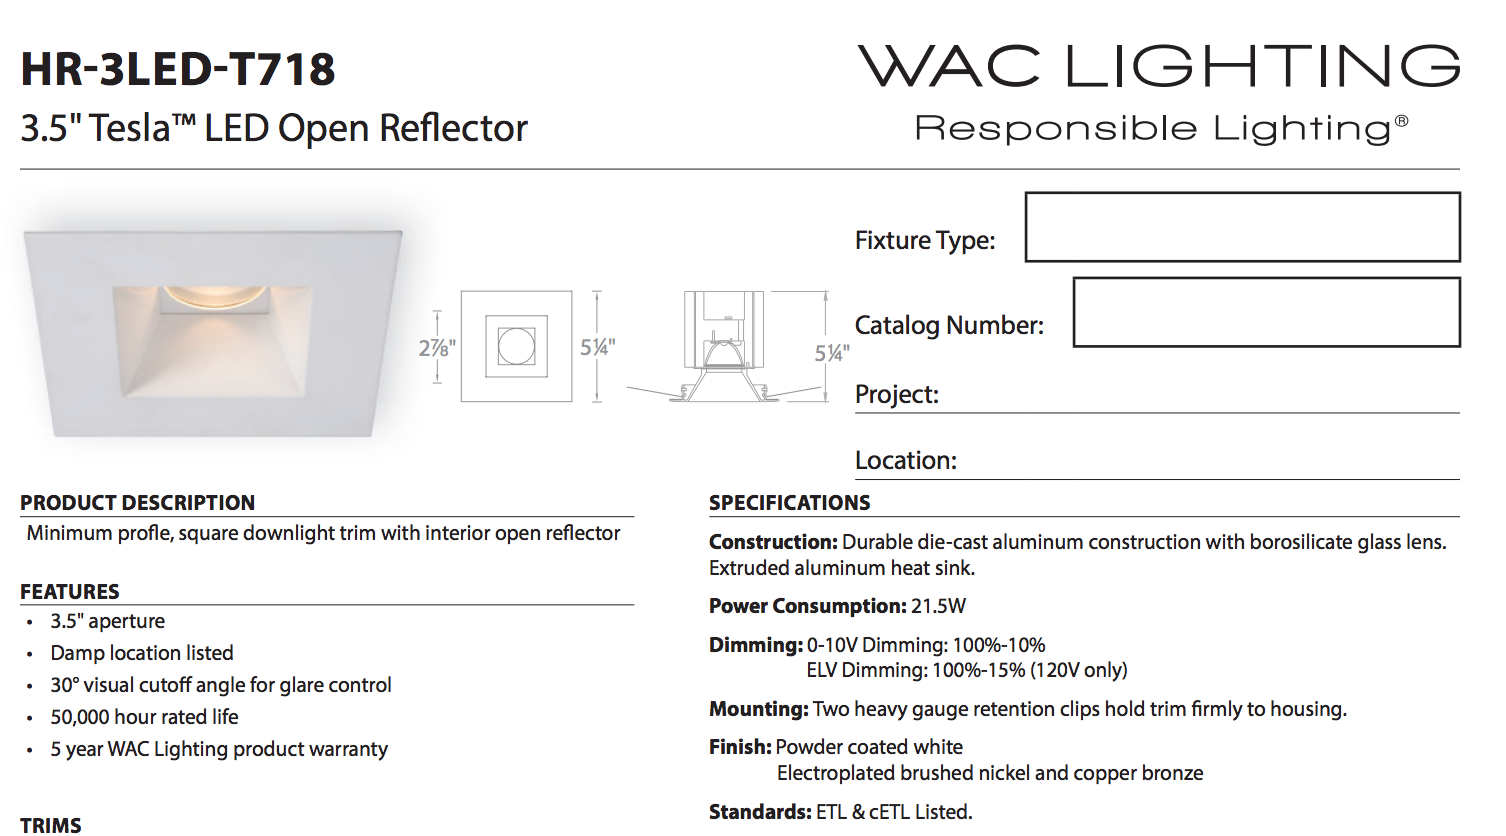
My initial proposal called for WAC LED downlights that took 0-10V control for dimming in order to control them with ETC Mosaic. Aesthetically I want all the recessed lights in the restaurant to be small and have a square trim.
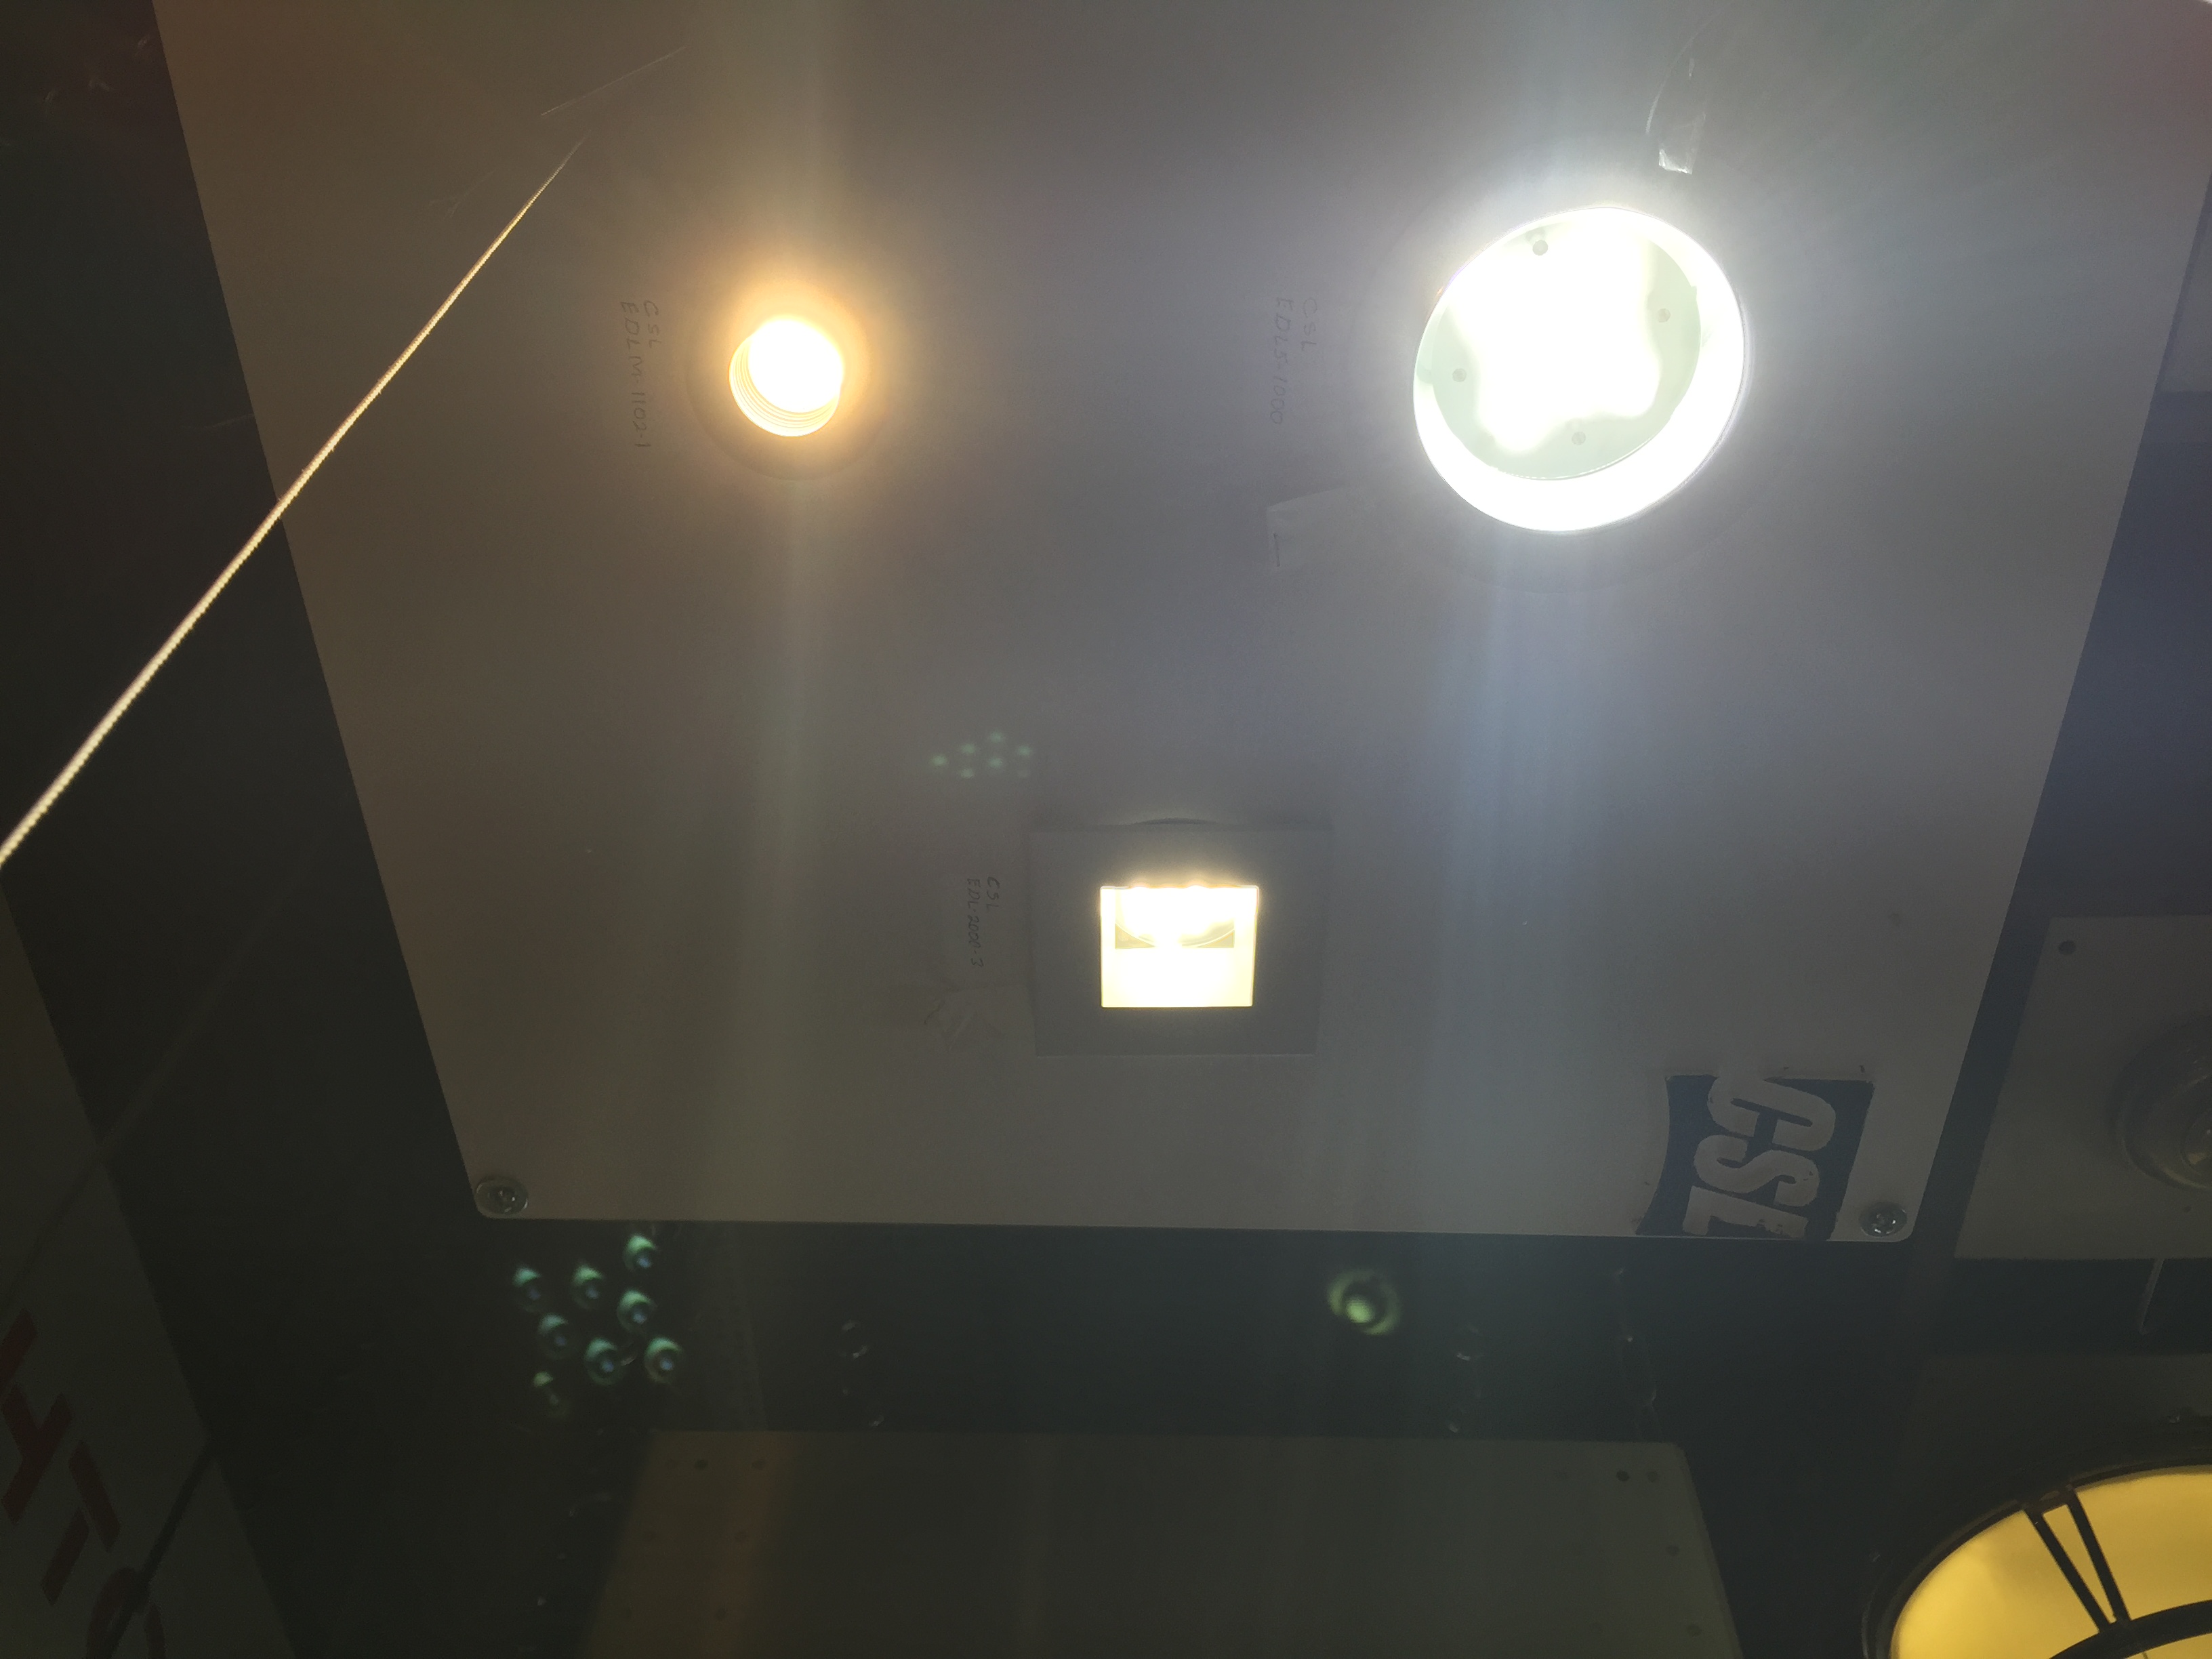
Unfortunately we need to go with something cheaper.
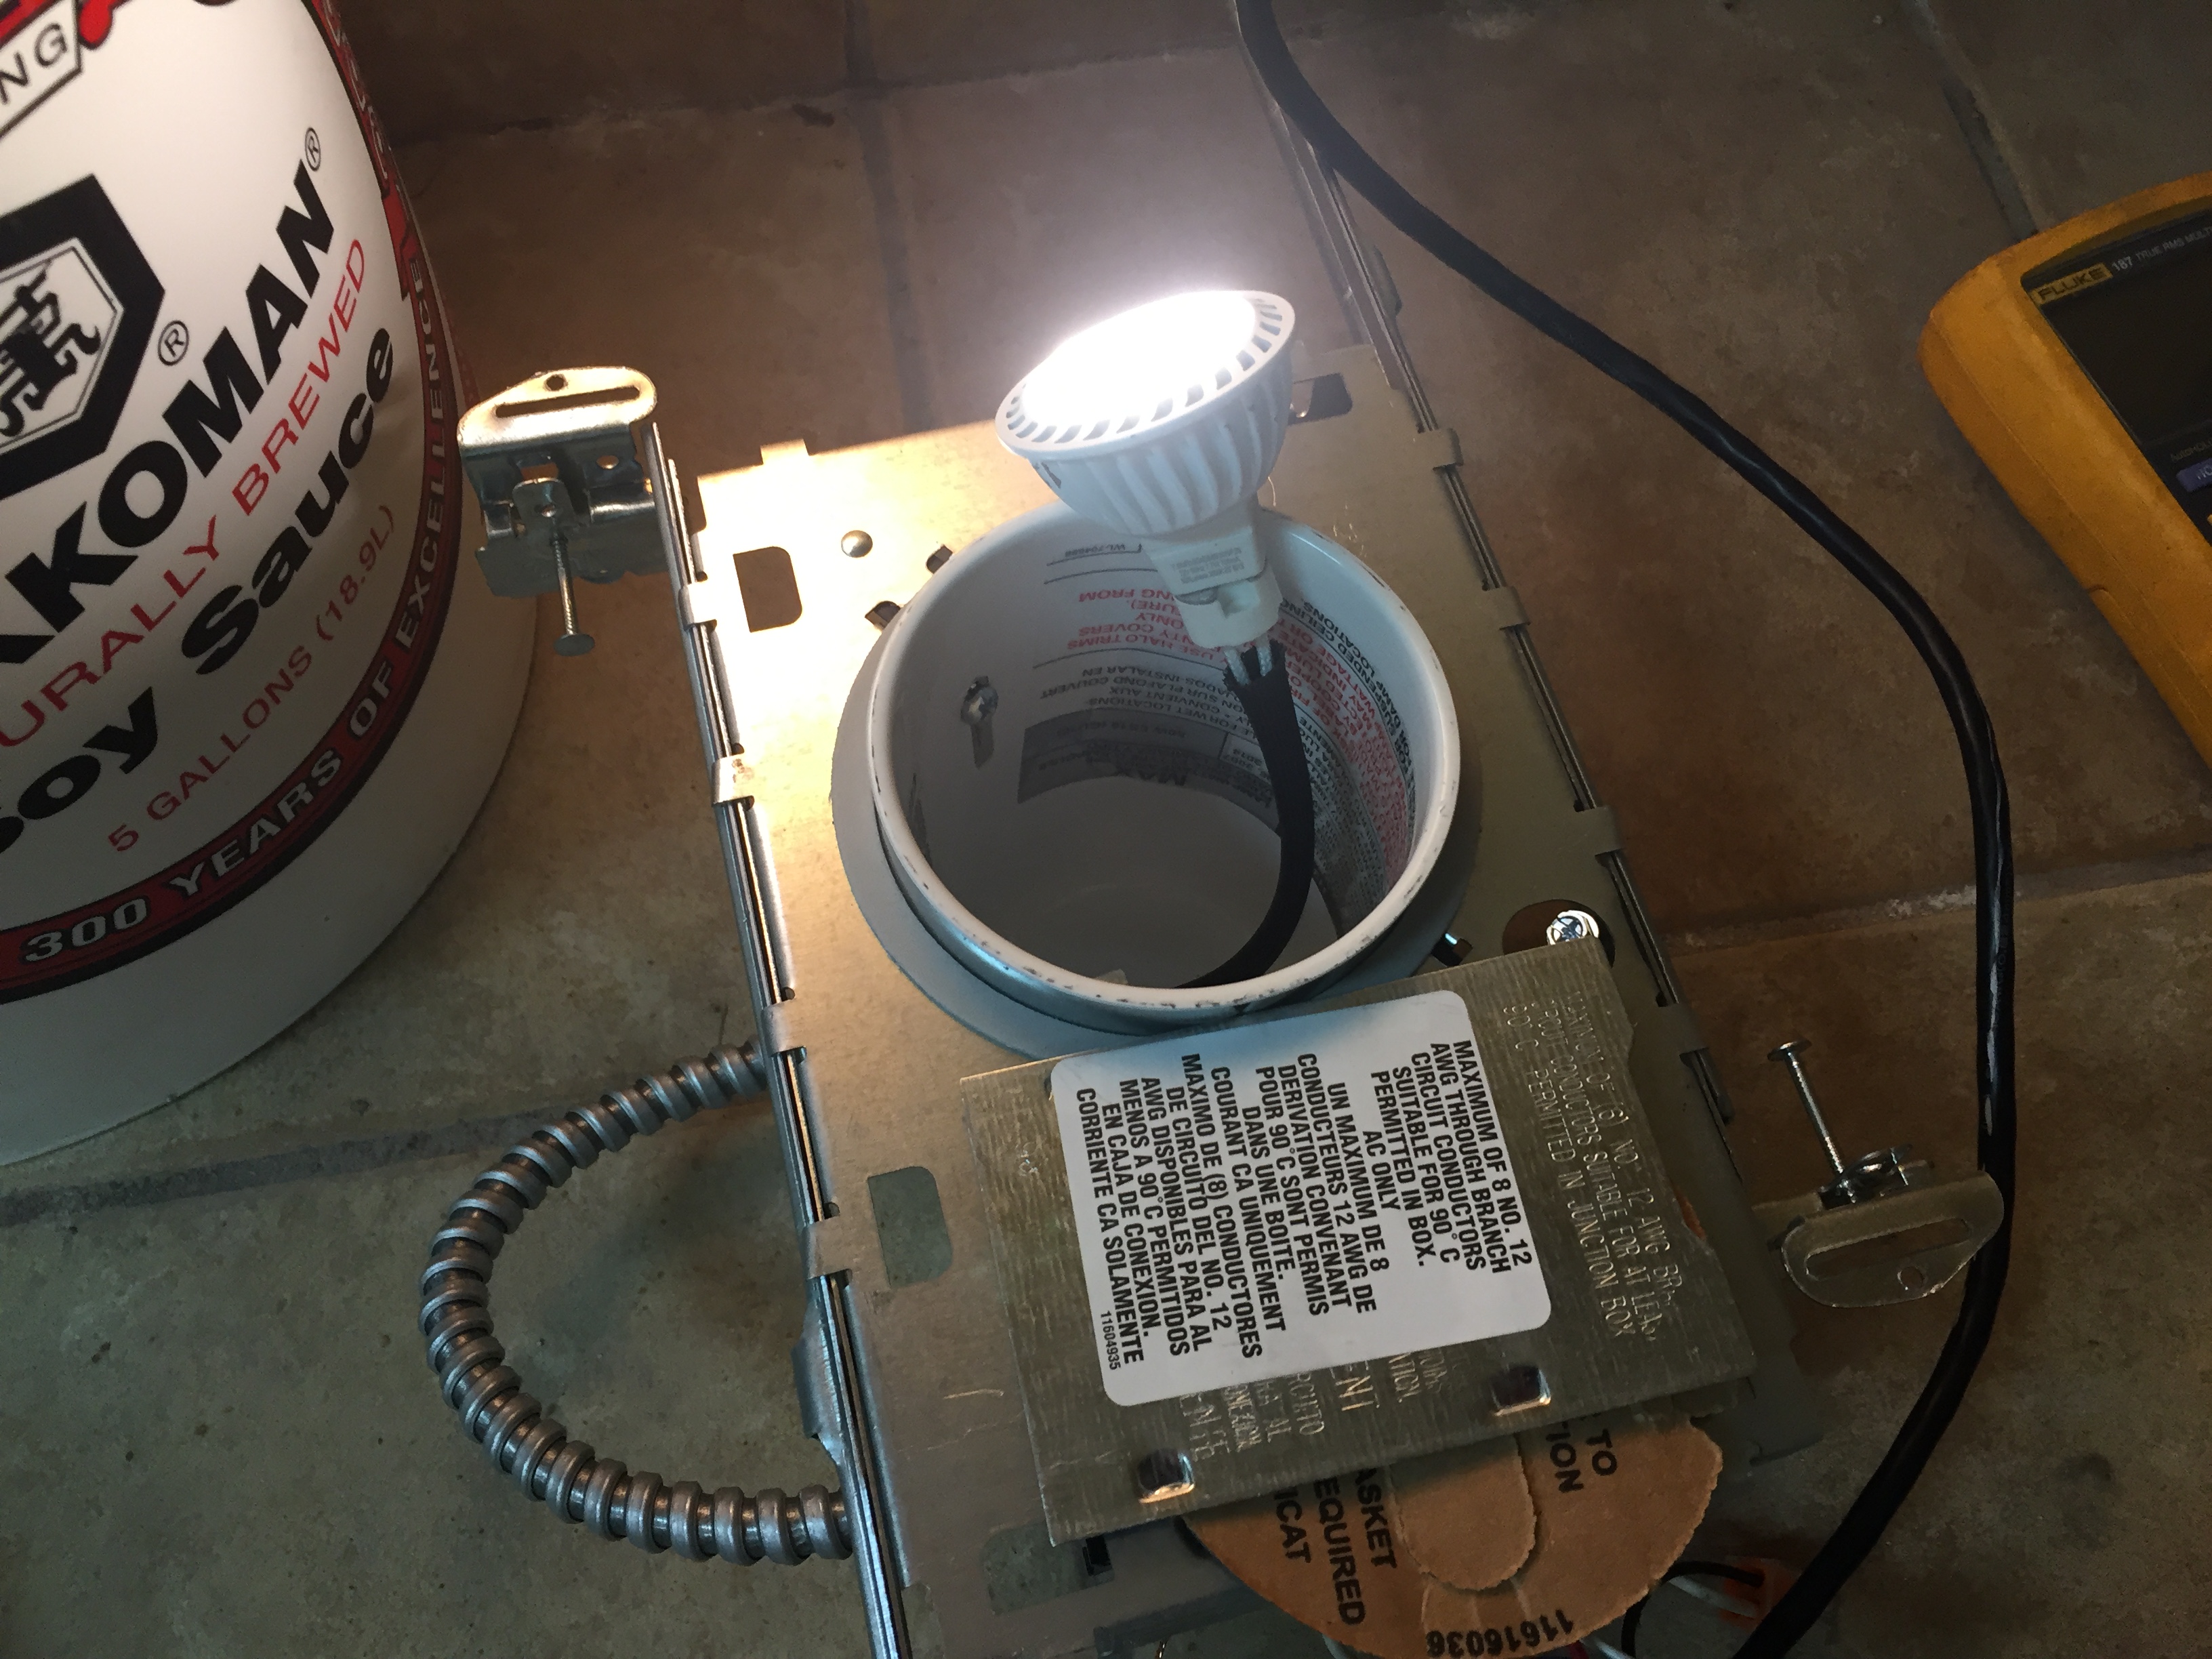
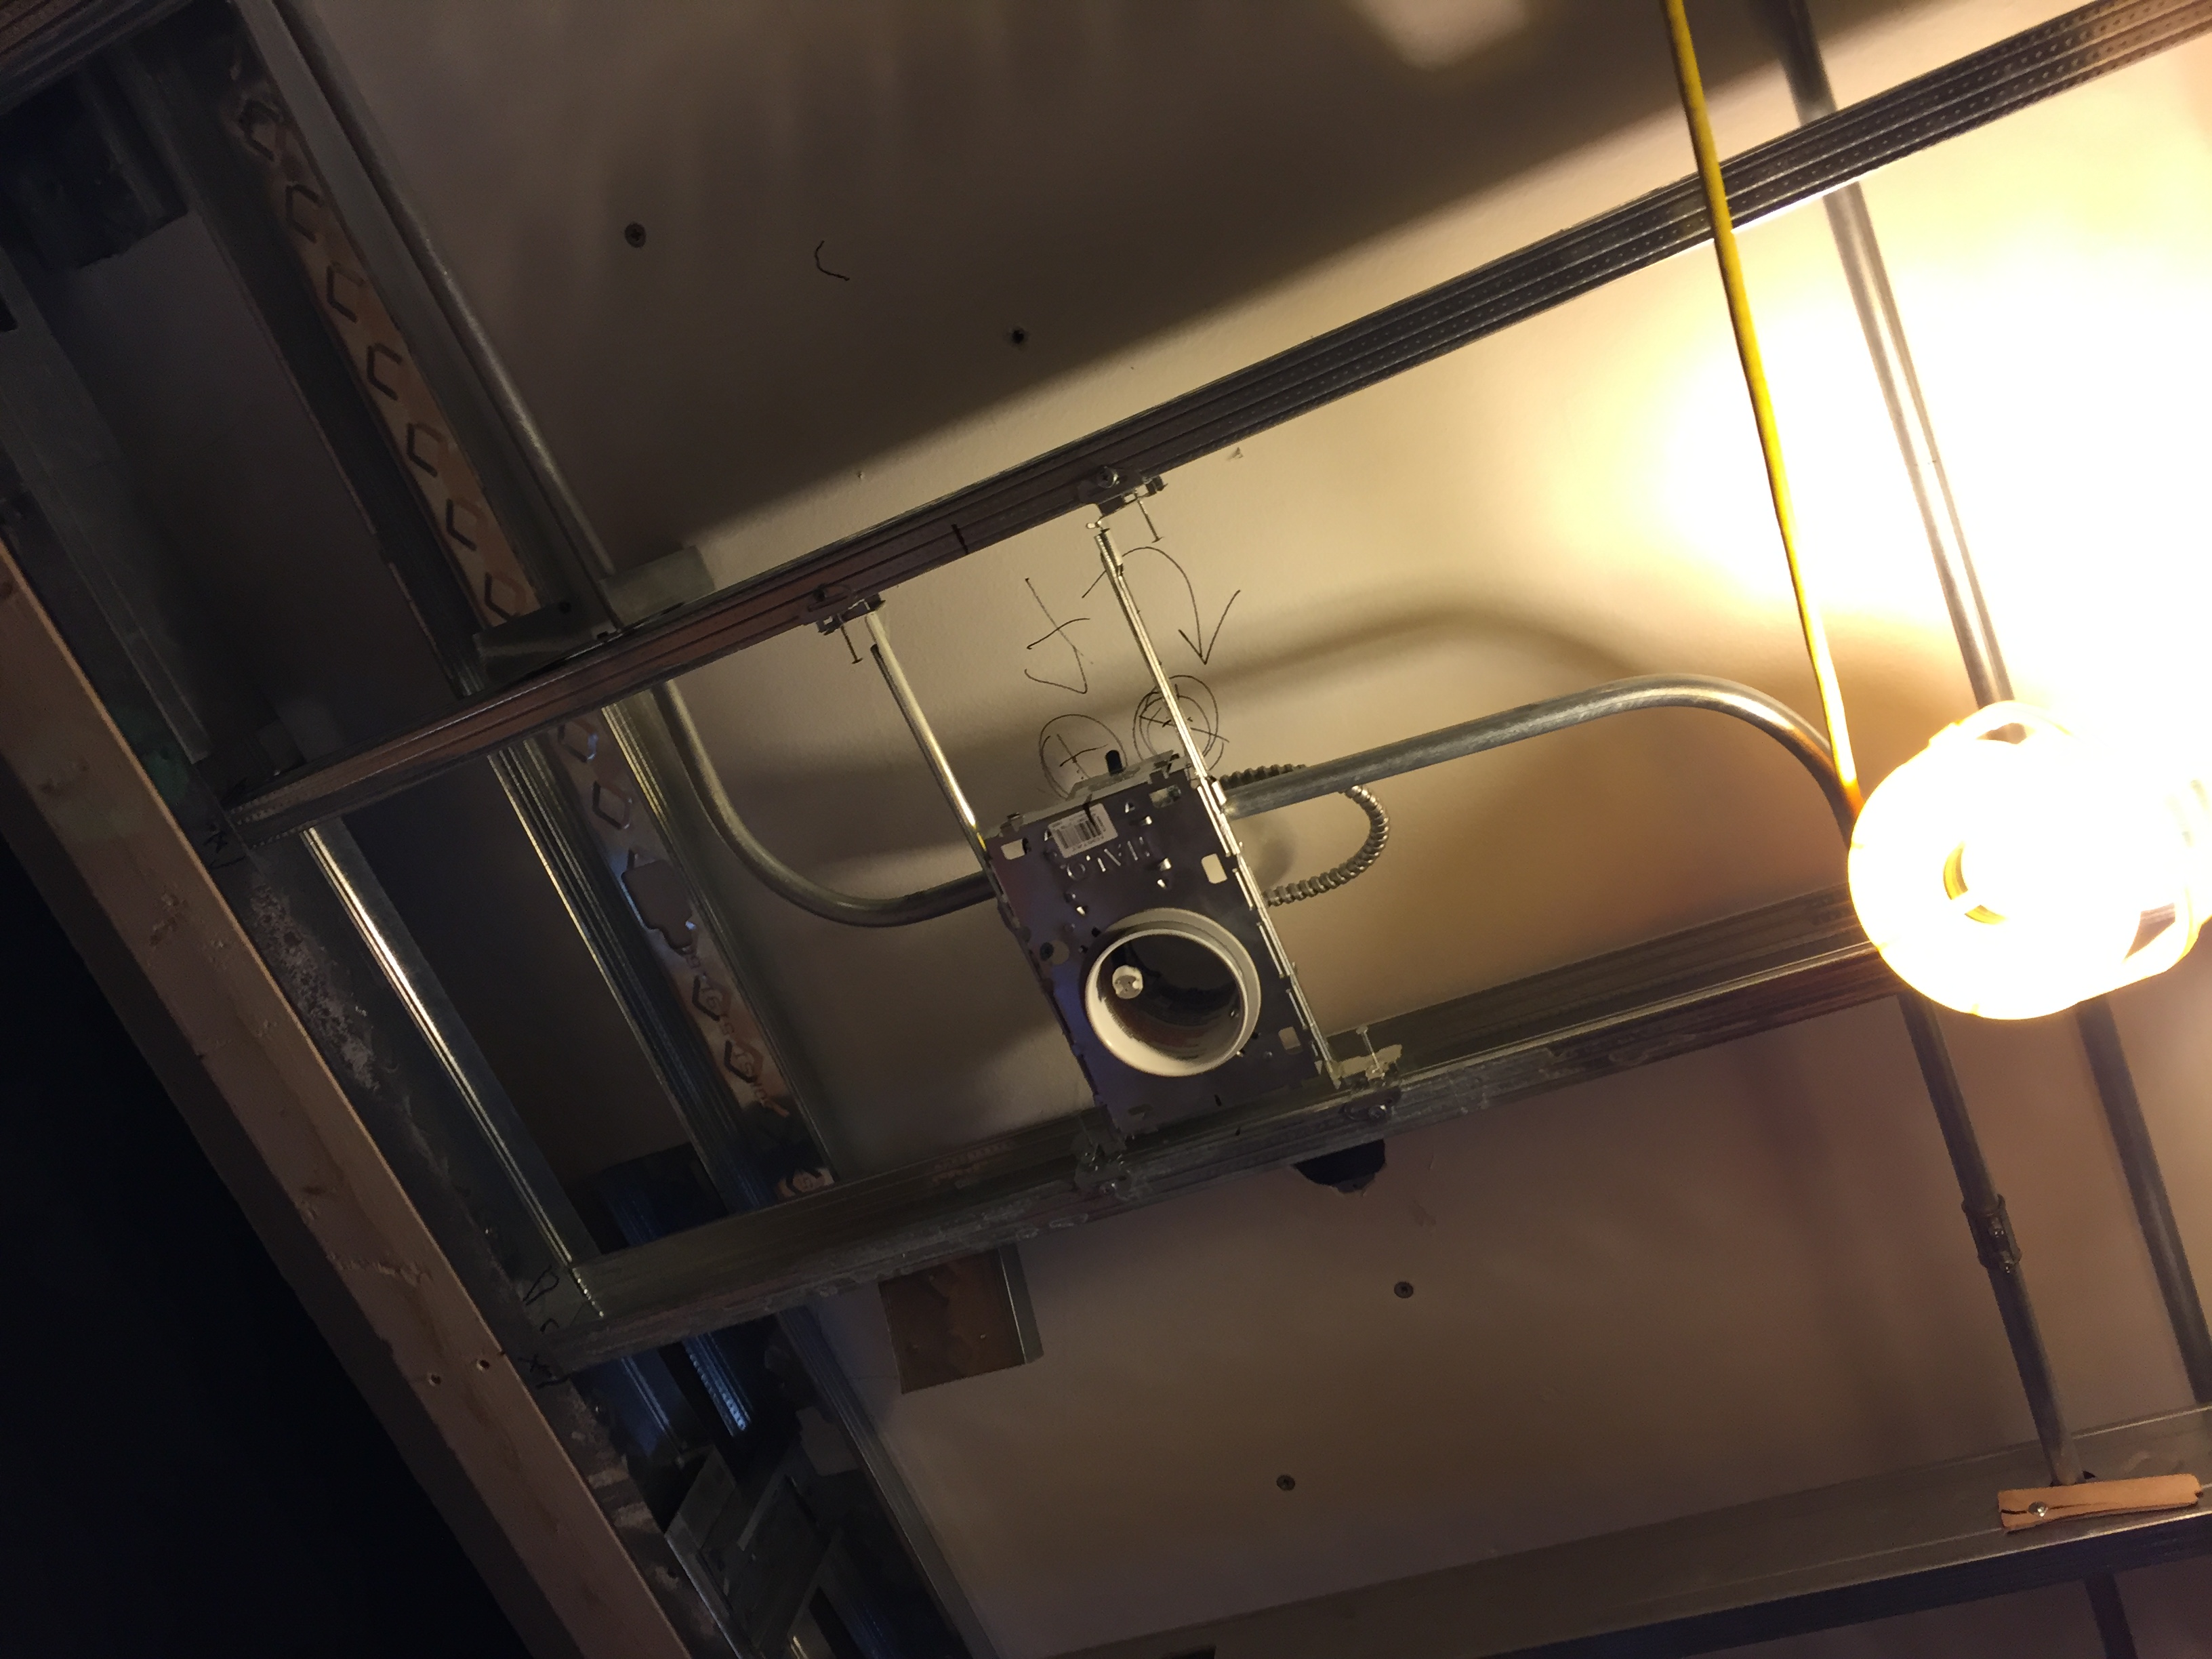
Instead we will be using a halo recessed light with a square trim. I chose a GU10 lamp base 3.5inch fixture and will be converting it to a GU5.3 base so that I can use a 12V MR16 LED bulb. This way I can control the bulb with the same driver as the LED tape. This will be much cheaper as it eliminates the 0-10V to DMX converter from my riser, and still allows for dimming via the LED tape drivers.
At 1/3 of the price of the WAC lights, Im very happy with how the cheaper halo fixtures look with the 12V LED lamps installed:
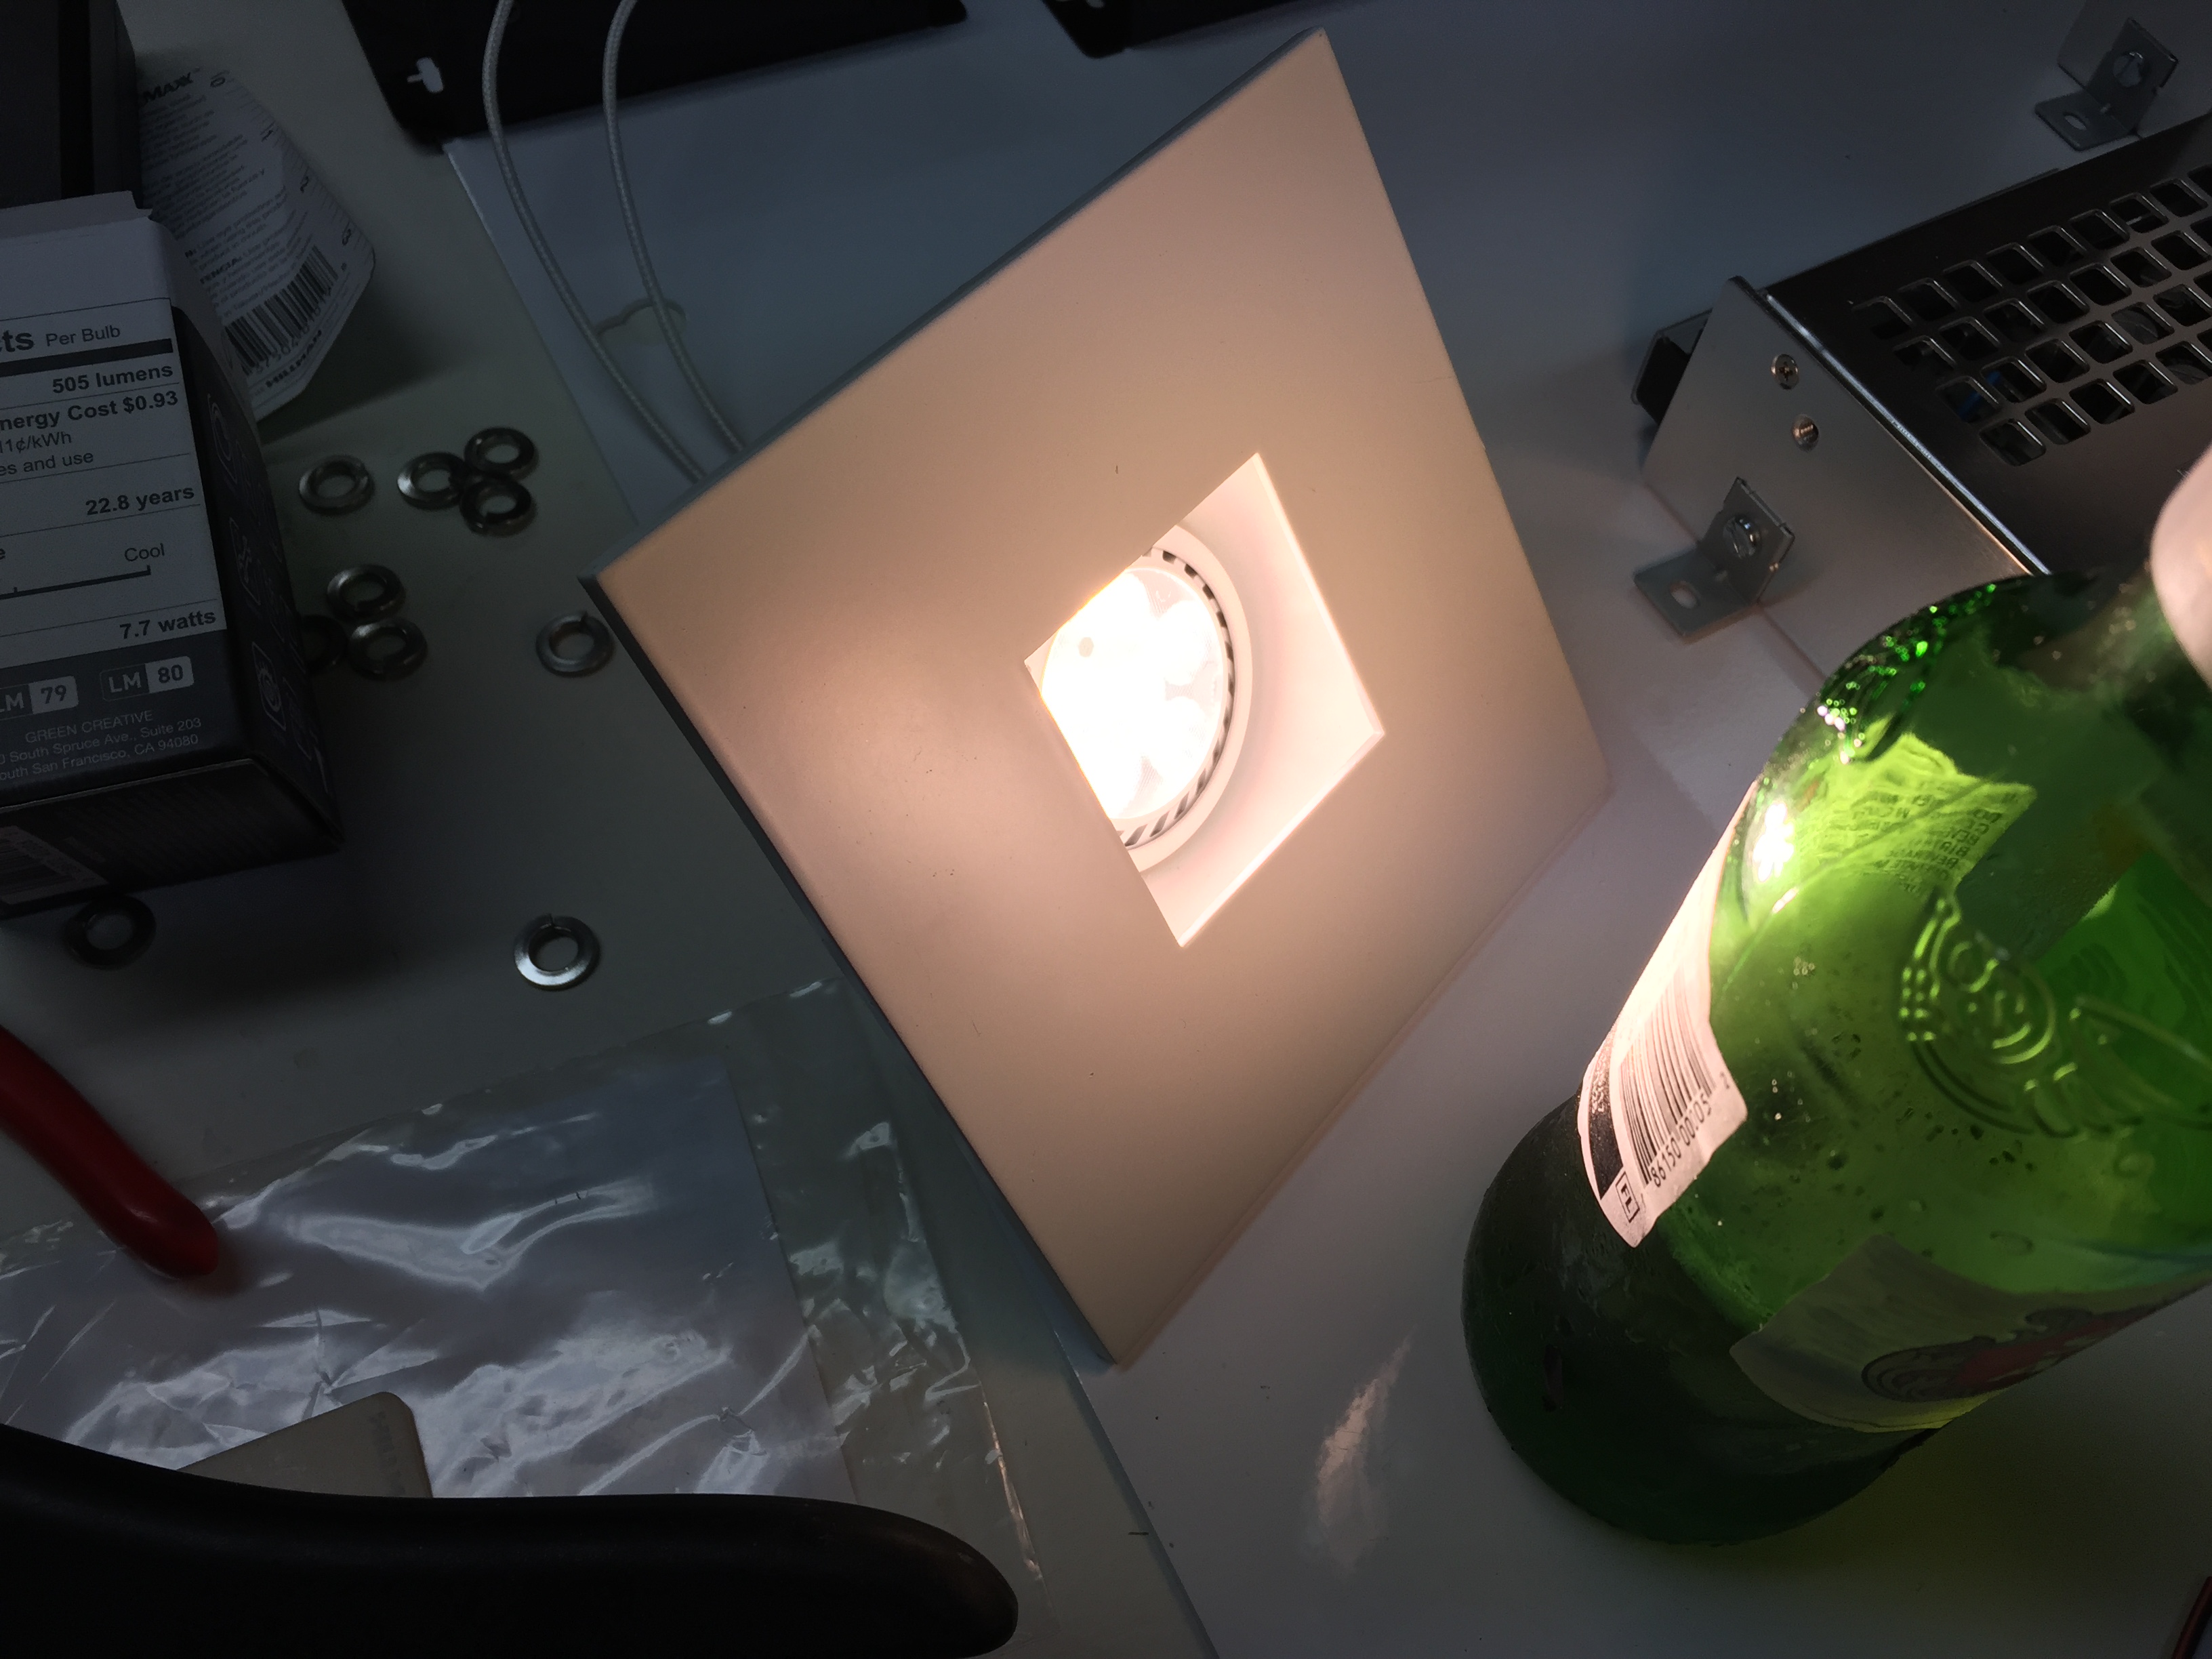
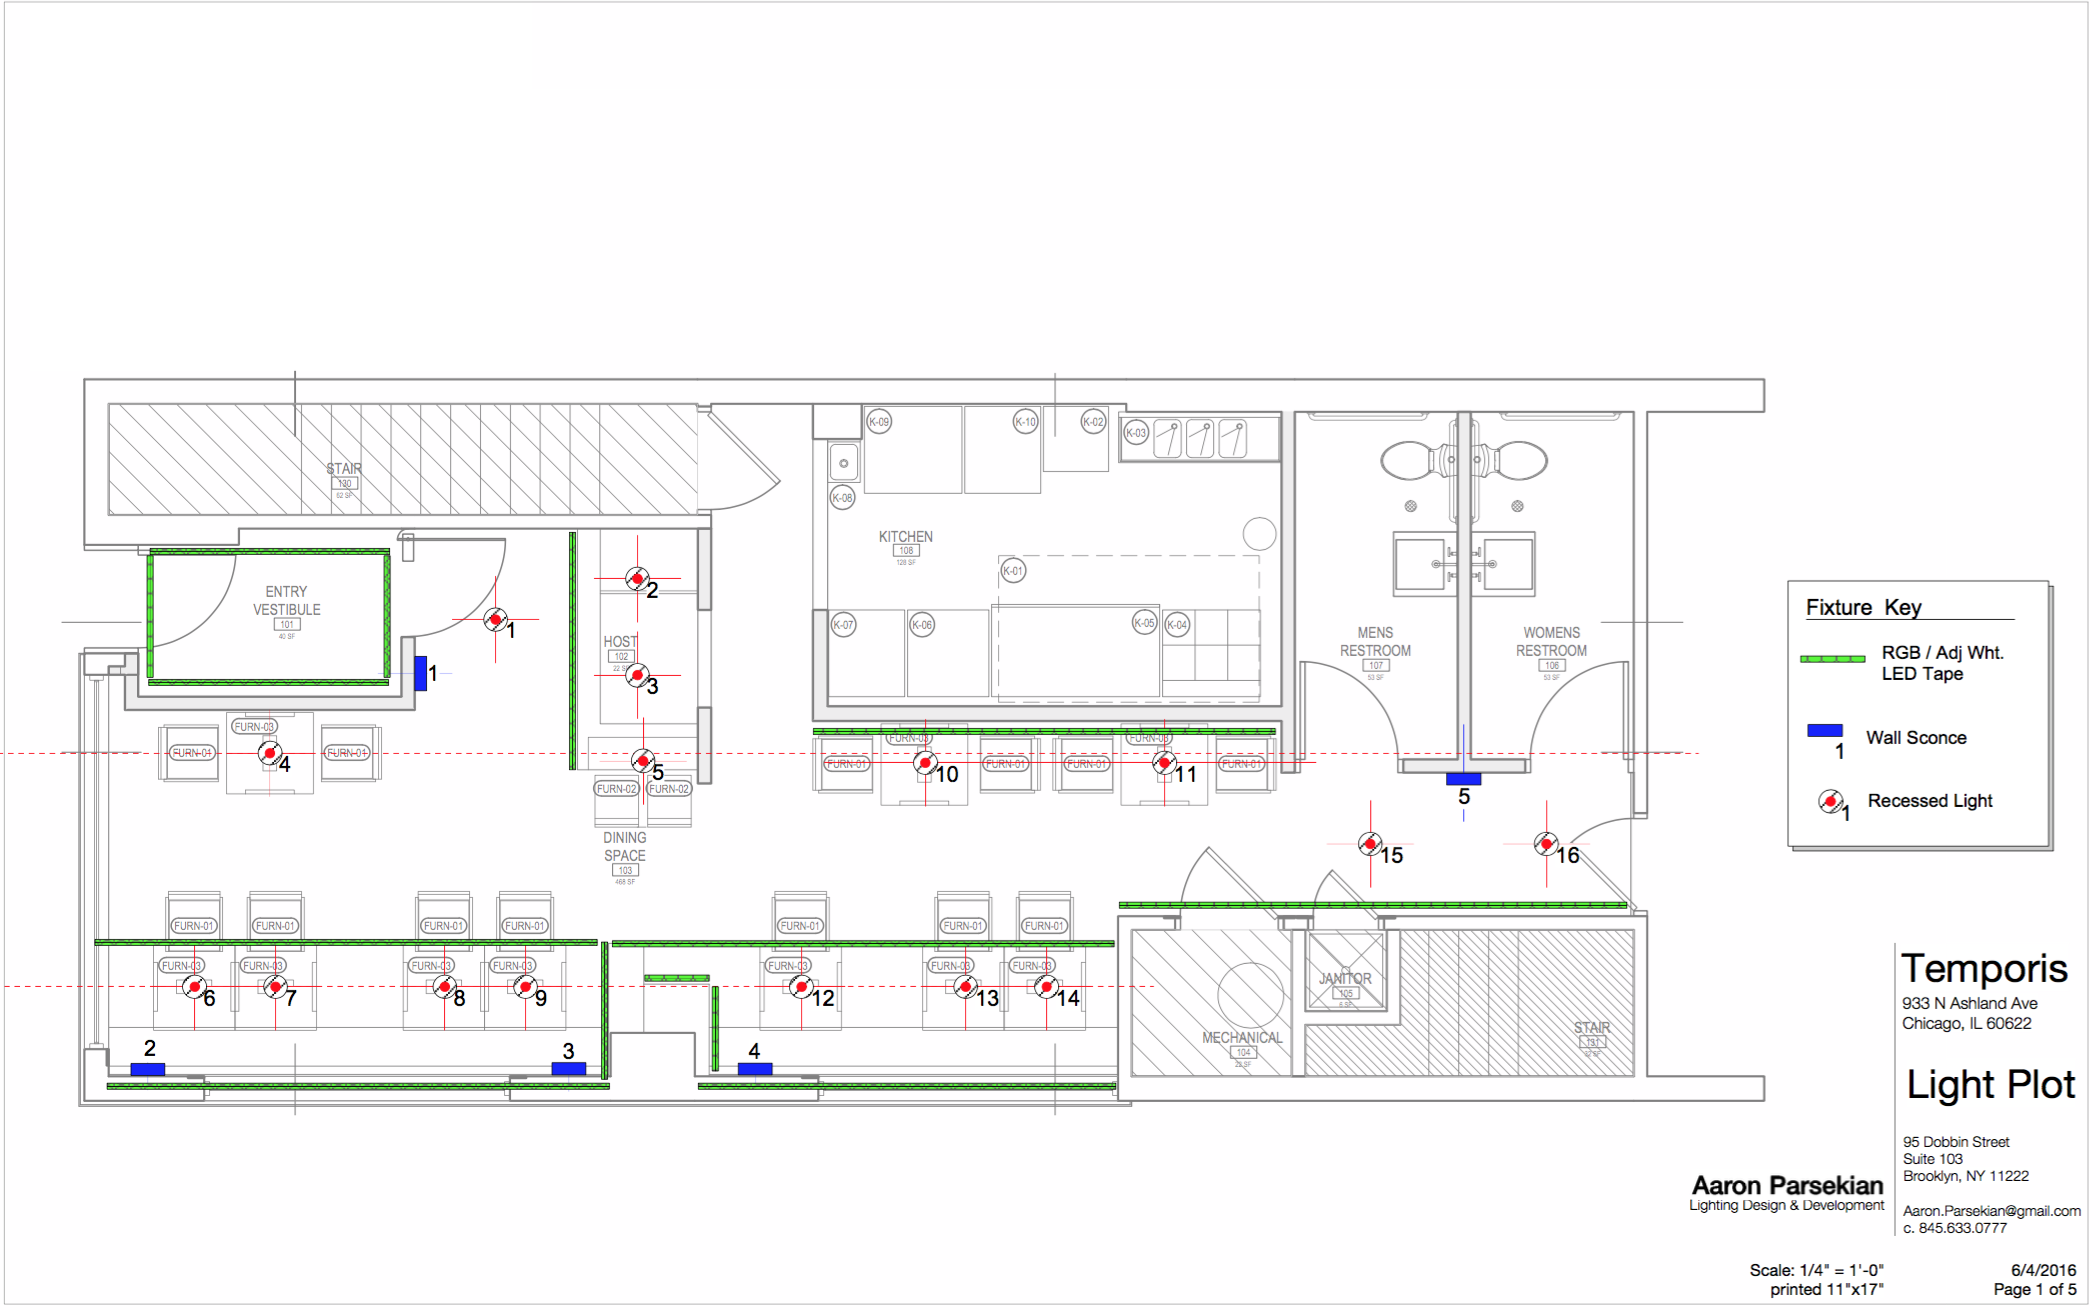
There will be one fixture installed over each table. The tables that use the two long benches will move depending on the size of parties, so the recessed lights over them will be spaced evenly to accommodate different table arrangements.
I chose narrow-flood 12V LED lamps. Their beam spread is around 25degrees, which is slightly too narrow for the tables on the two benches. To get around this I cut frost diffusion out to spread them out some more:
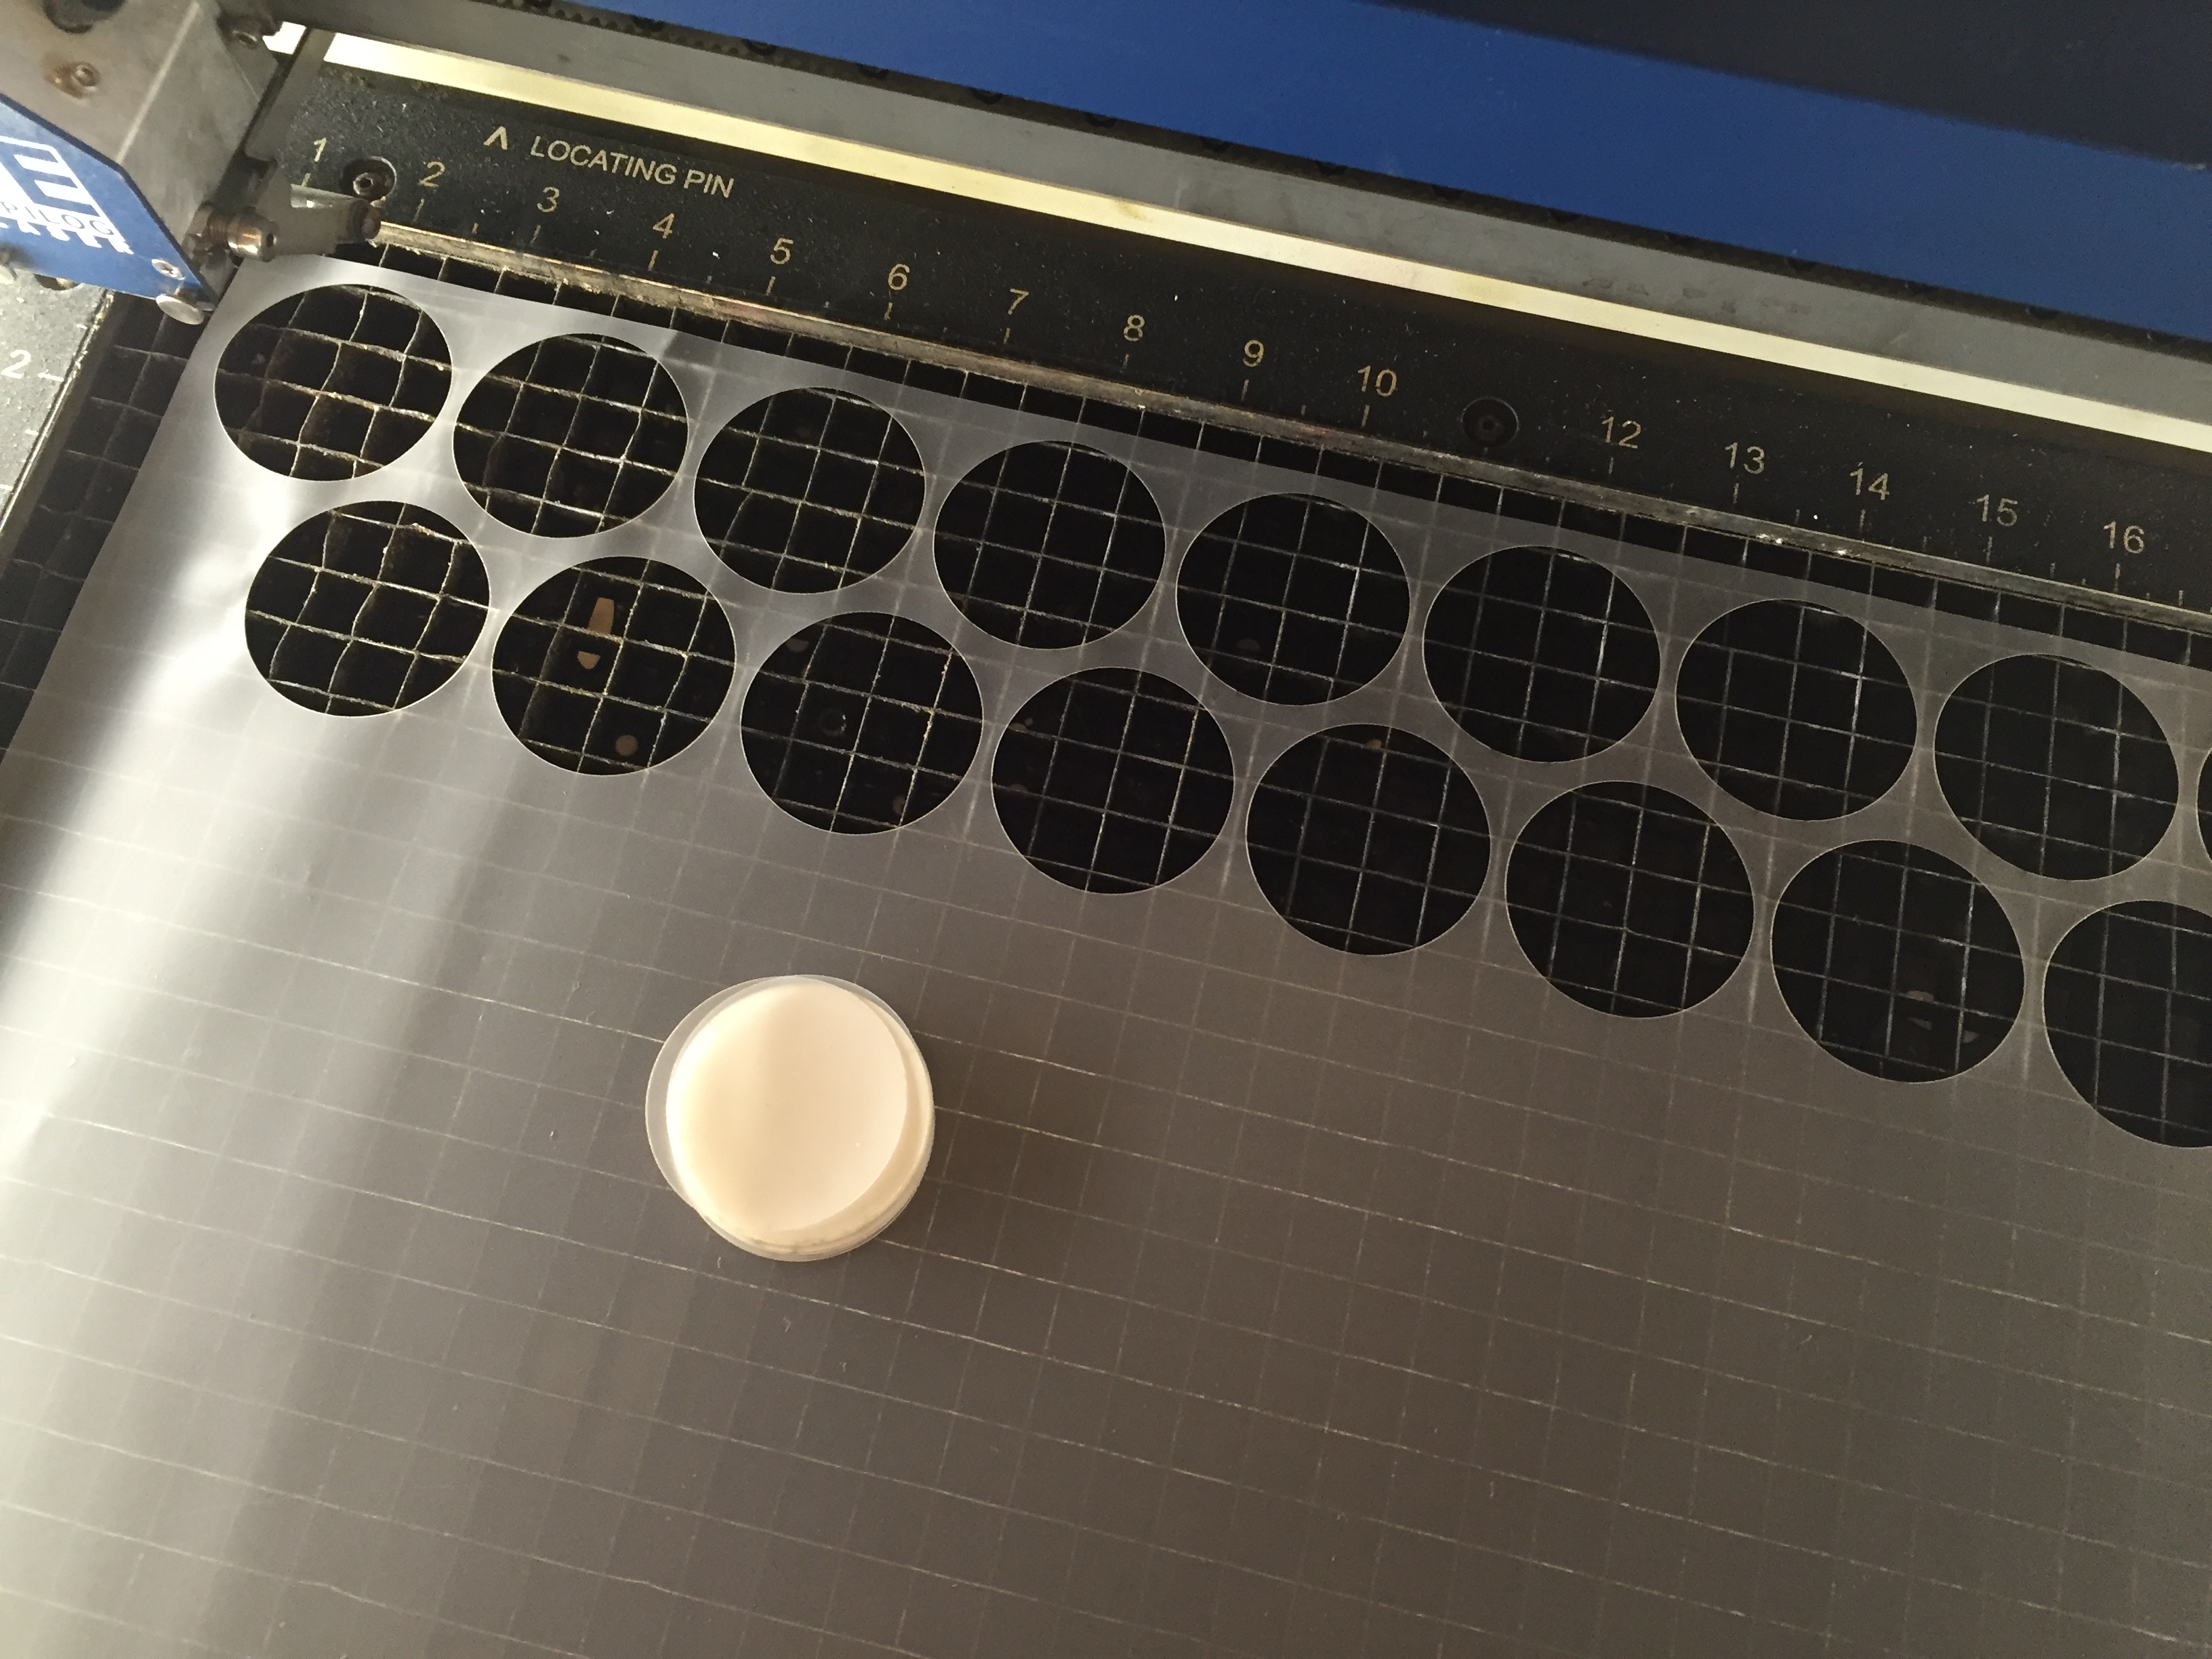
Here are the lamps I chose:

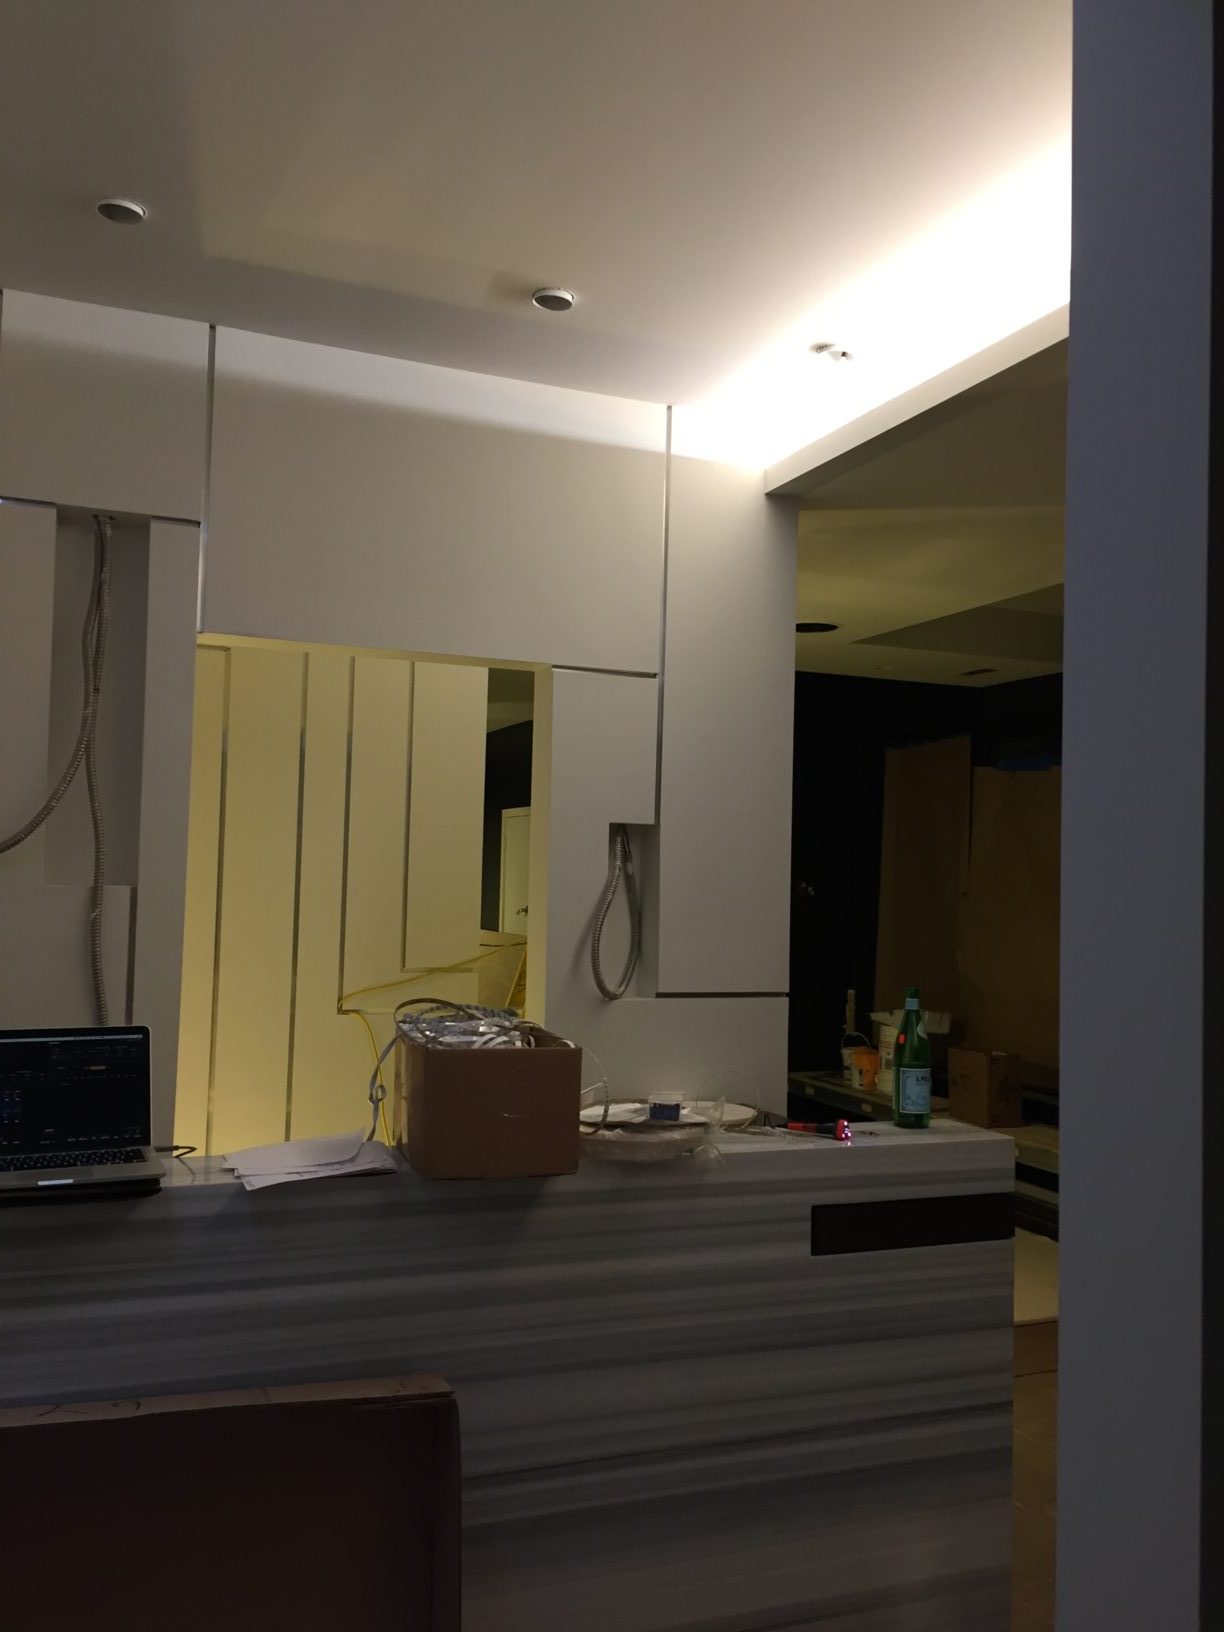
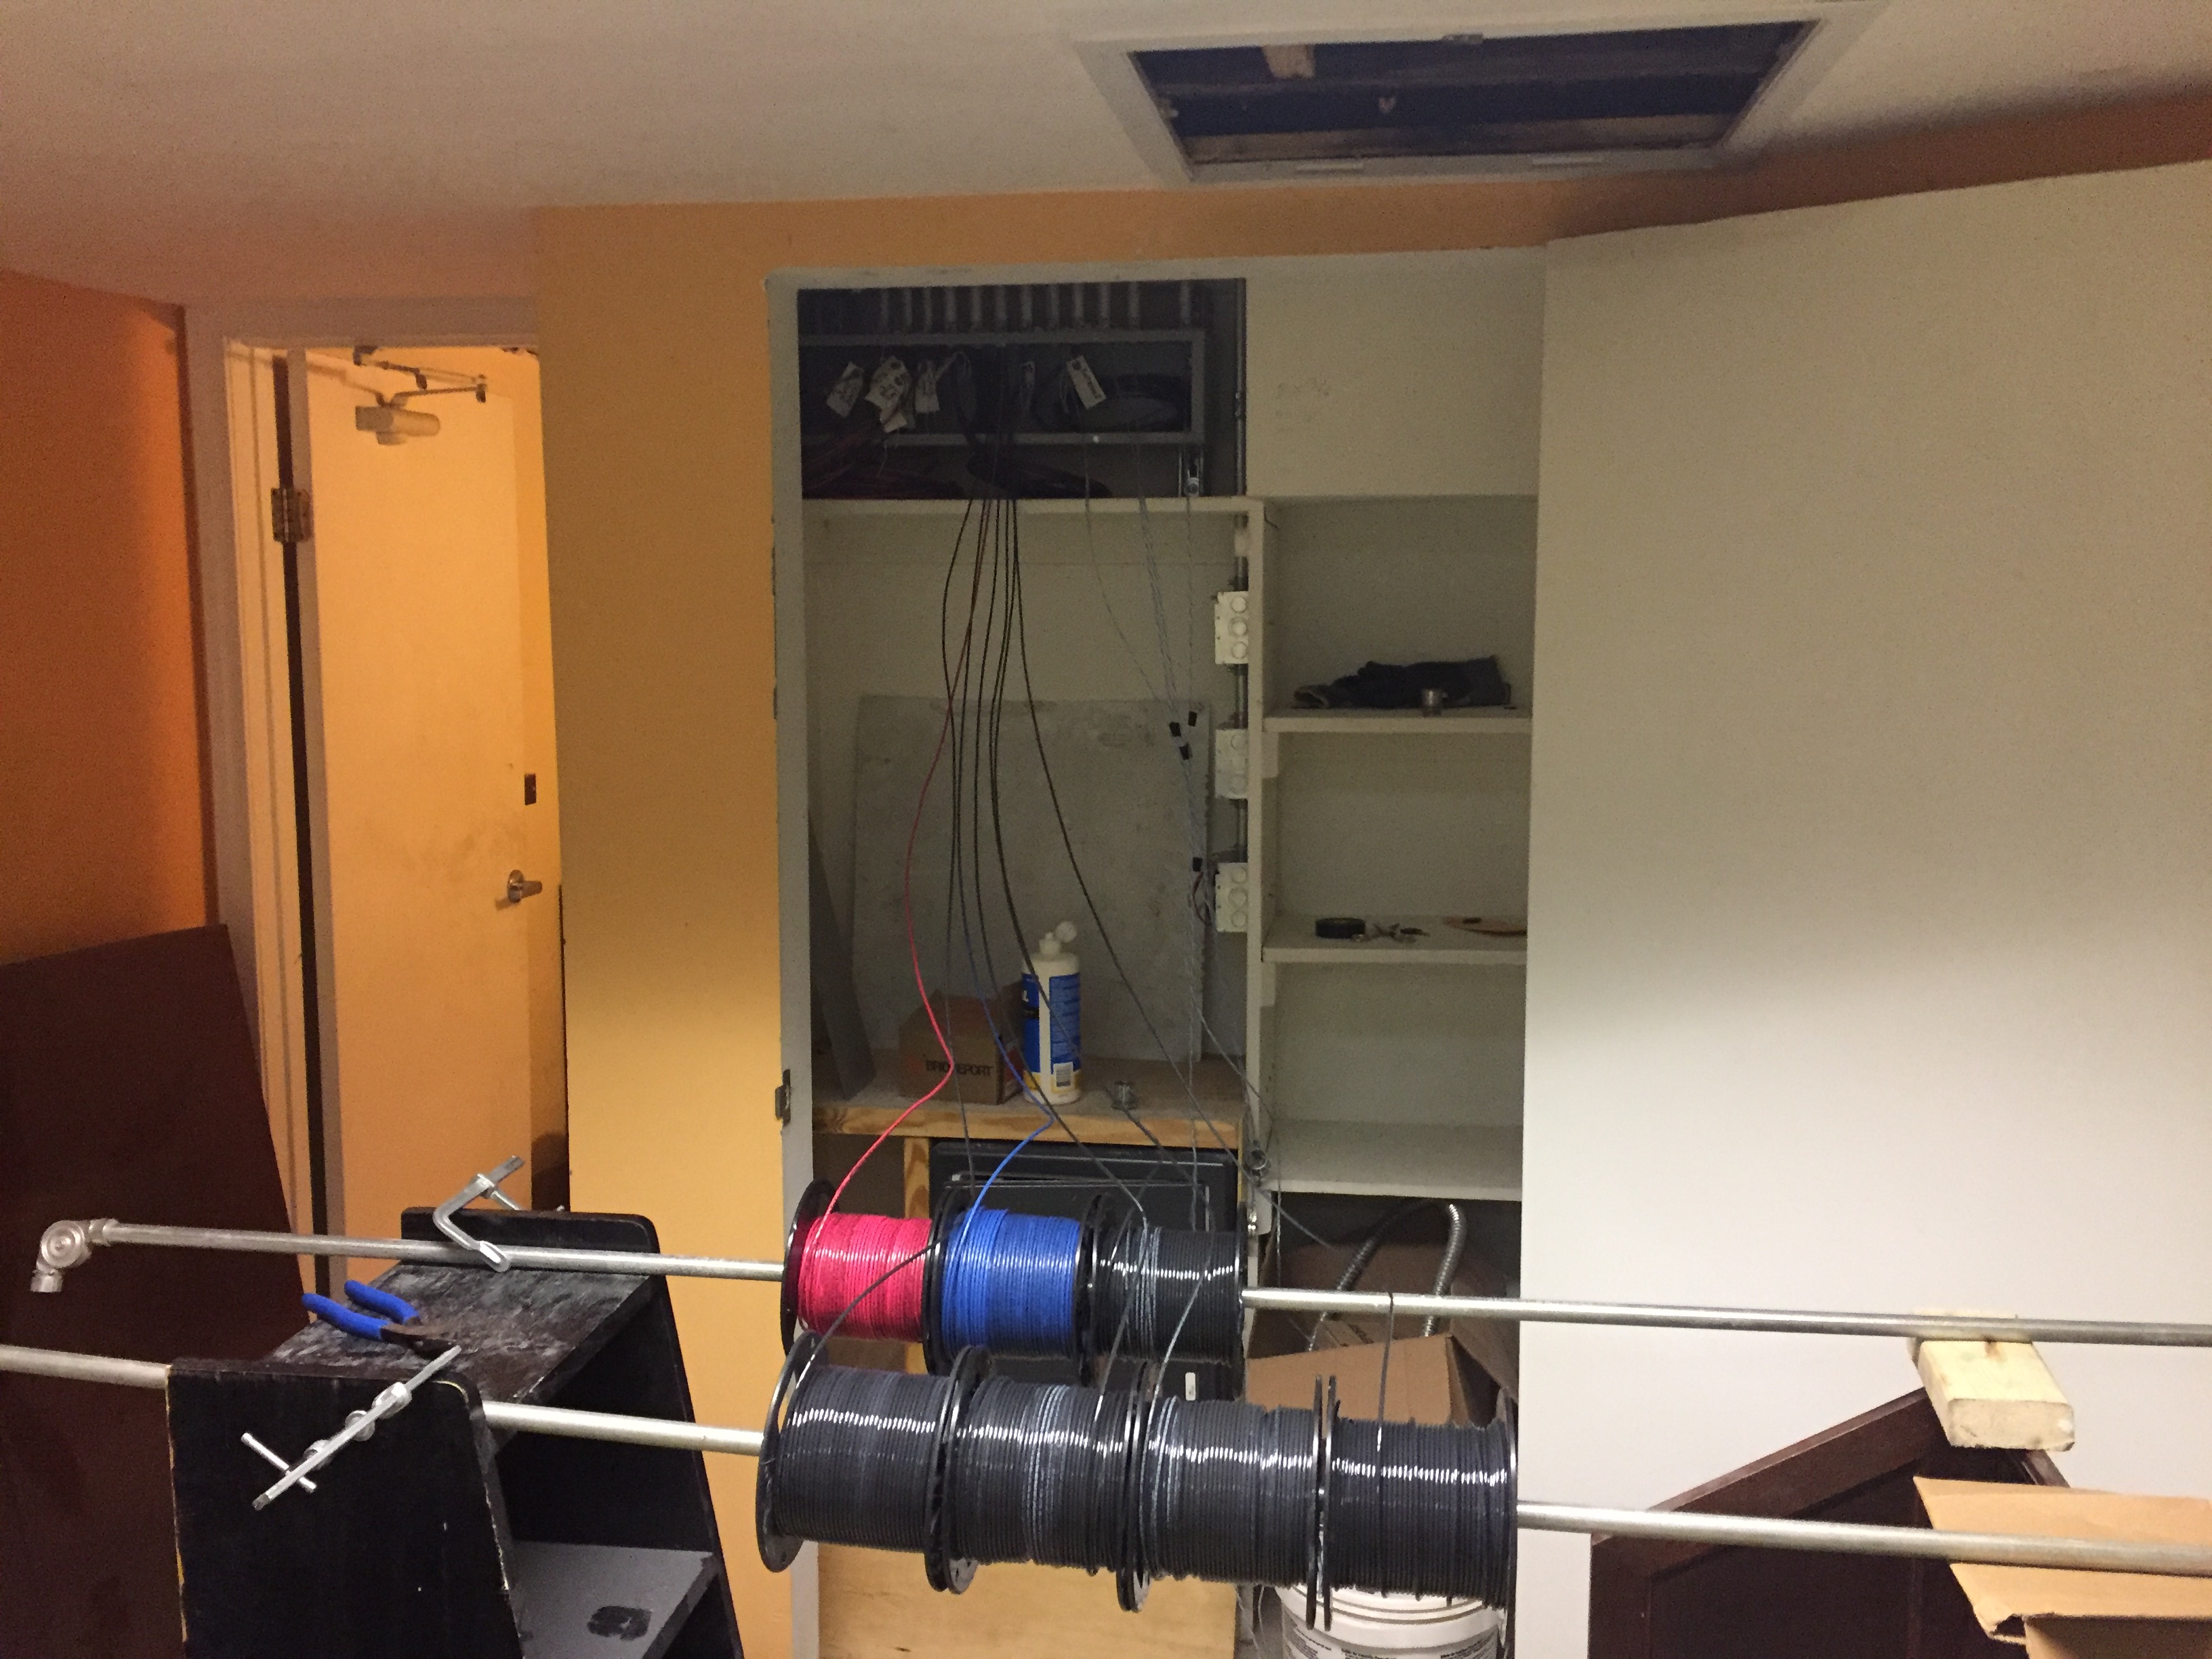
Since we are in Chicago, even the low voltage recessed cans need to be hard-piped together.
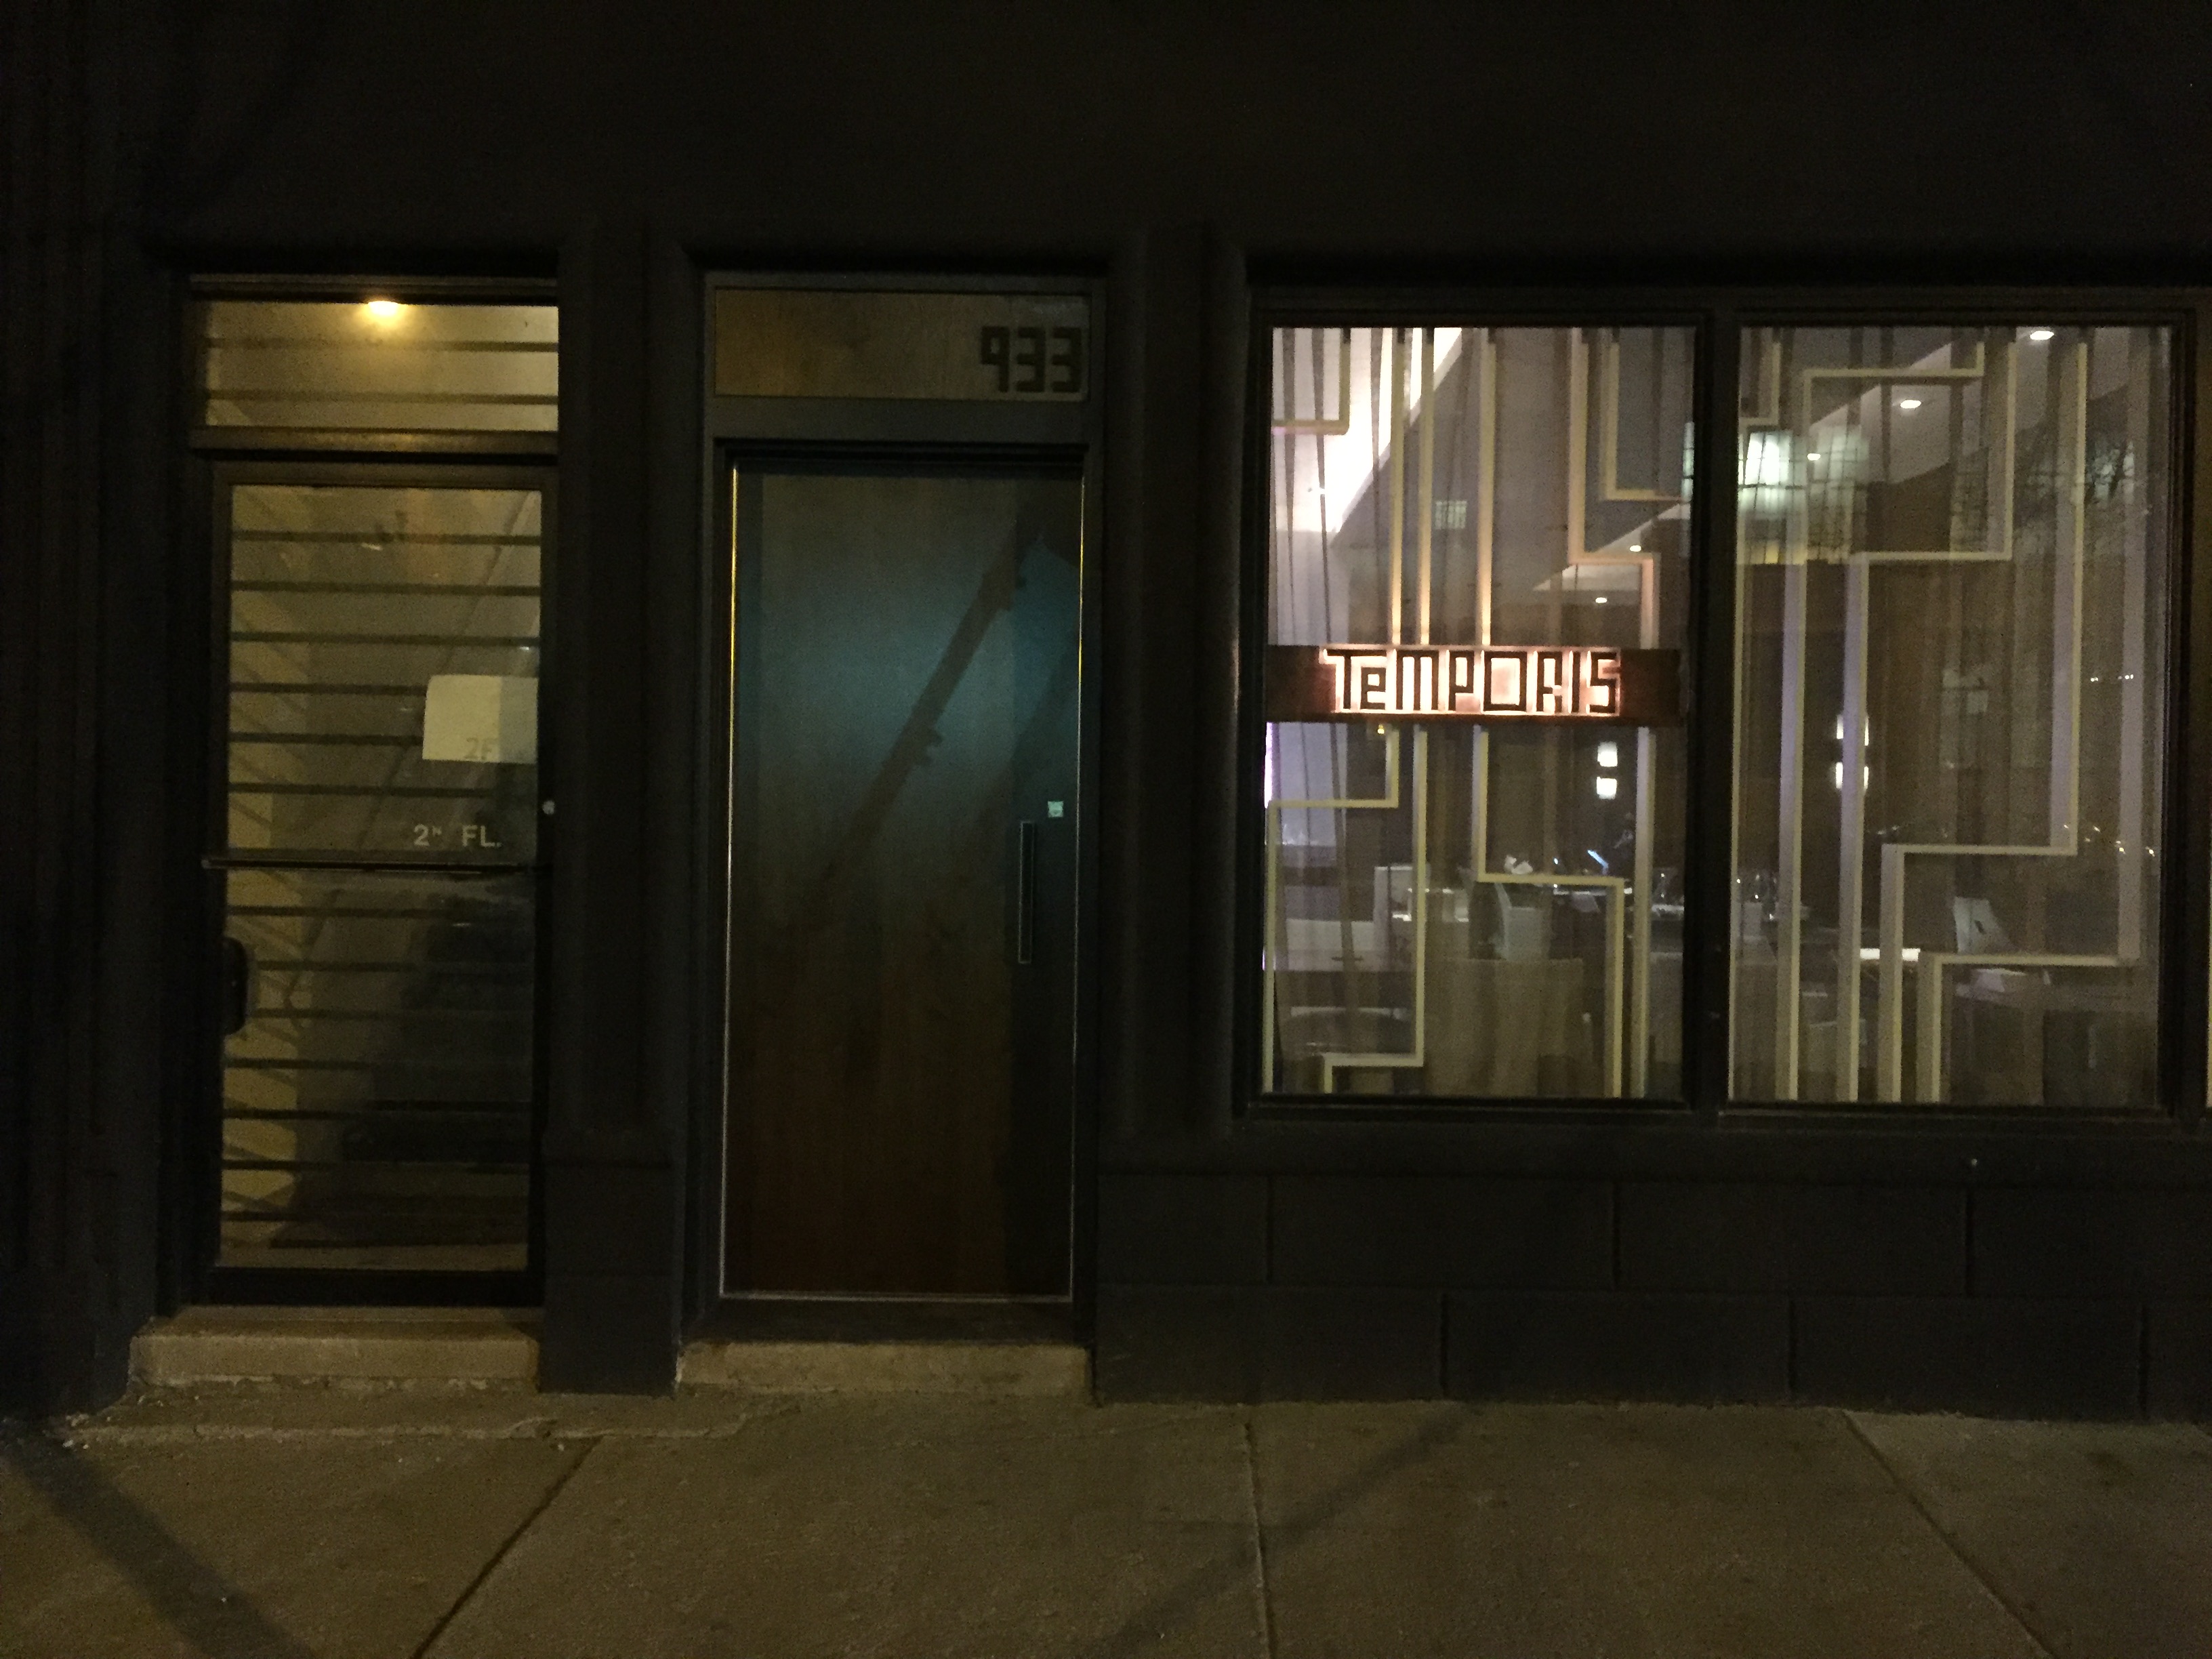
Front window sign
The architects initial rendering includes a small ‘TEMPORIS’ sign on the front window adjacent the front door:
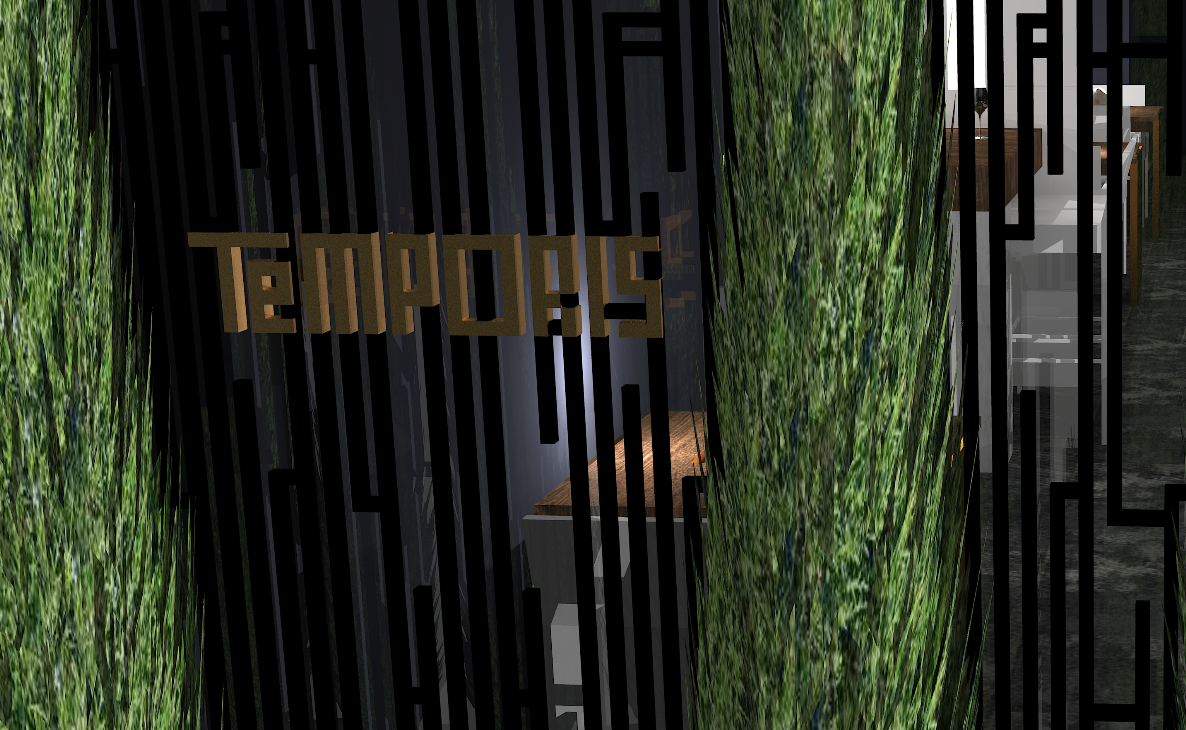
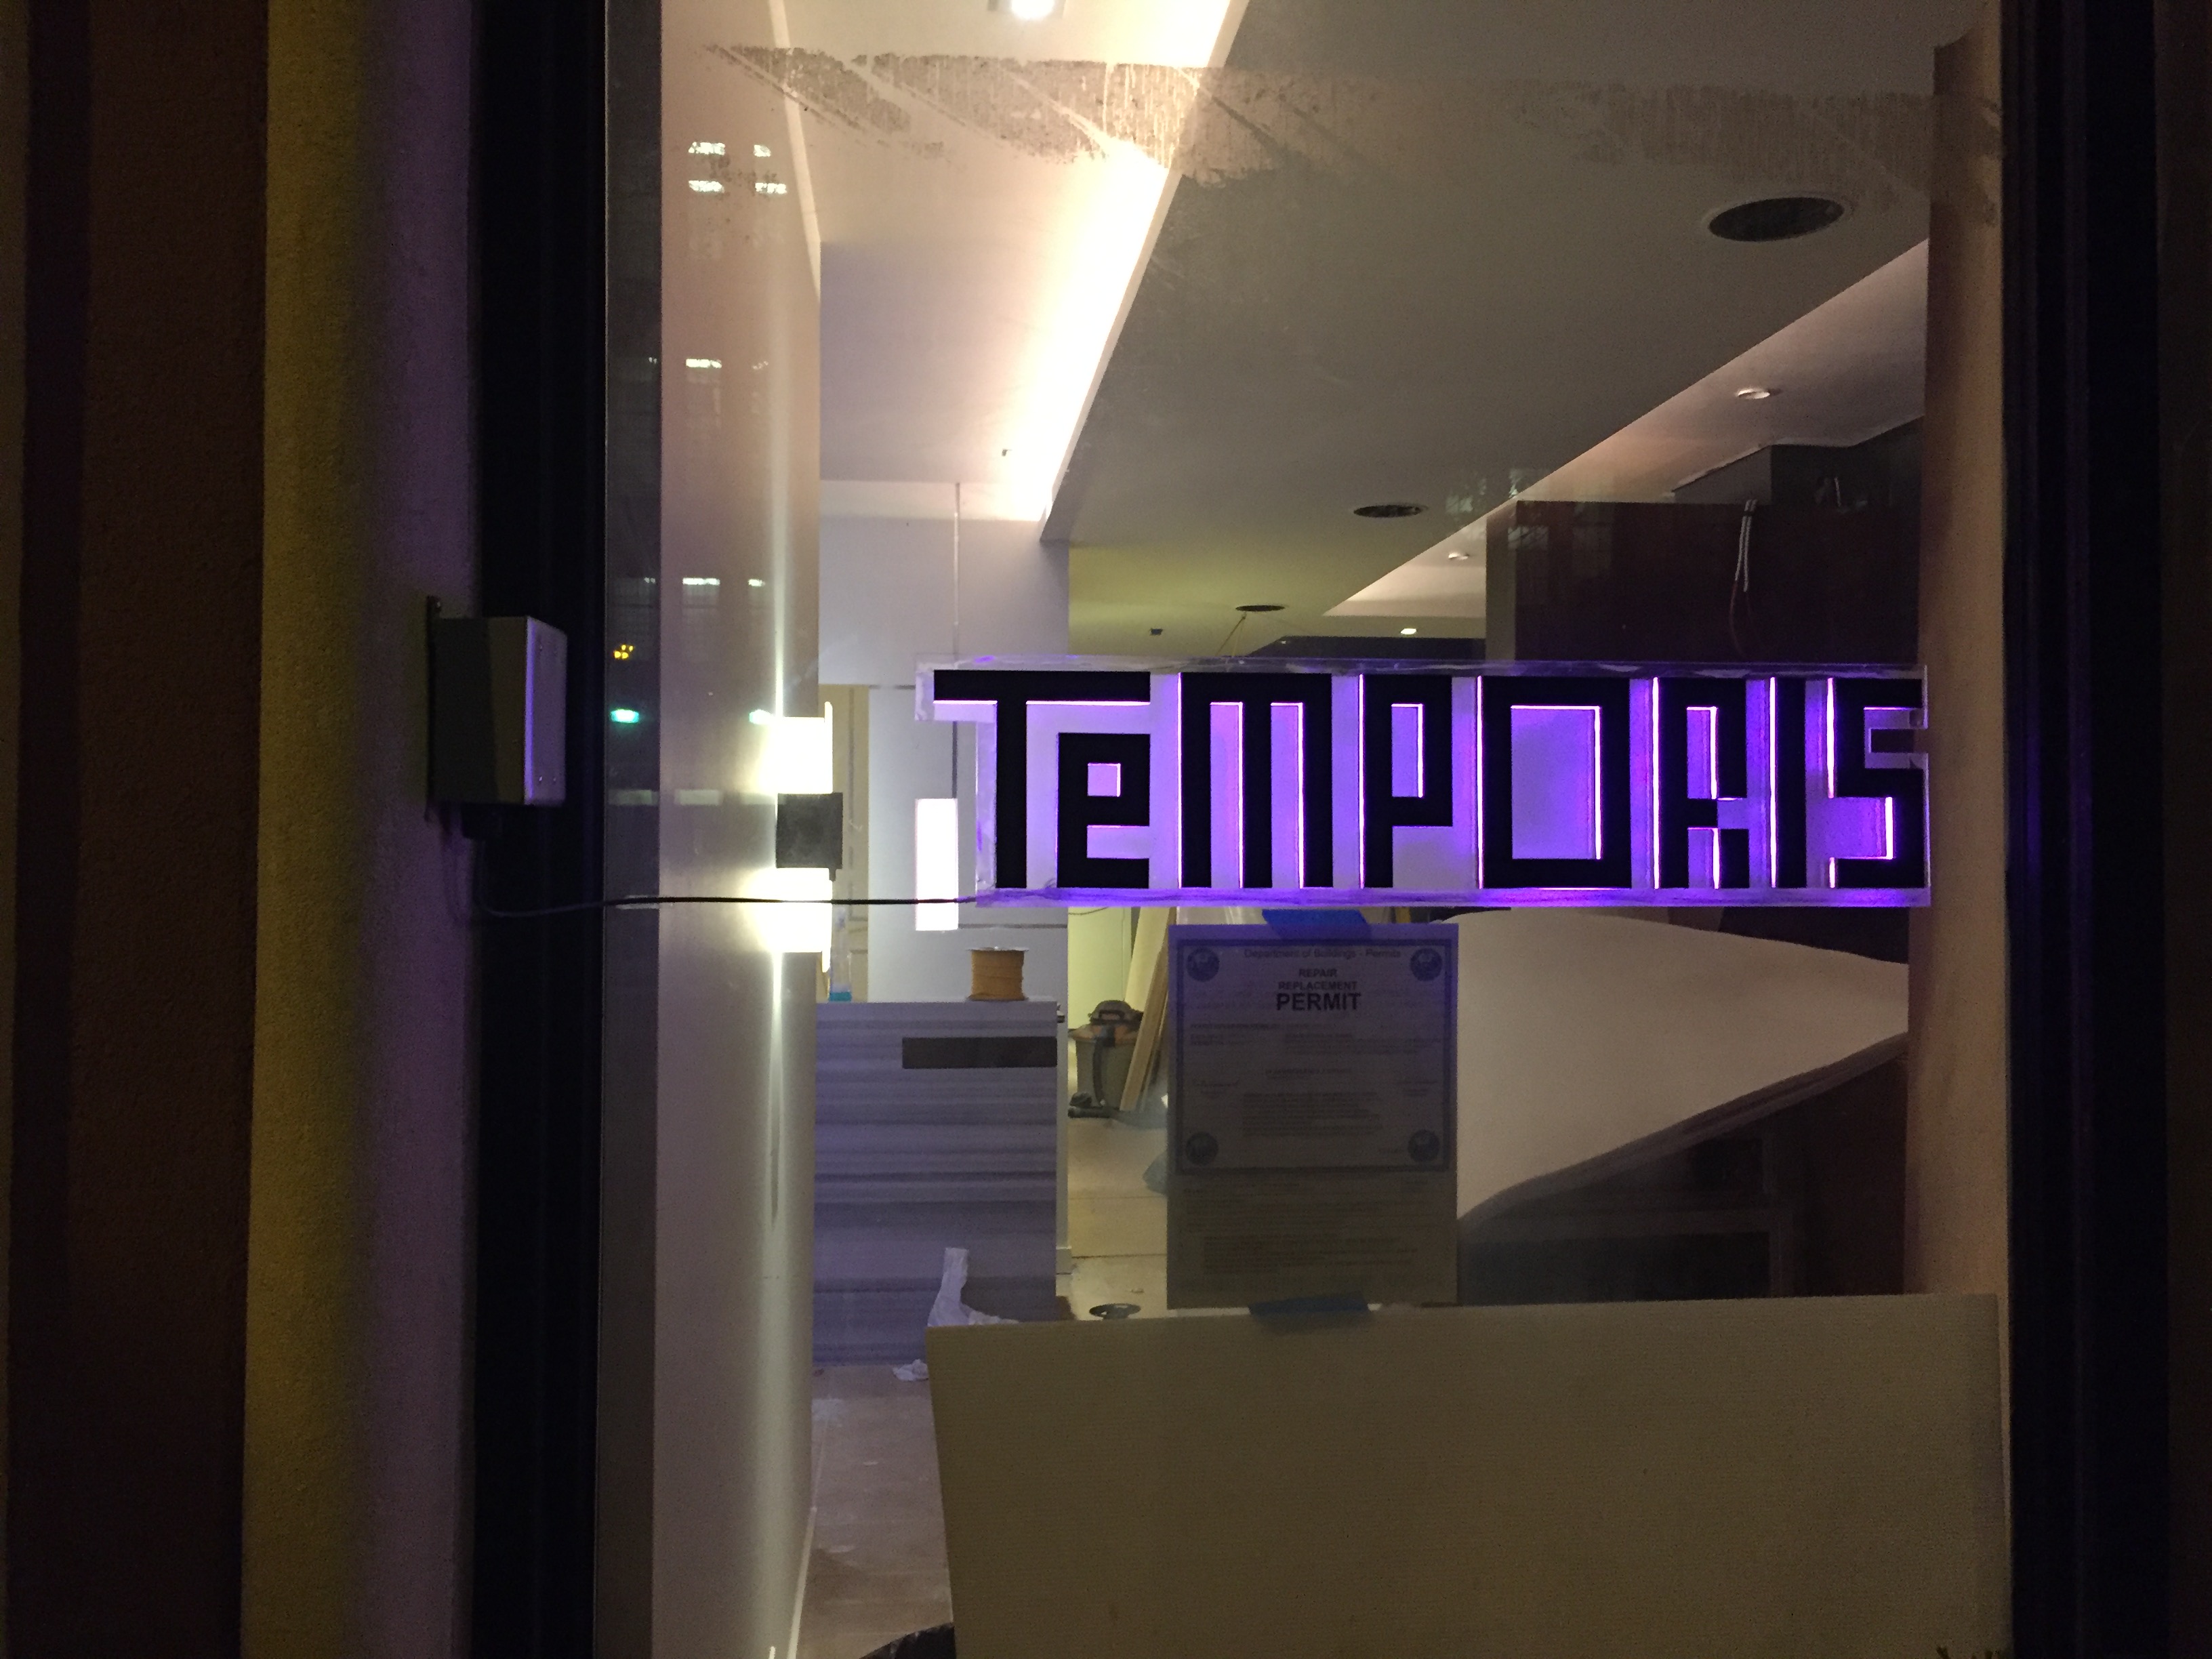
The Temprois logo is made up of square blocks. These blocks are made up of different colors and shapes in some places, and there is some randomness to what block is what color or what shape between the venues website, menus, business cards. I decided the sign for the restaurants front window should be solid black and edge-lit with the ability to color change.
I originally chose 1/4 black acrylic for the face, but decided to go with P95 matte black acrylic for the final sign. The matte finish will look great against the glass window.
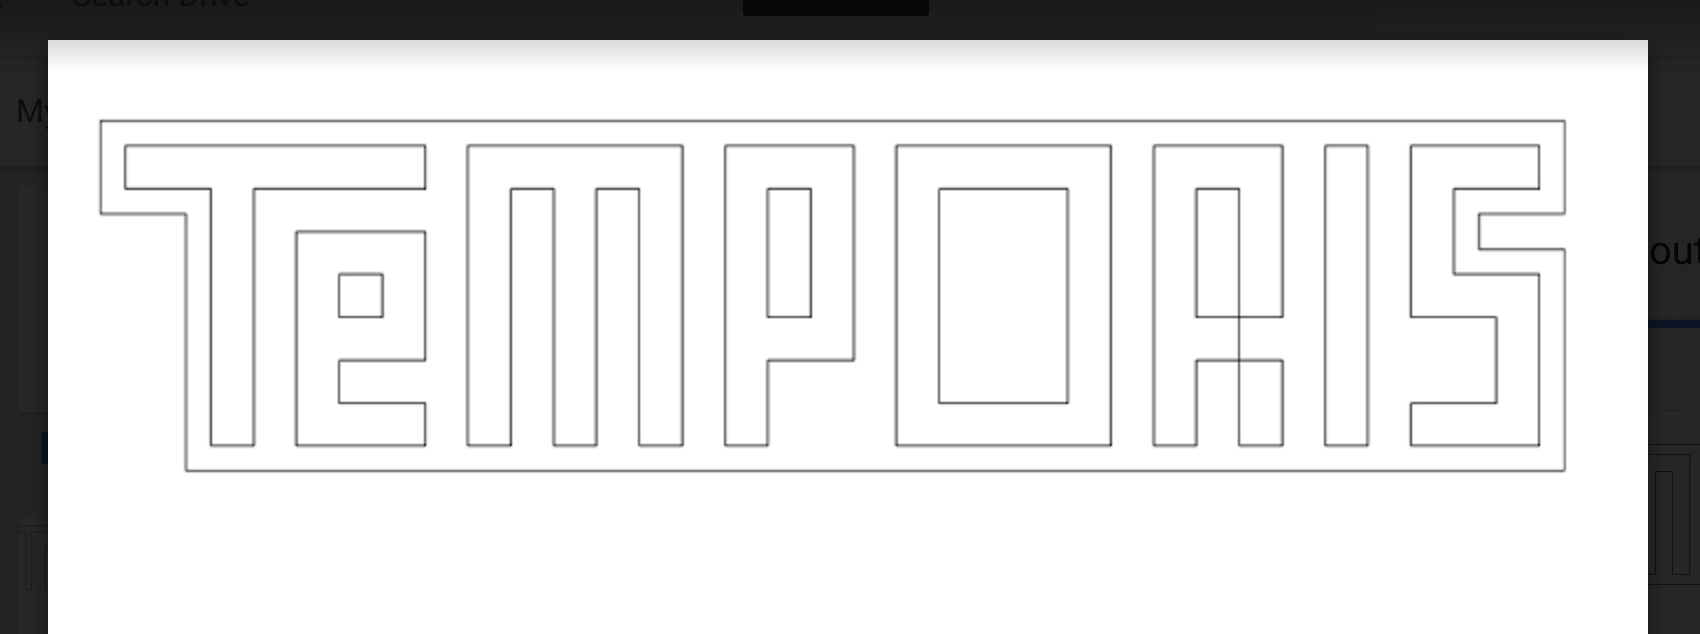
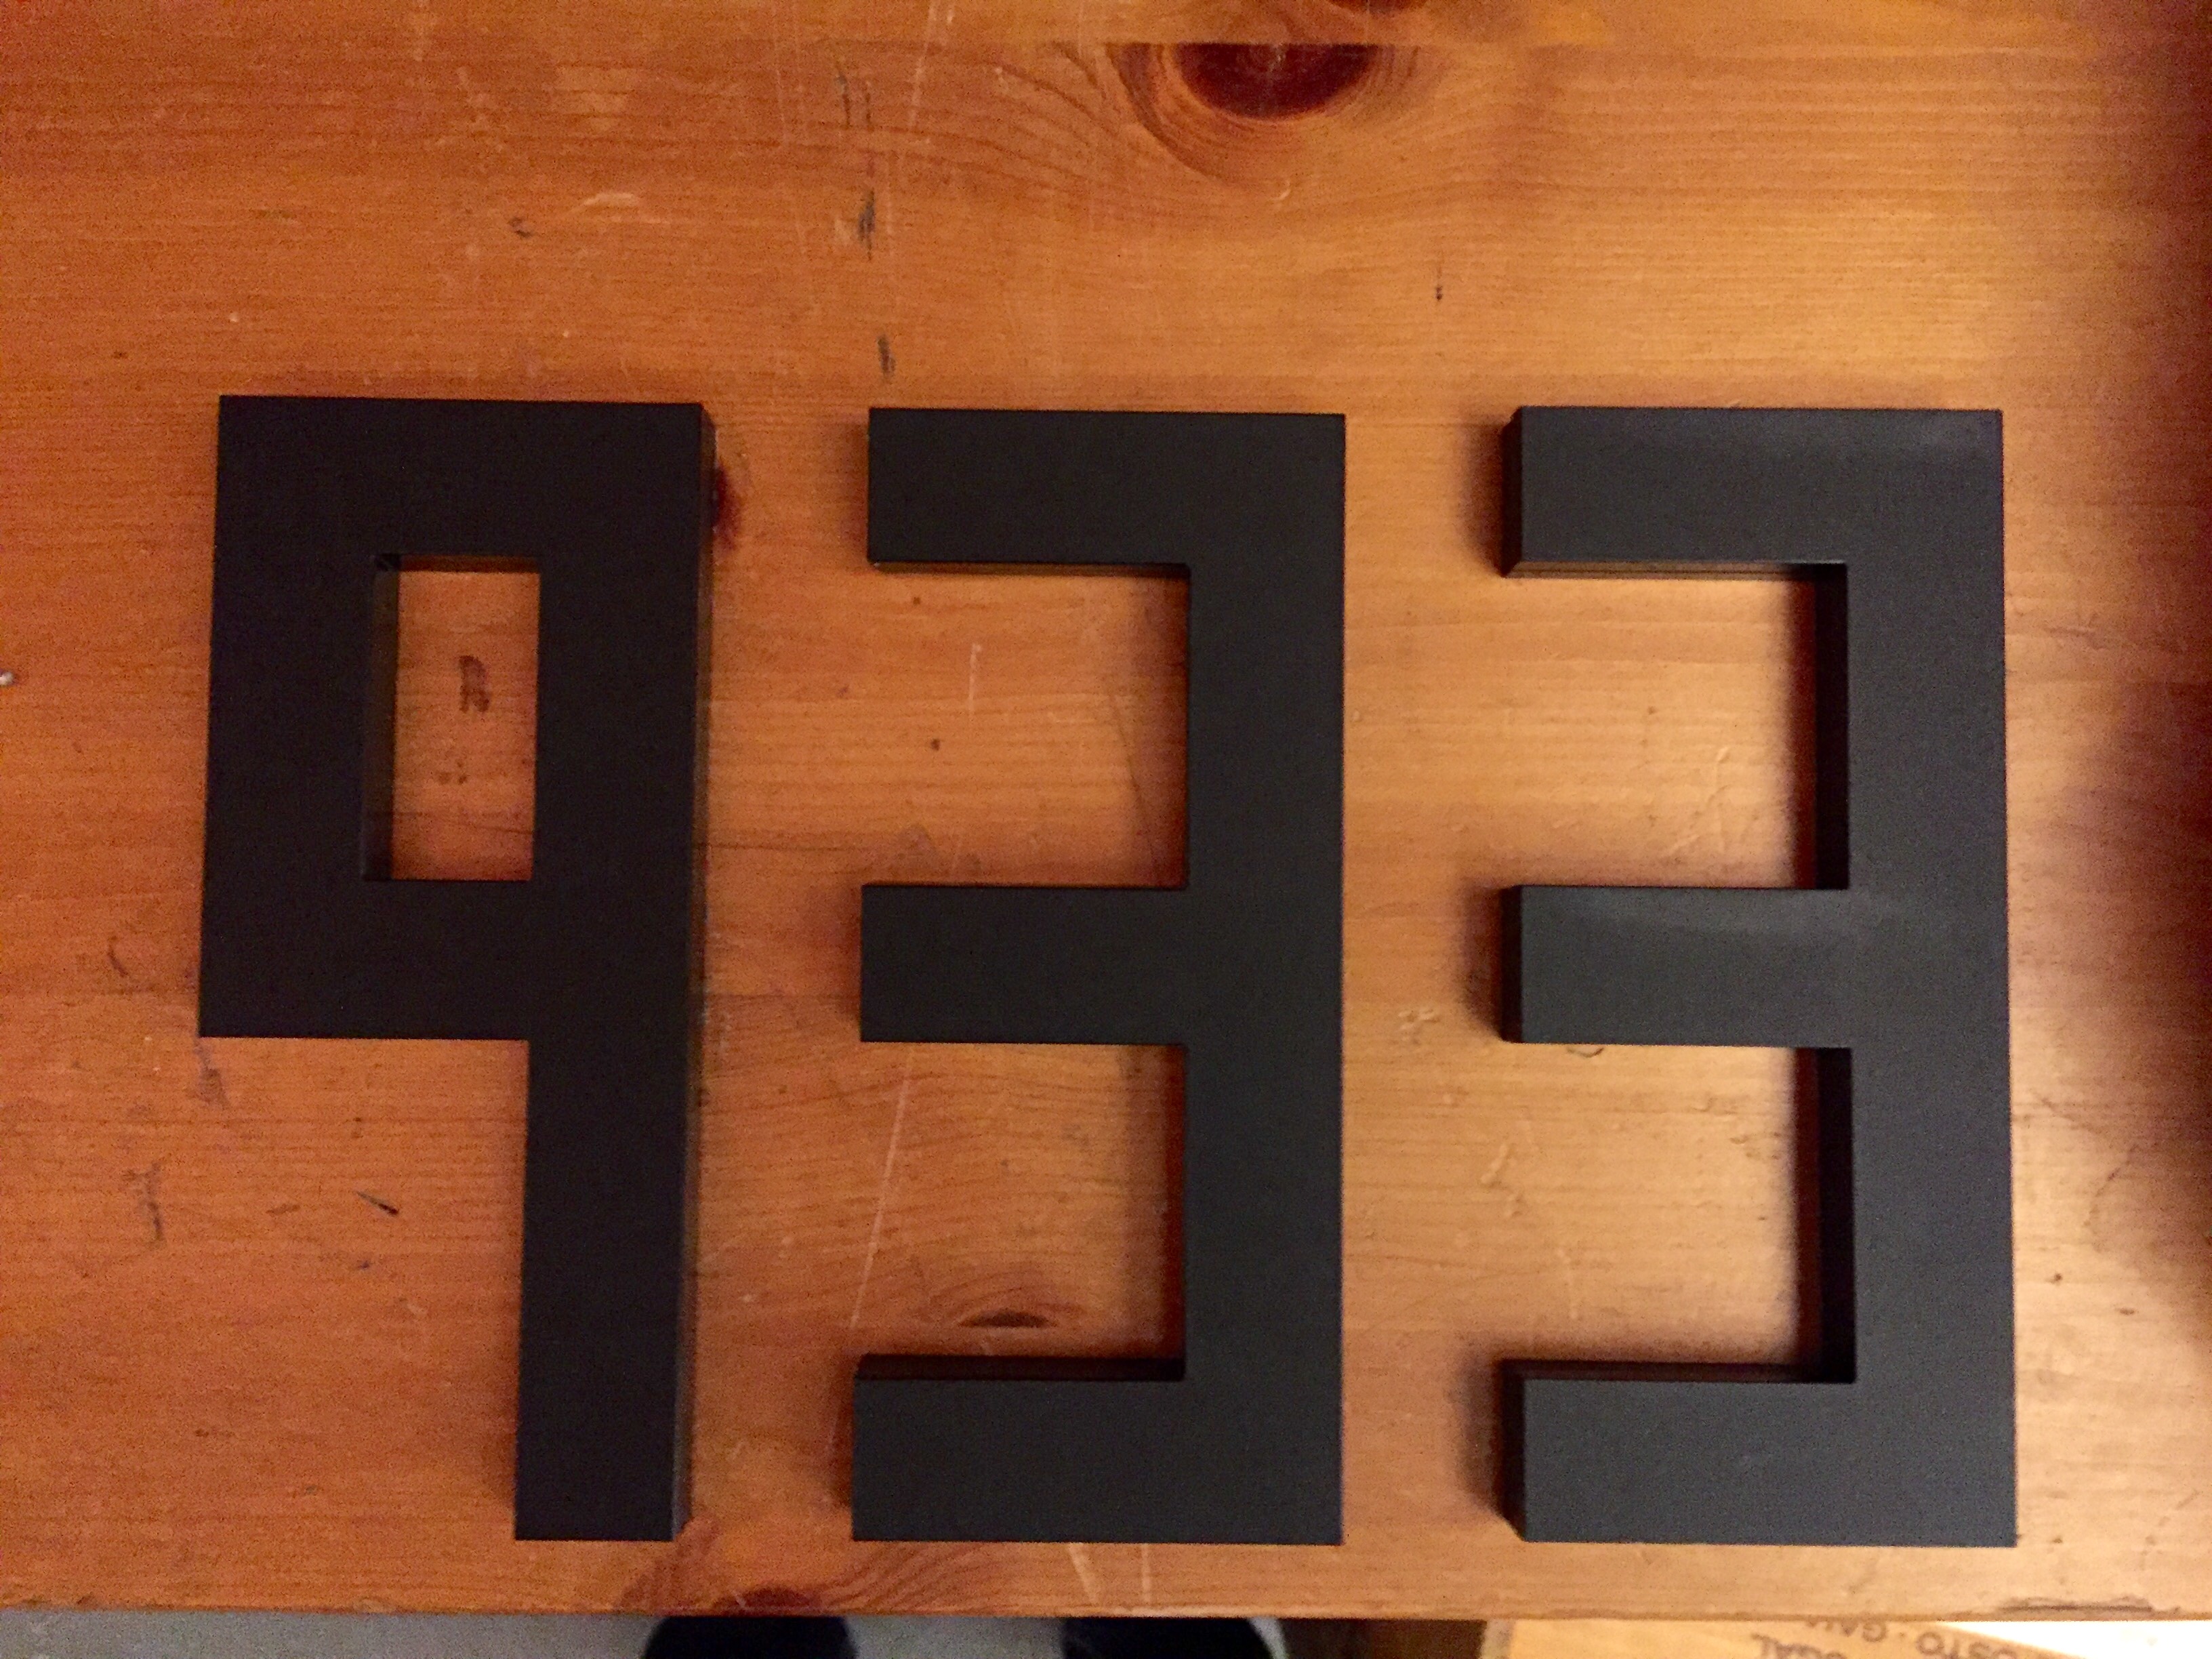
First step was vectorizing a drawing of the logo and sending it to the laser cutter. Luckily its a very simple design!
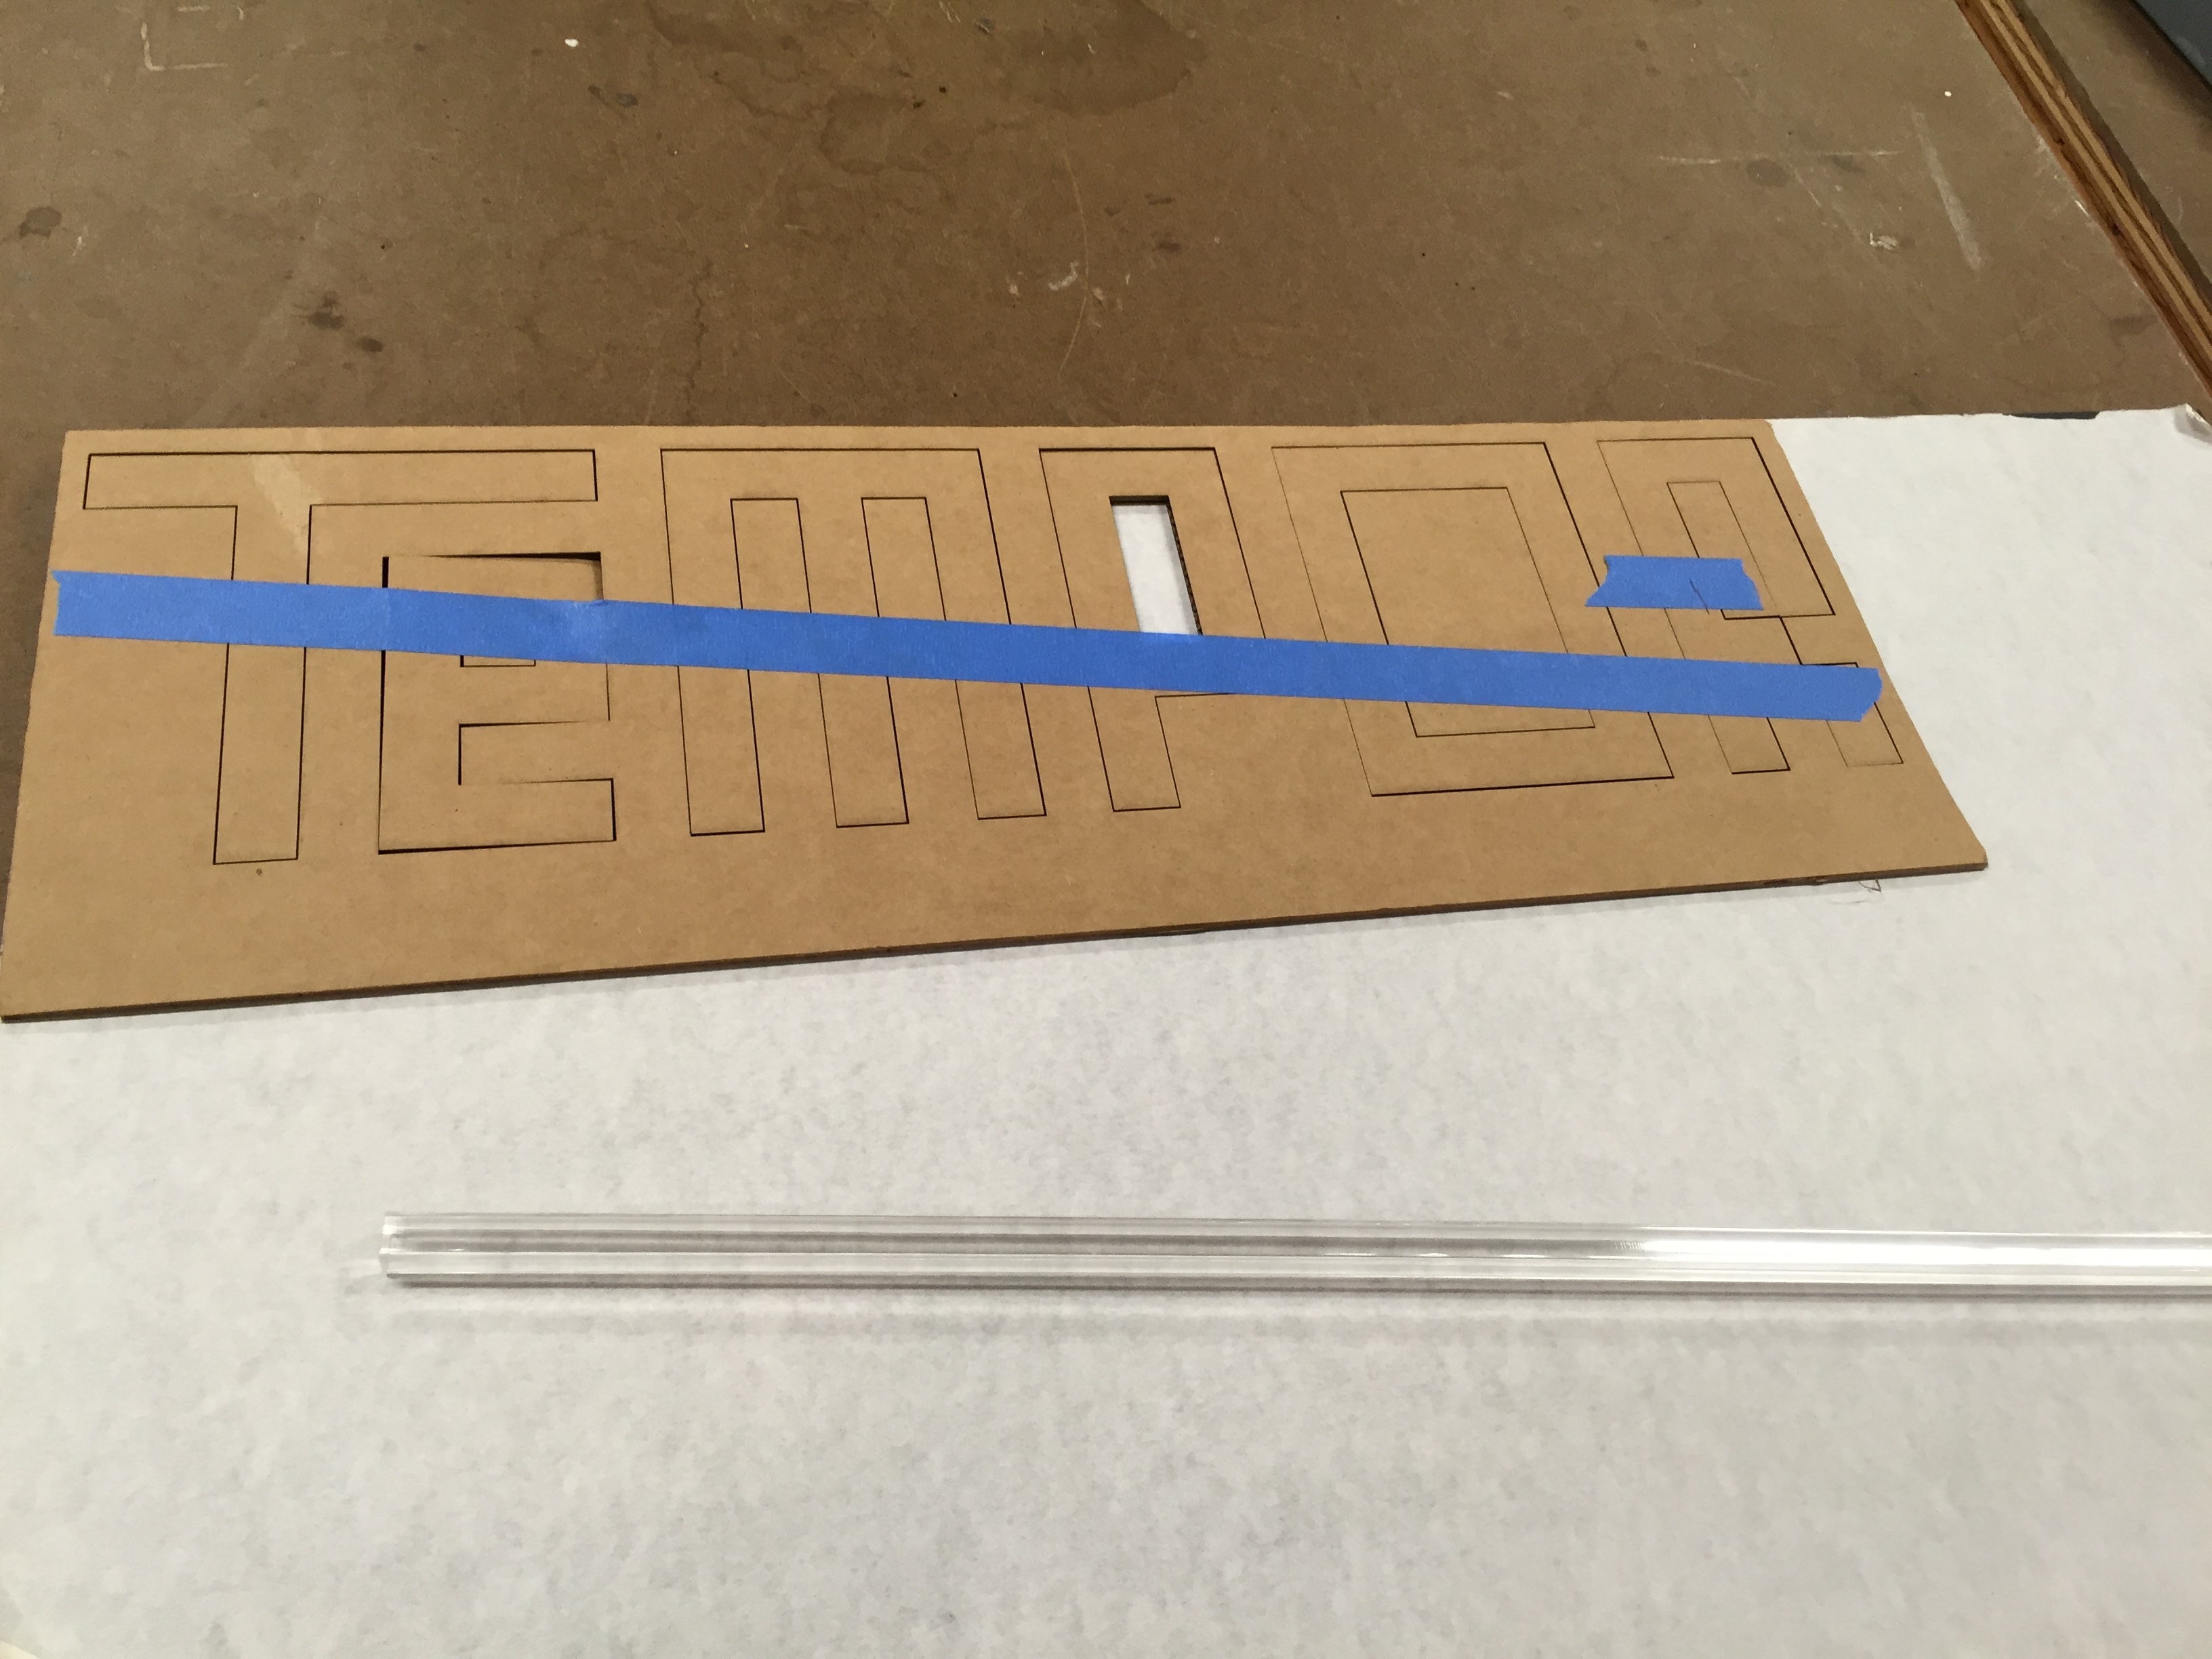
Always try things with cardboard first!
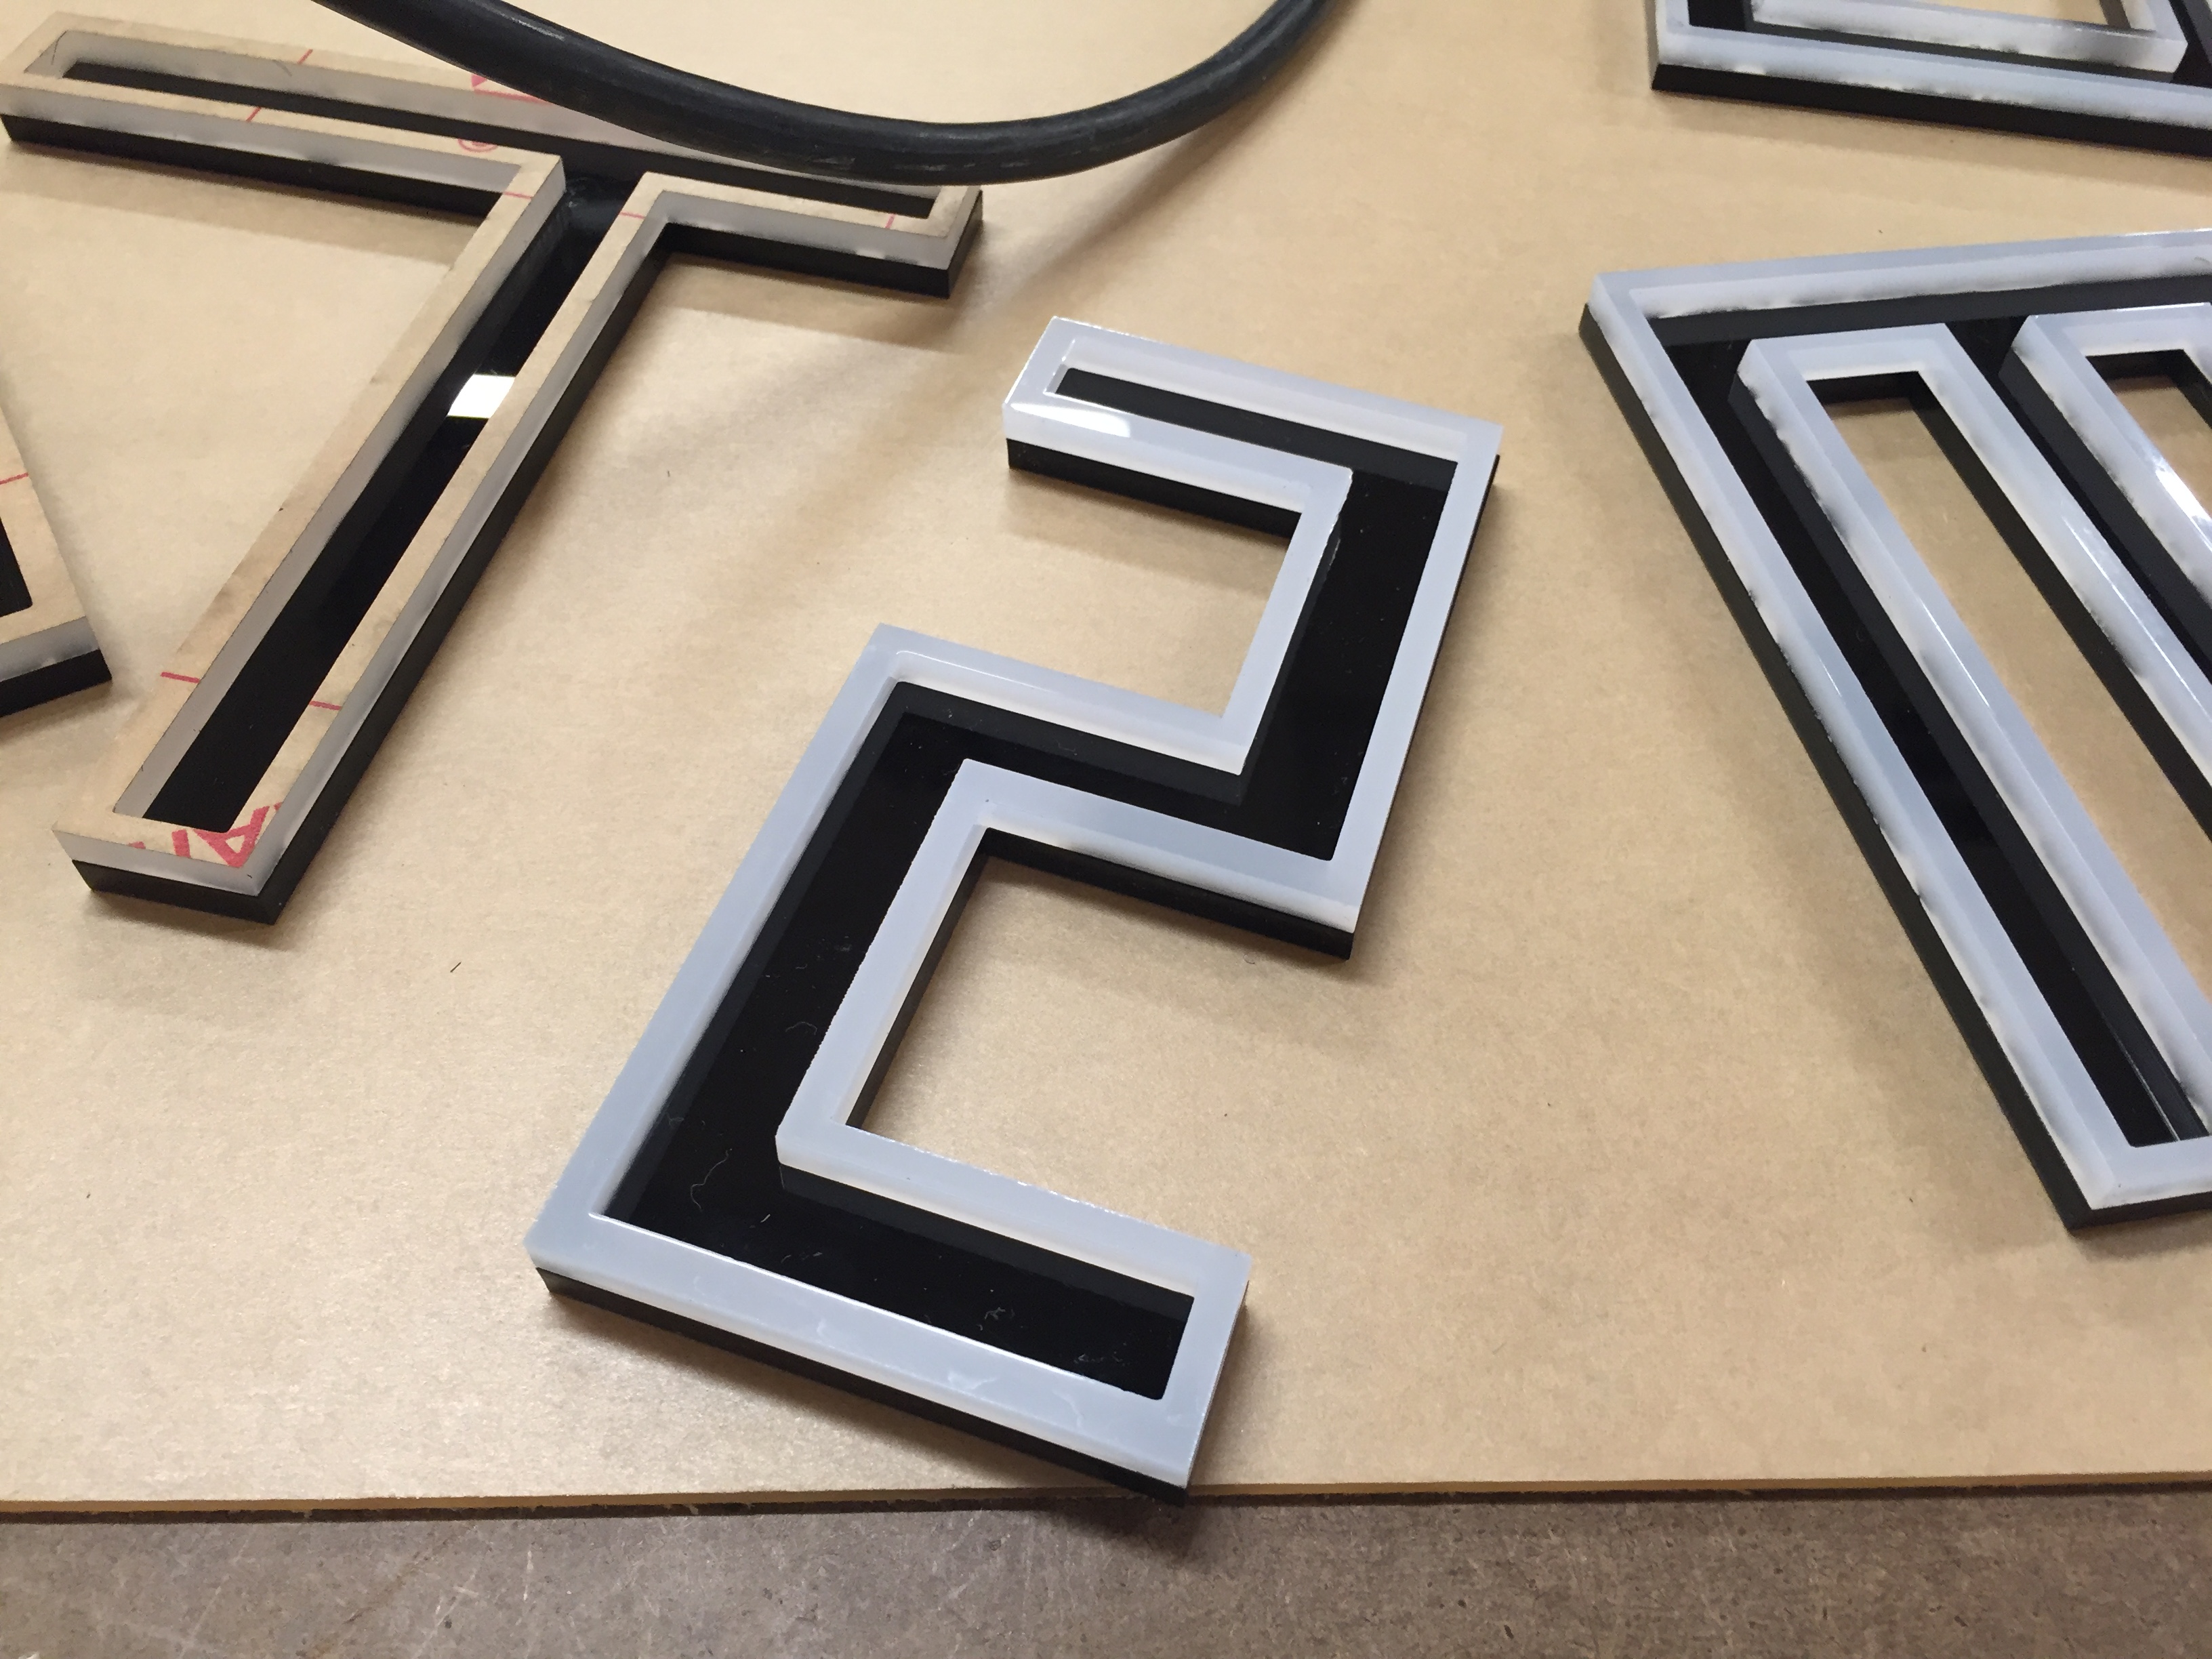
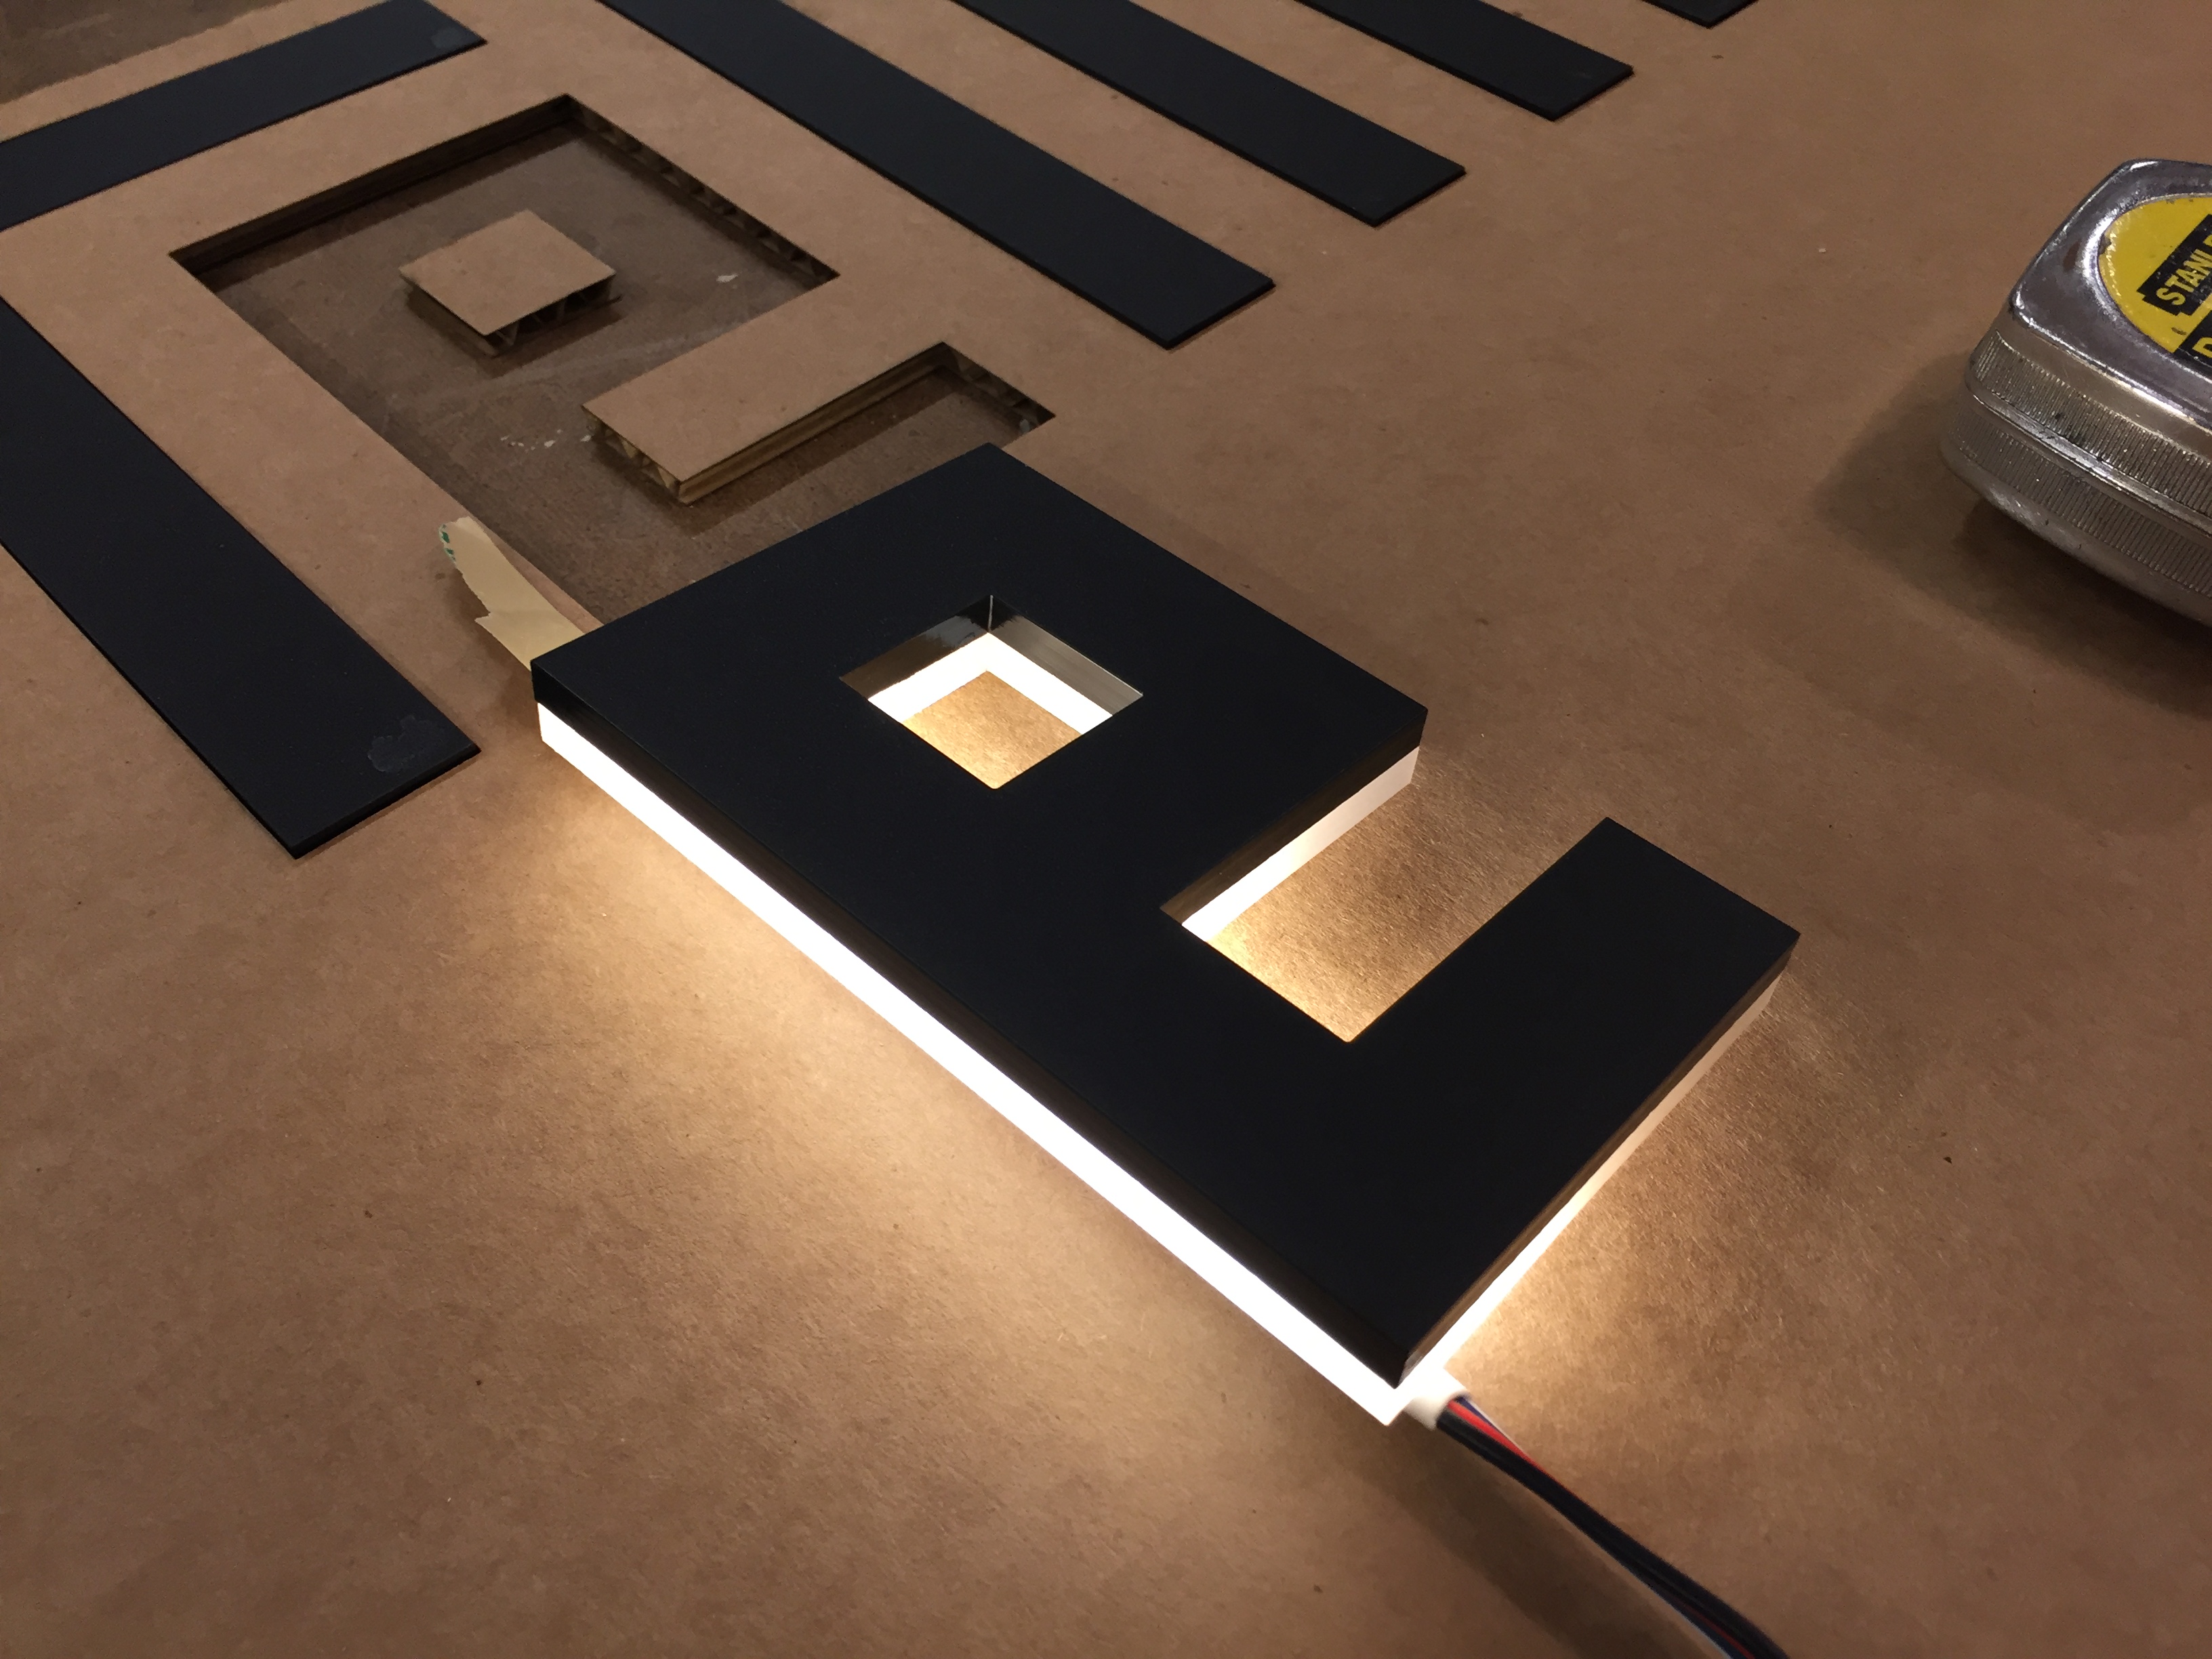
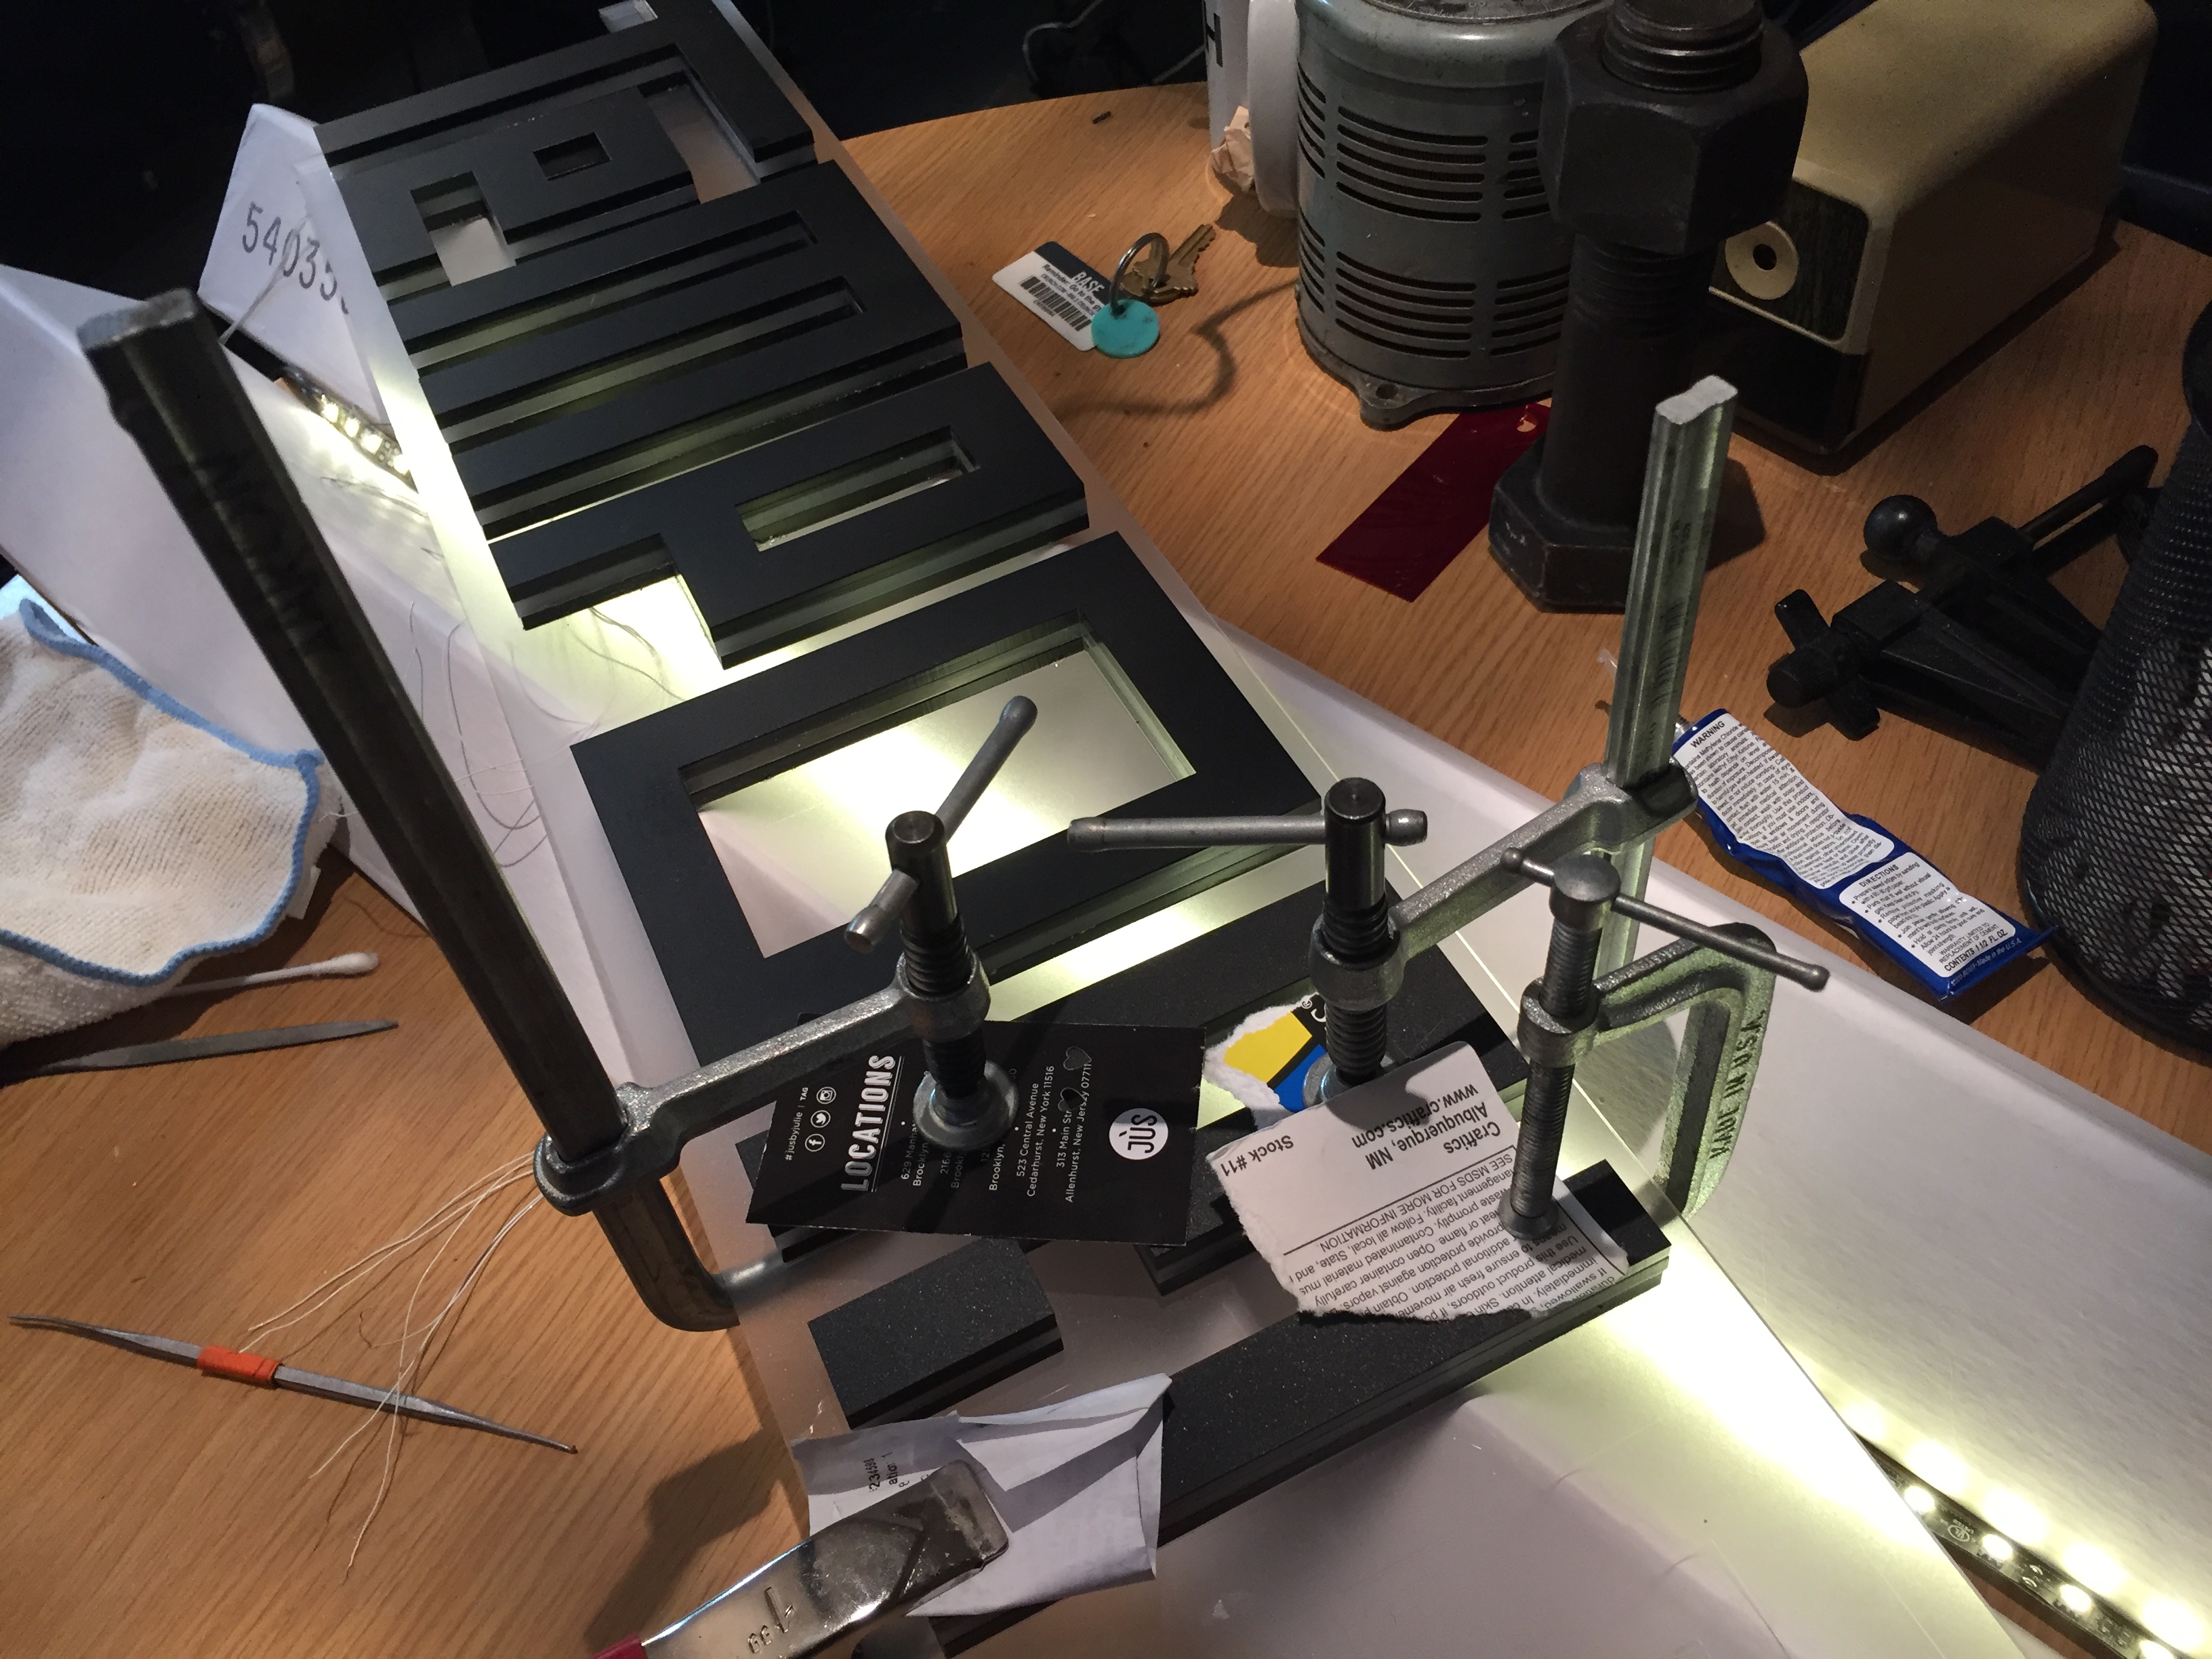
The Sign is made up of black acrylic on top, an edge of milk acrylic in the middle, and another black acrylic cutout on the bottom.
The first test looks nice! I am using 24V RGBWW LED tape. I chose this so I can use thinner wire coming out of the letters than 12V LED tape.
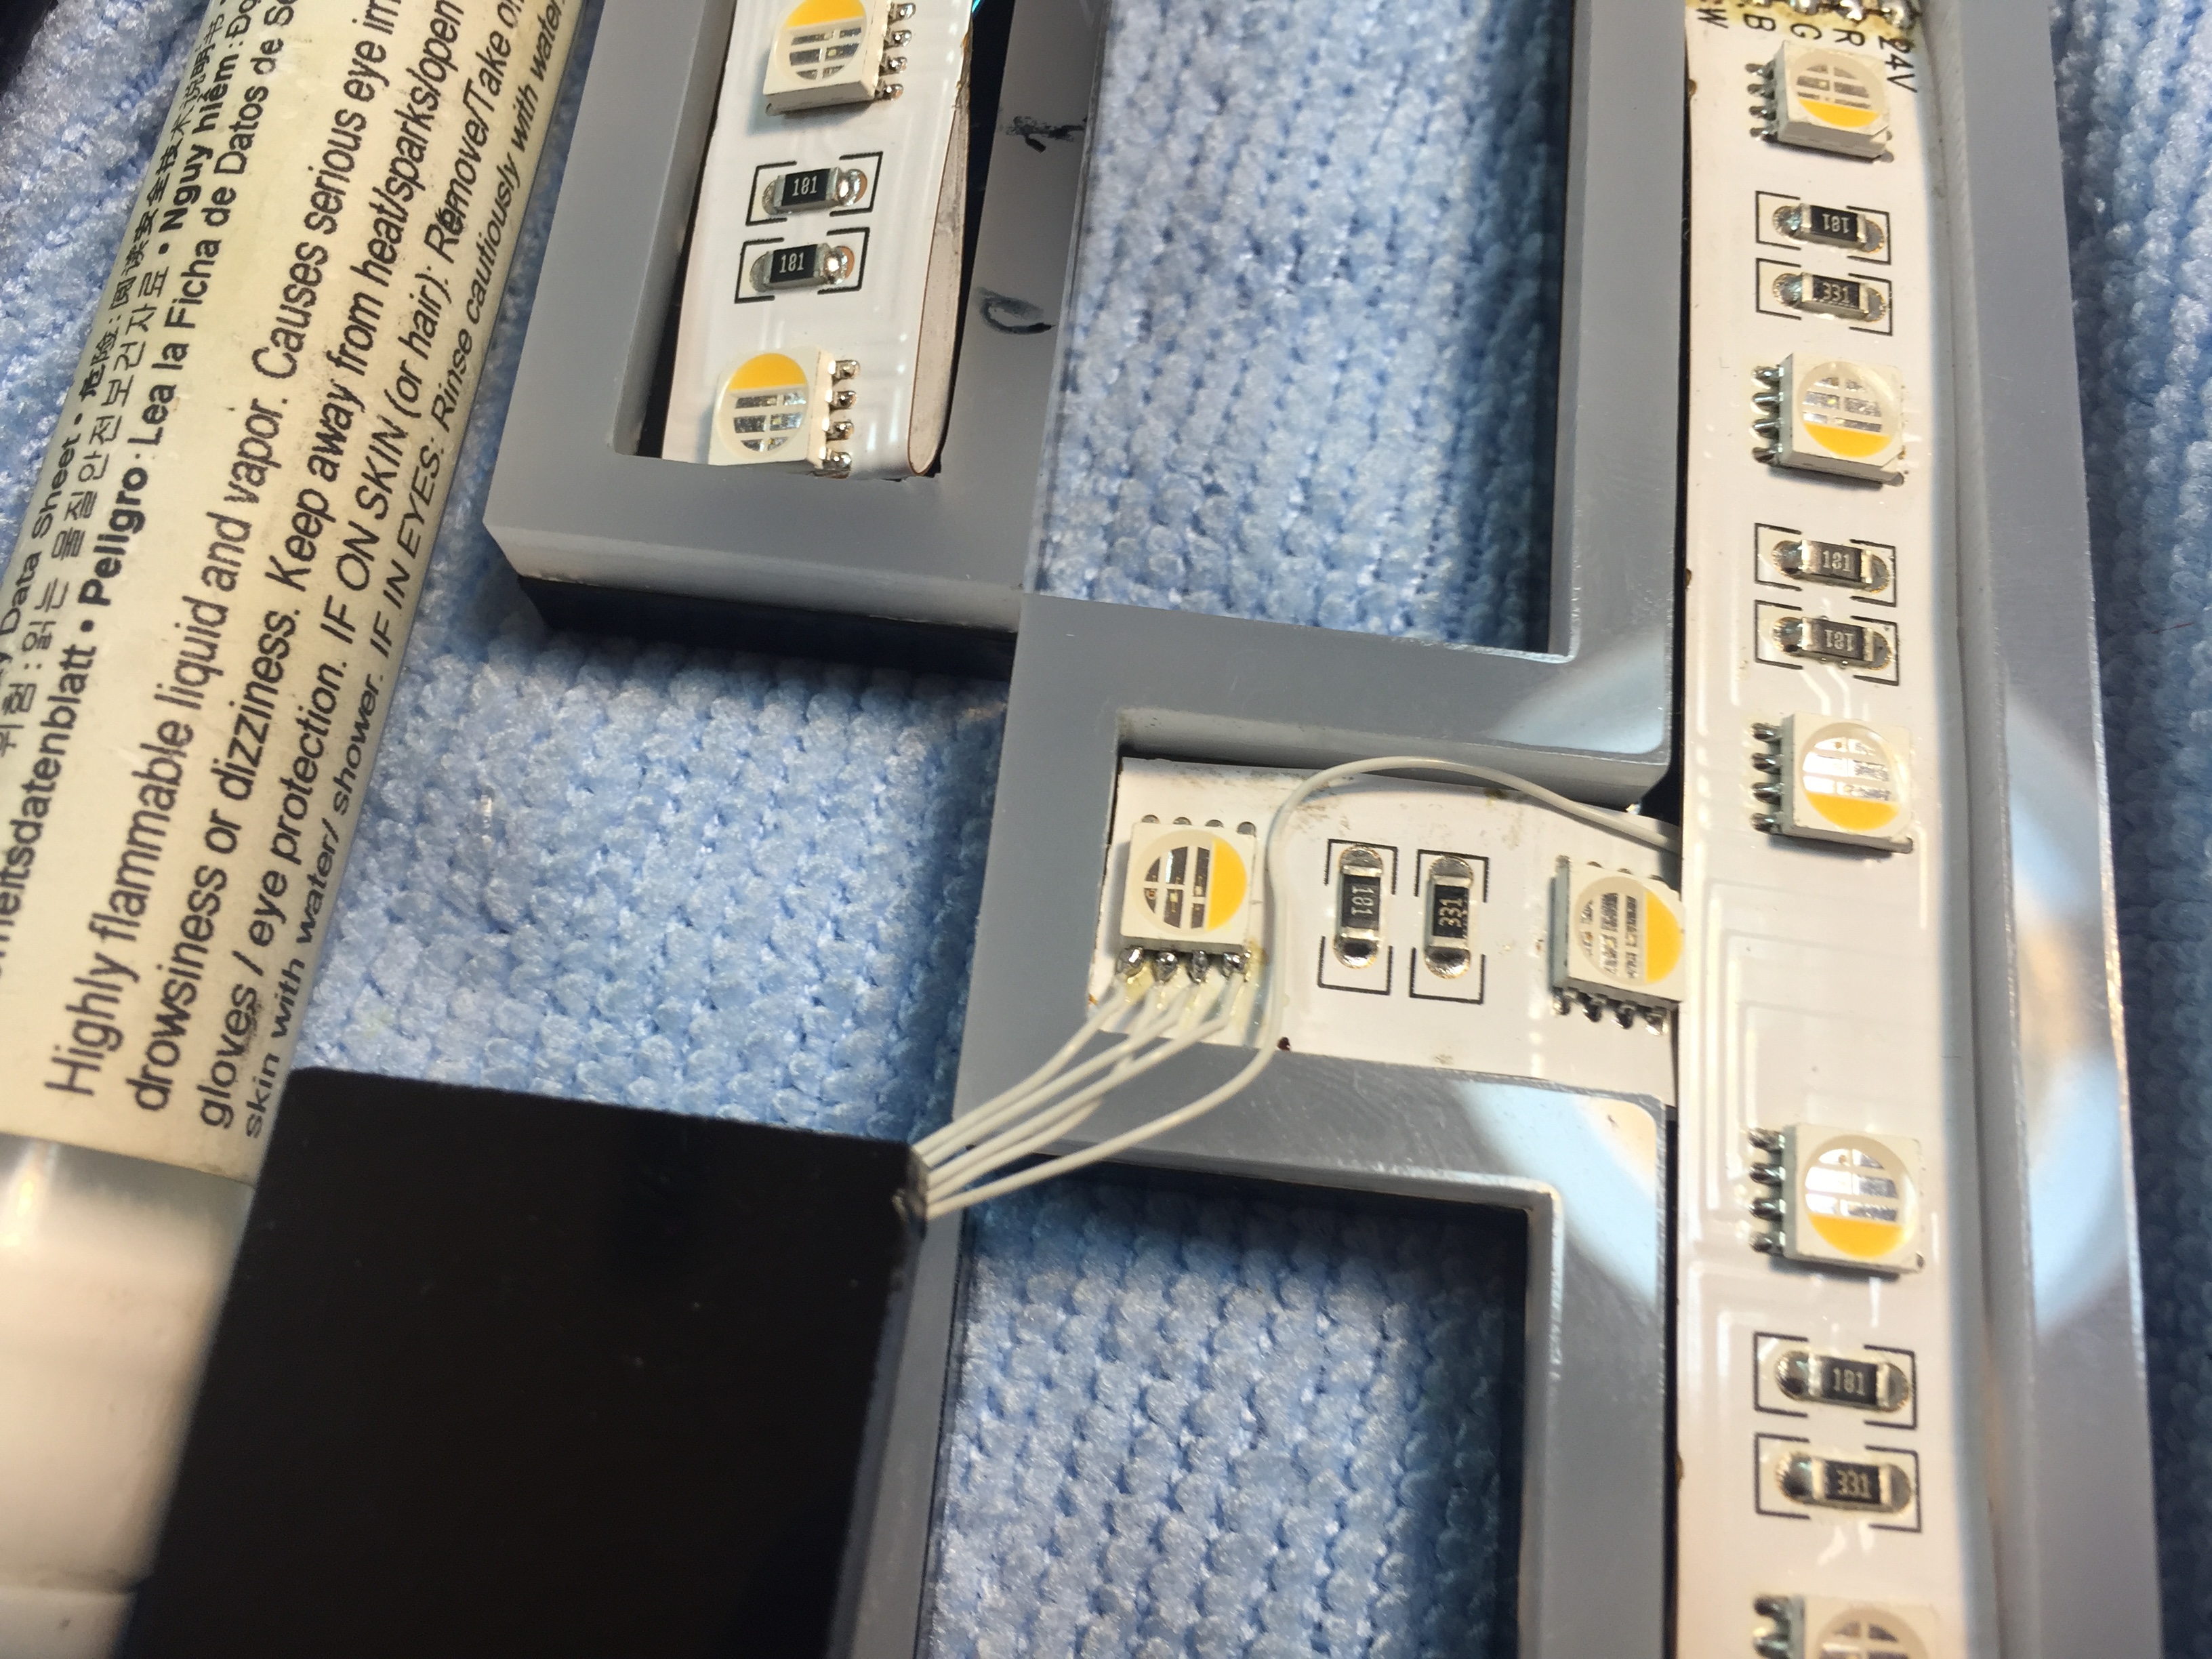
The hard part with the 24V tape is that it can only be cut every 4 inches. I need to adapt it with some tiny soldering and cut it in the middle of these cut marks:
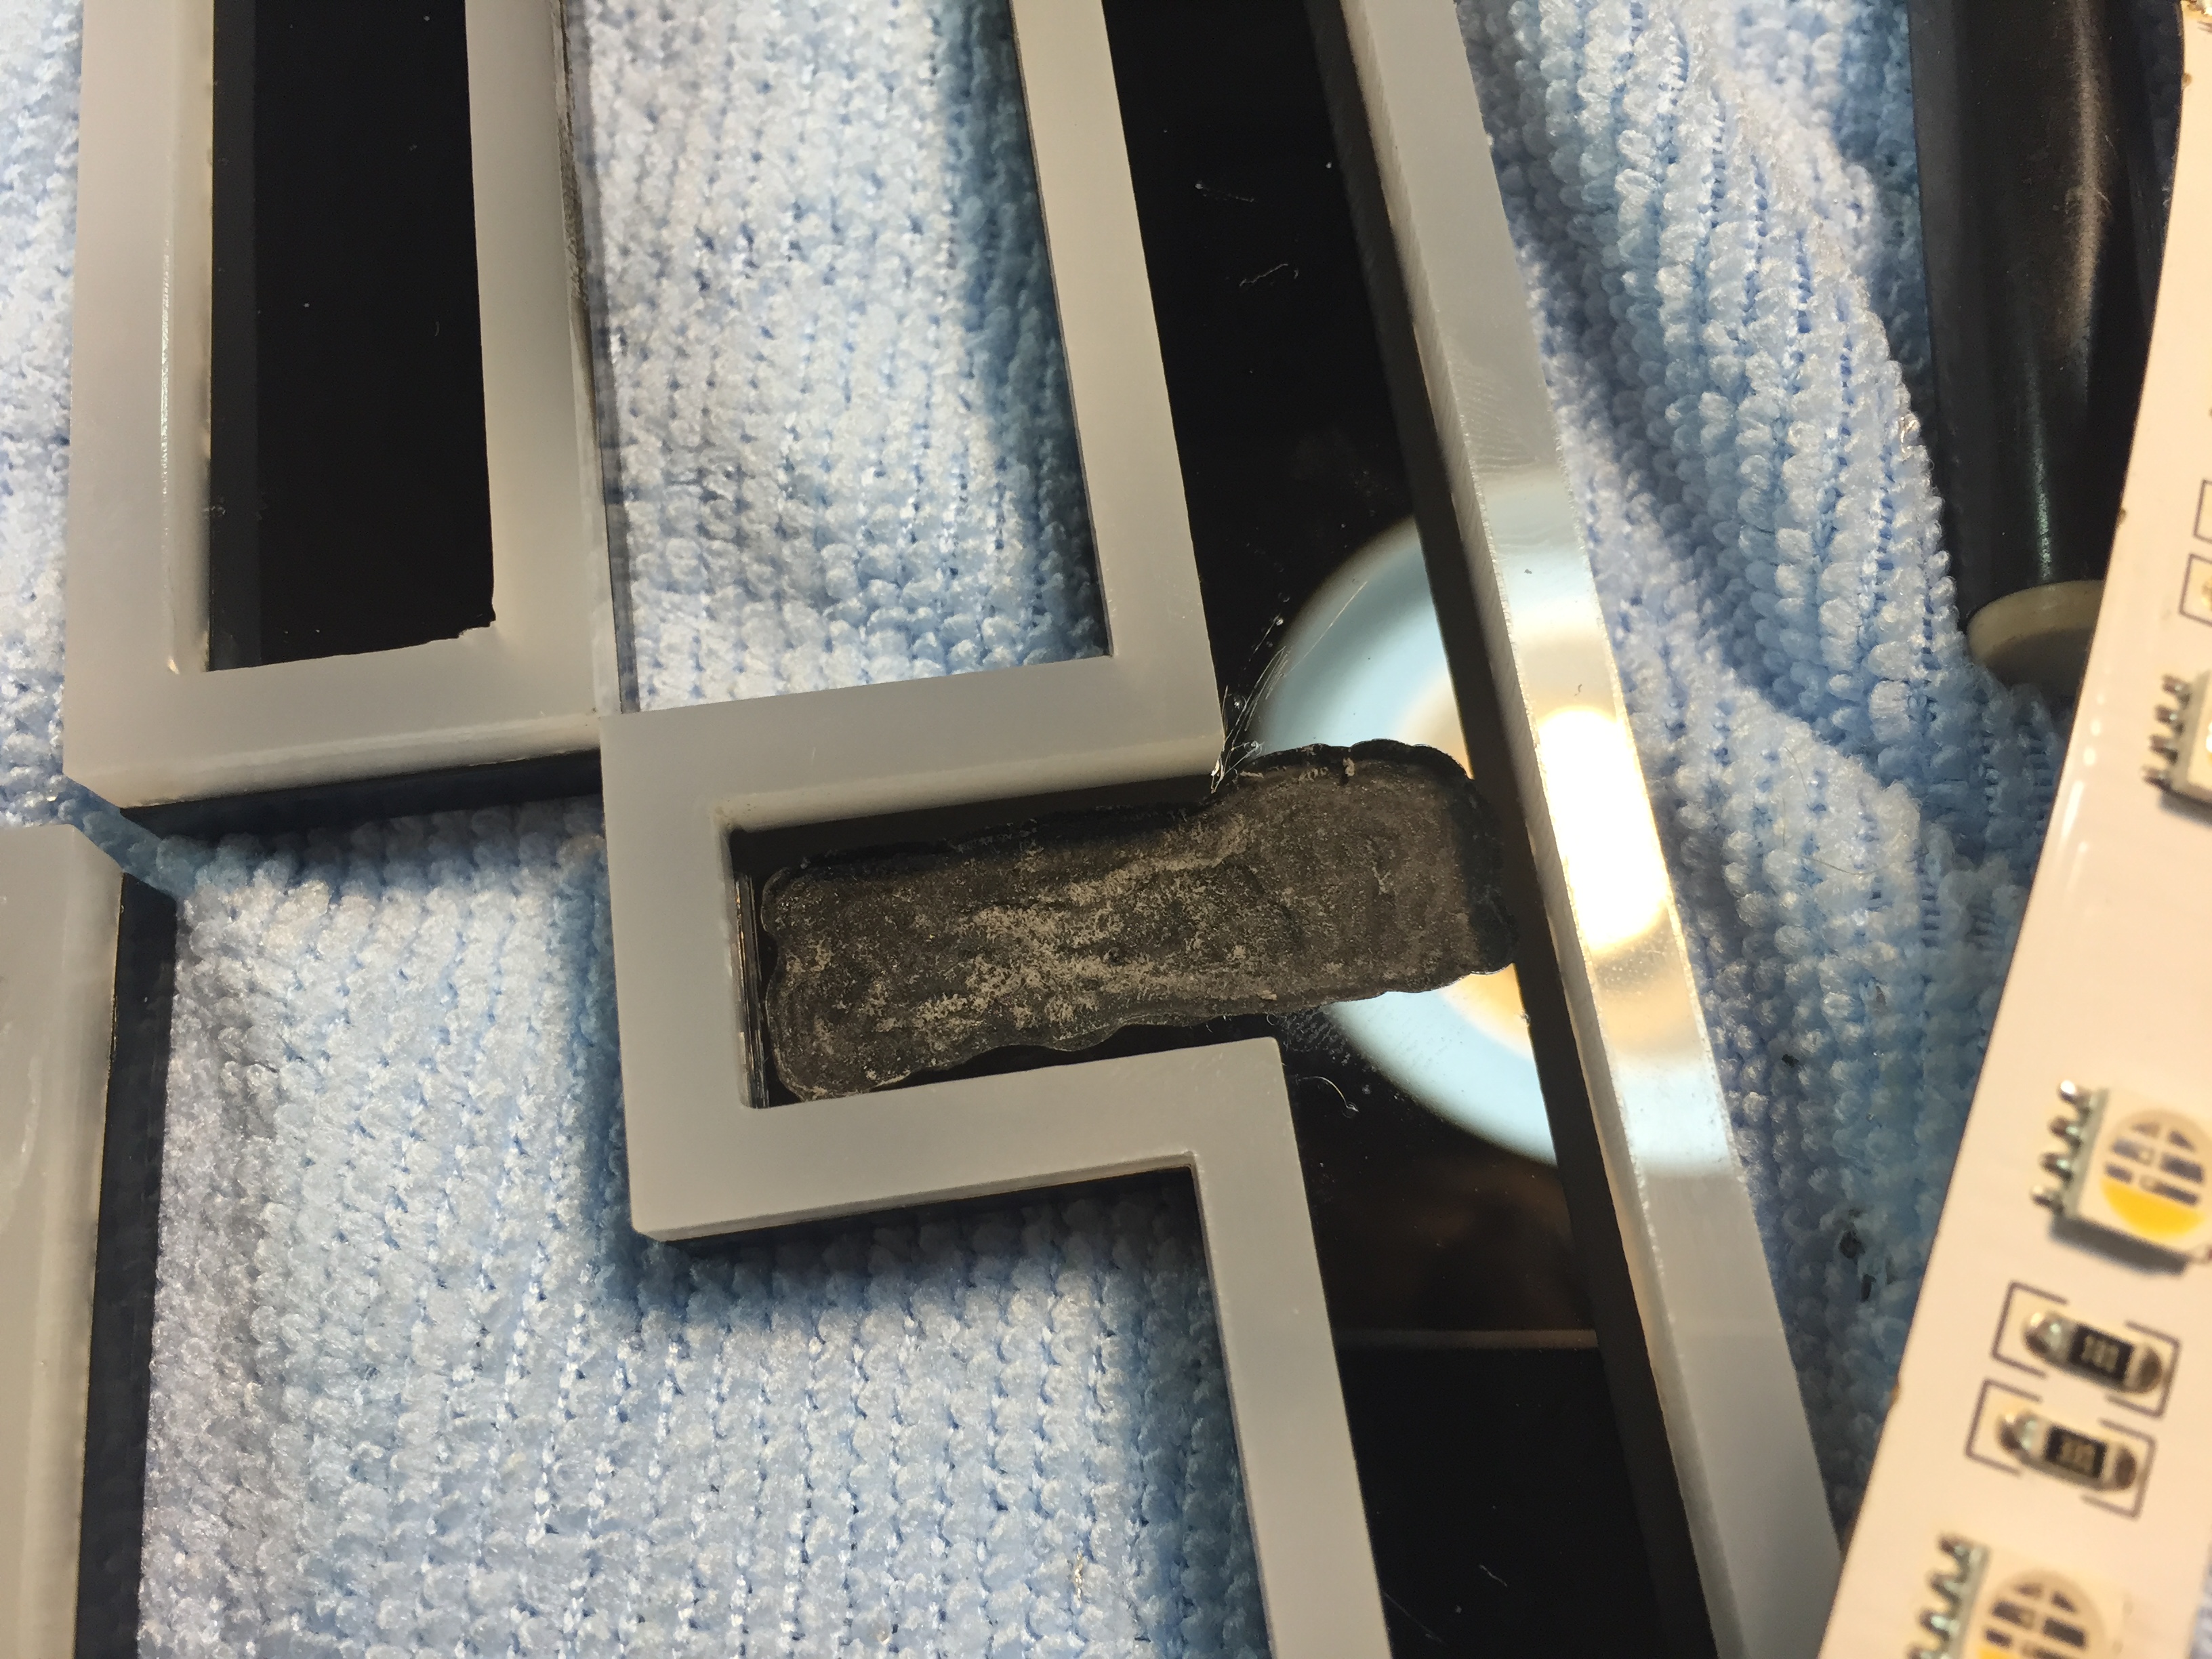
In some places I fold the tape over itself to fit. I notch out parts of those places with a dremel drill press and an 1/8″ end mill bit:
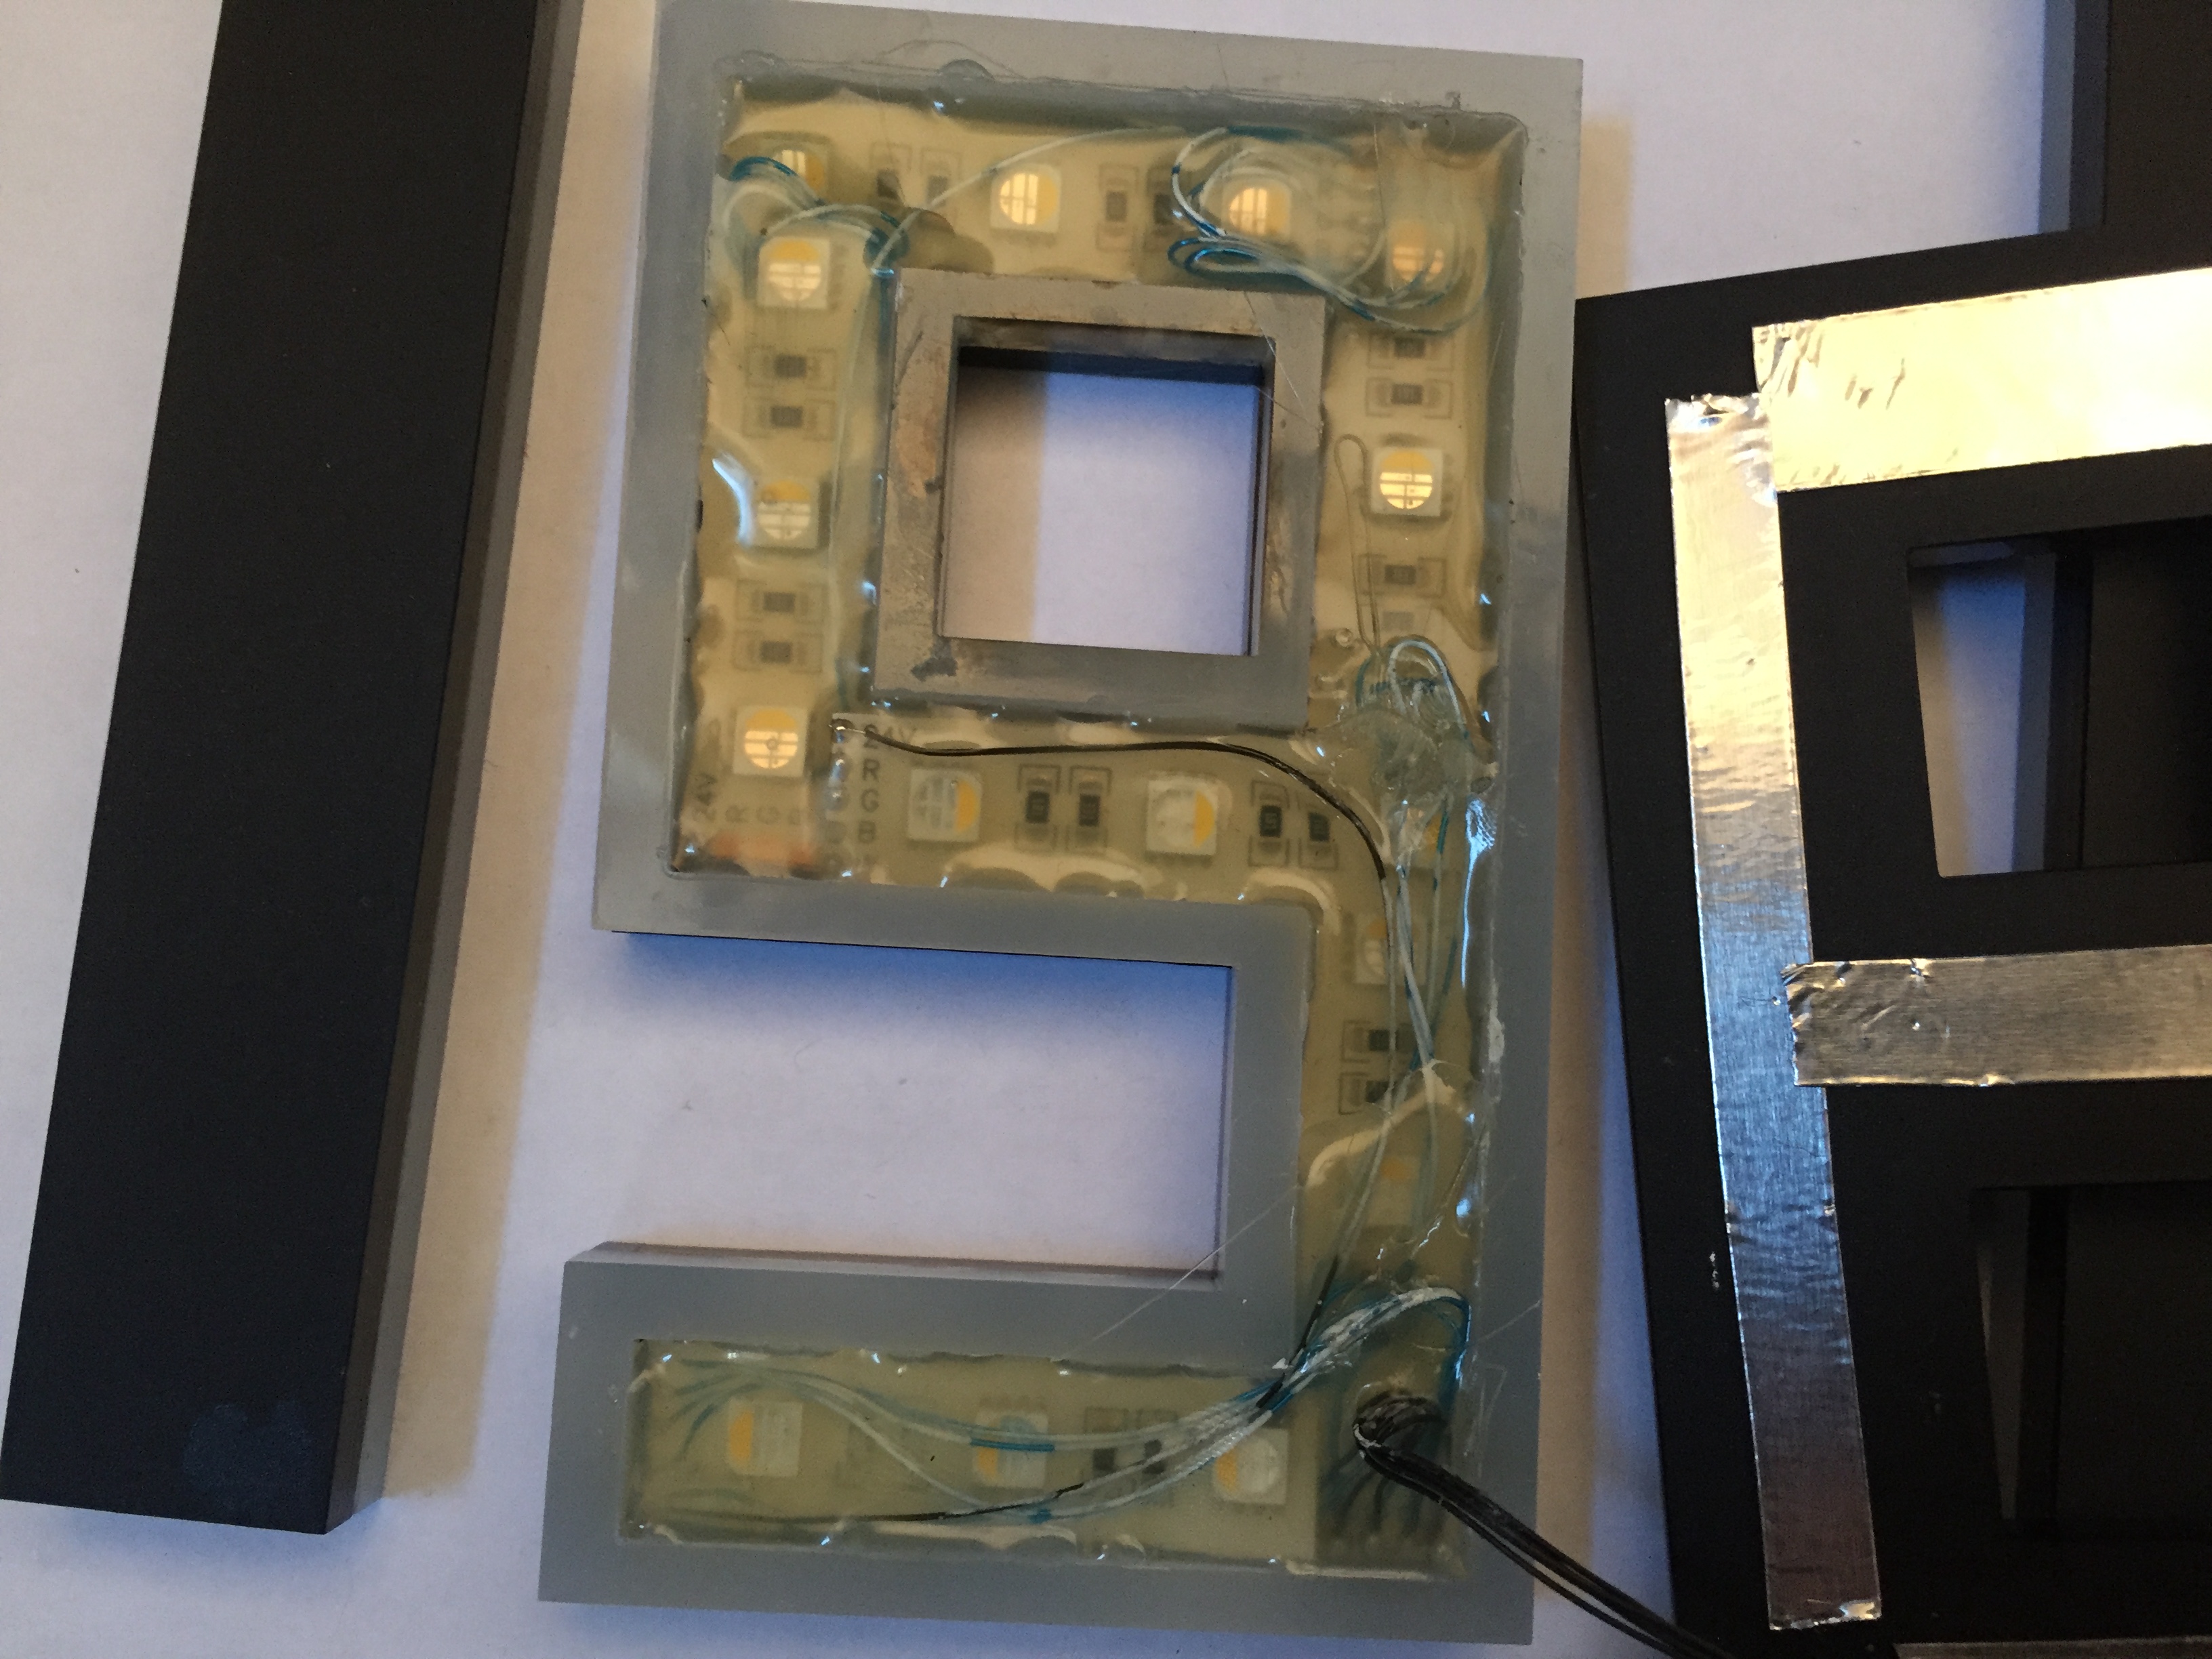
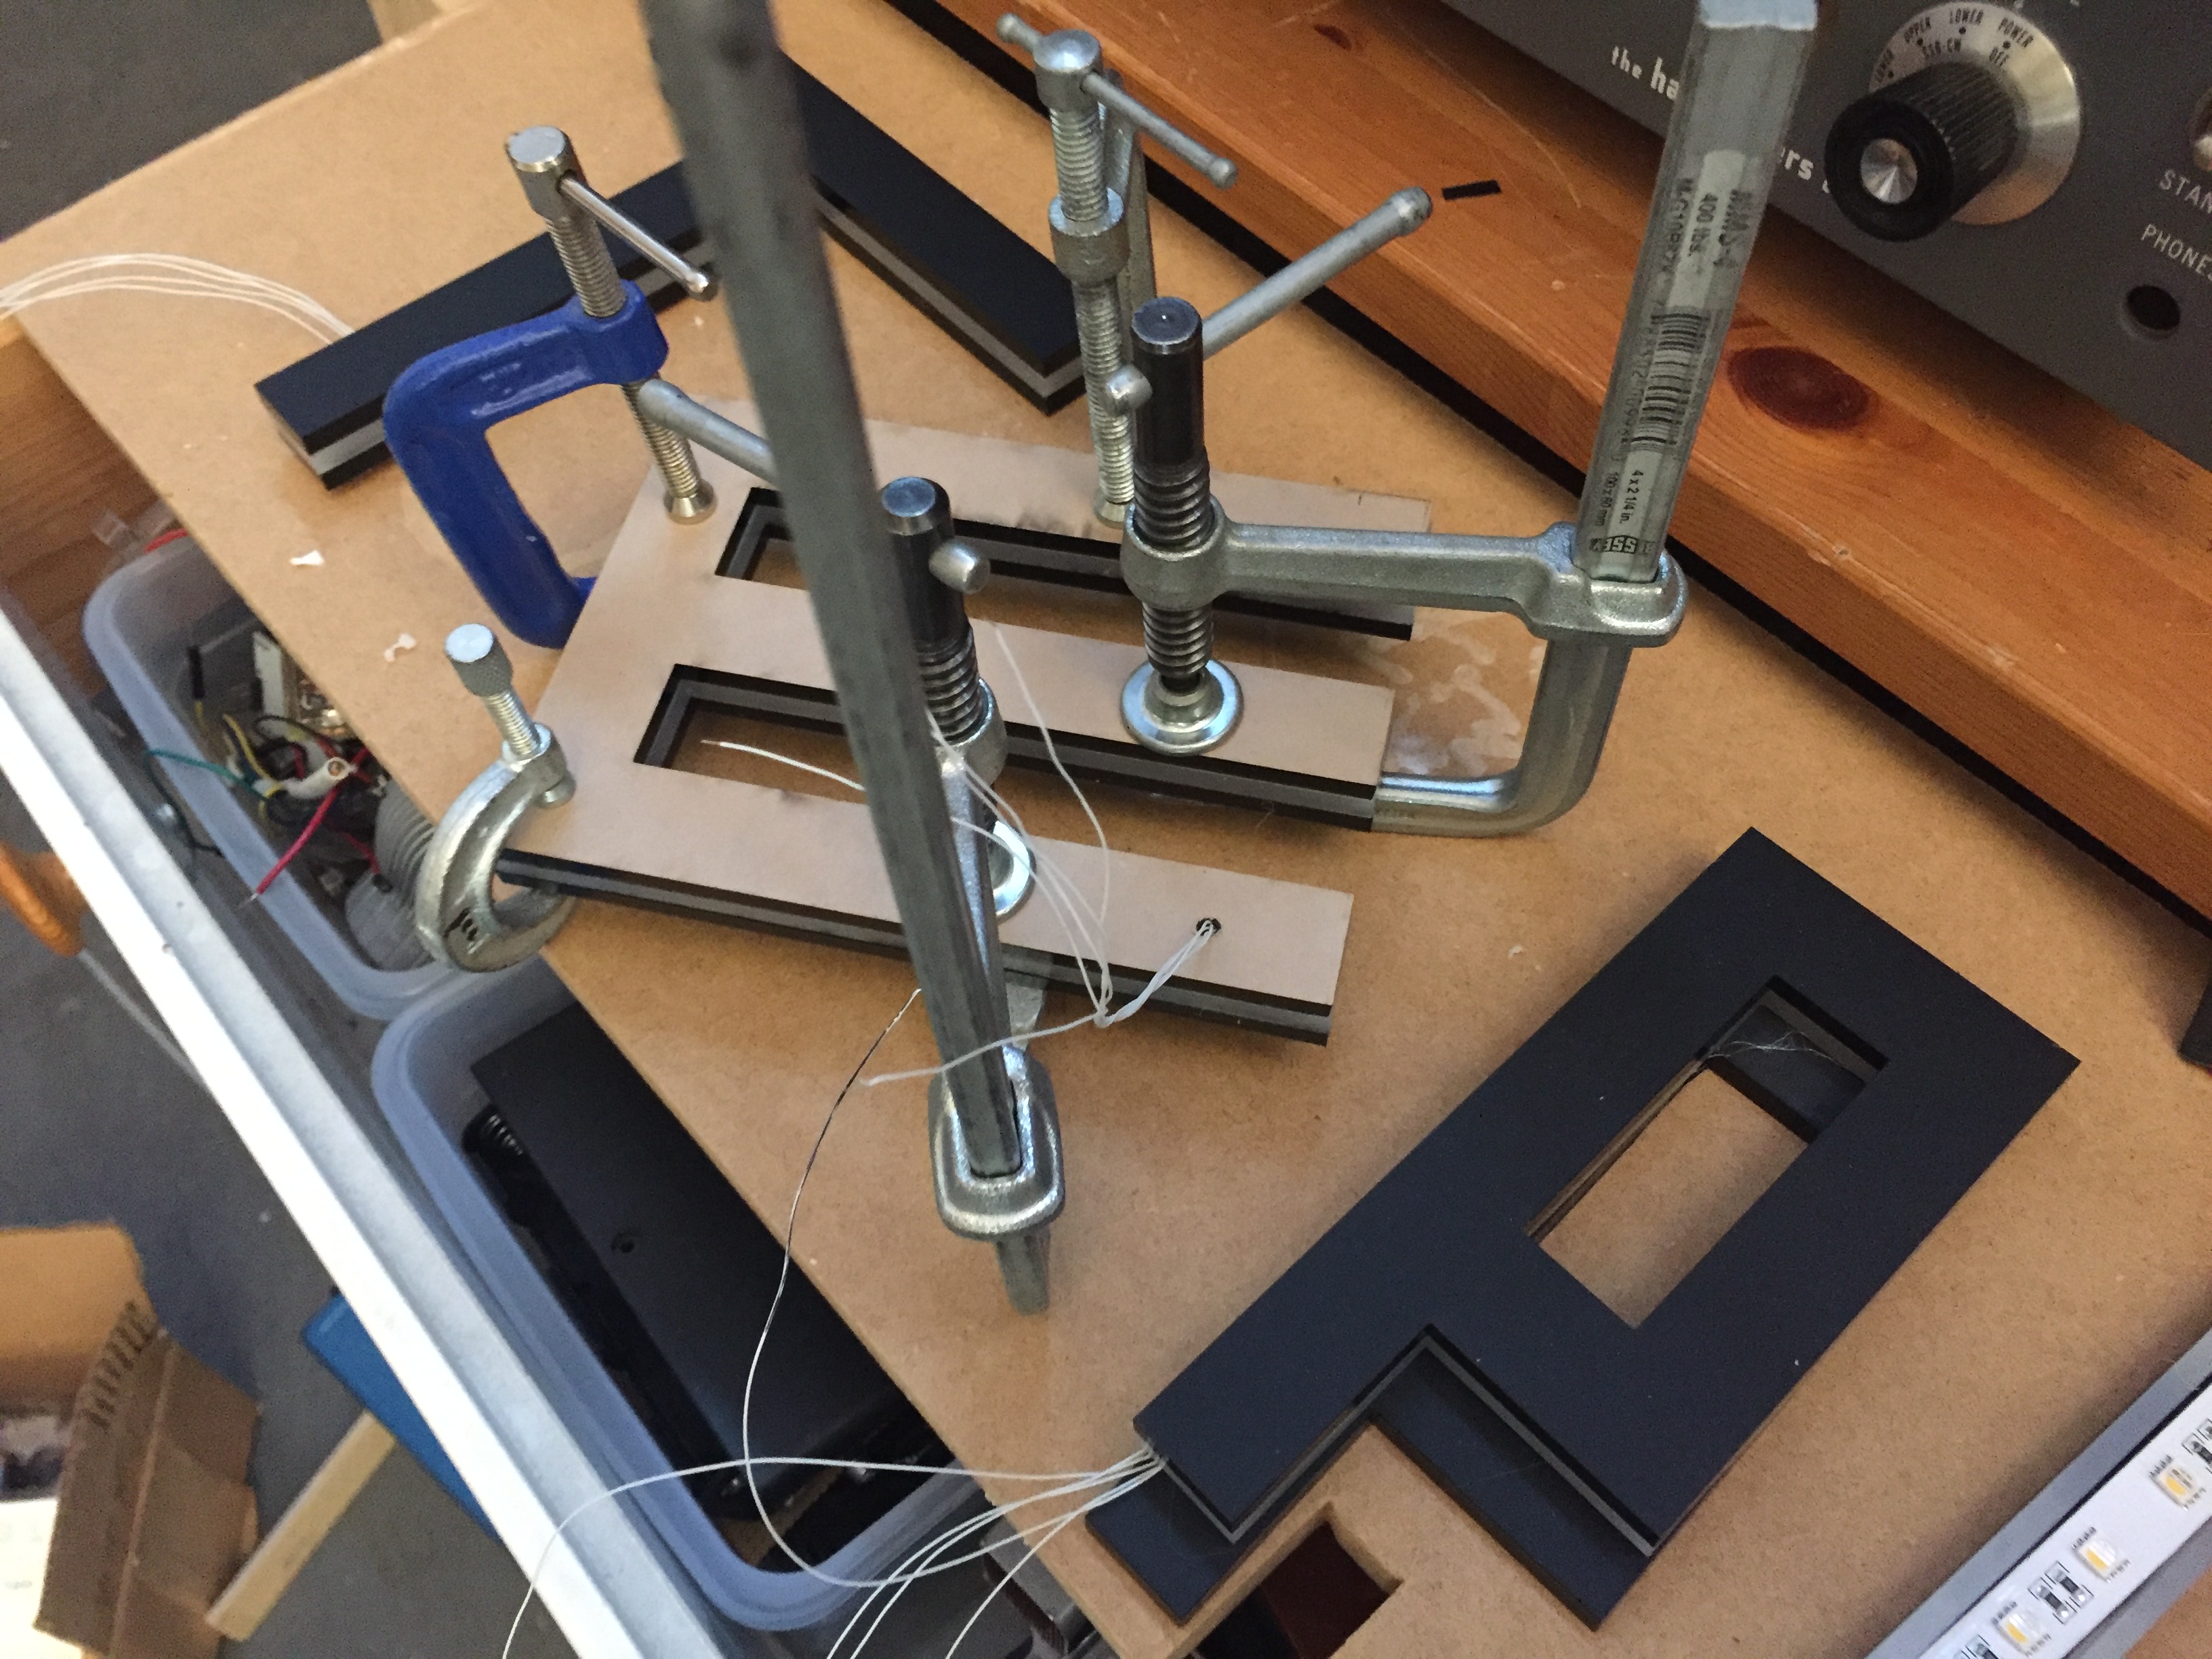
The whole assembly gets tested 100 times, then potted with 3M low heat hot glue to keep the weather out. I also add some silver foil tape to the back of the rear letter plate to help reflect some of the light to the edge:
Everything gets clamped up for the night:

So far so good!

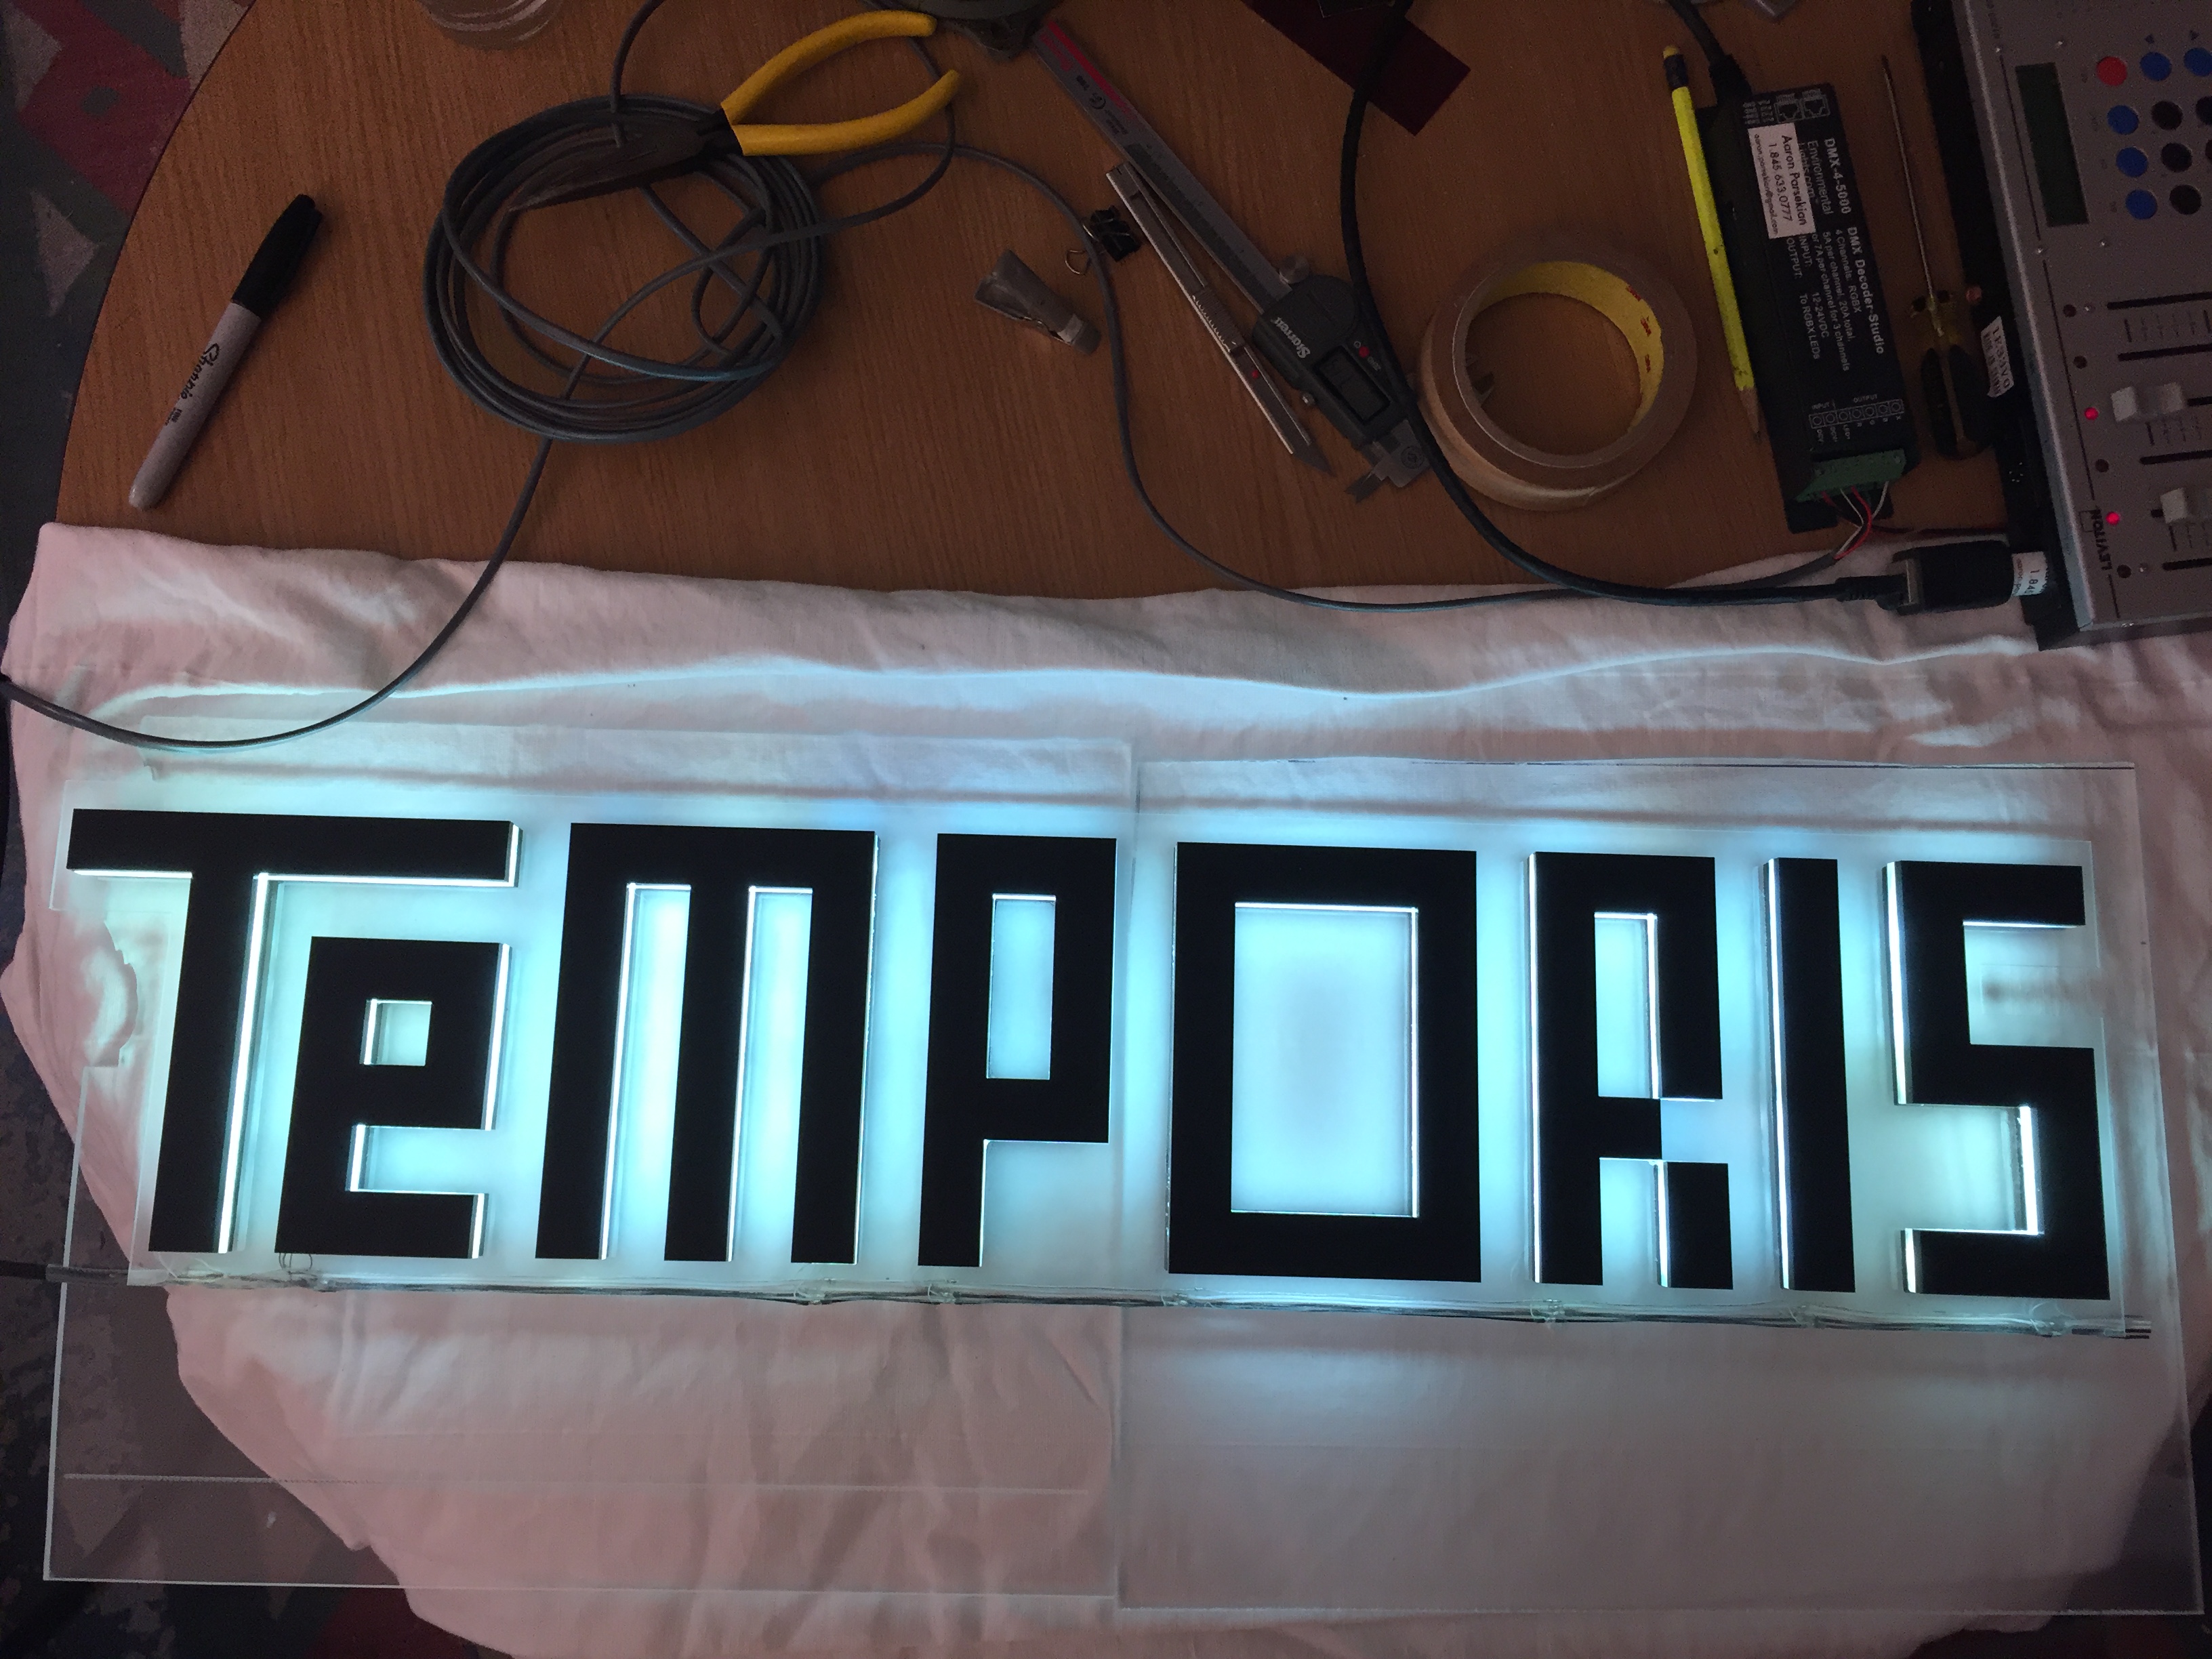
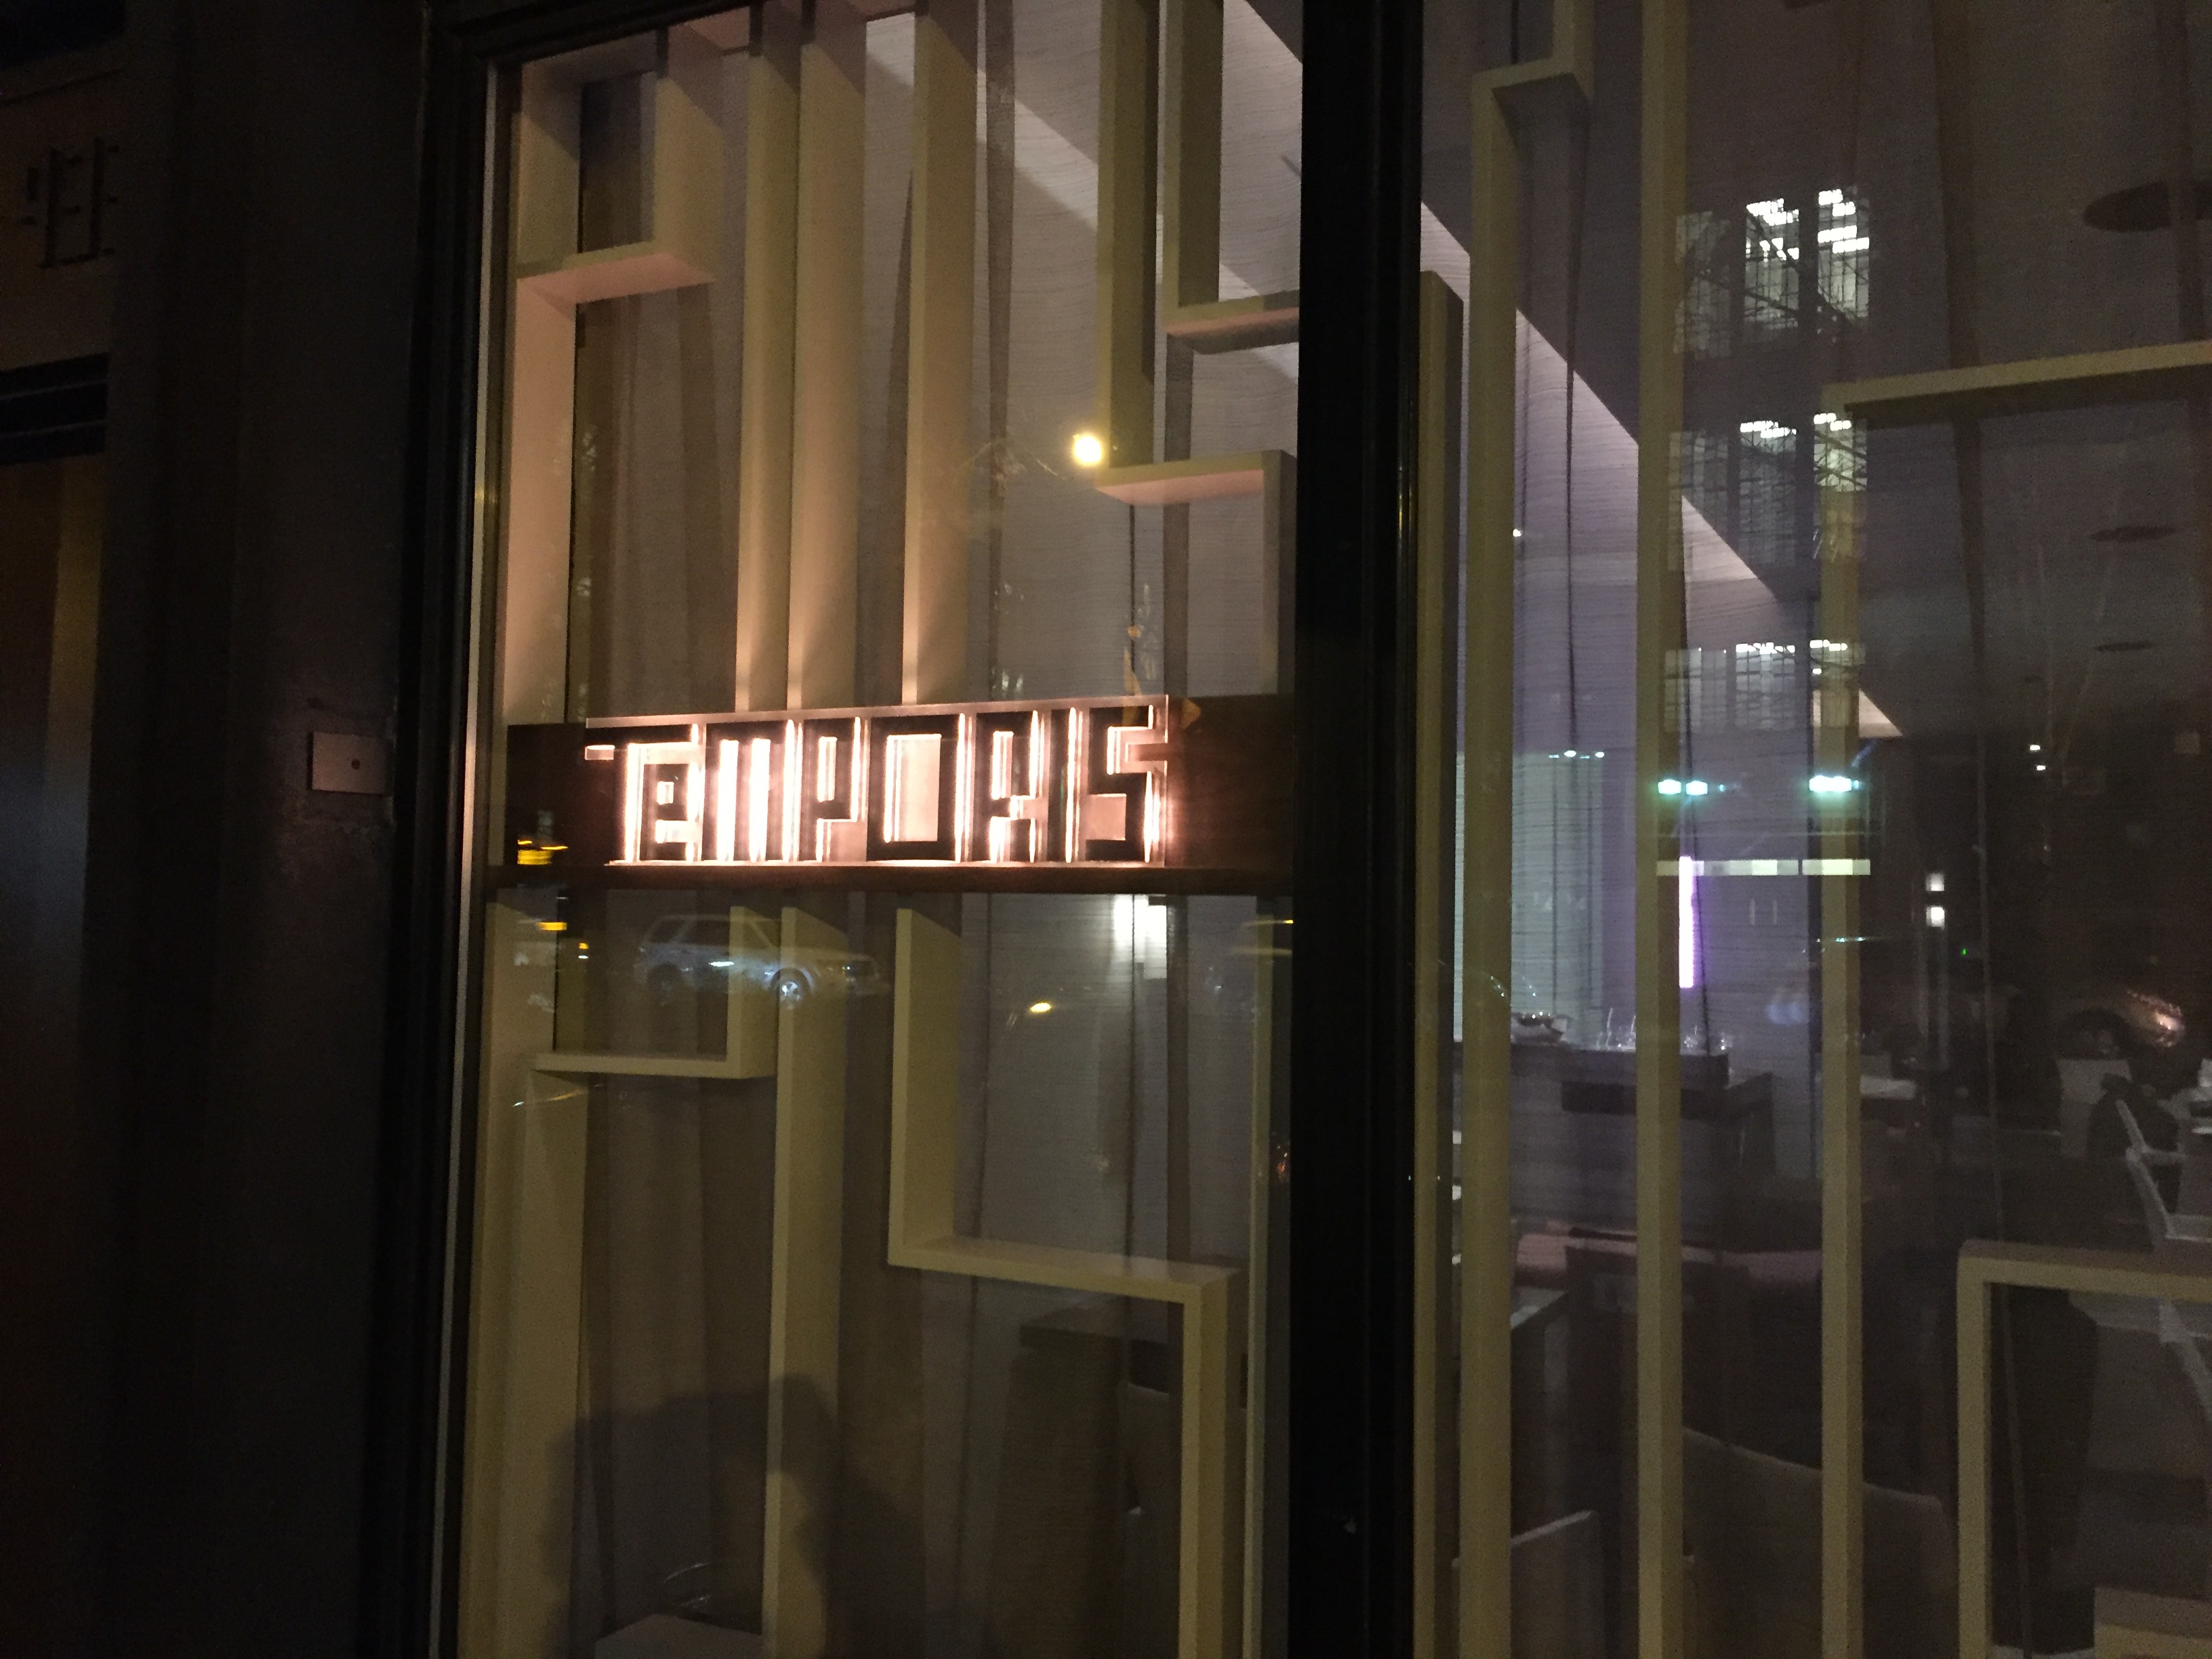
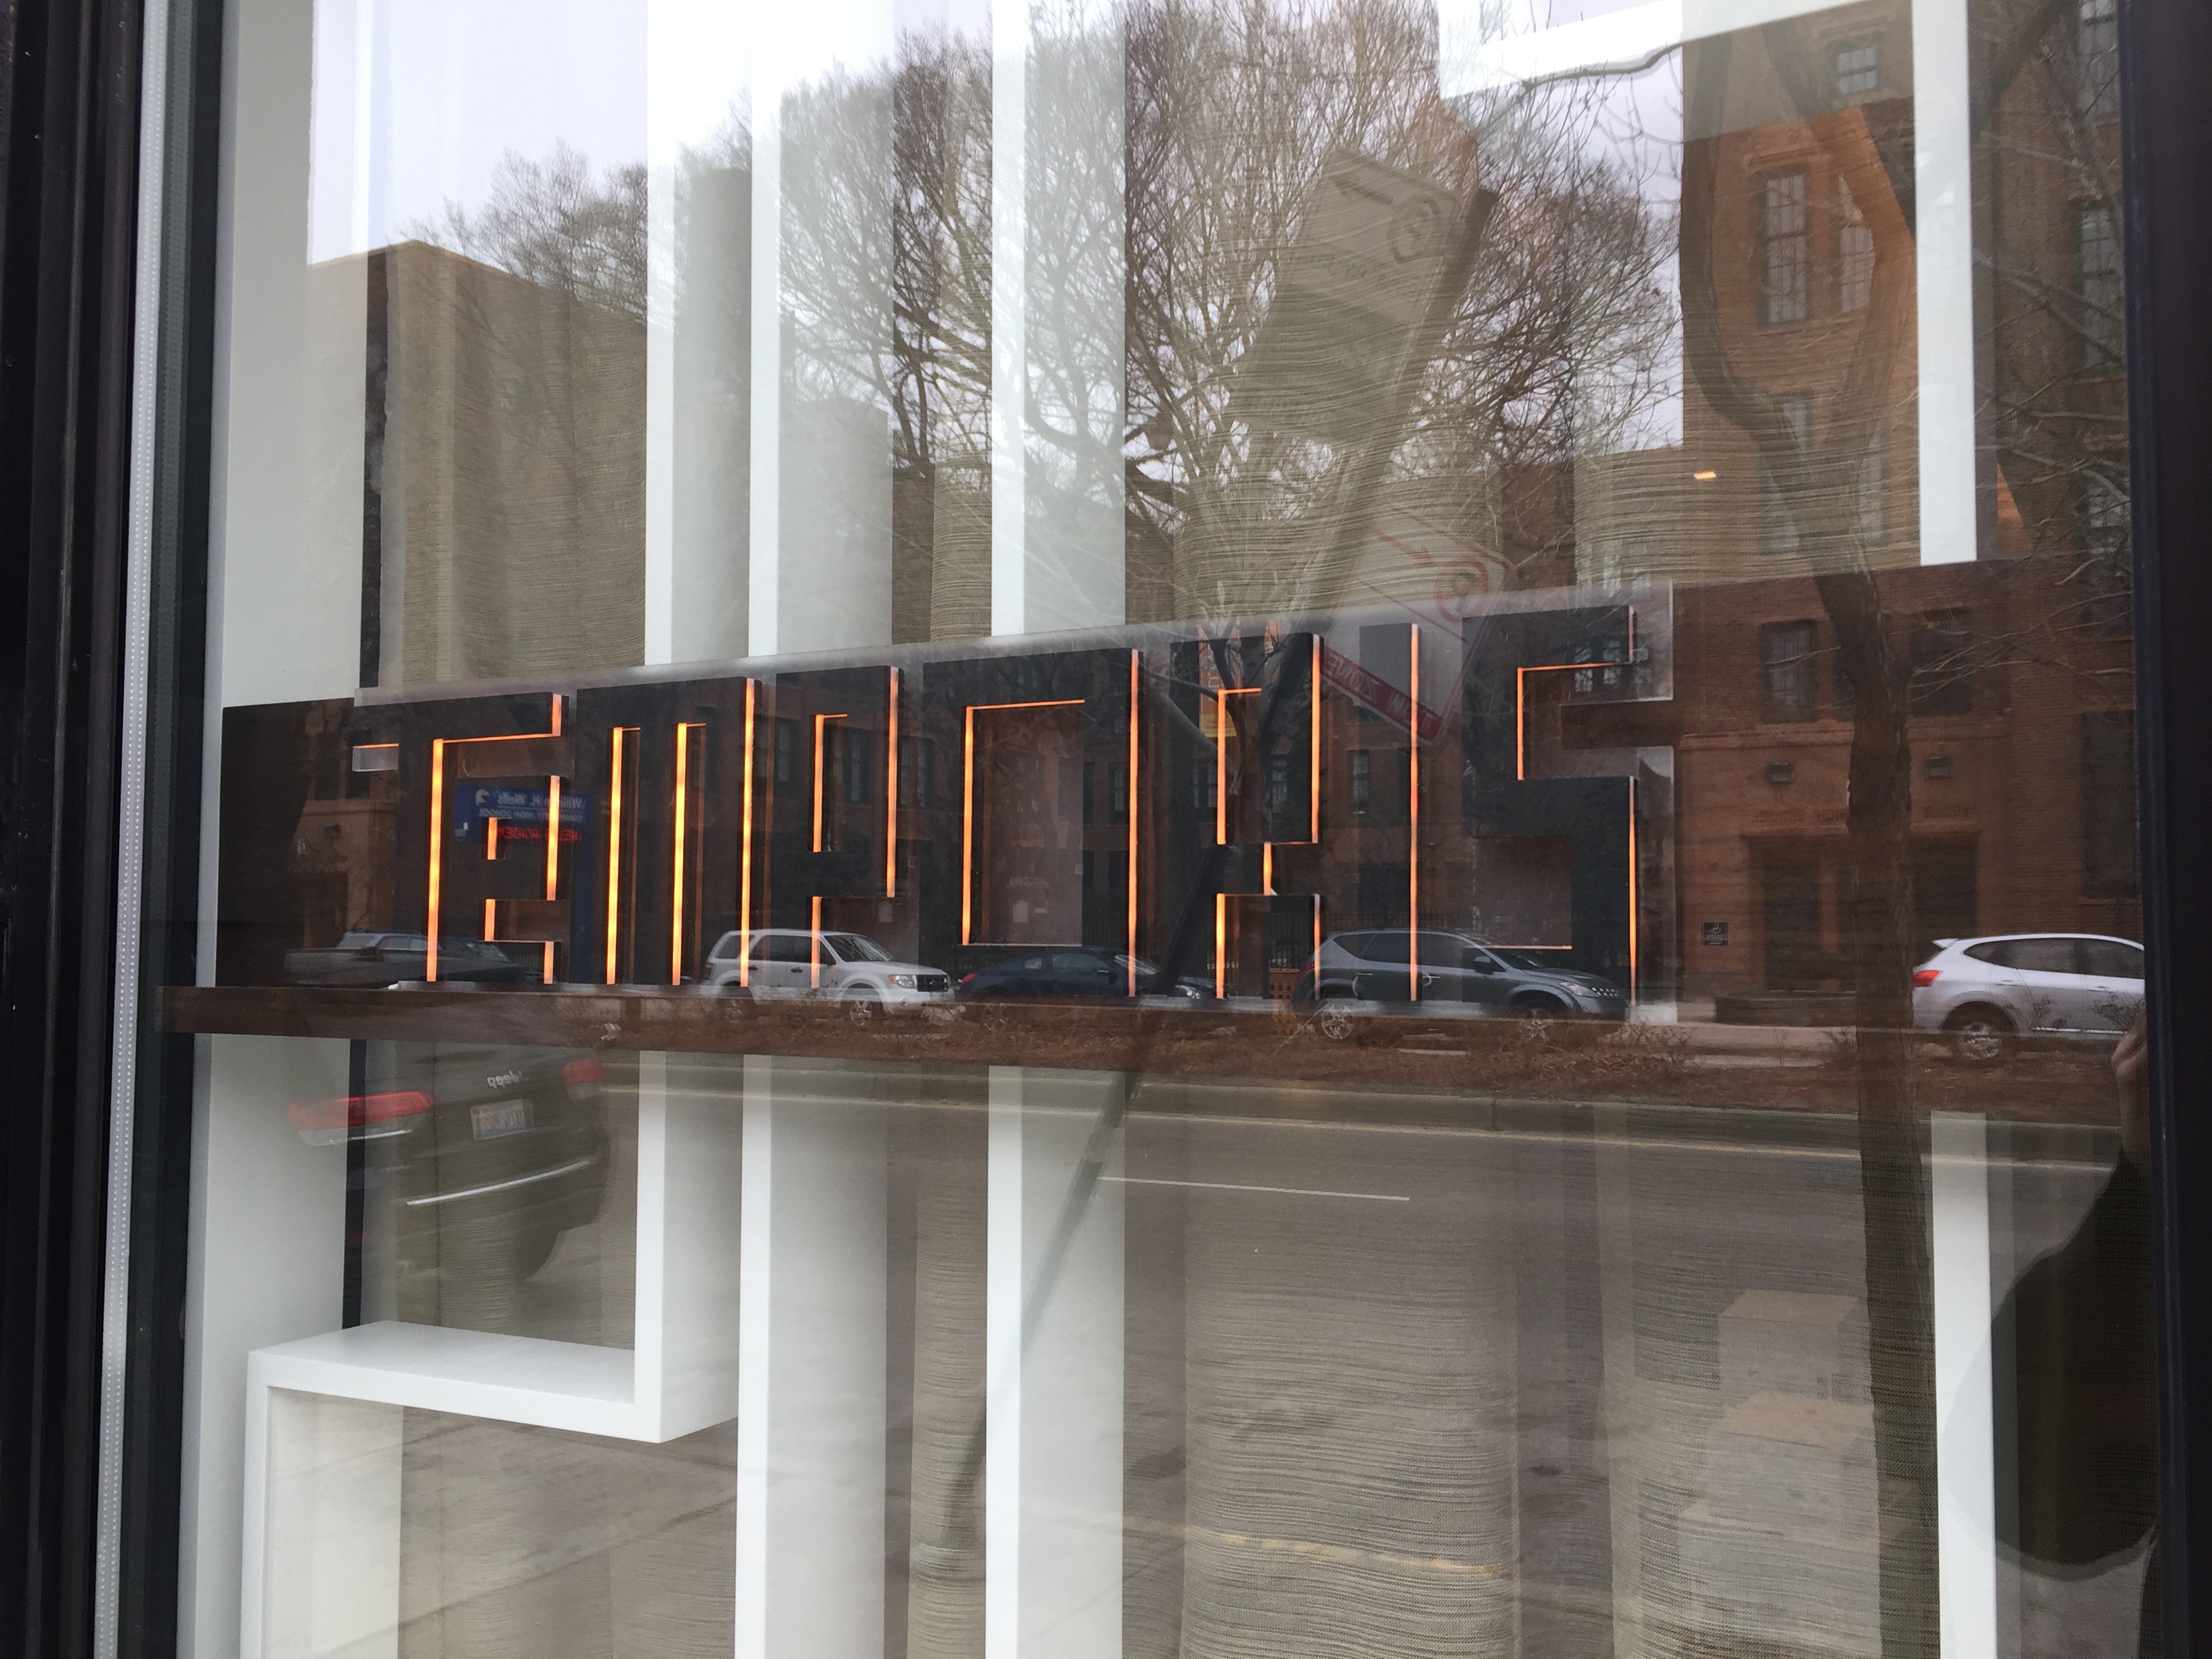
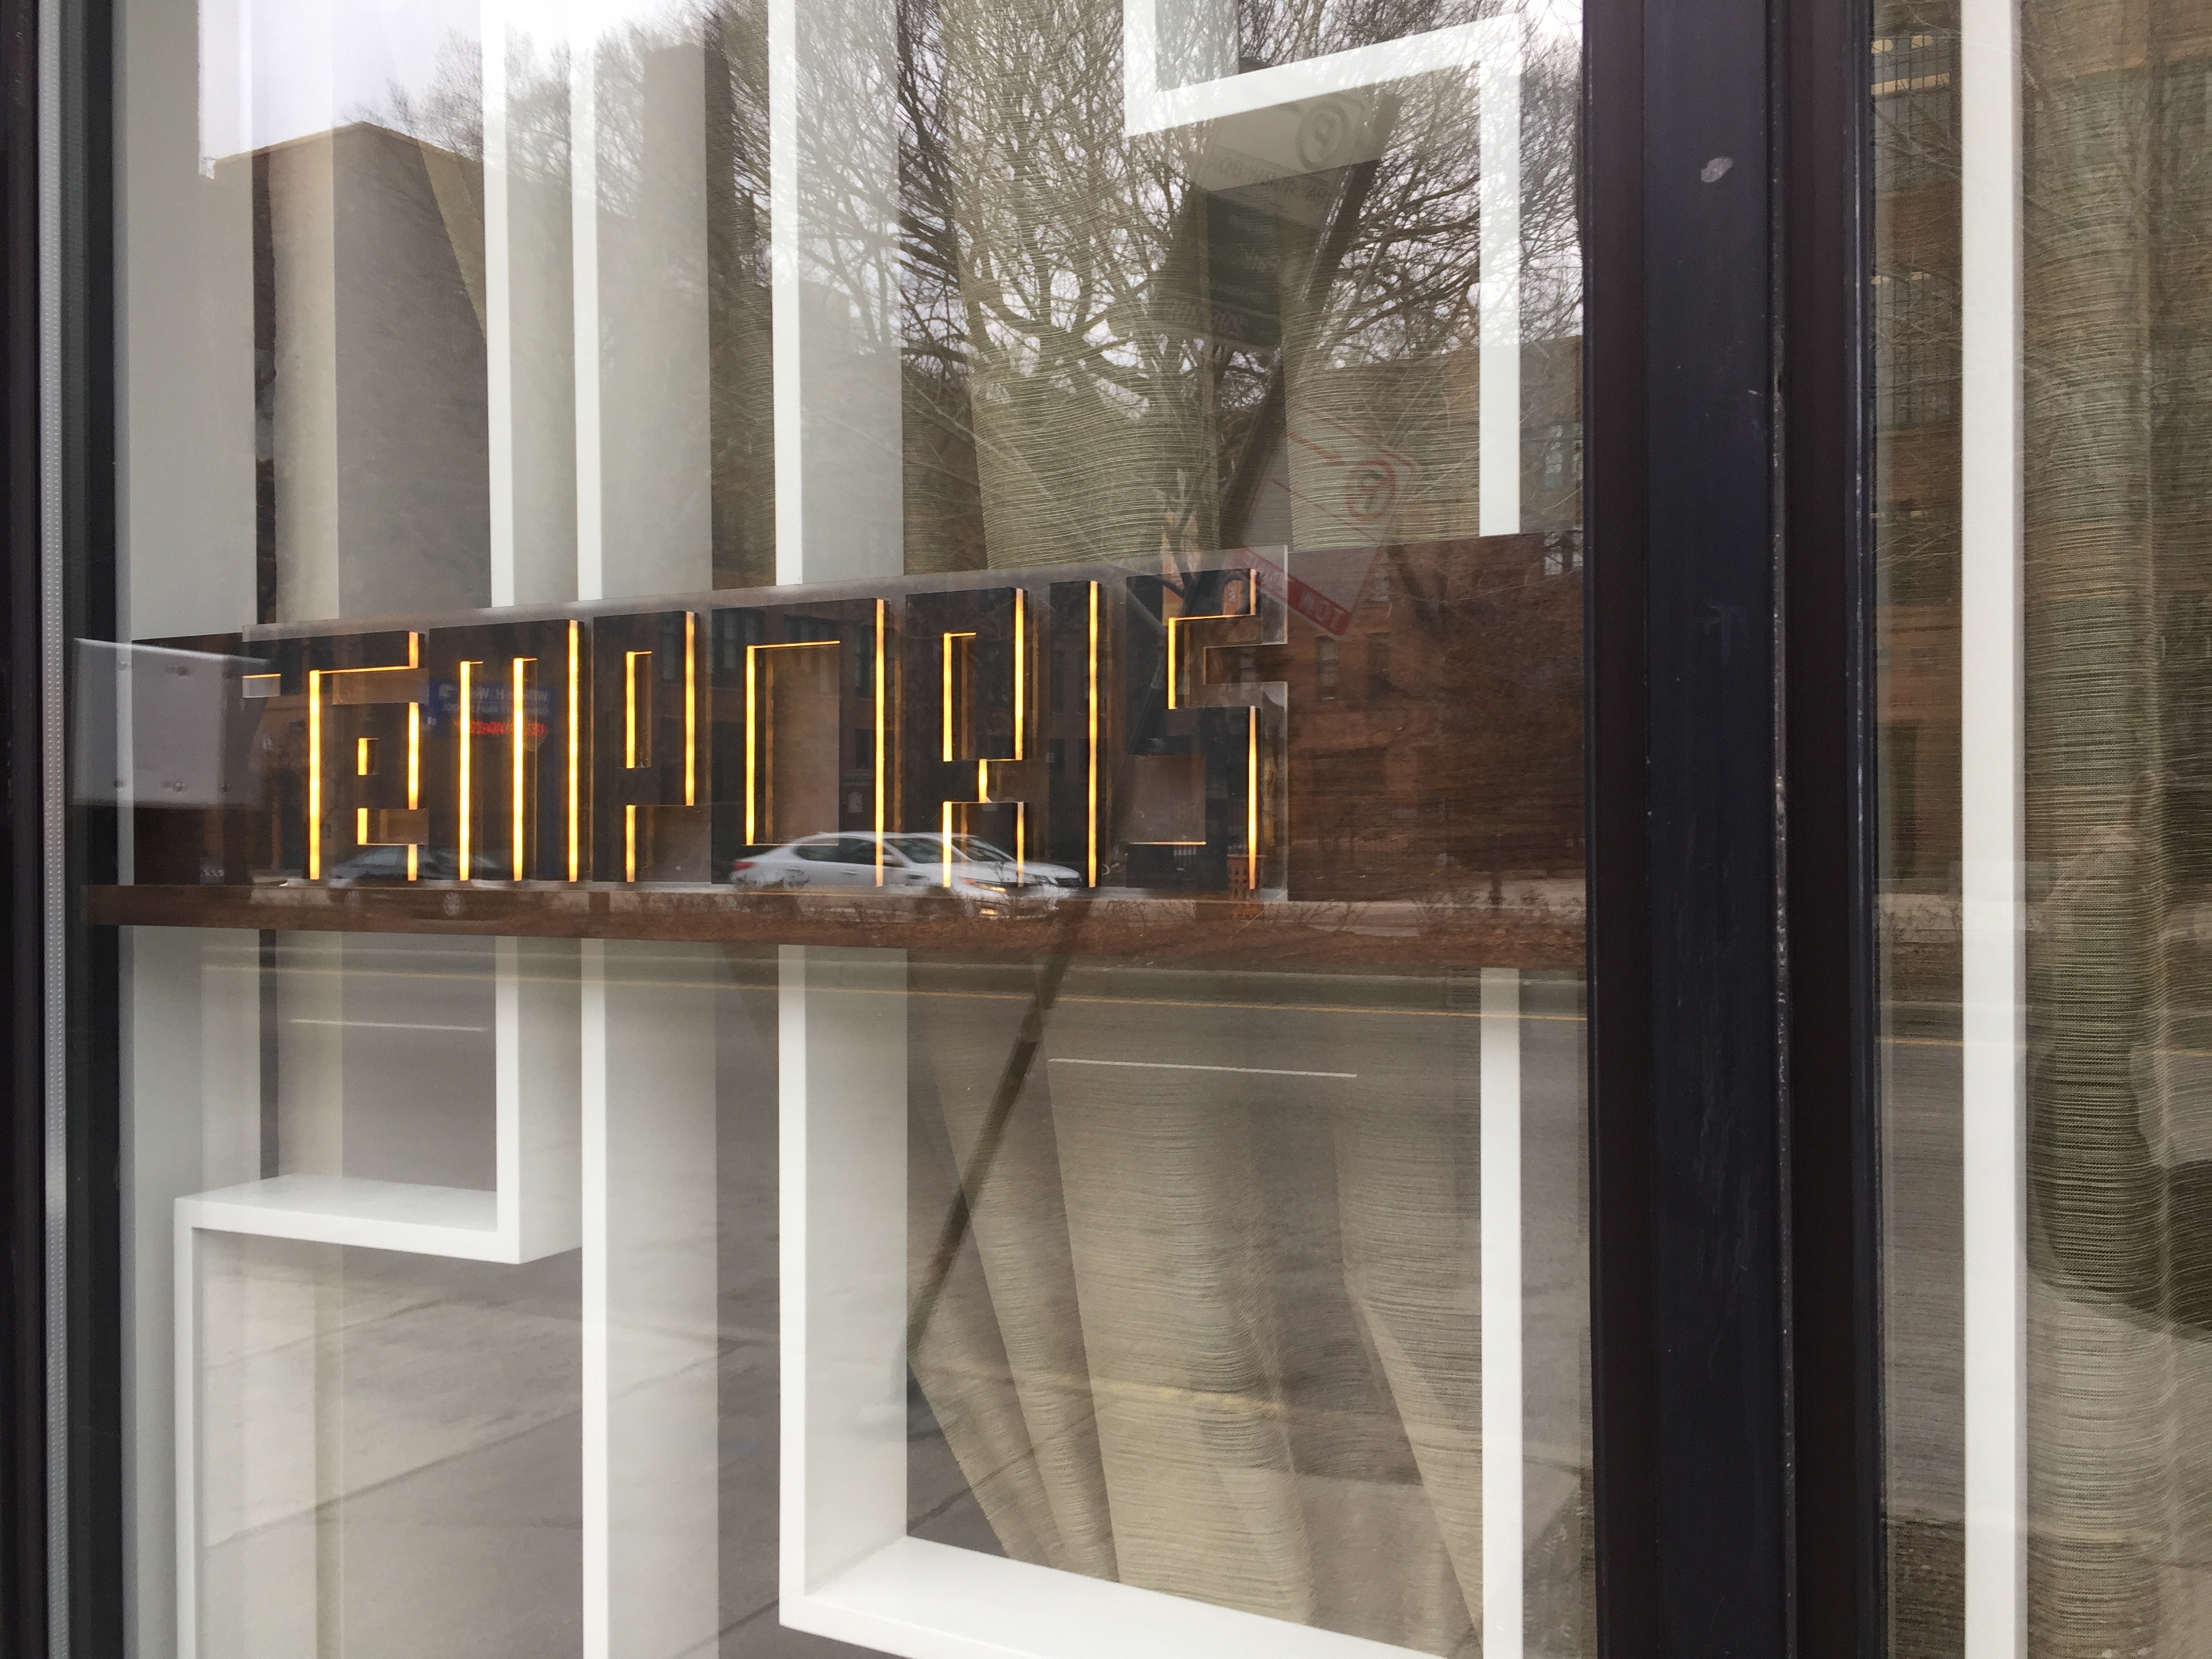
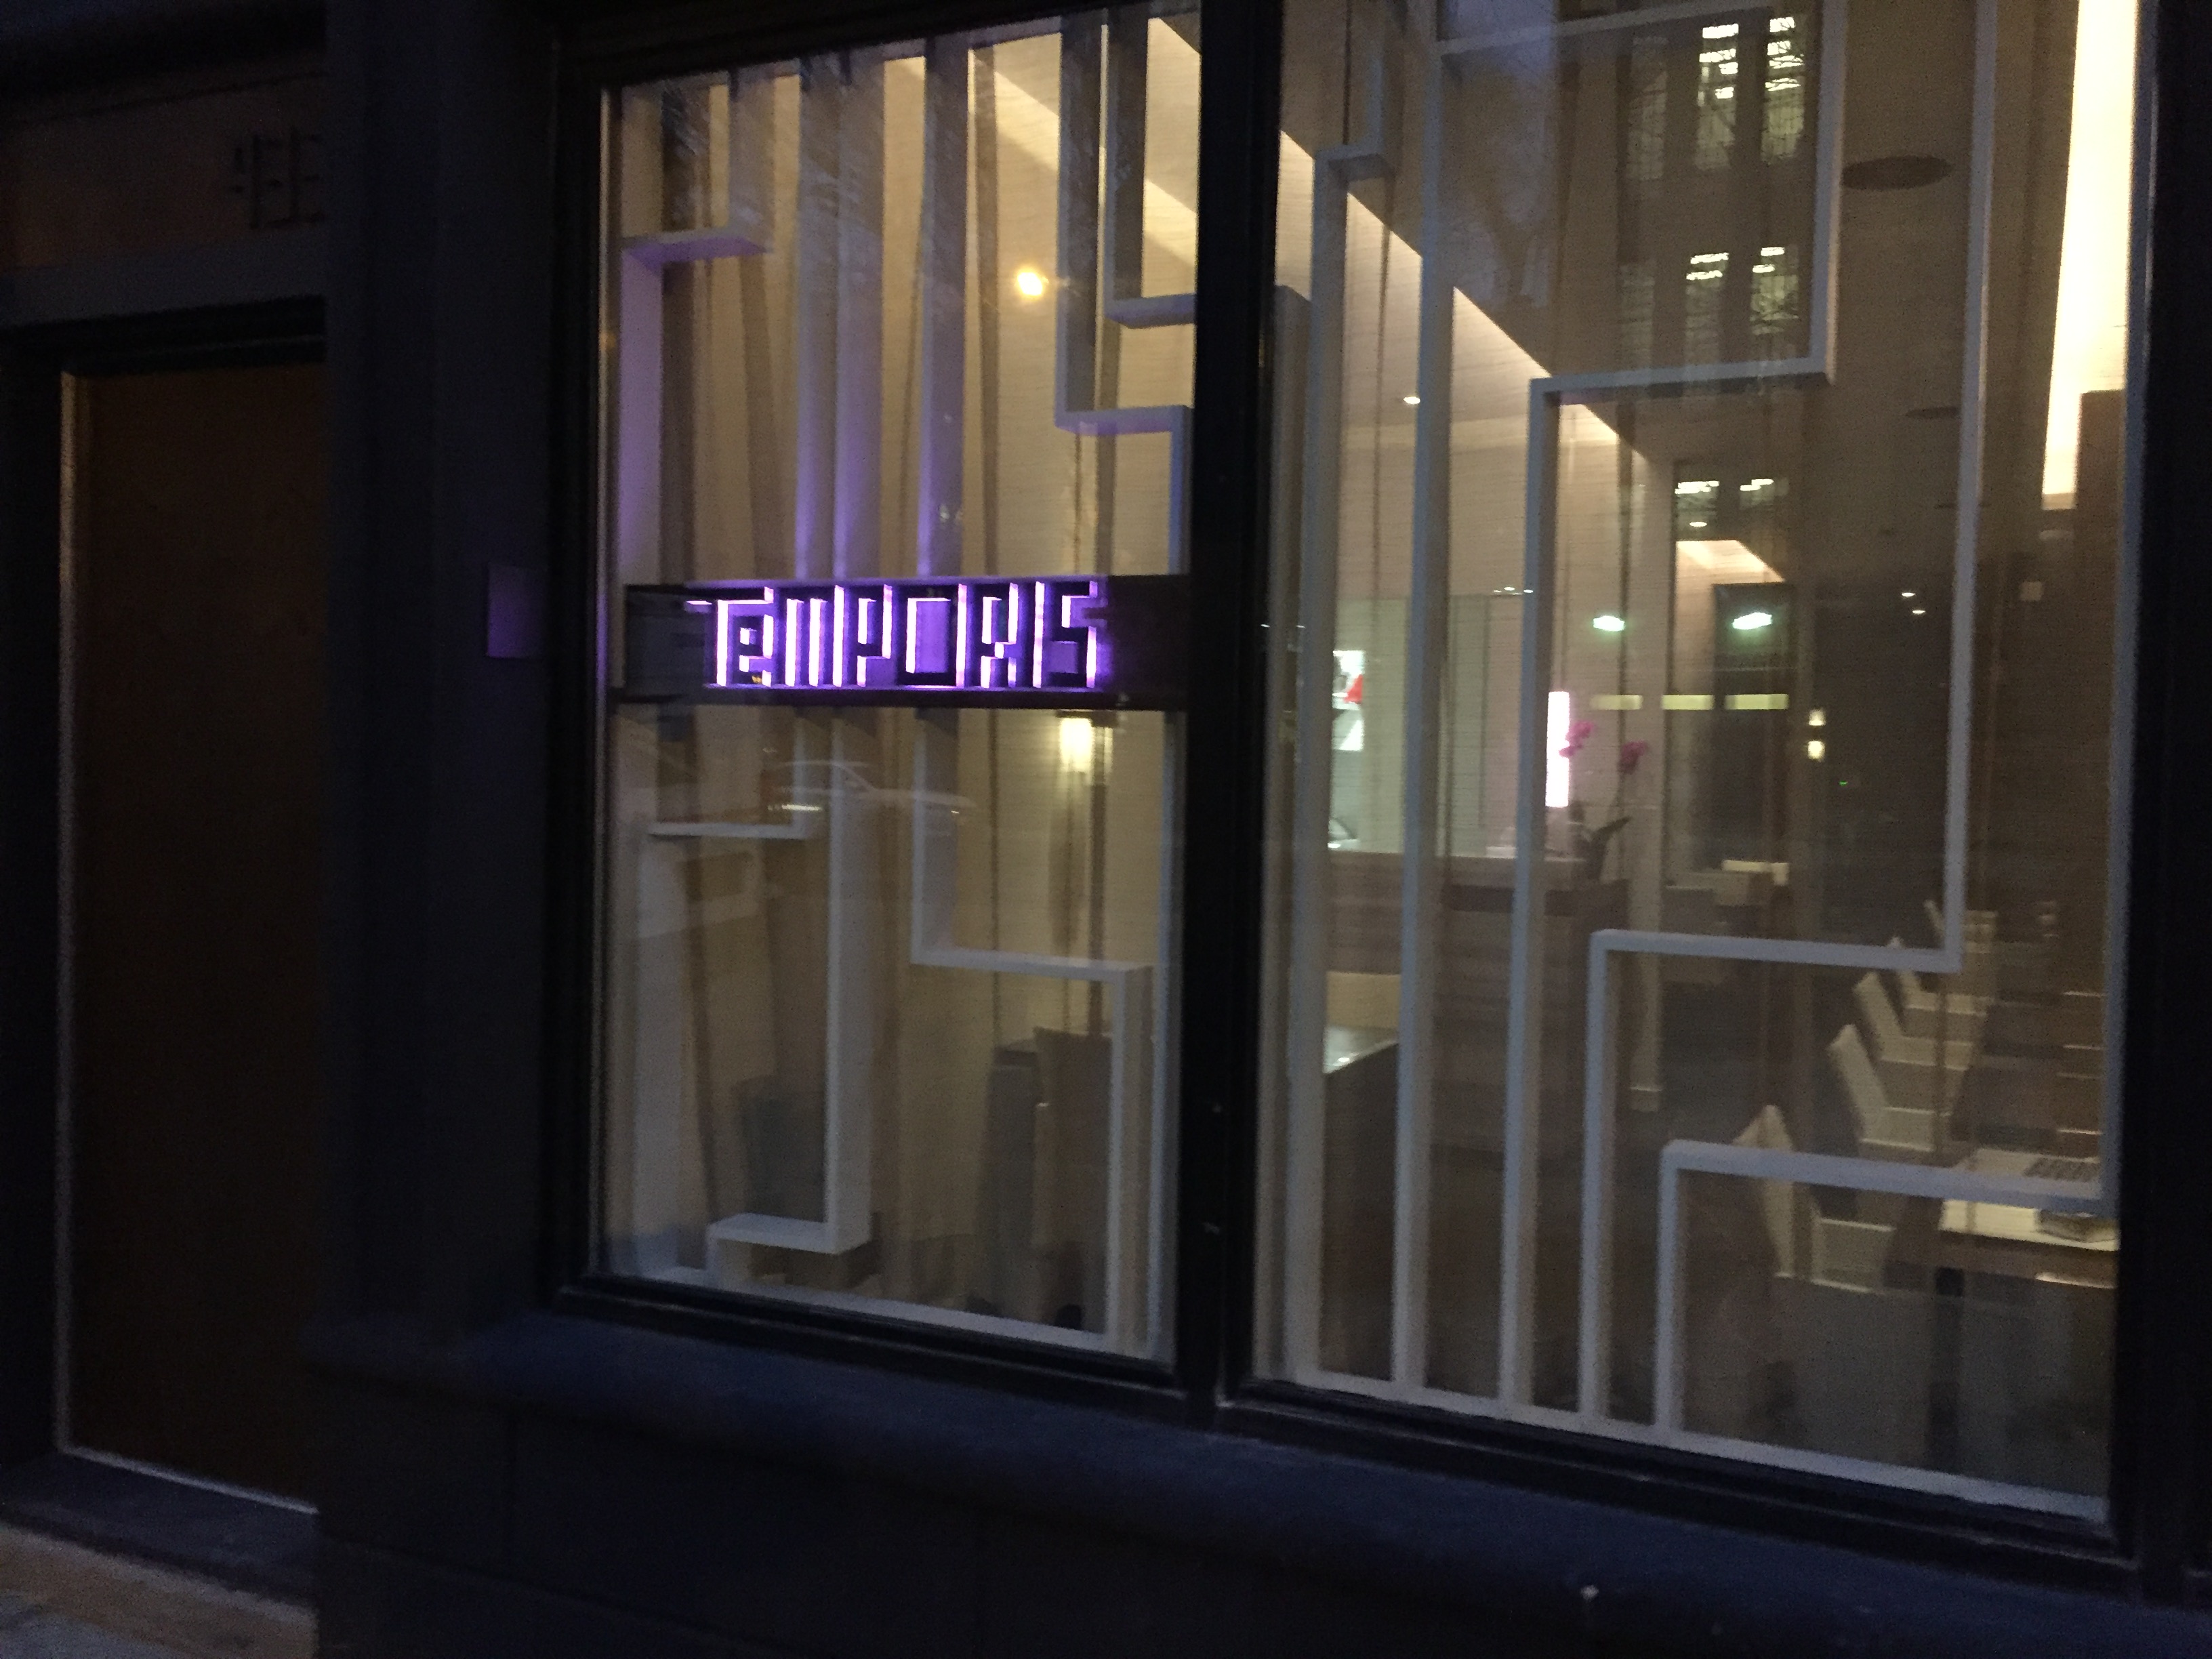
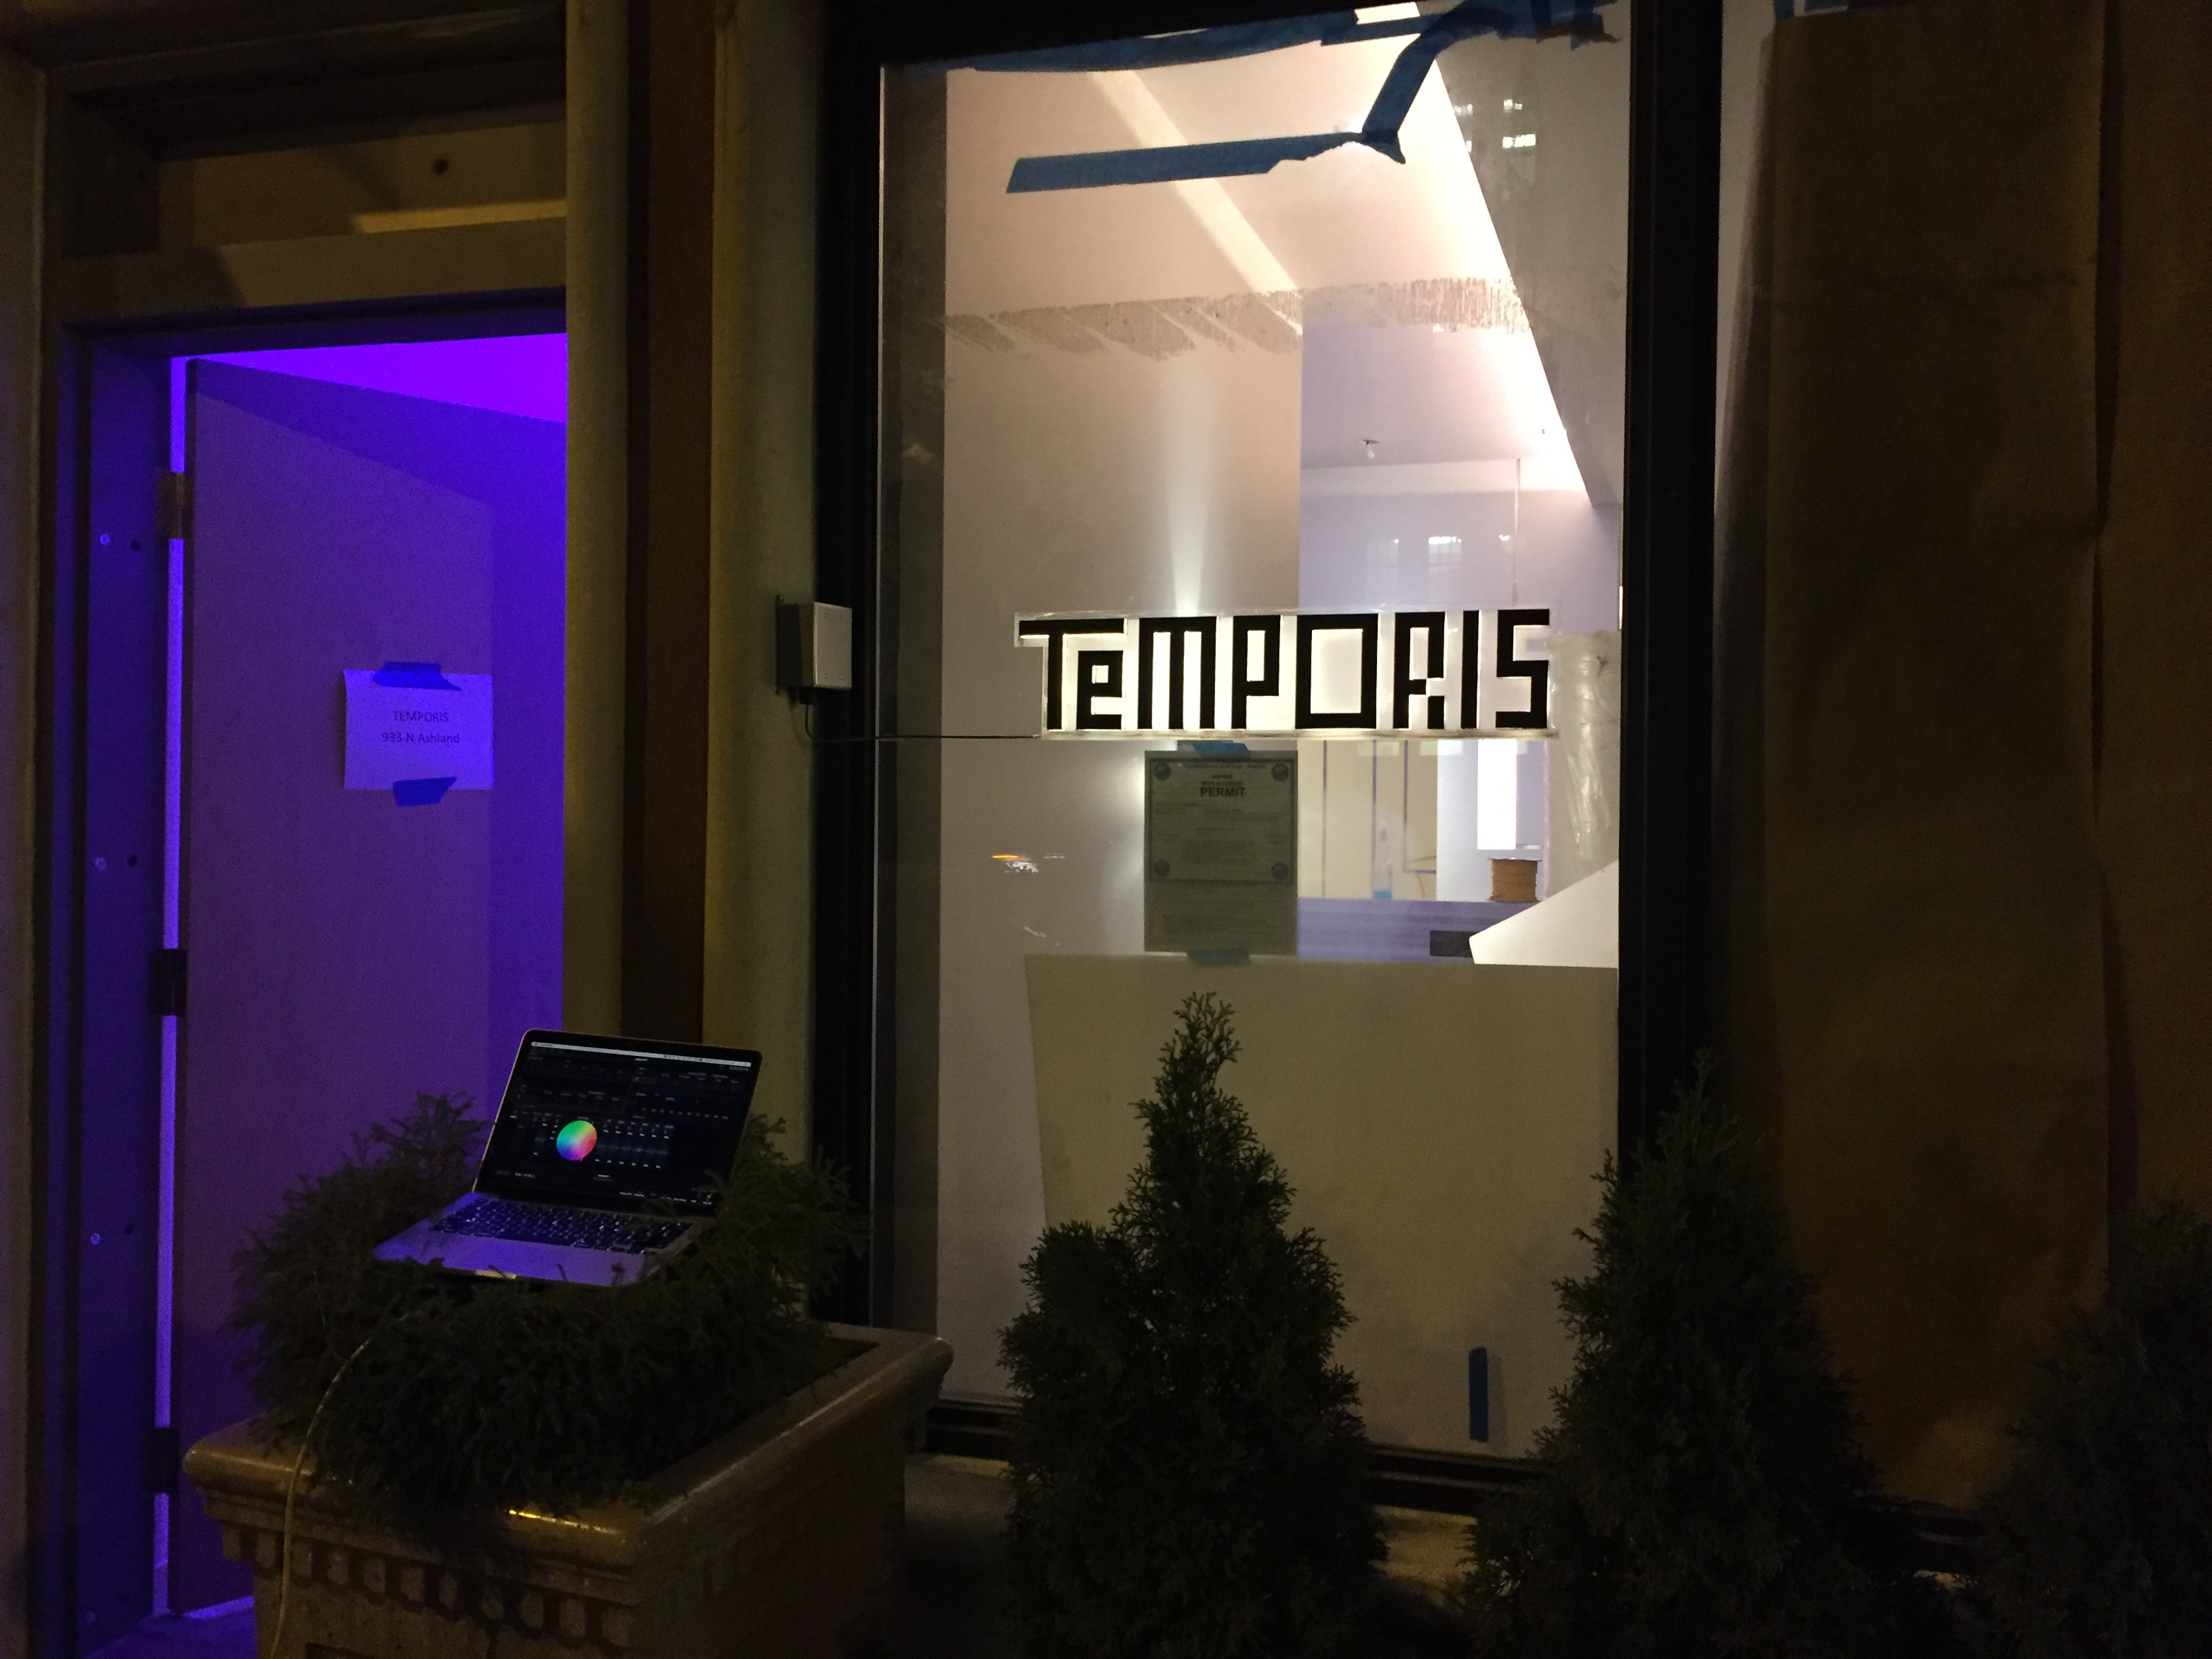
Here is the final product cycling through some colors:
As an added bonus I cut the address out for above the doorway:
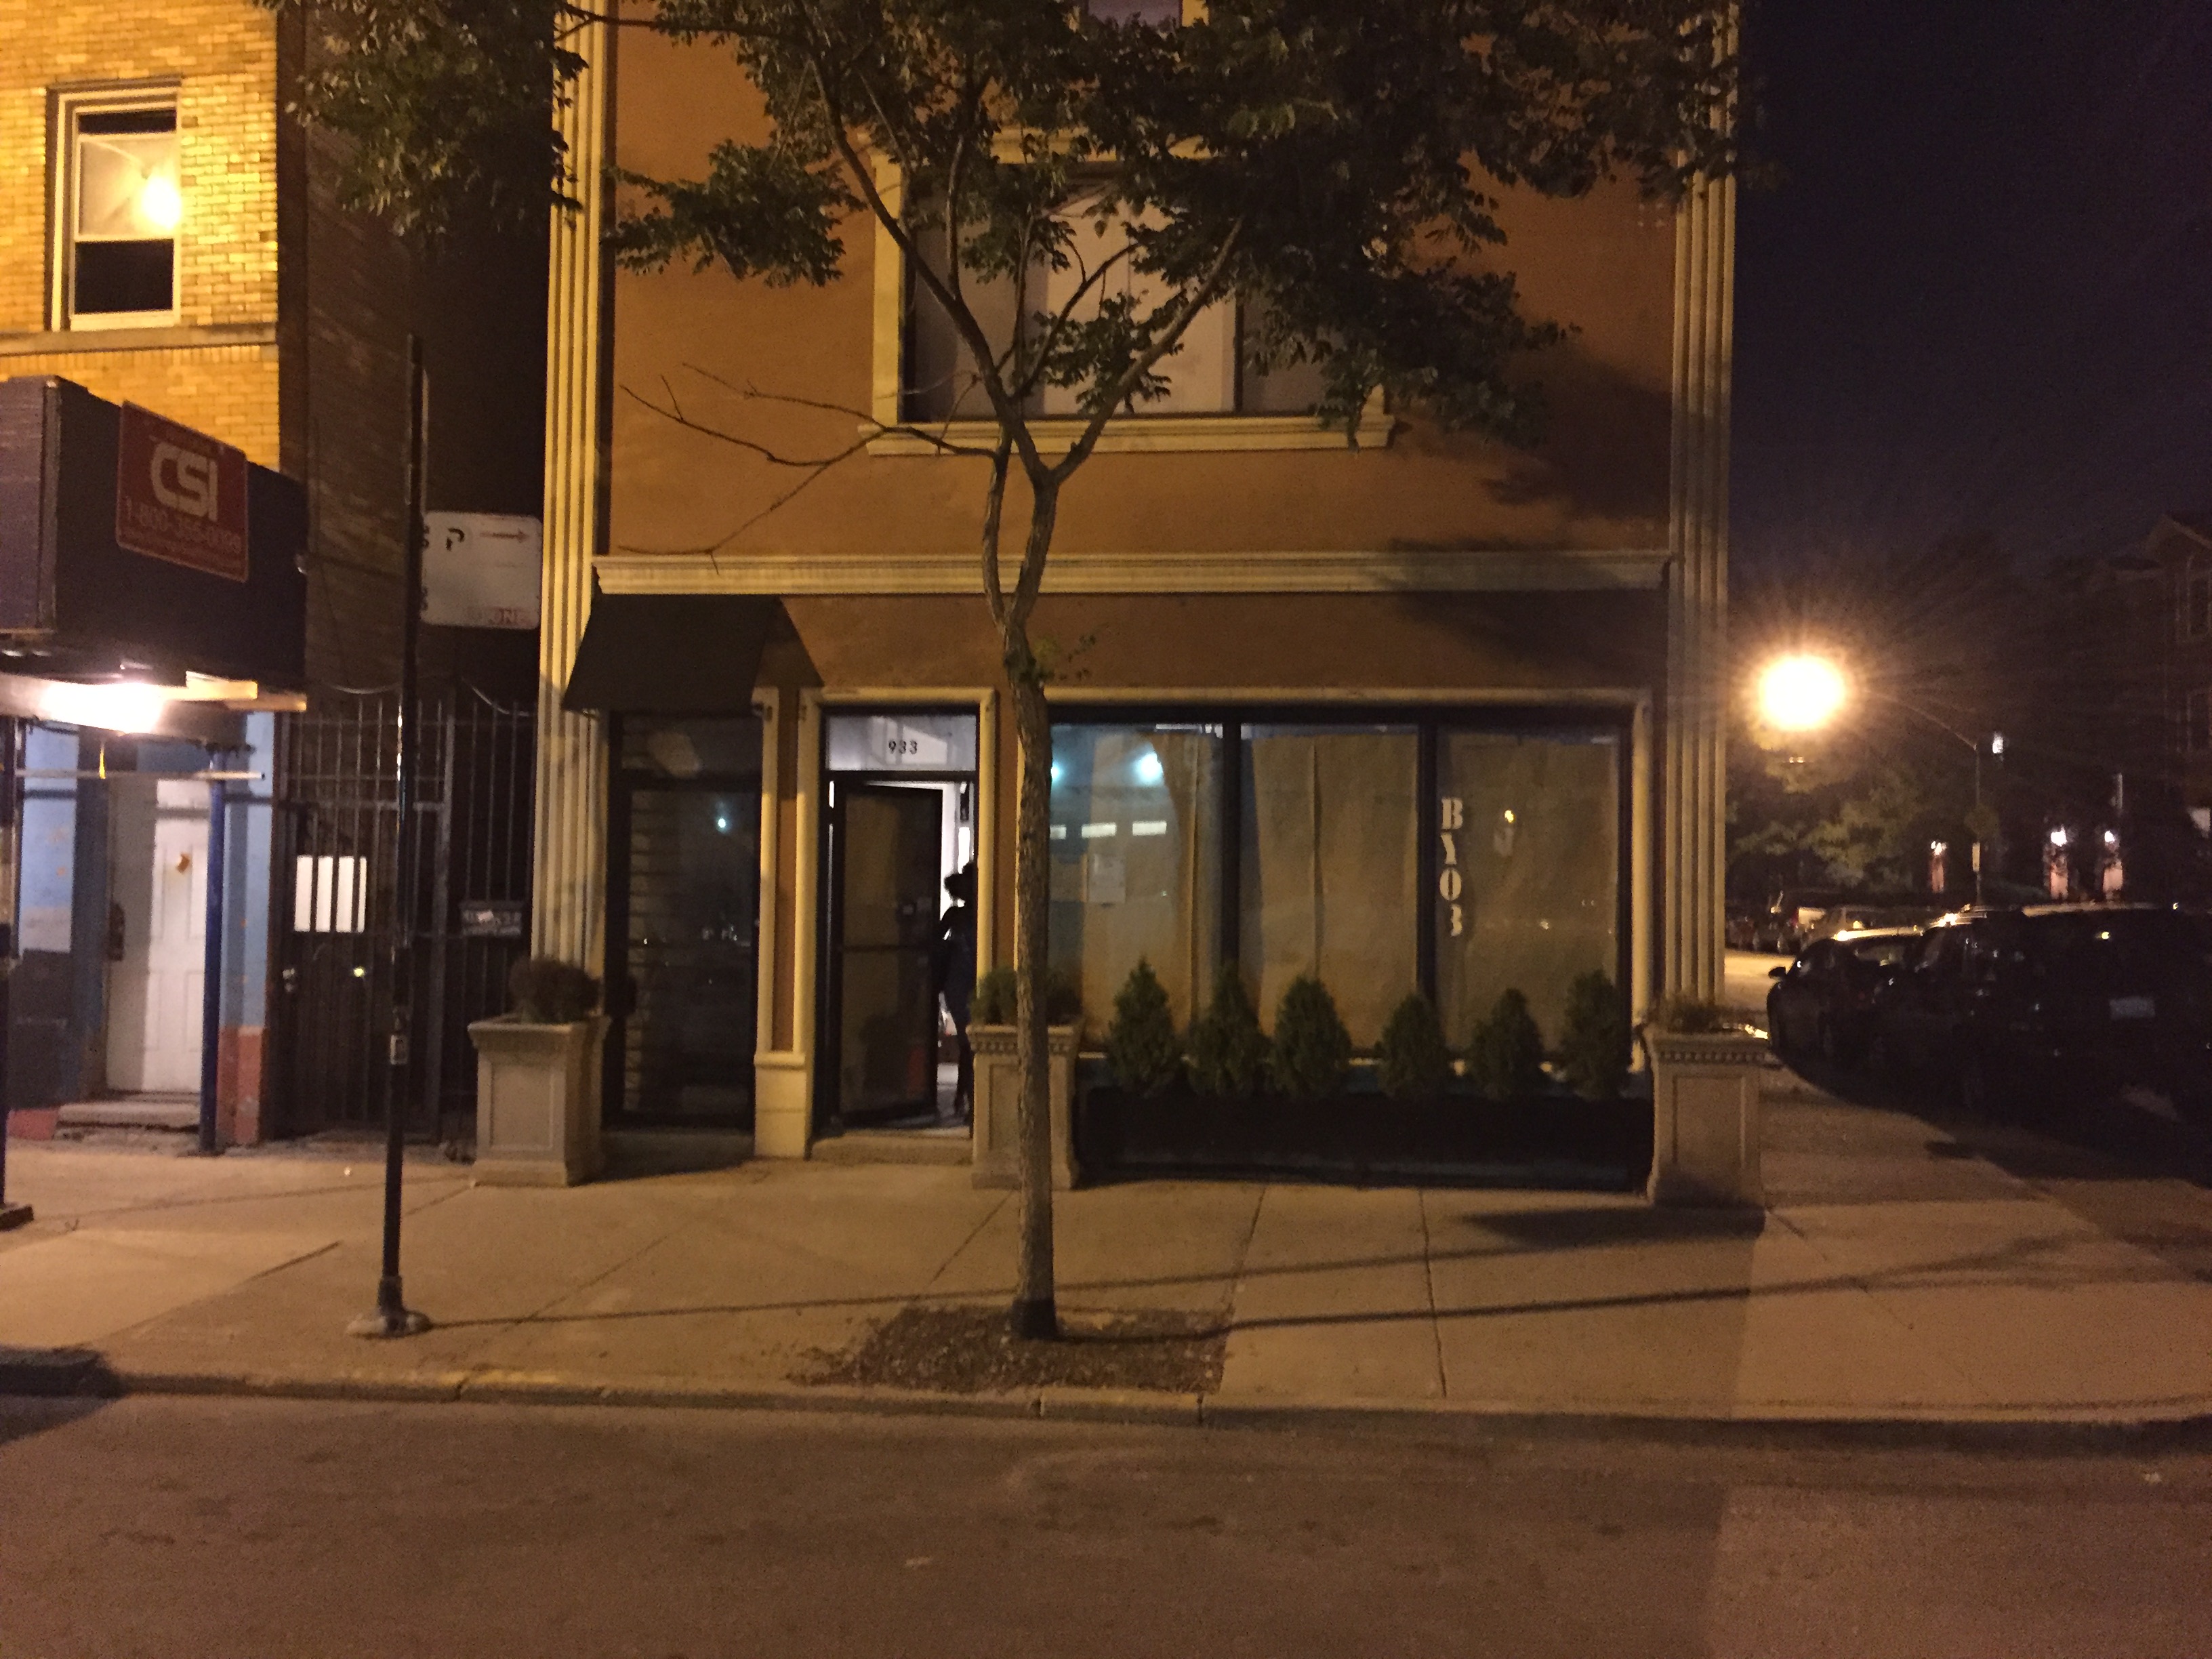
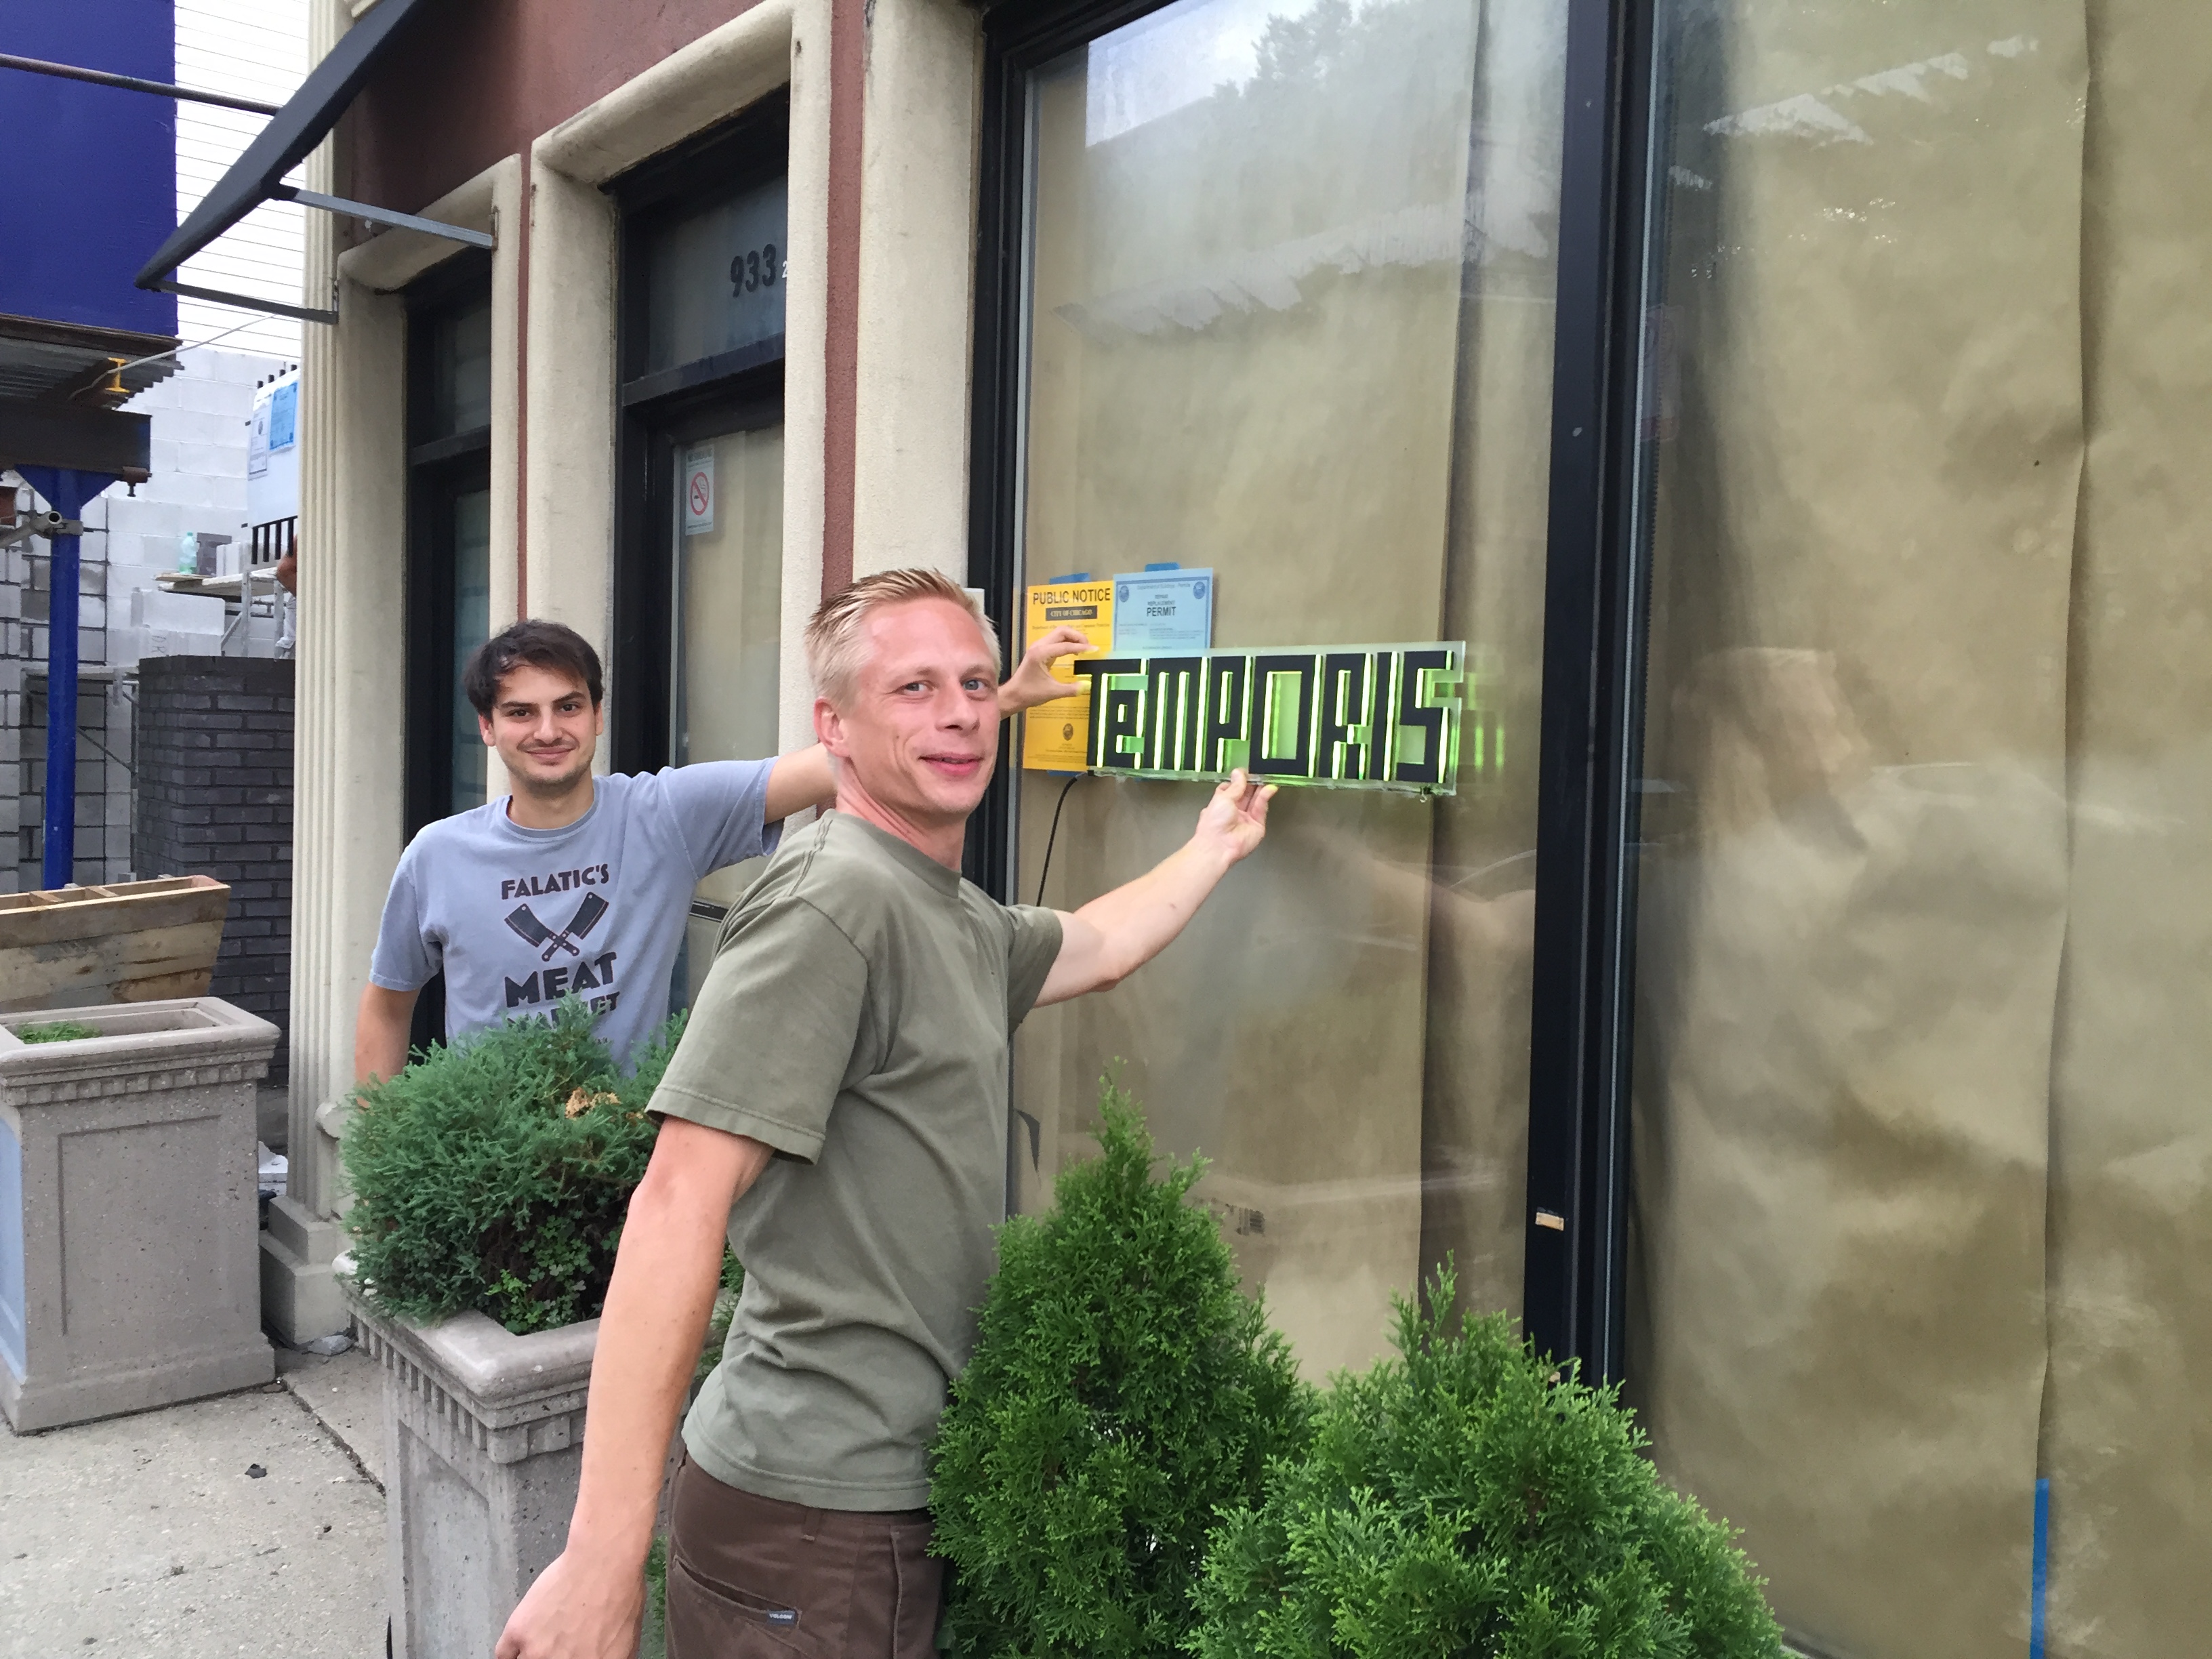
Two happy co-chefs placing the sign for the first time:
Temporis
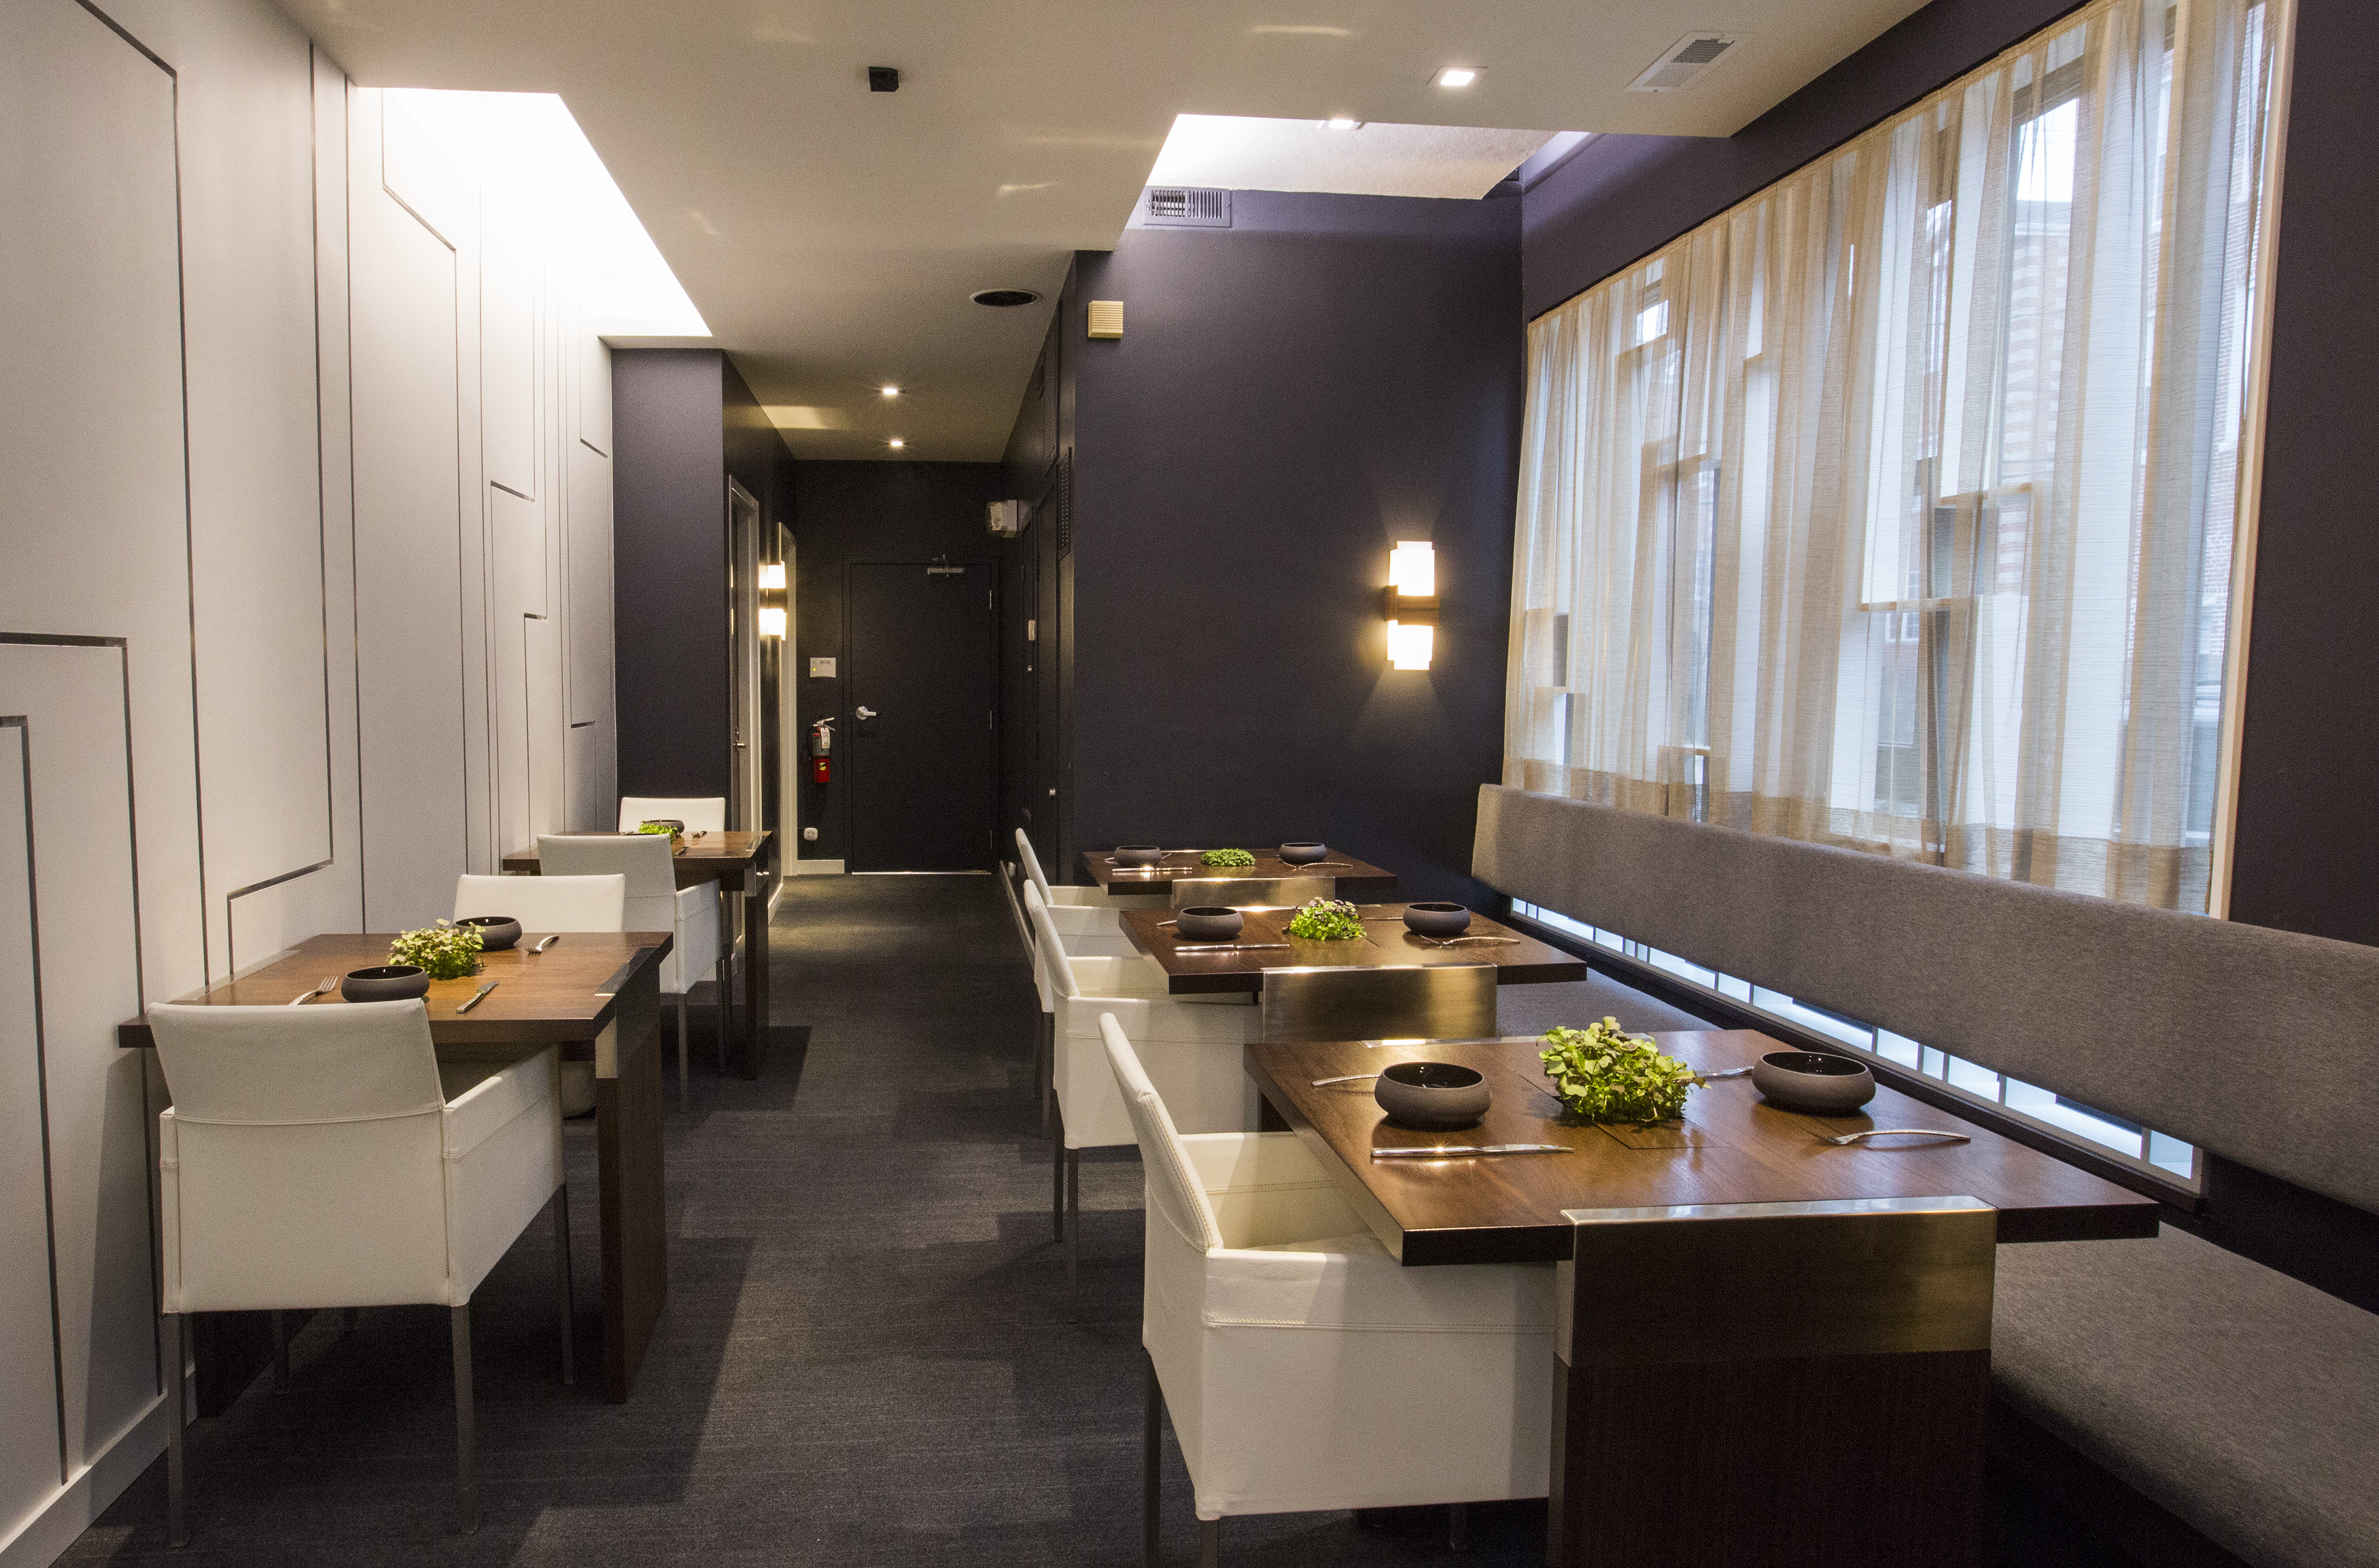
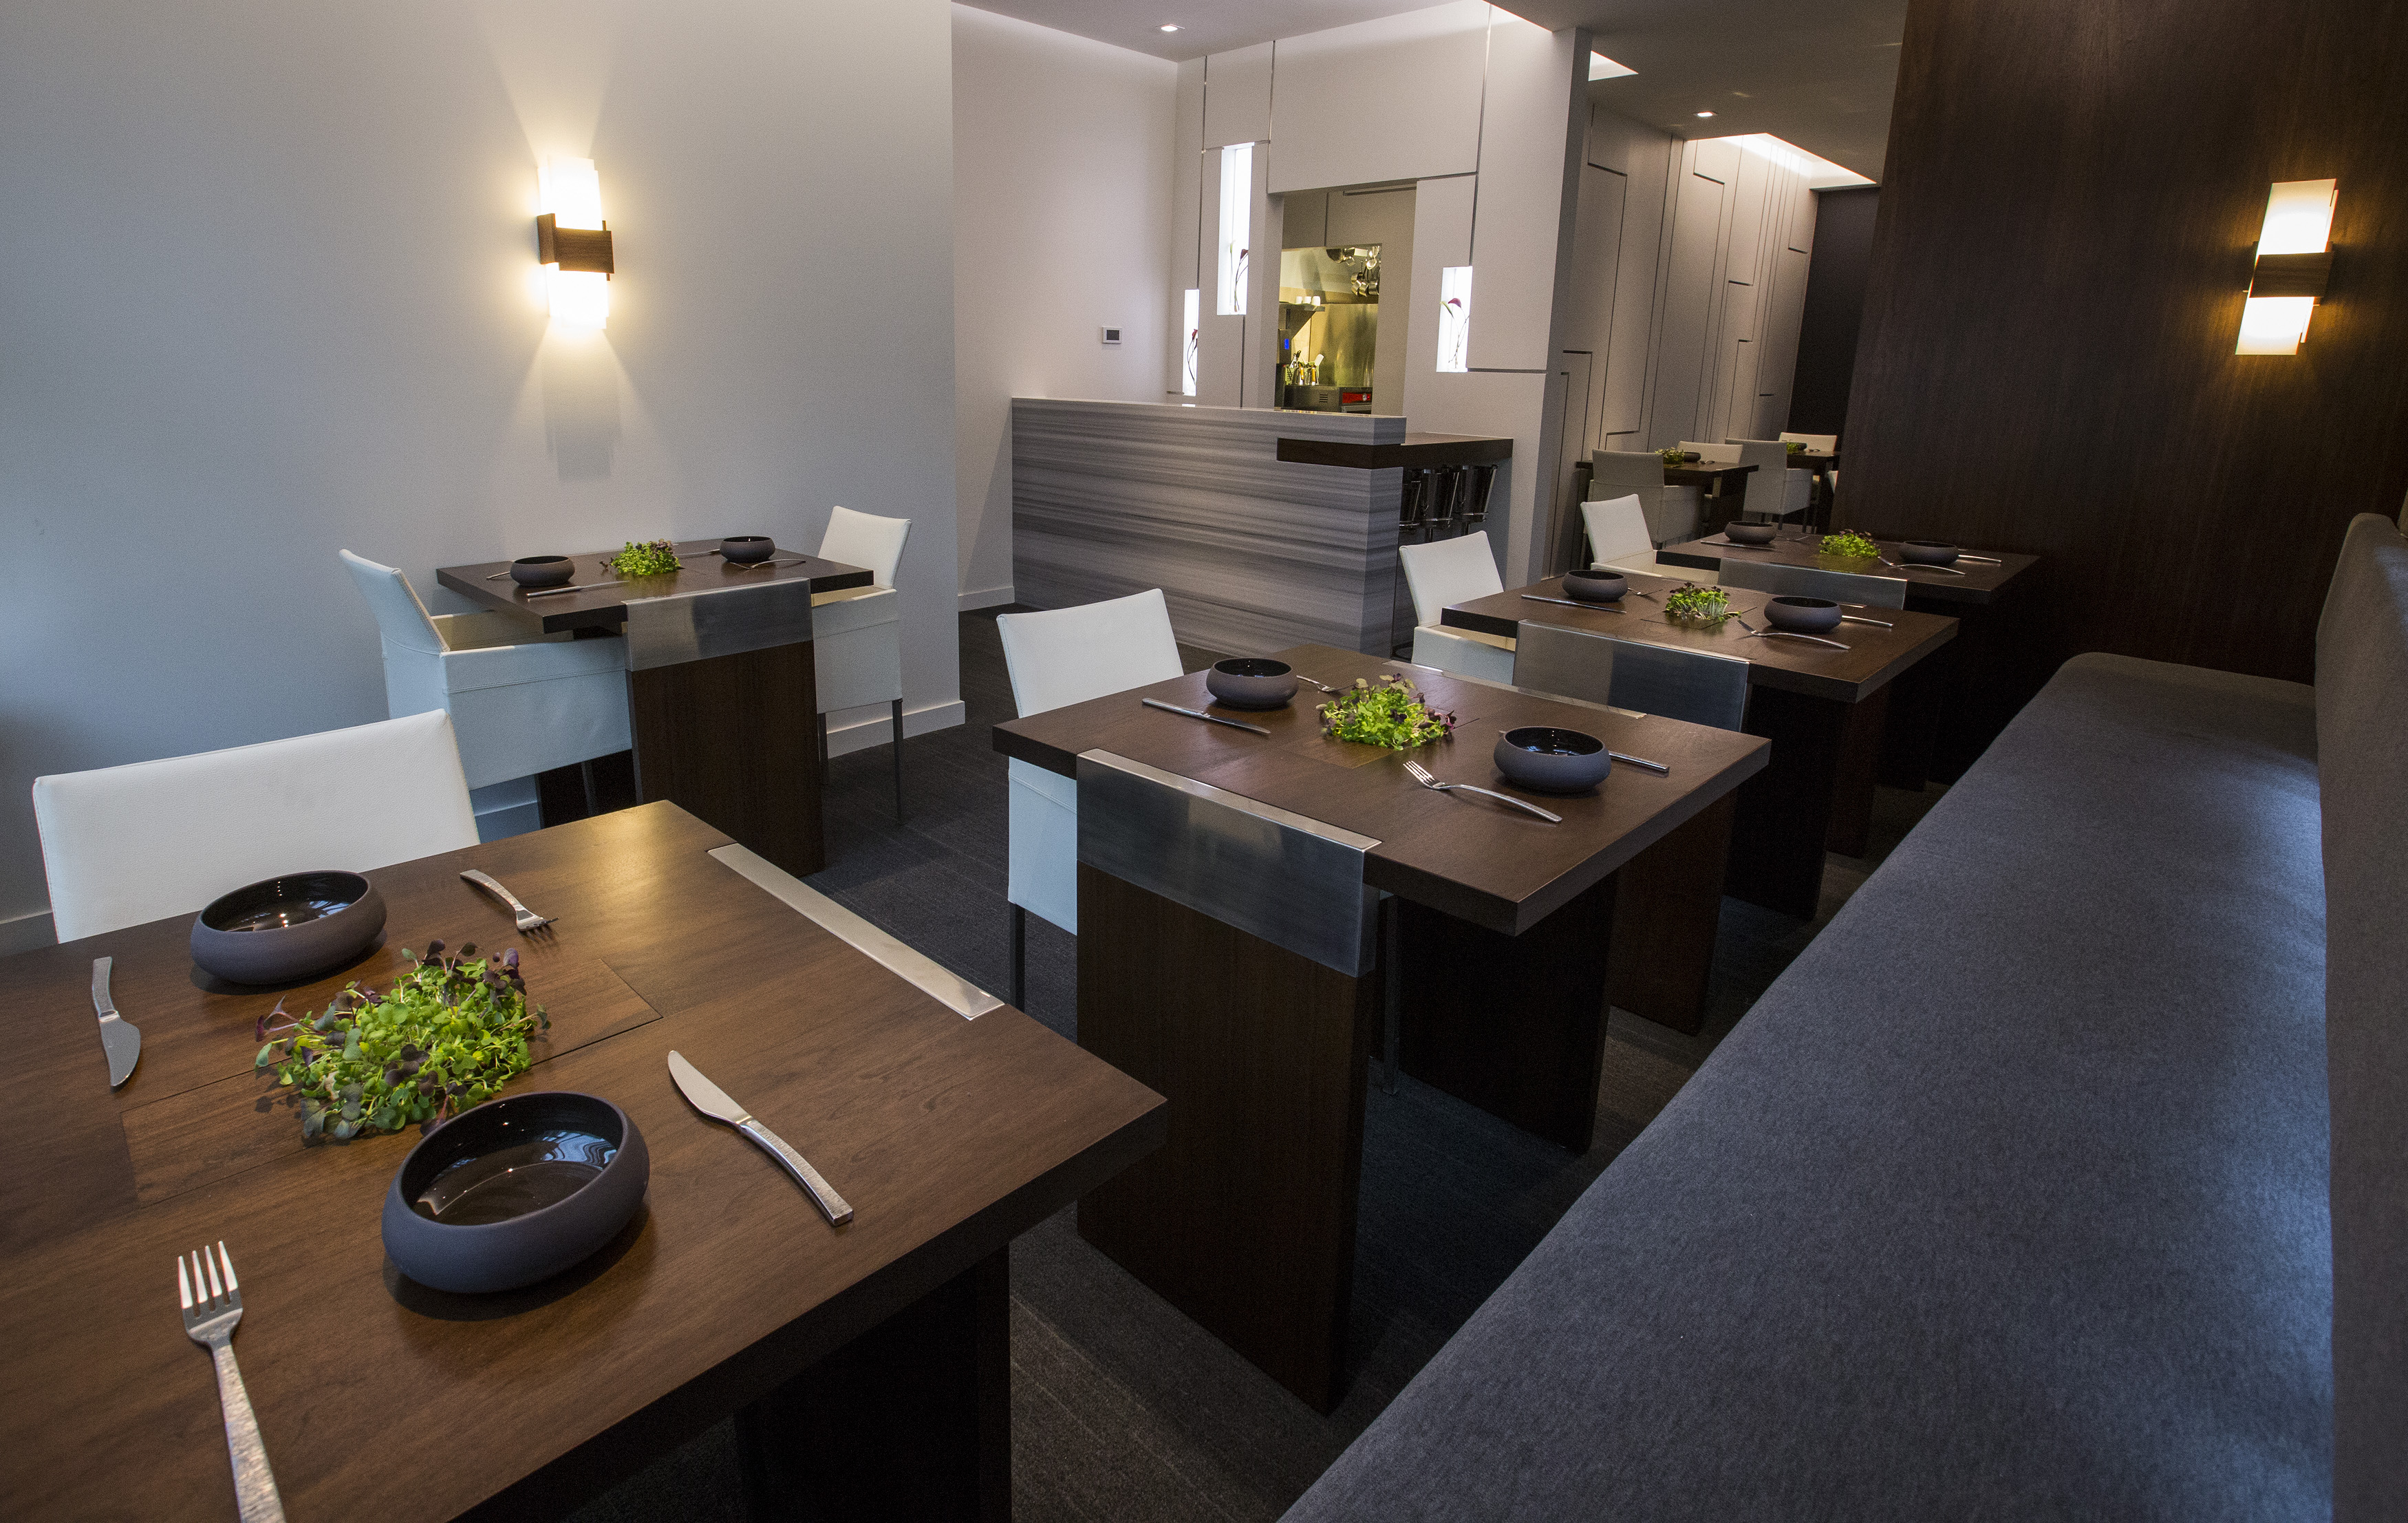
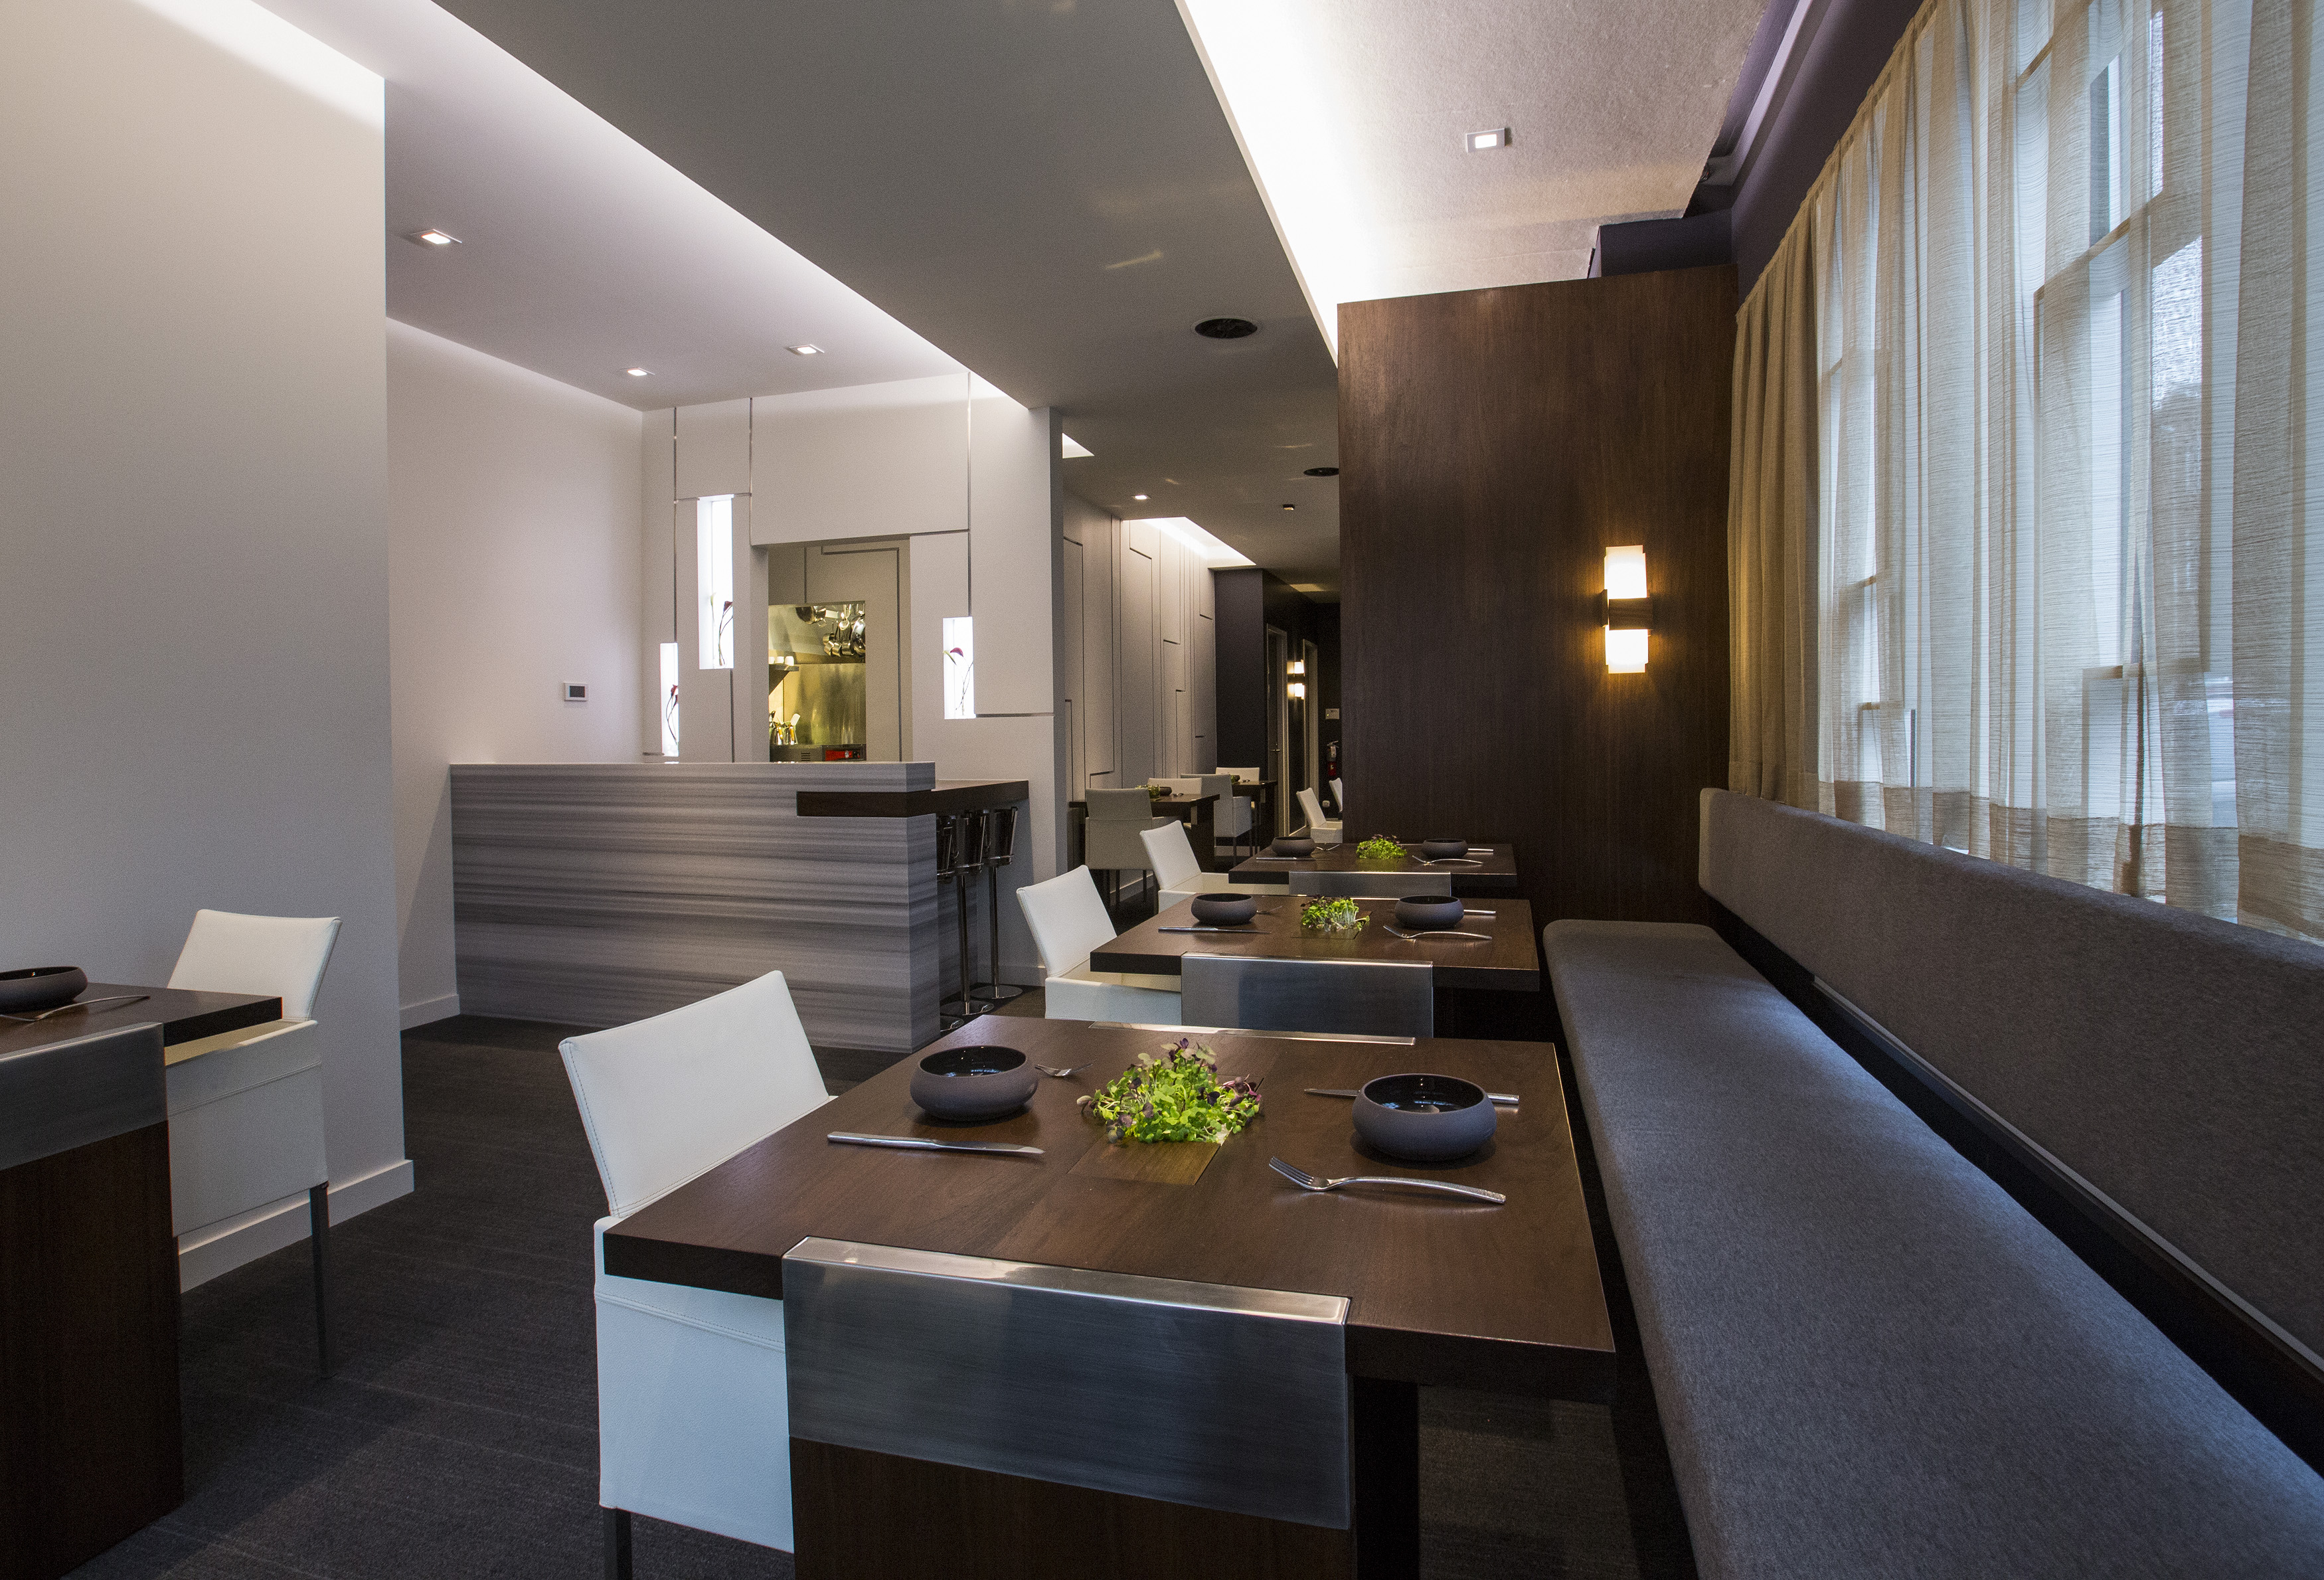
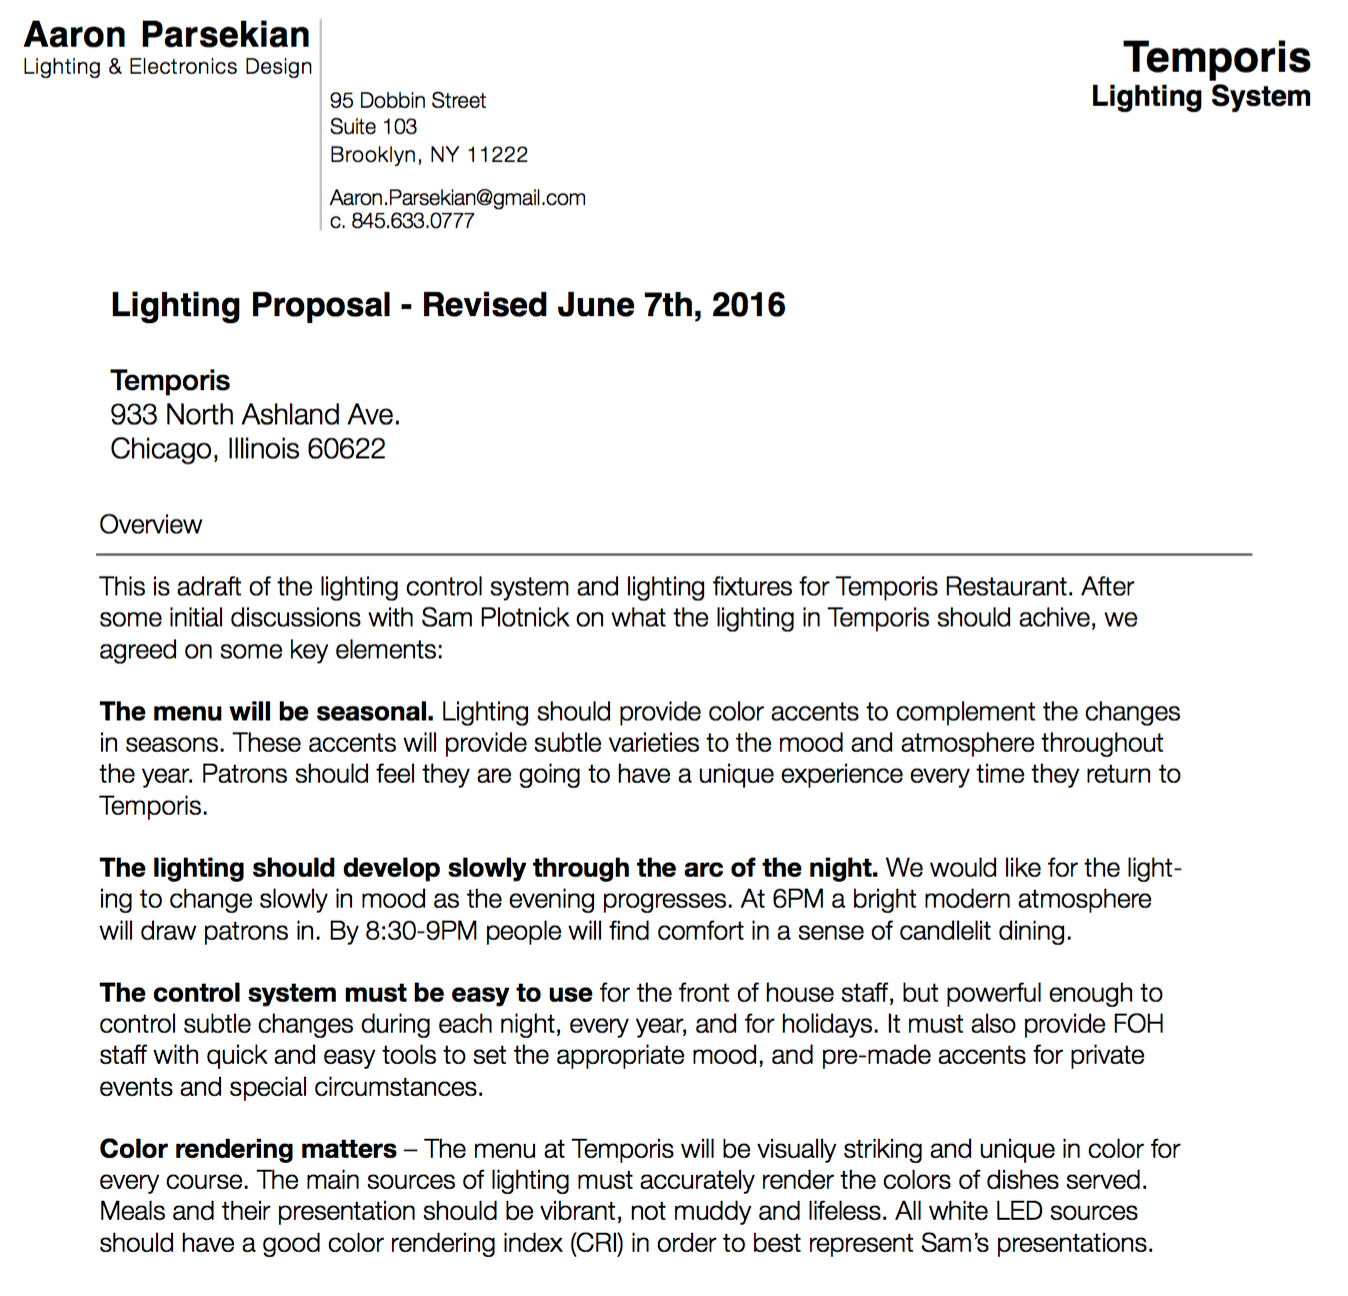
My lighting Design for Temporis restaurant in Chicago, IL begins with sending a proposal to the architect to show him my design and technical intentions. I first received some initial renderings from the architect and talked with owner and co chef Sam Plonick about his culinary intentions. The menu will have seasonal adaptations throughout the year. The menu is a 10+ course tasting menu, fine dining. As the lighting designer for this style cuisine, showcasing the meticulous and intricate plating takes first priority. Helping create an exciting experience and environment is next on the list.
Architects first renderings:
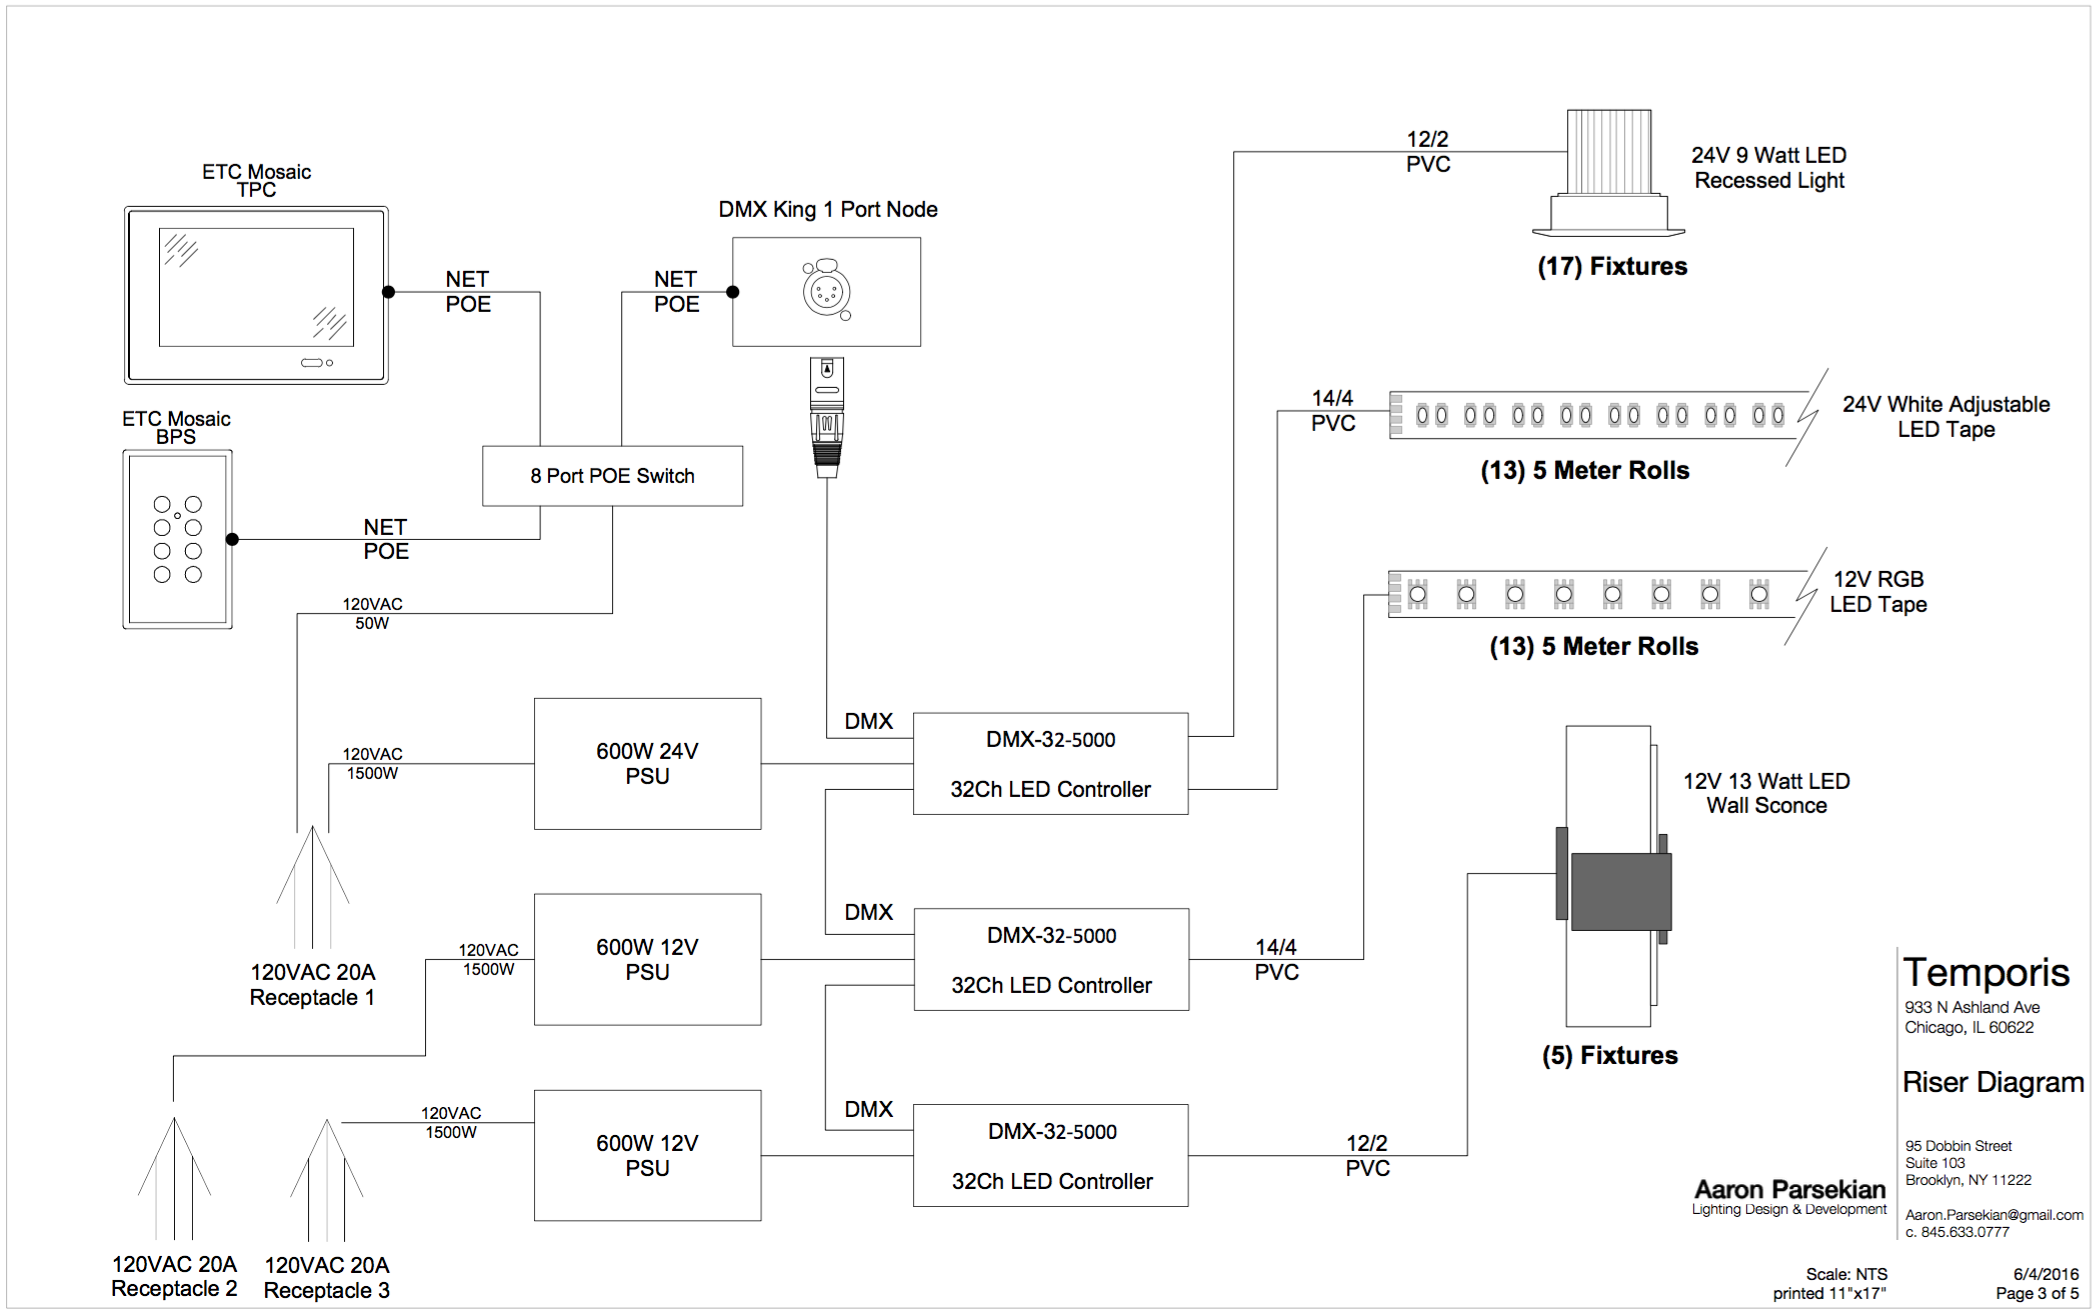
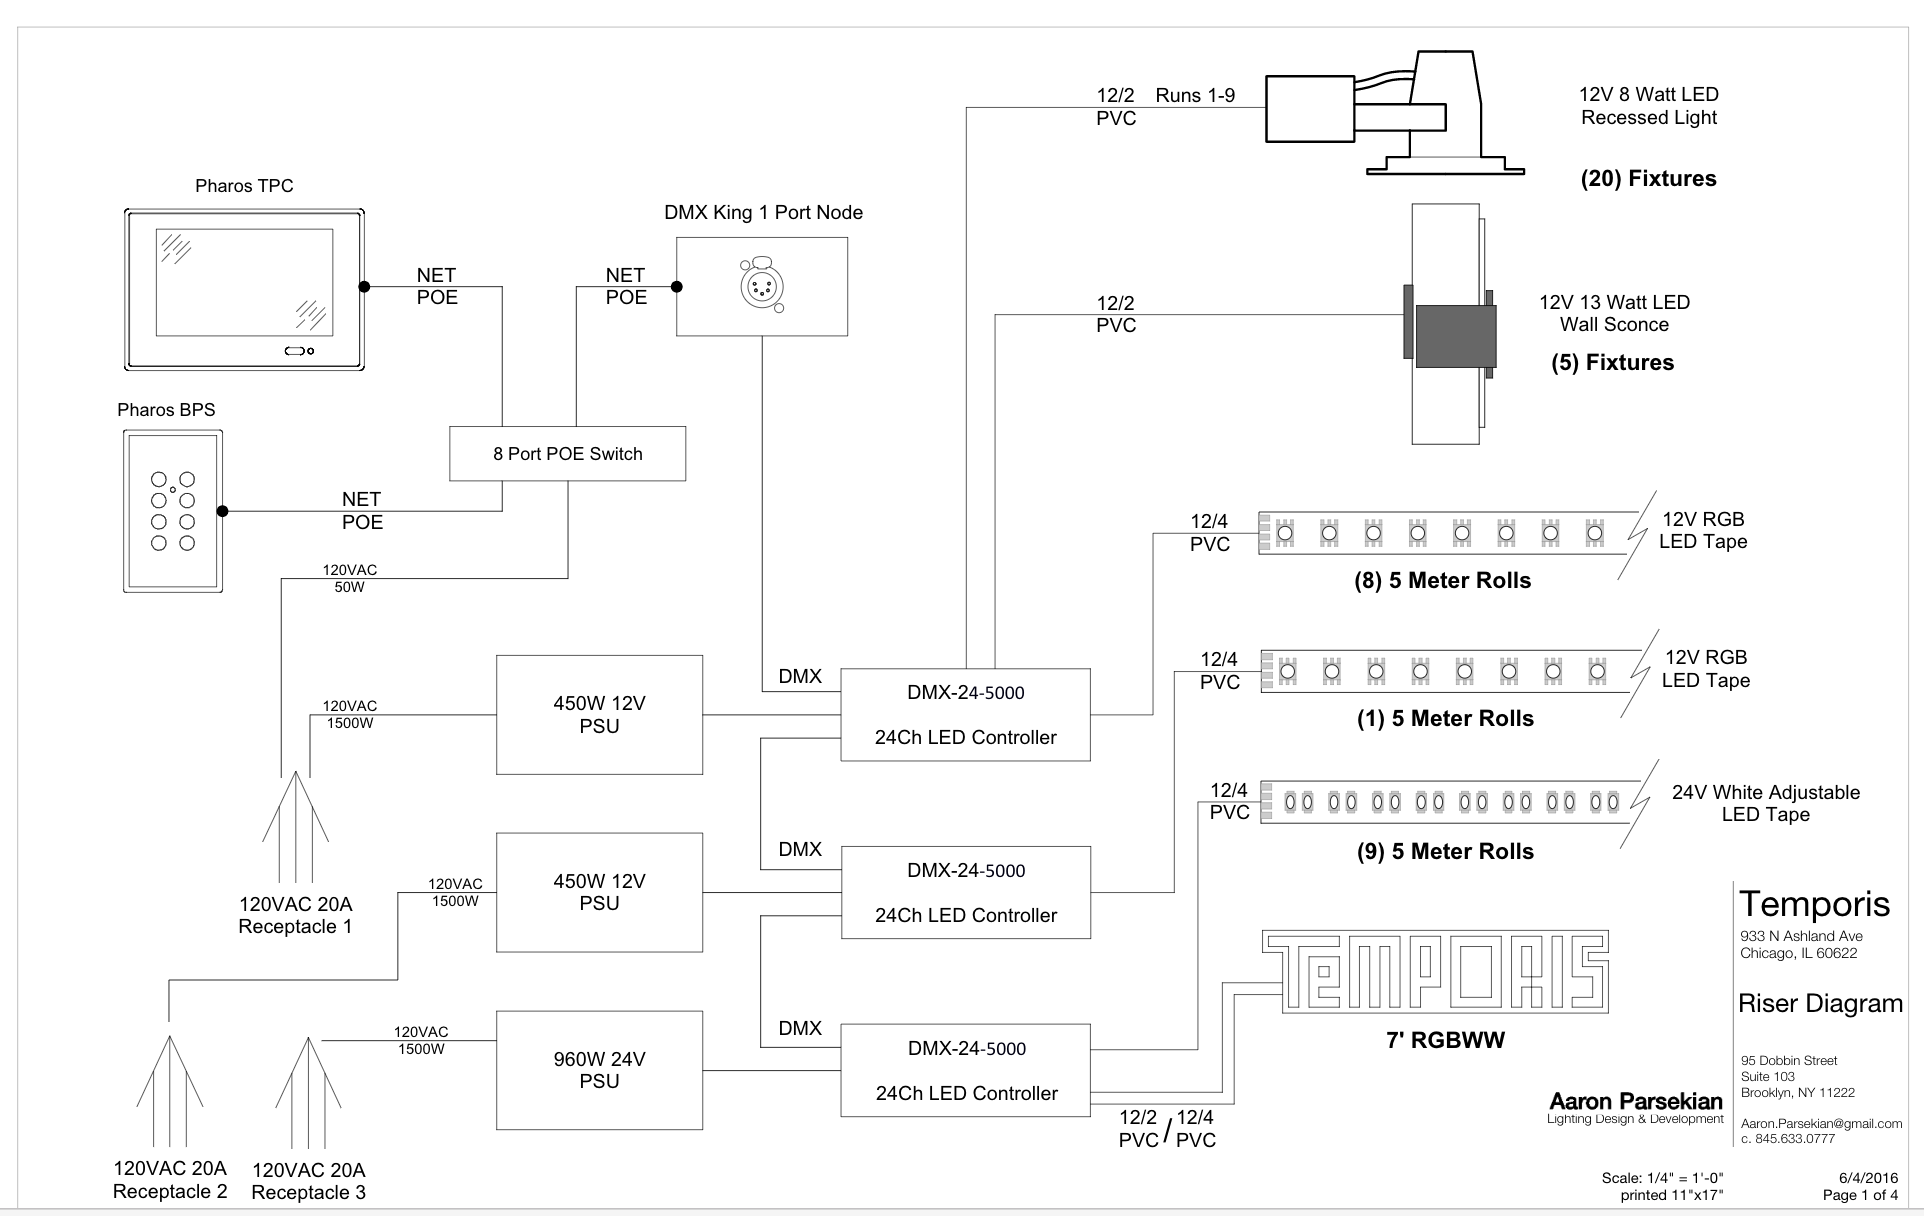
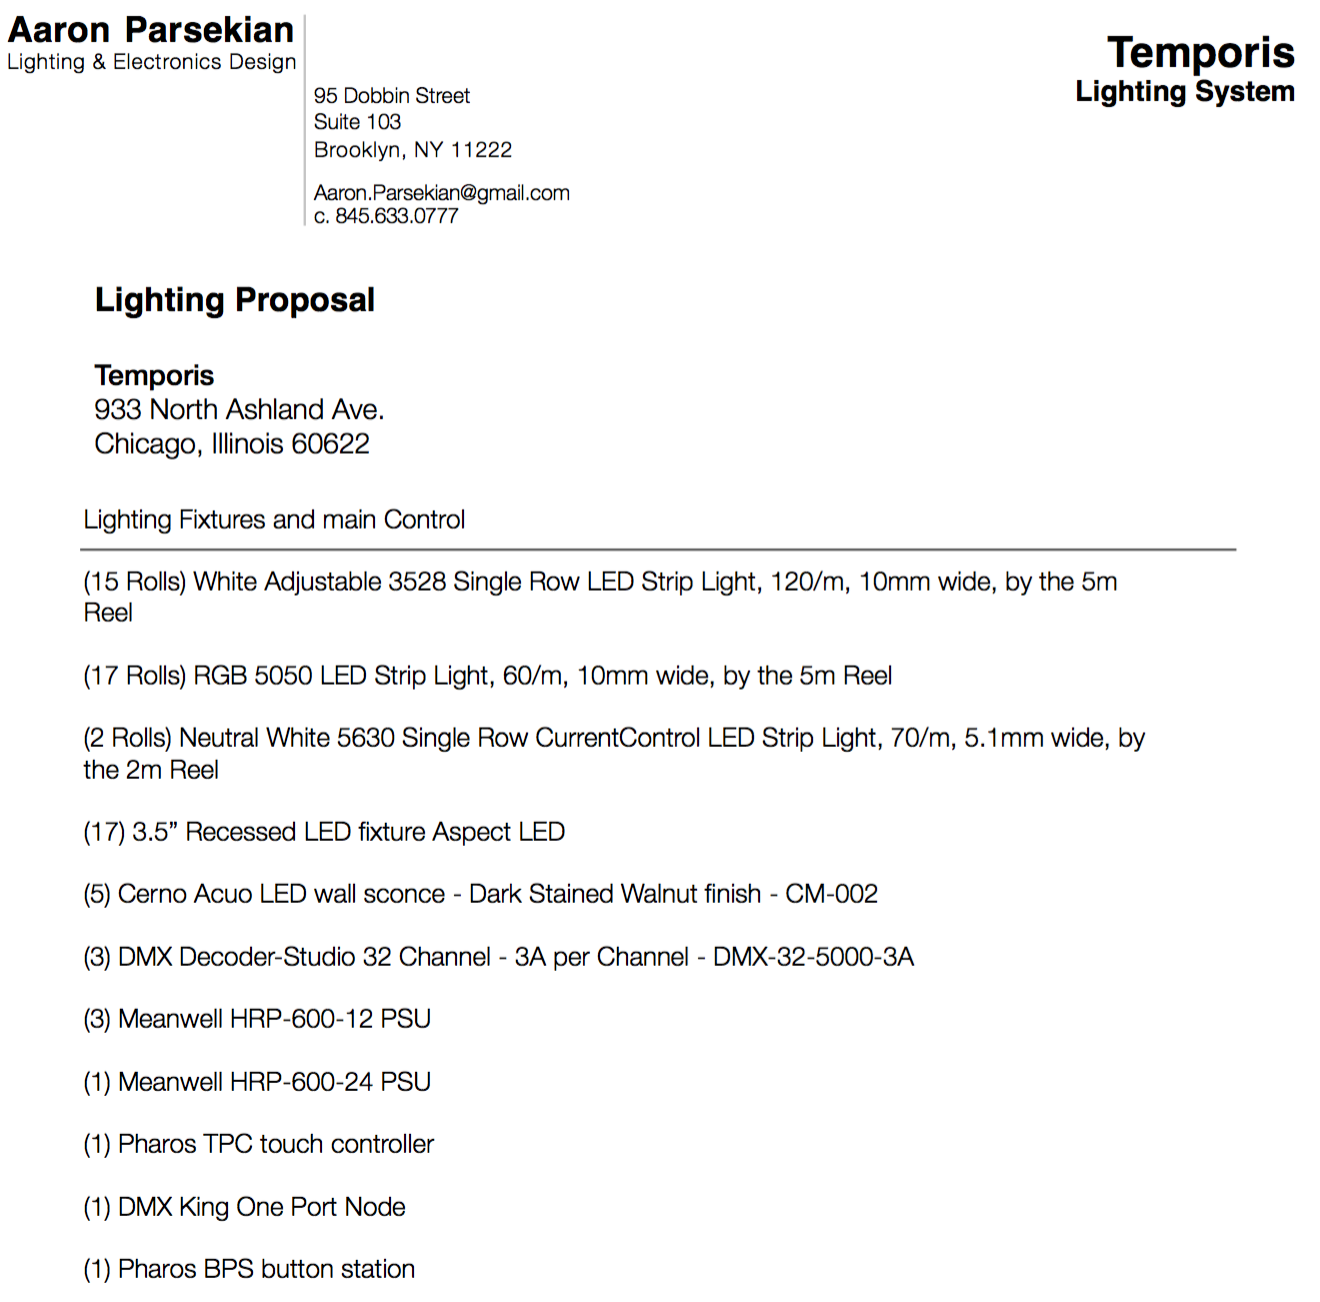
My proposal starts with a simple description of the design, a rough bill of materials, and some rough drawings :
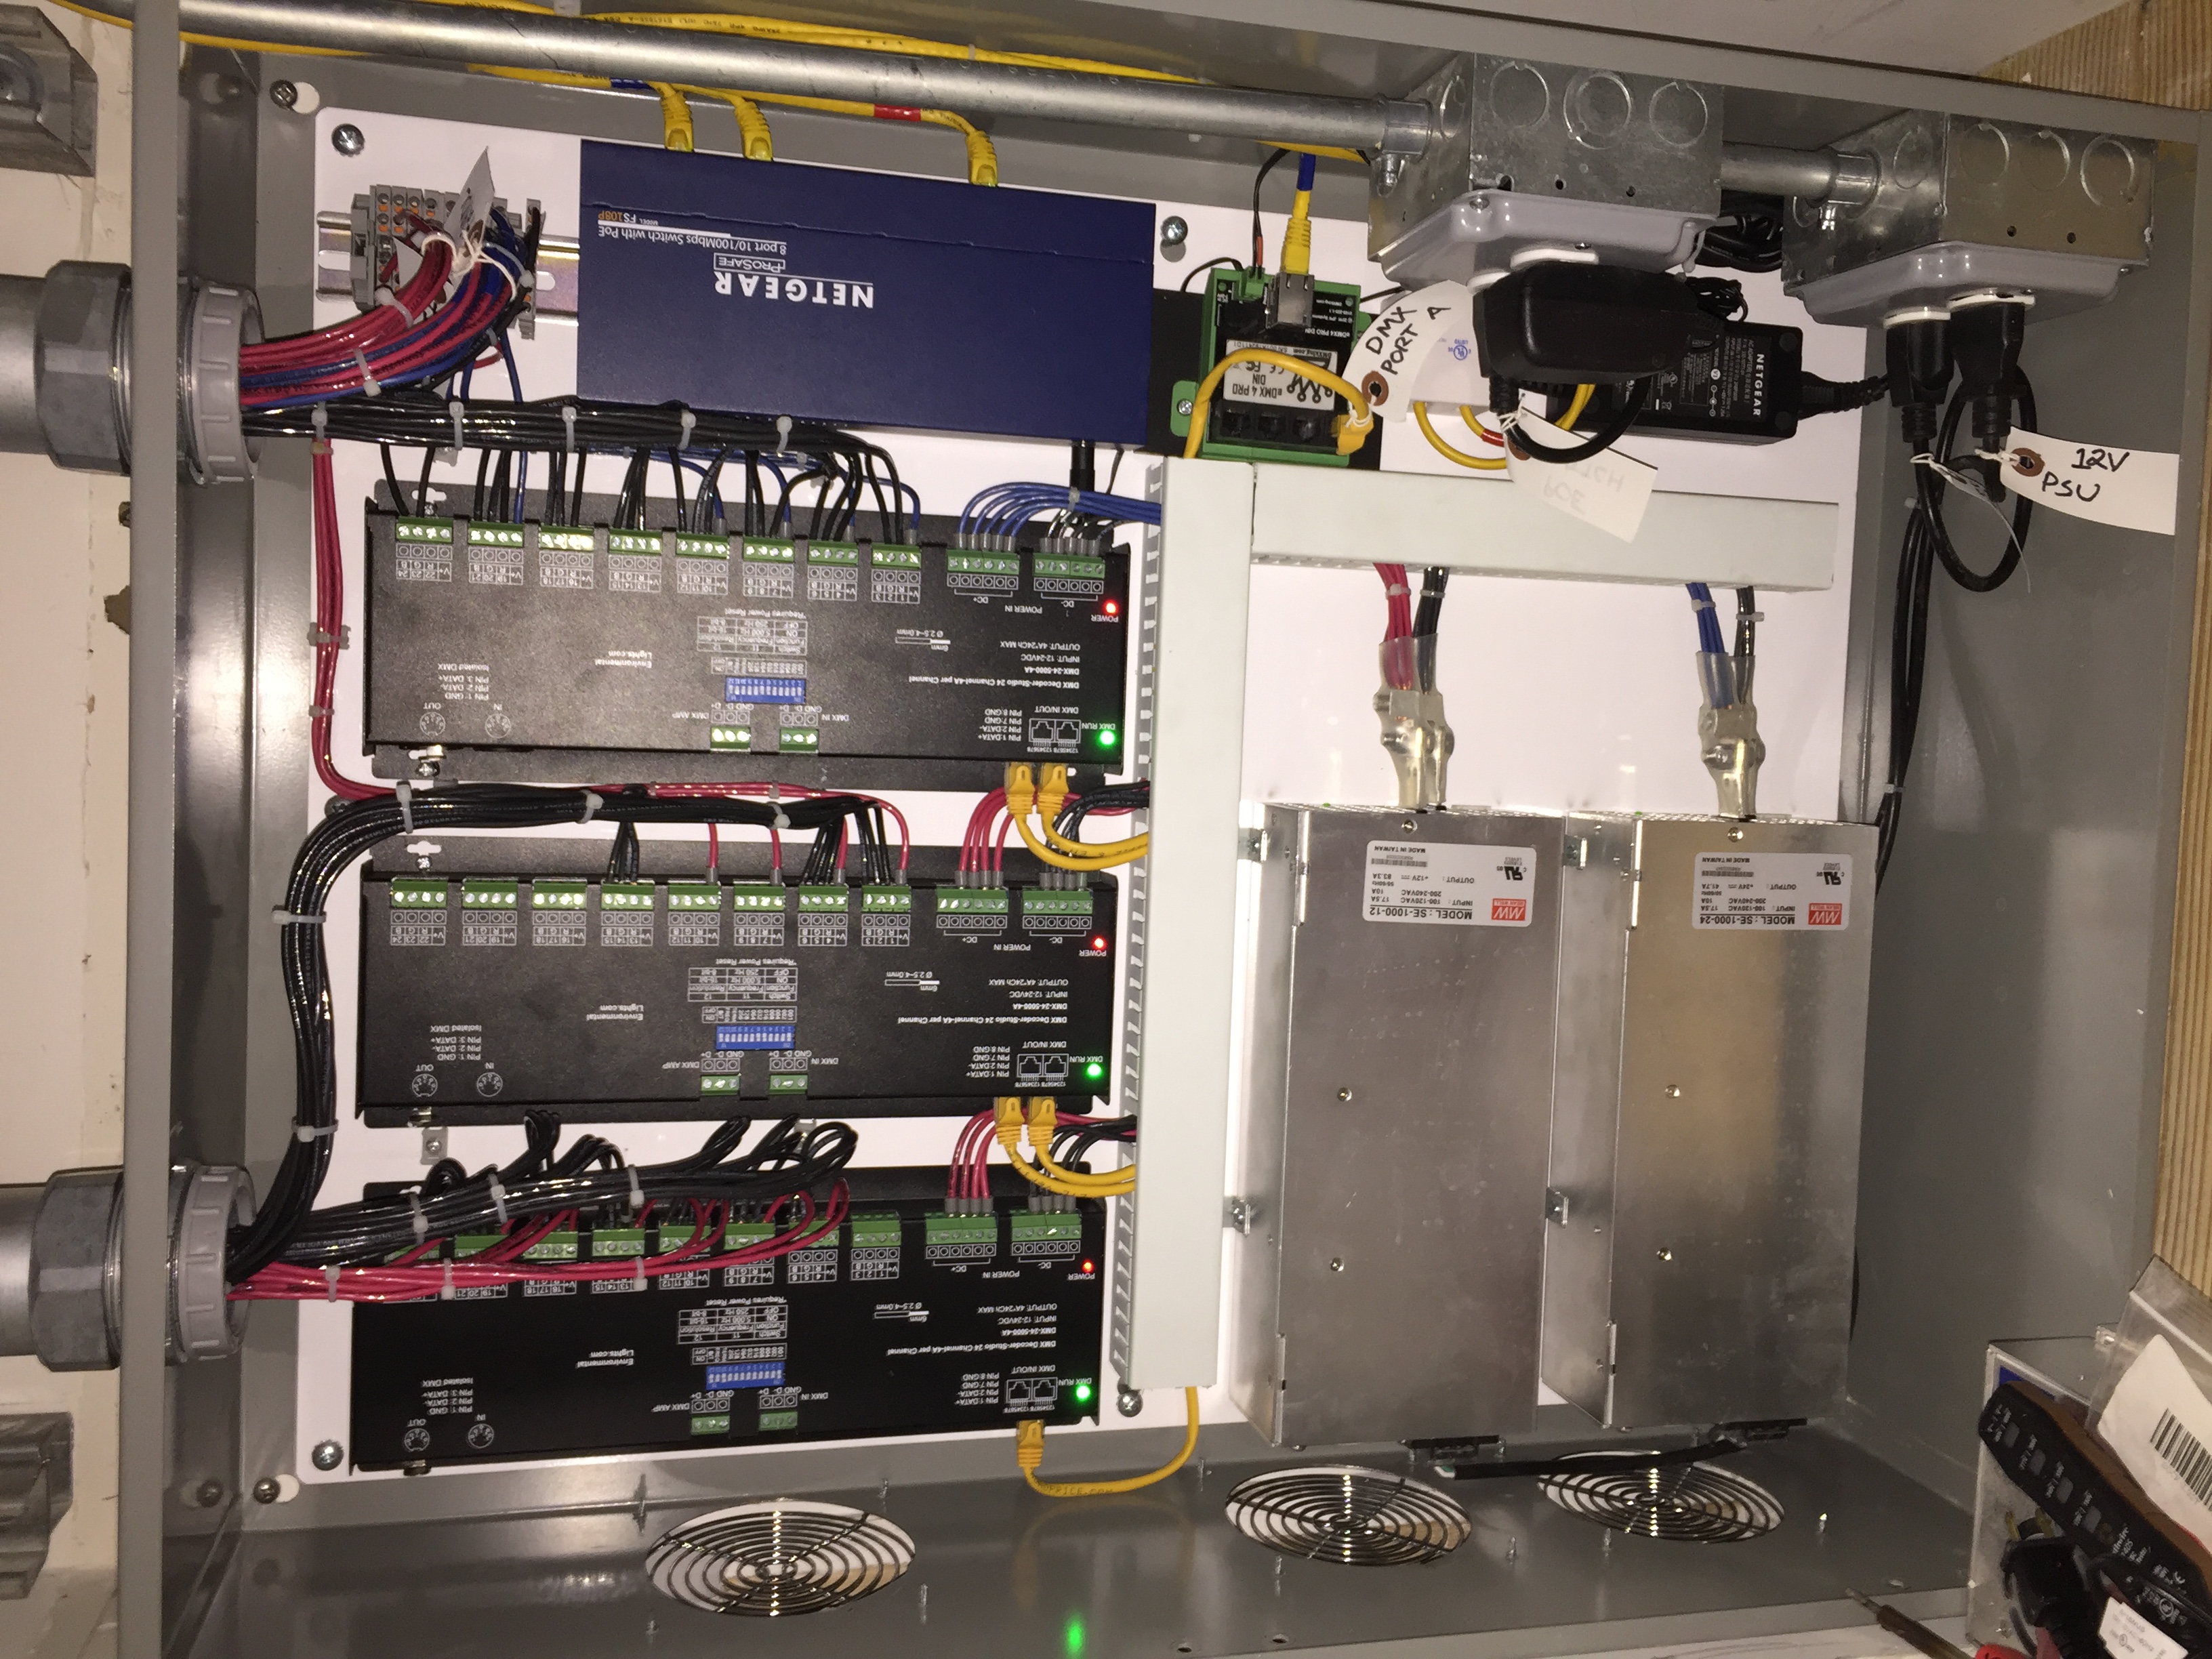
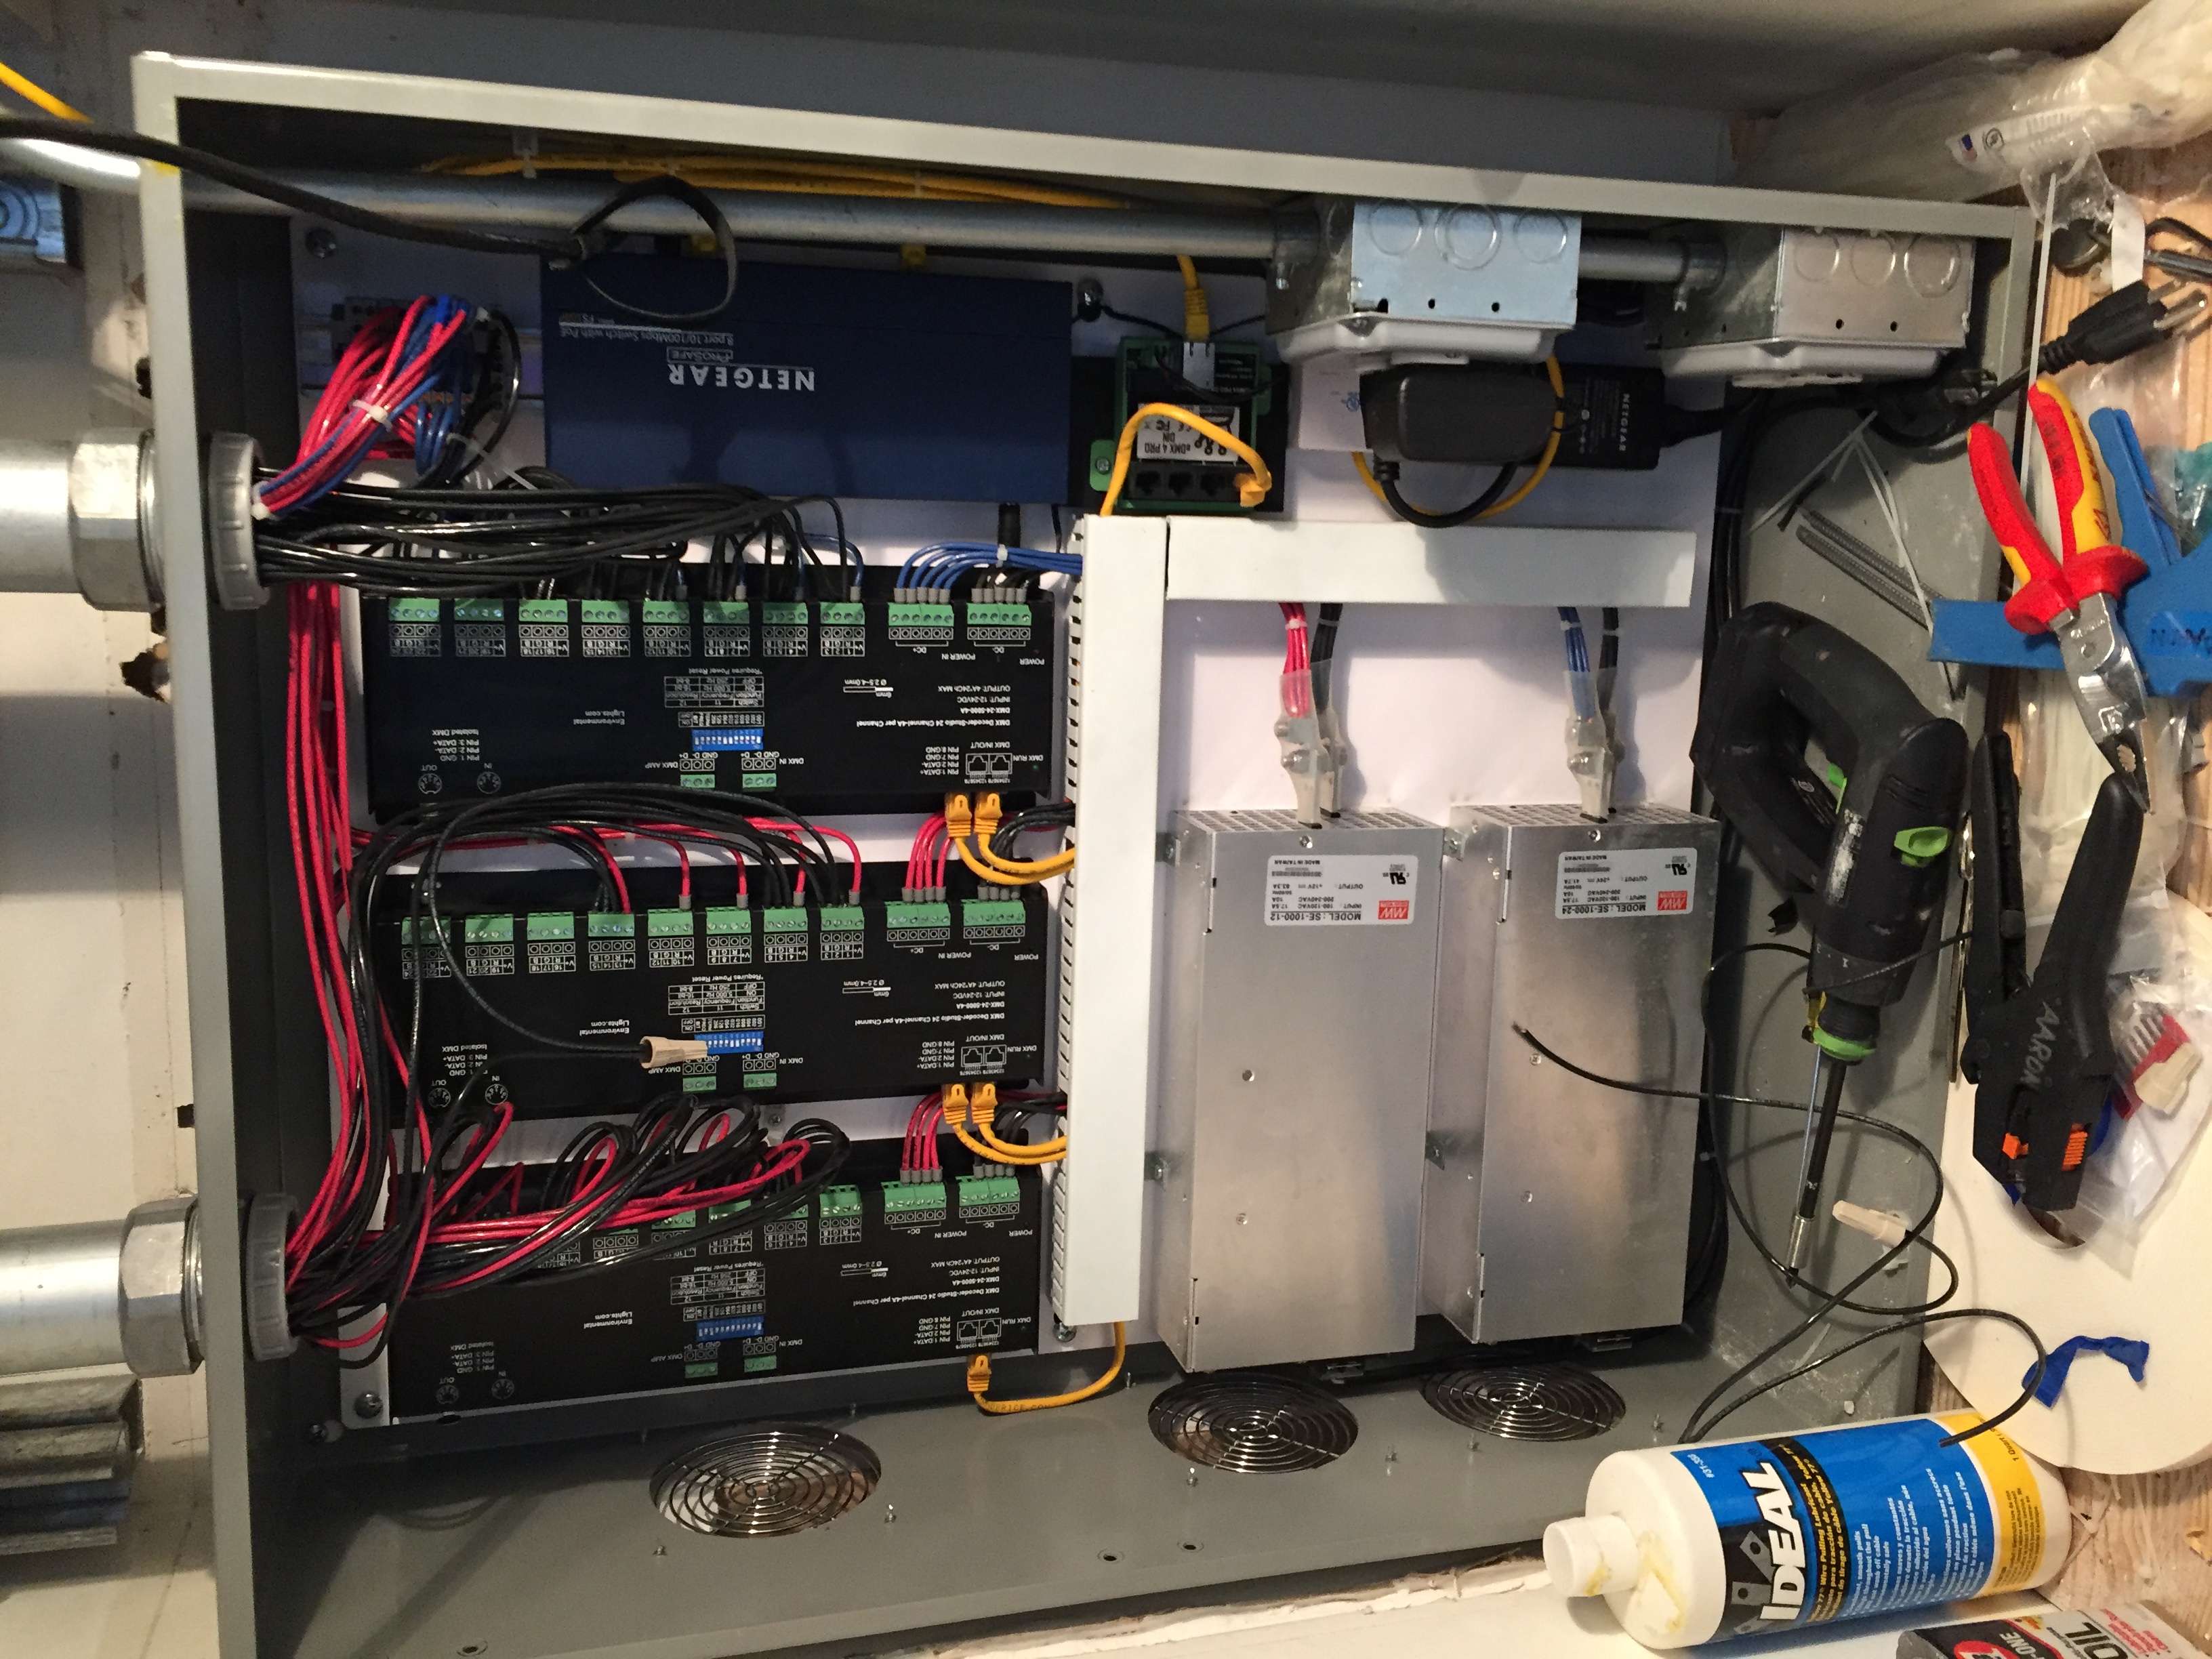
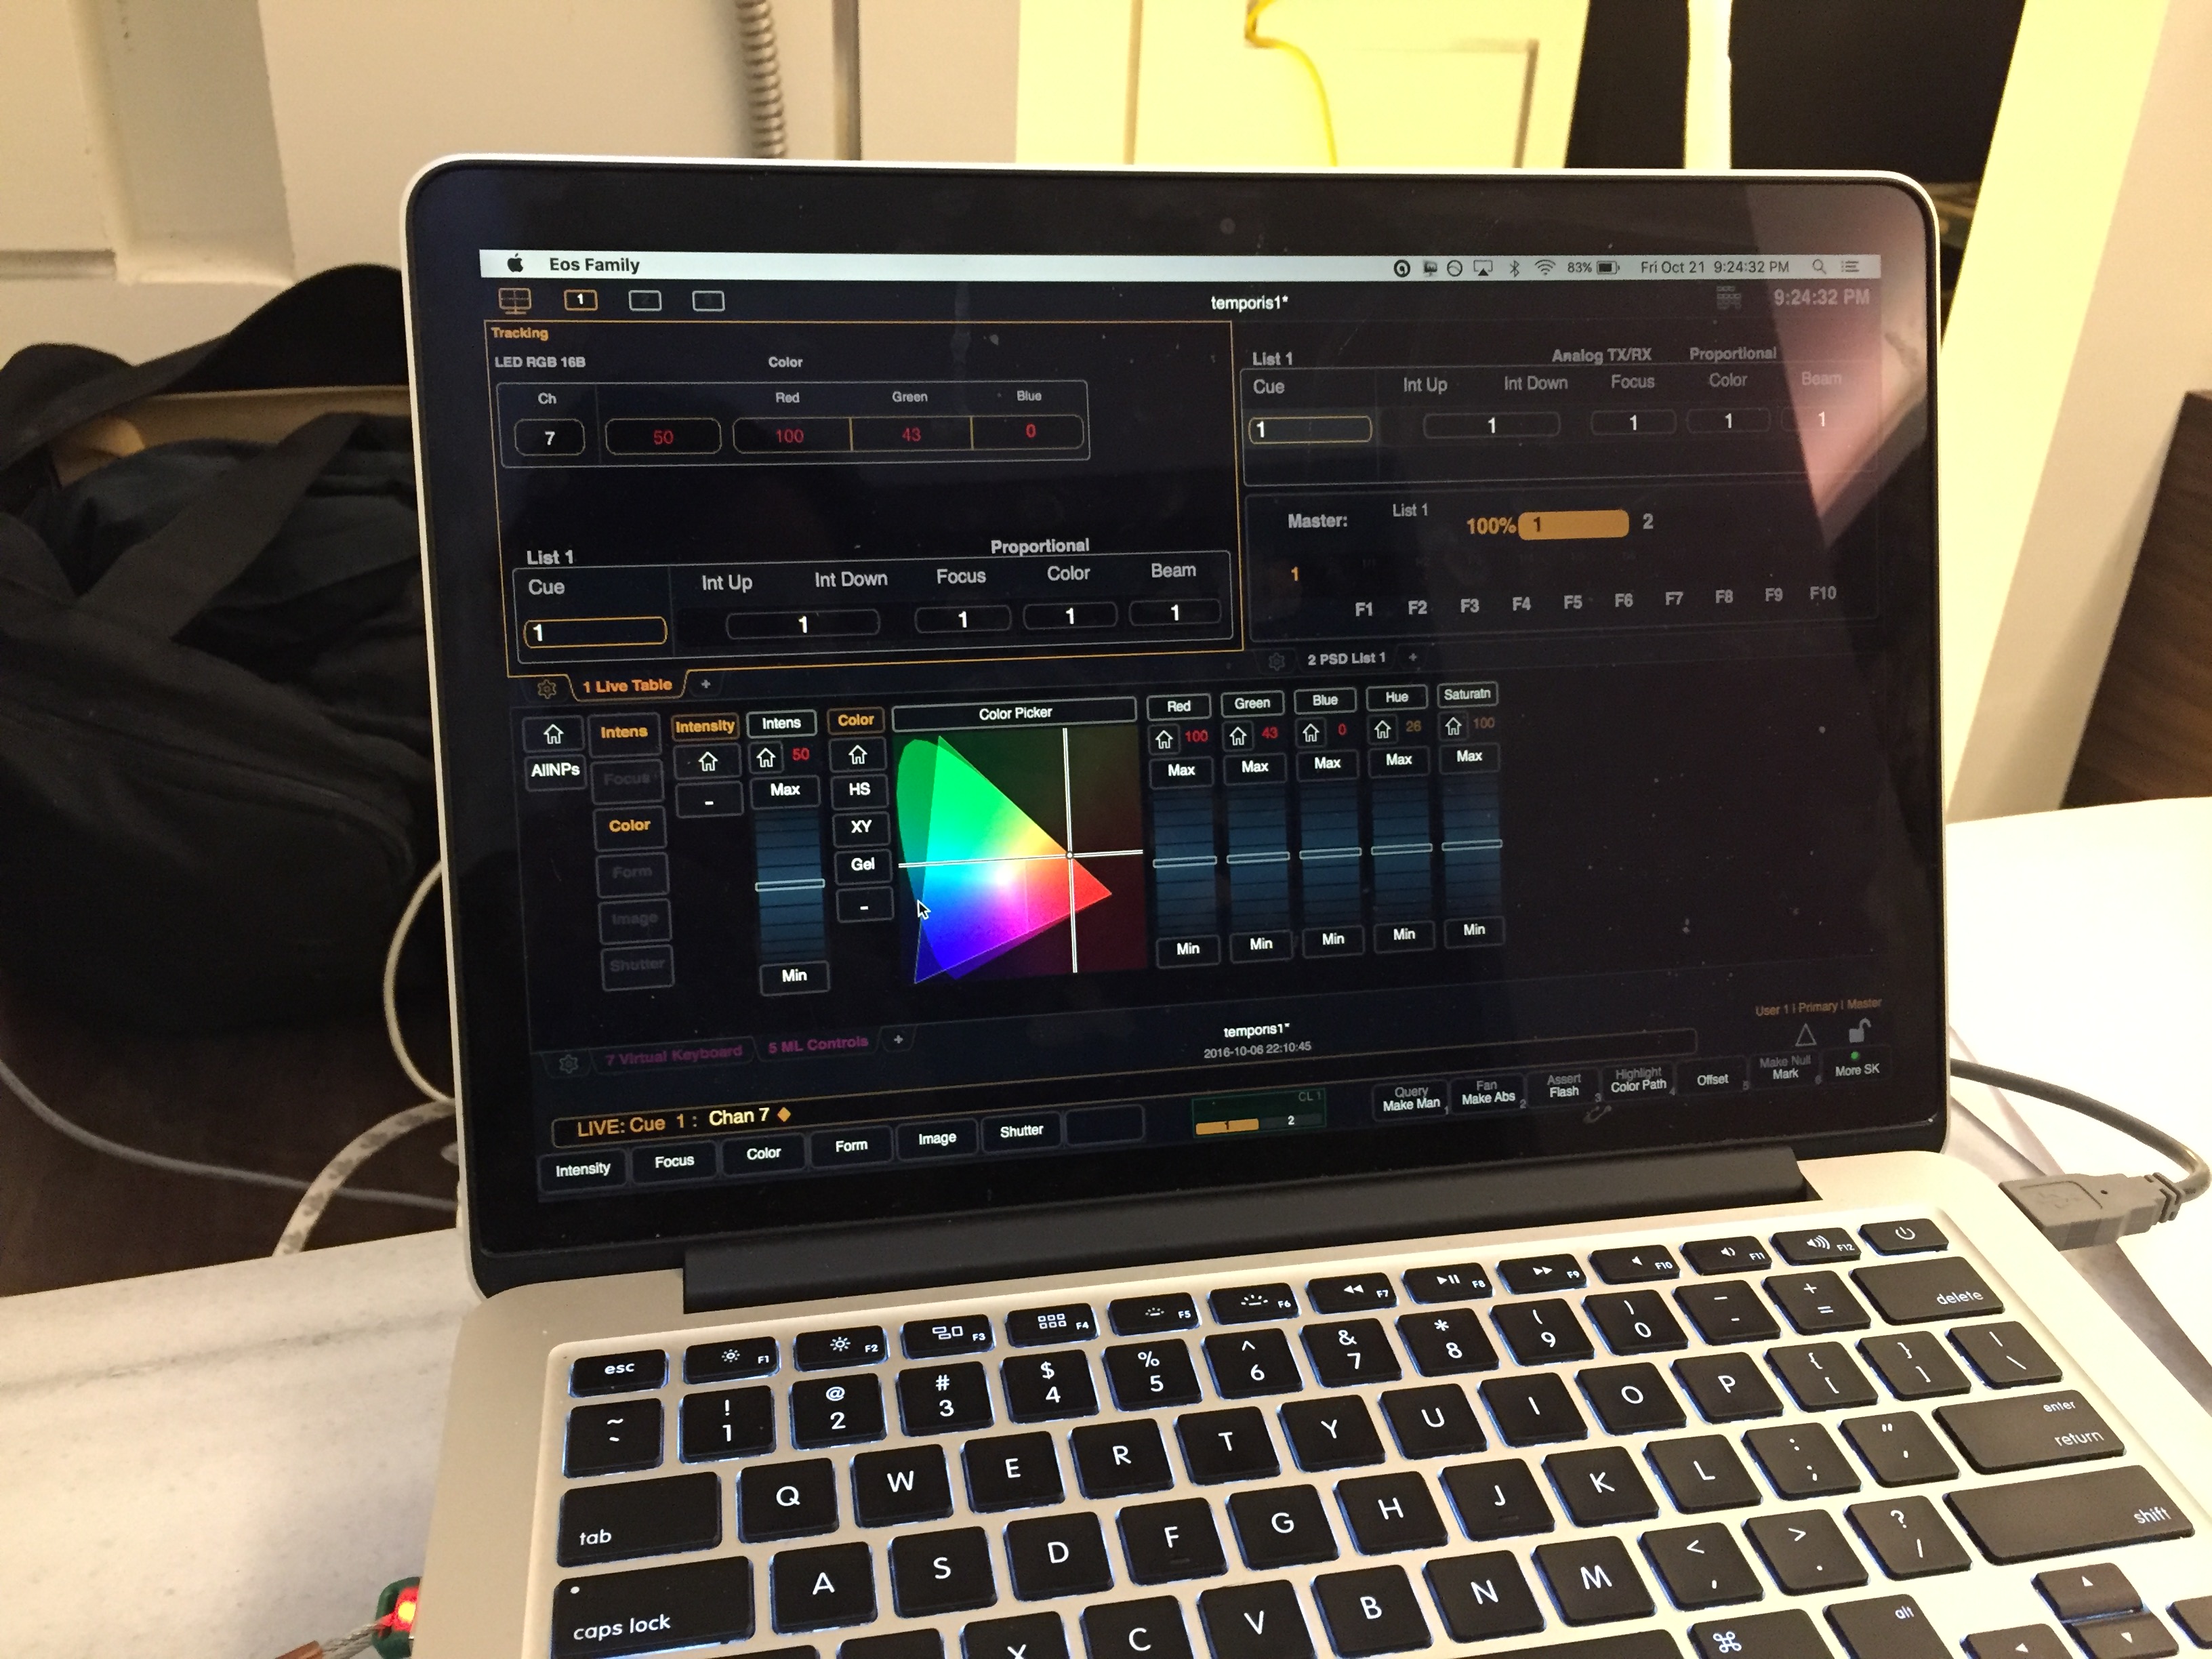
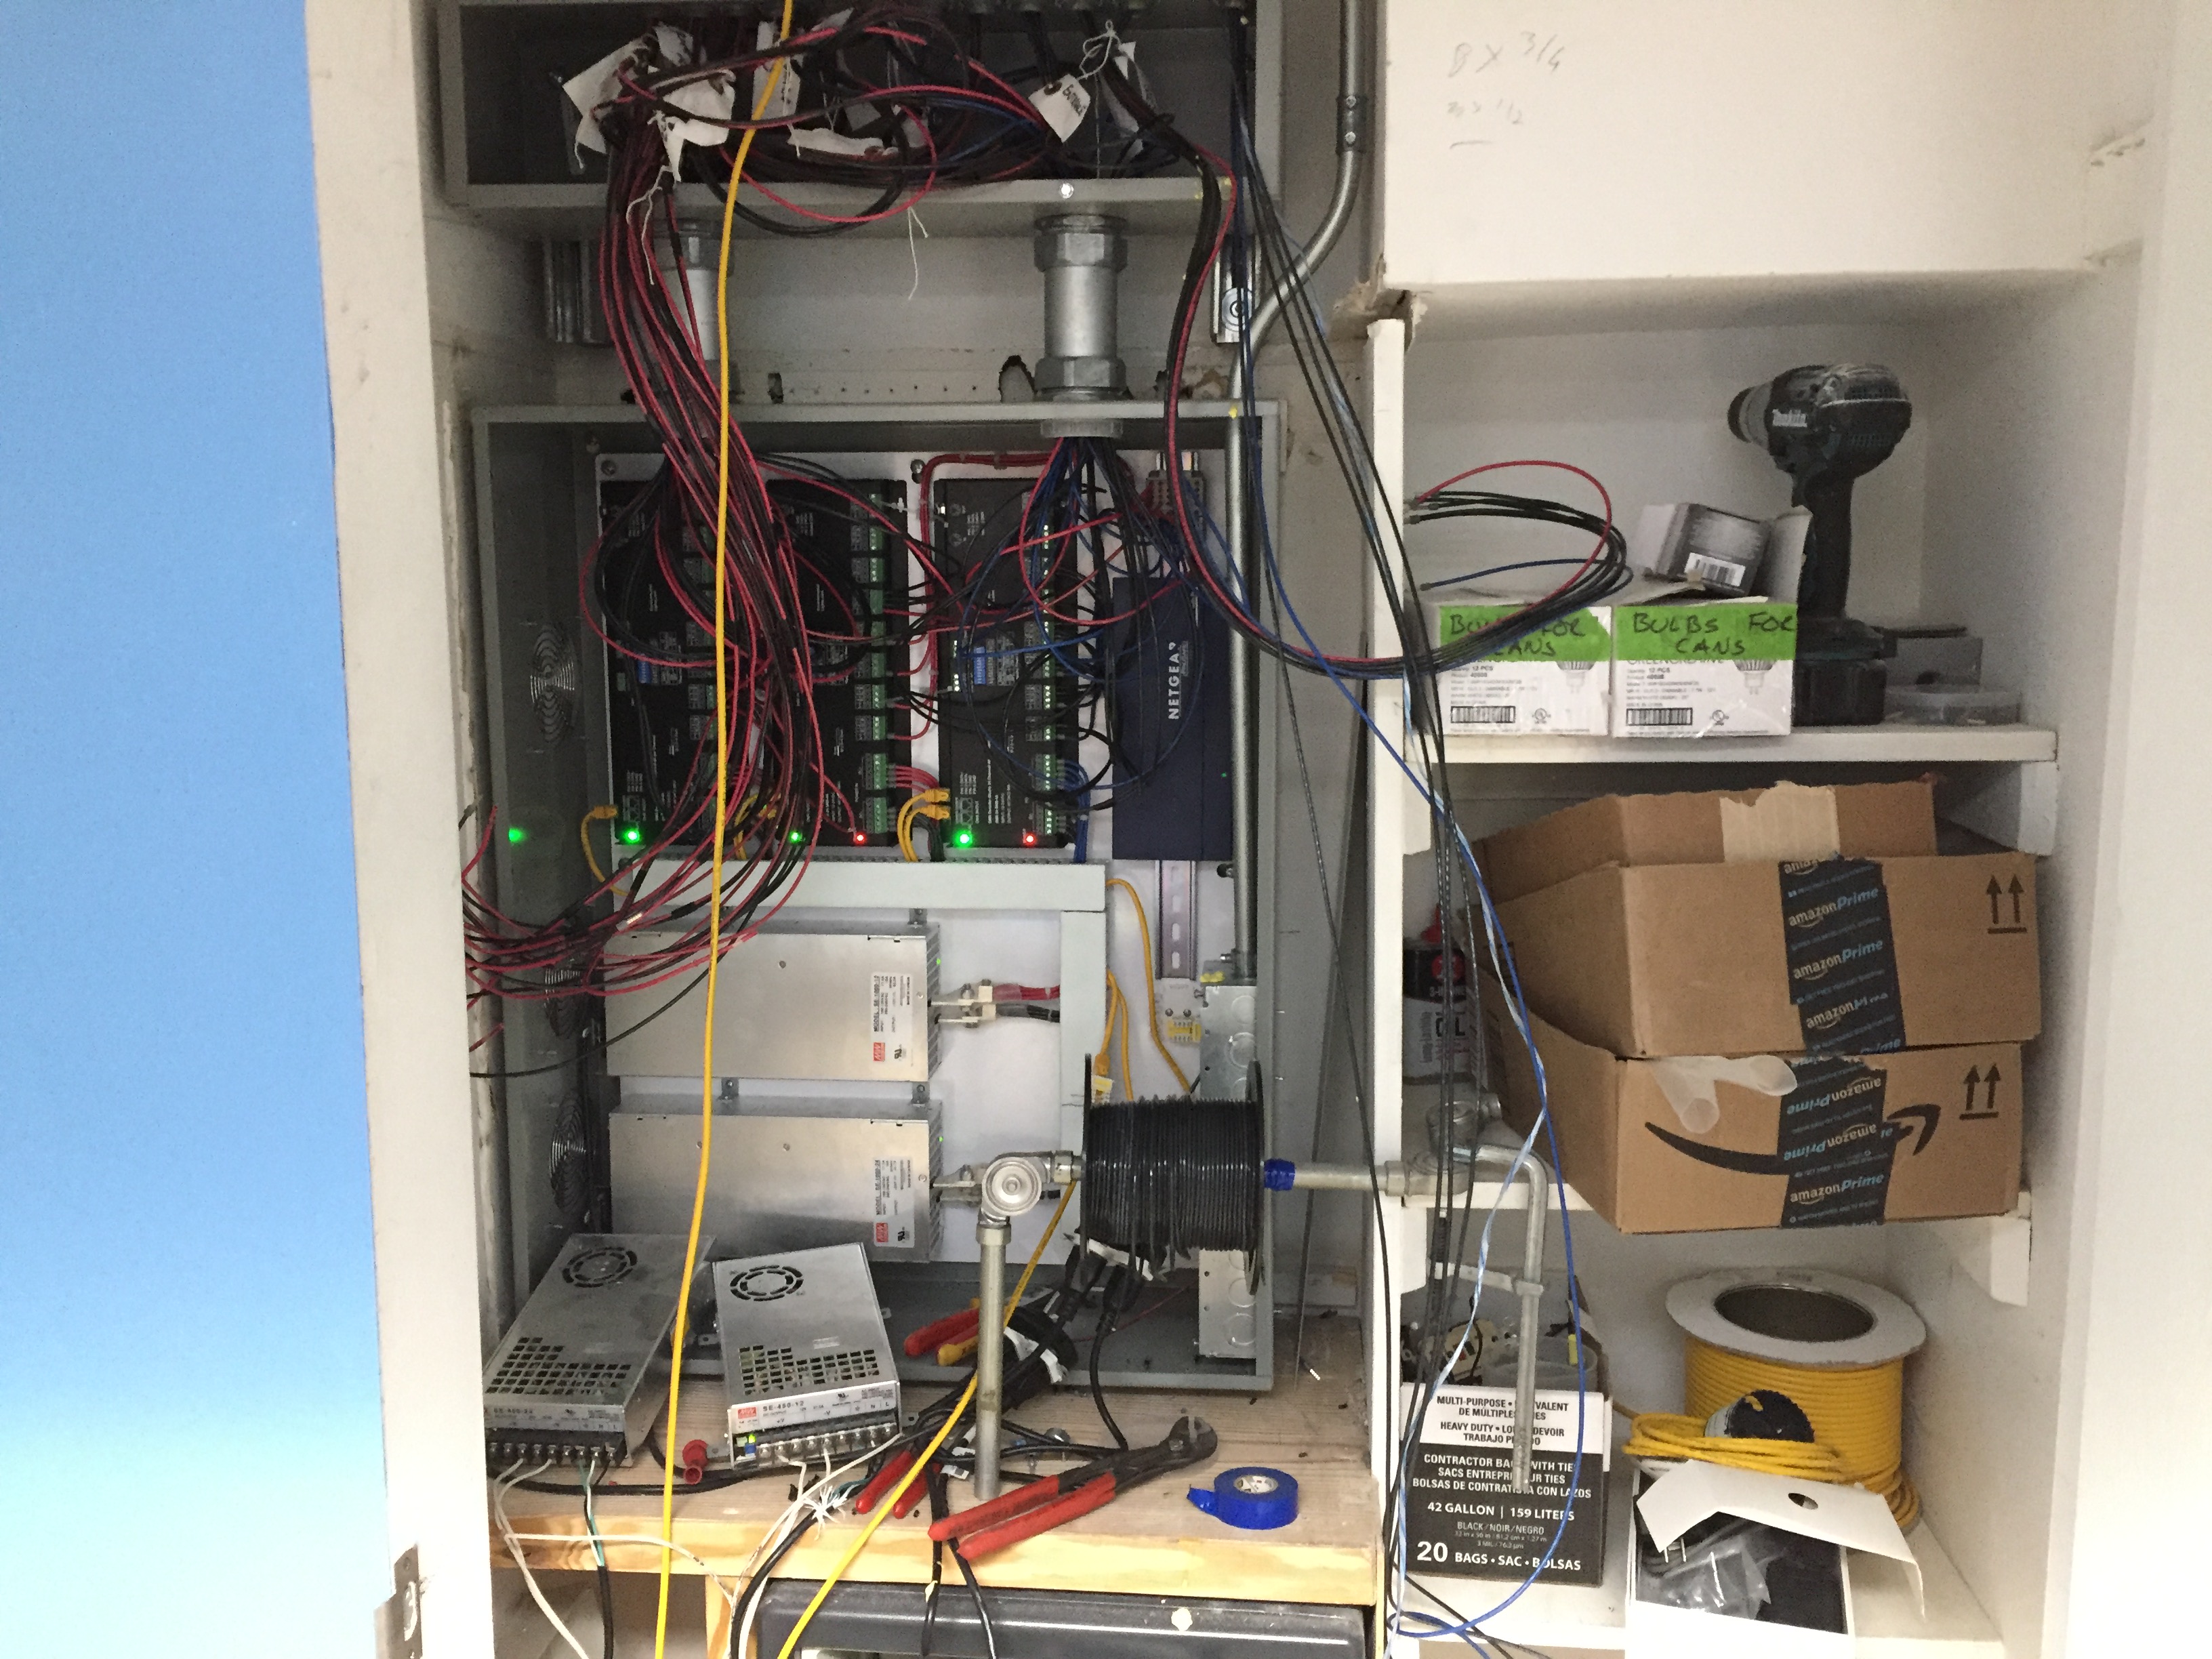
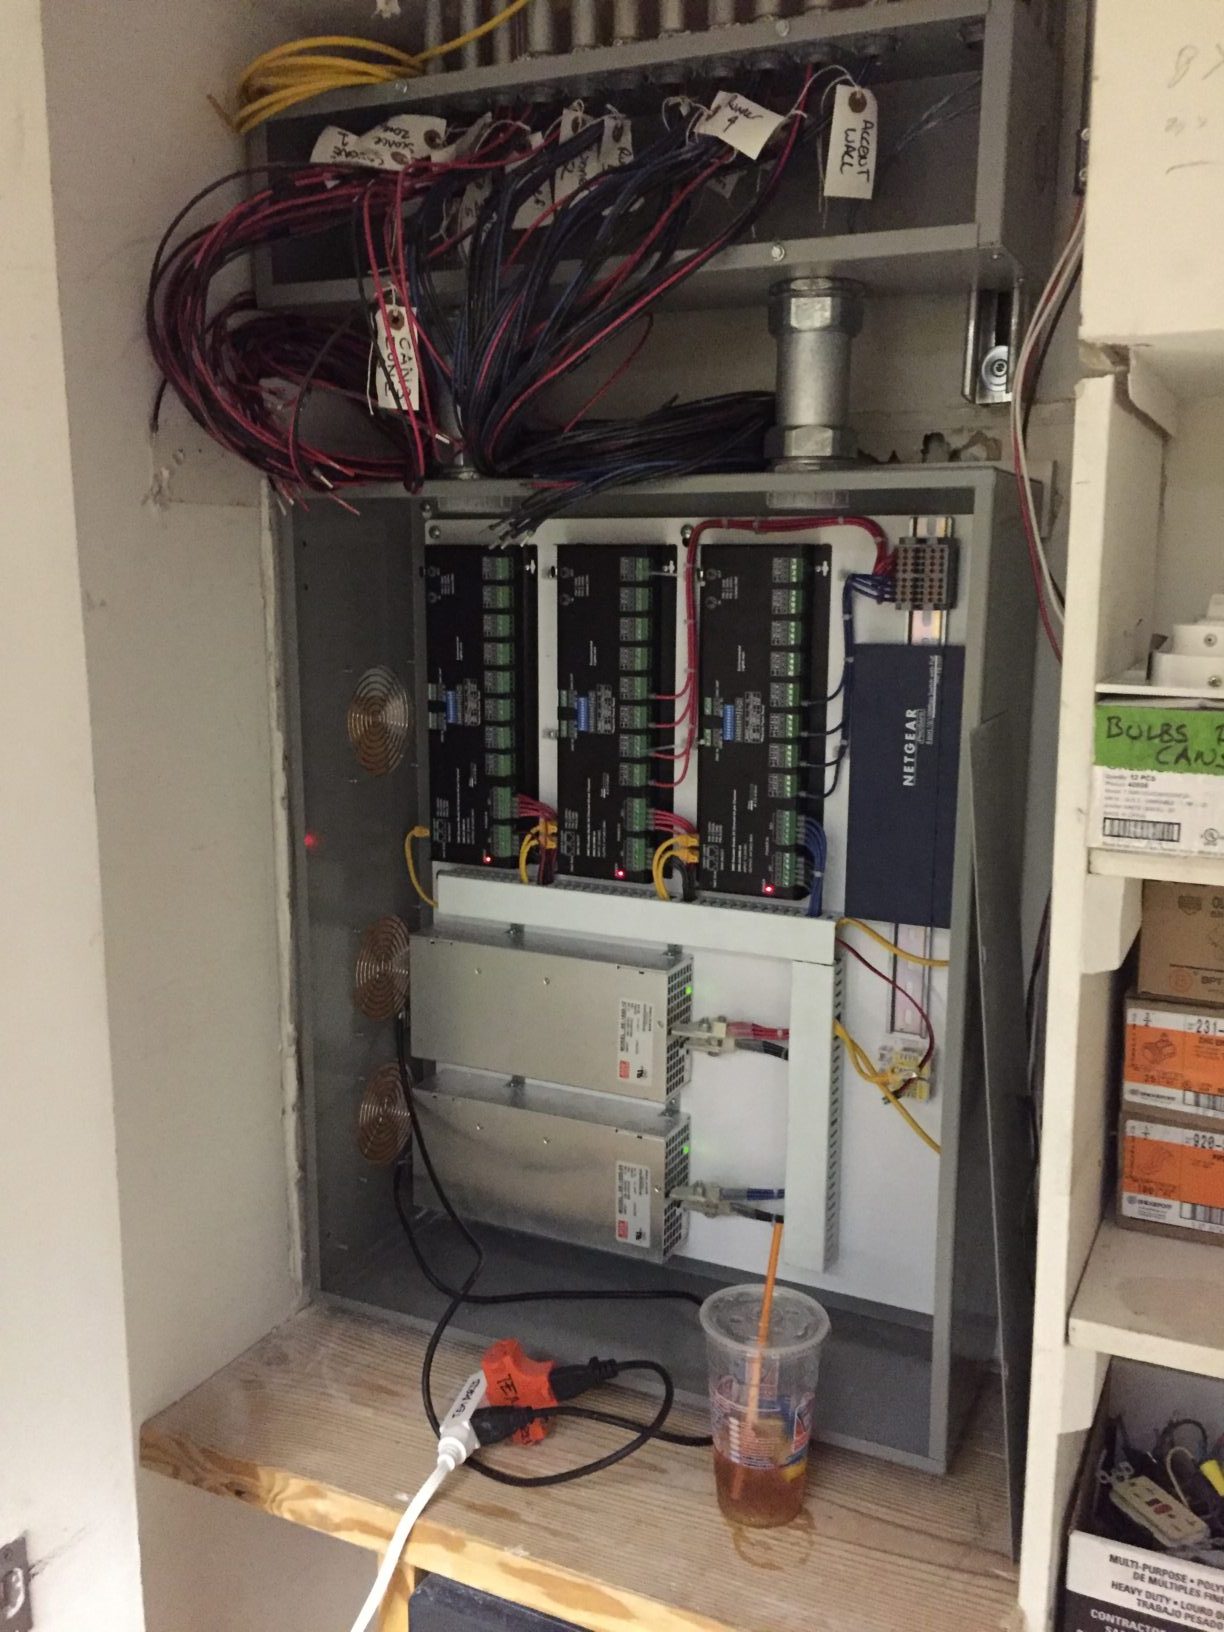
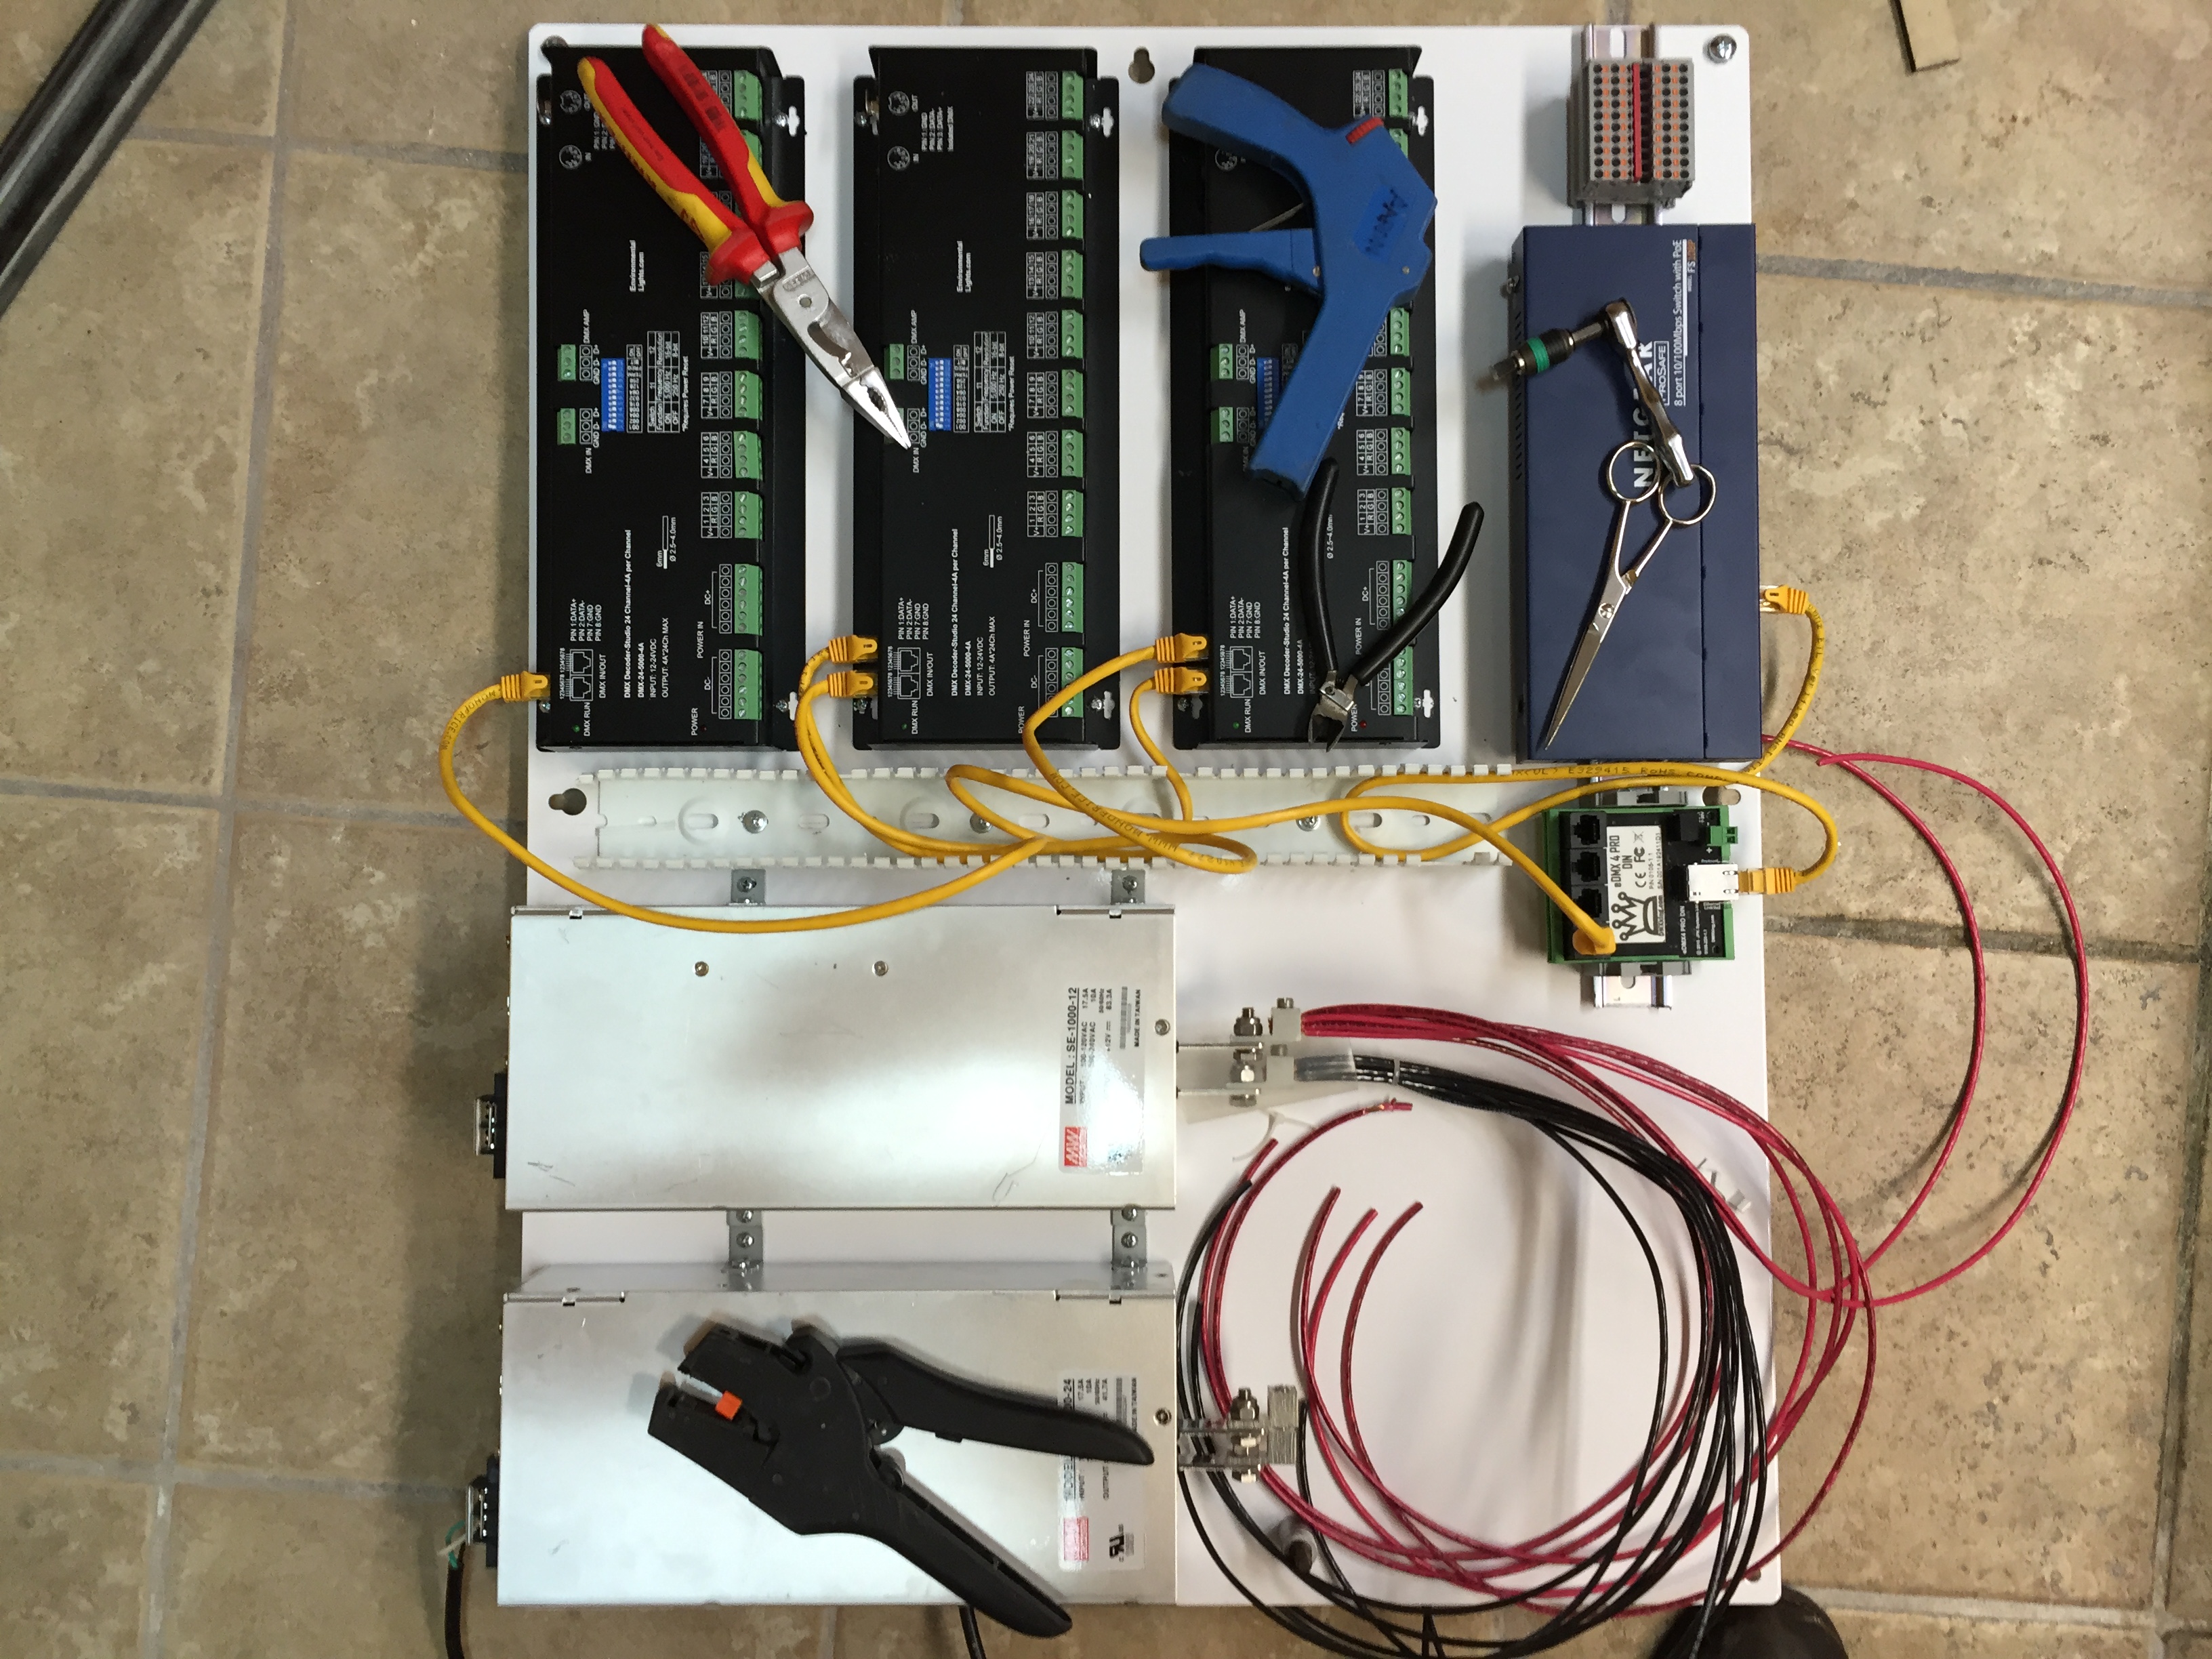
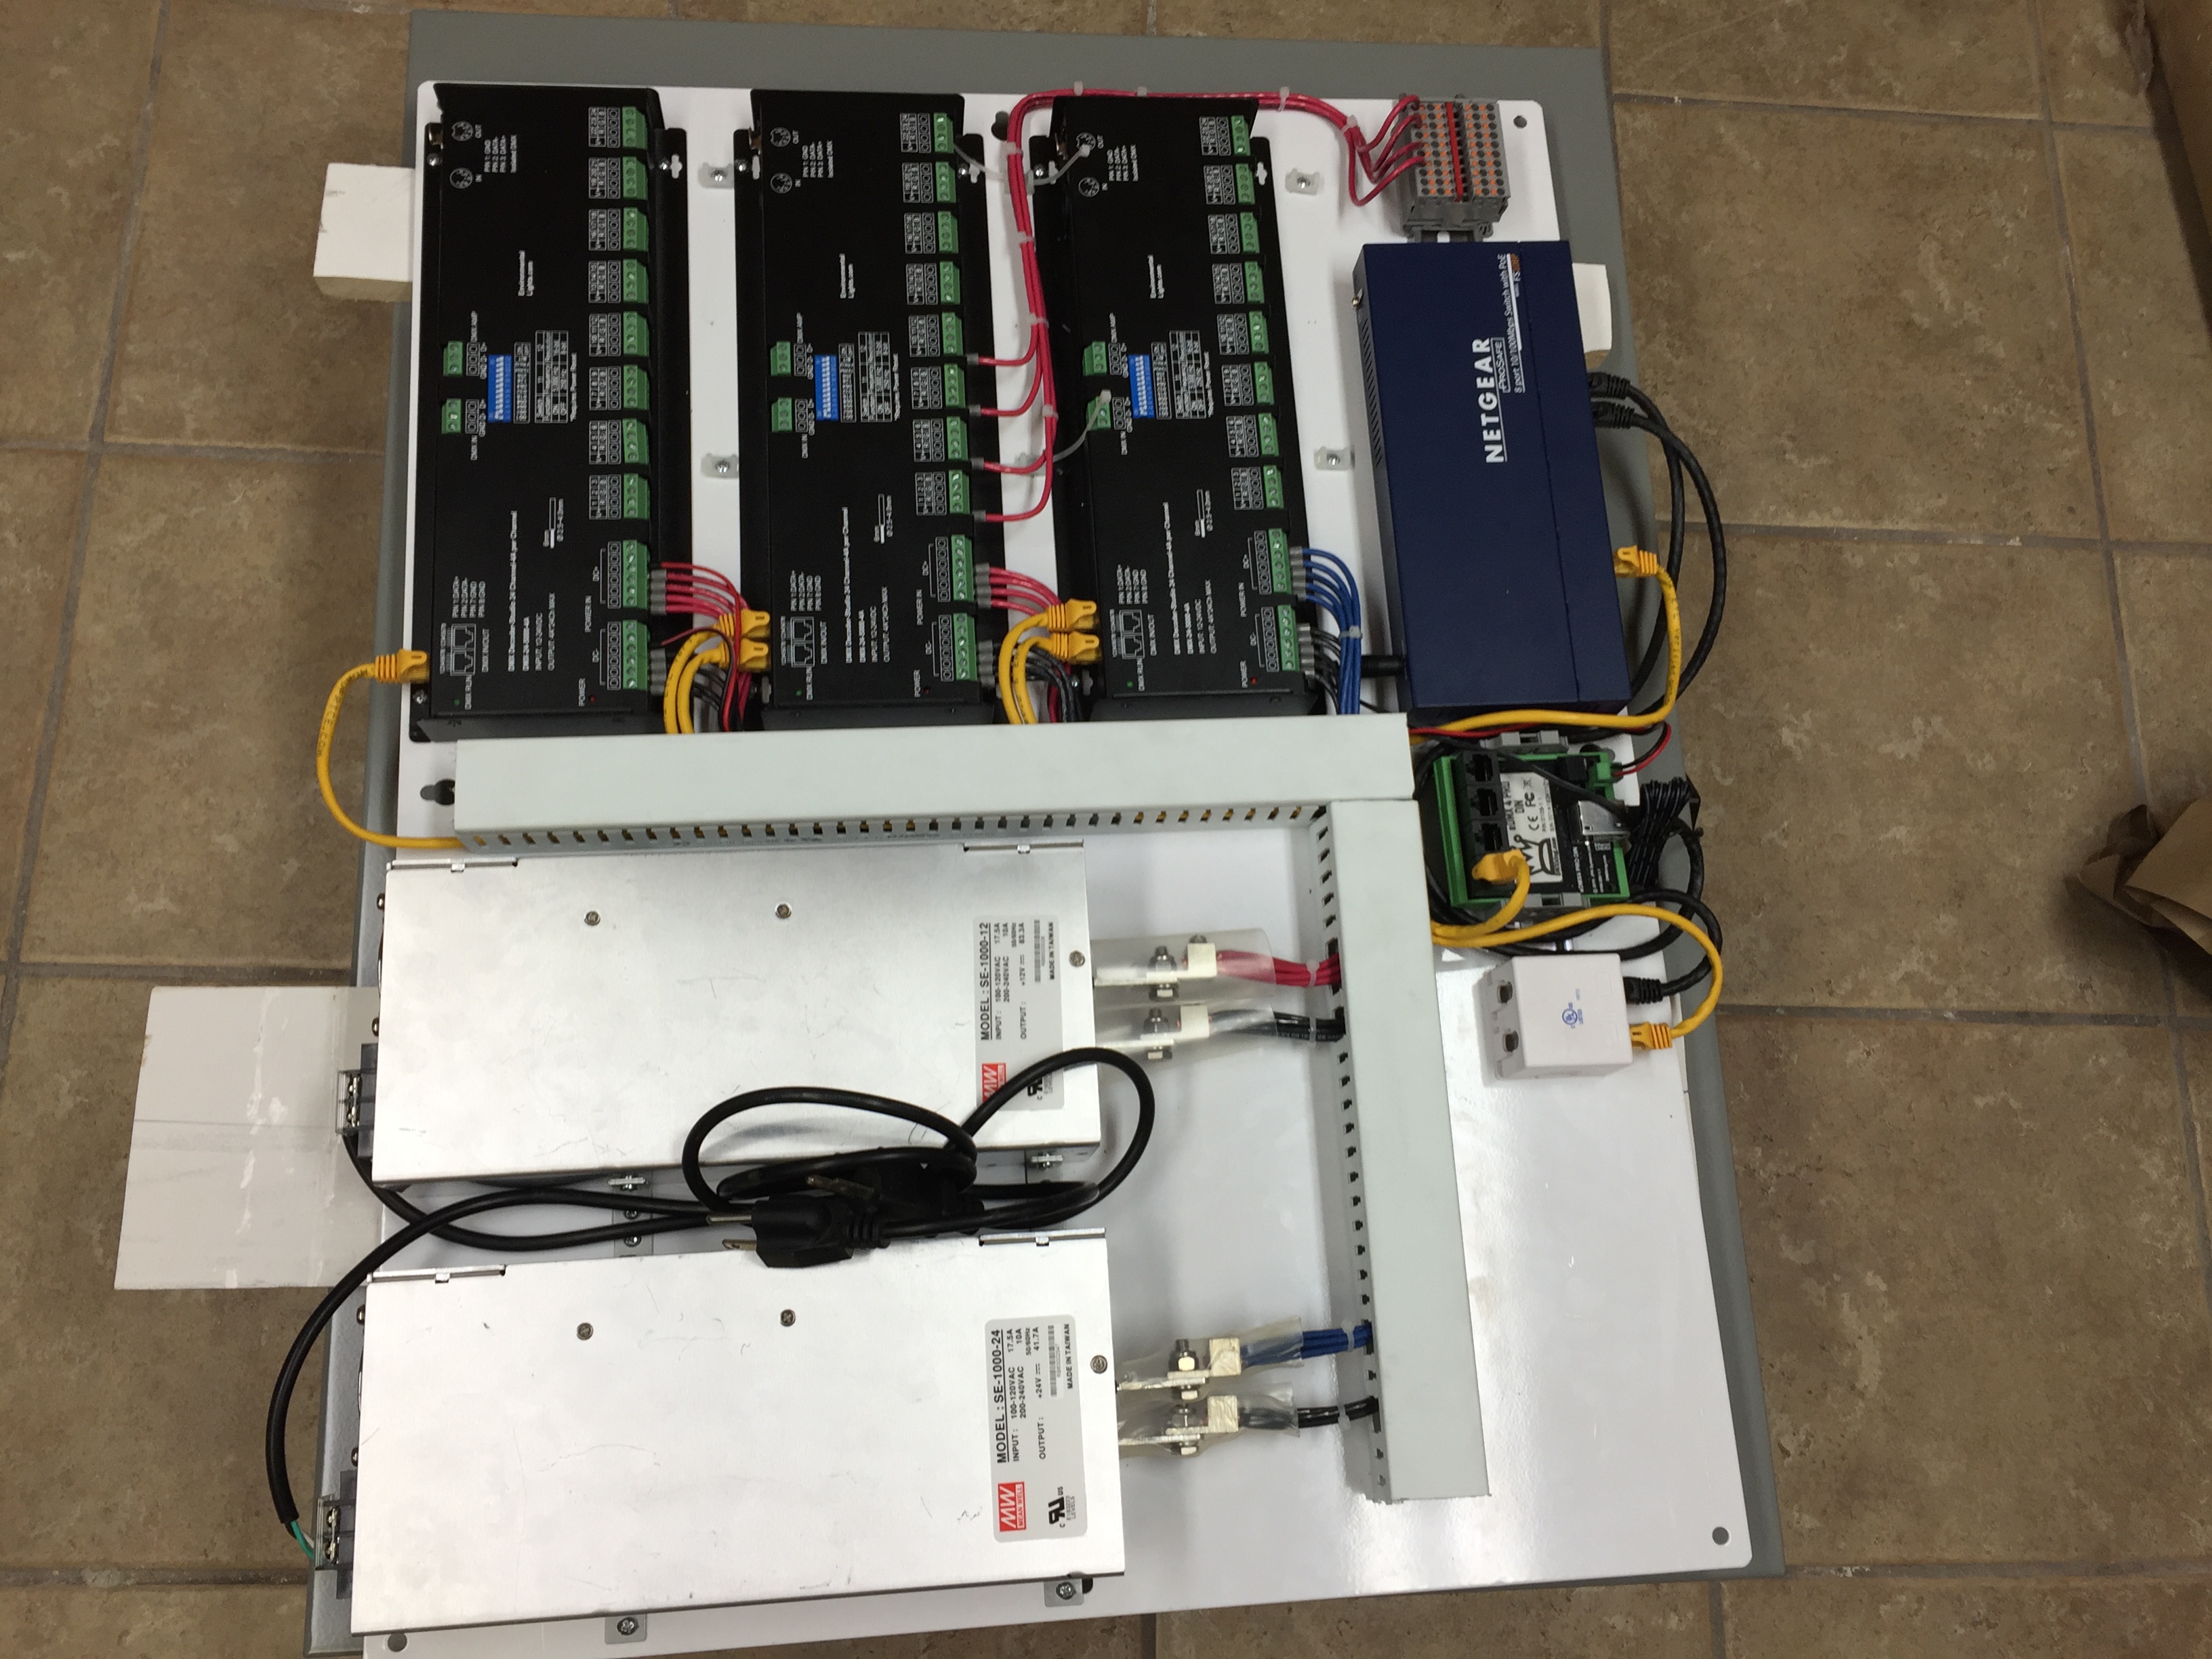
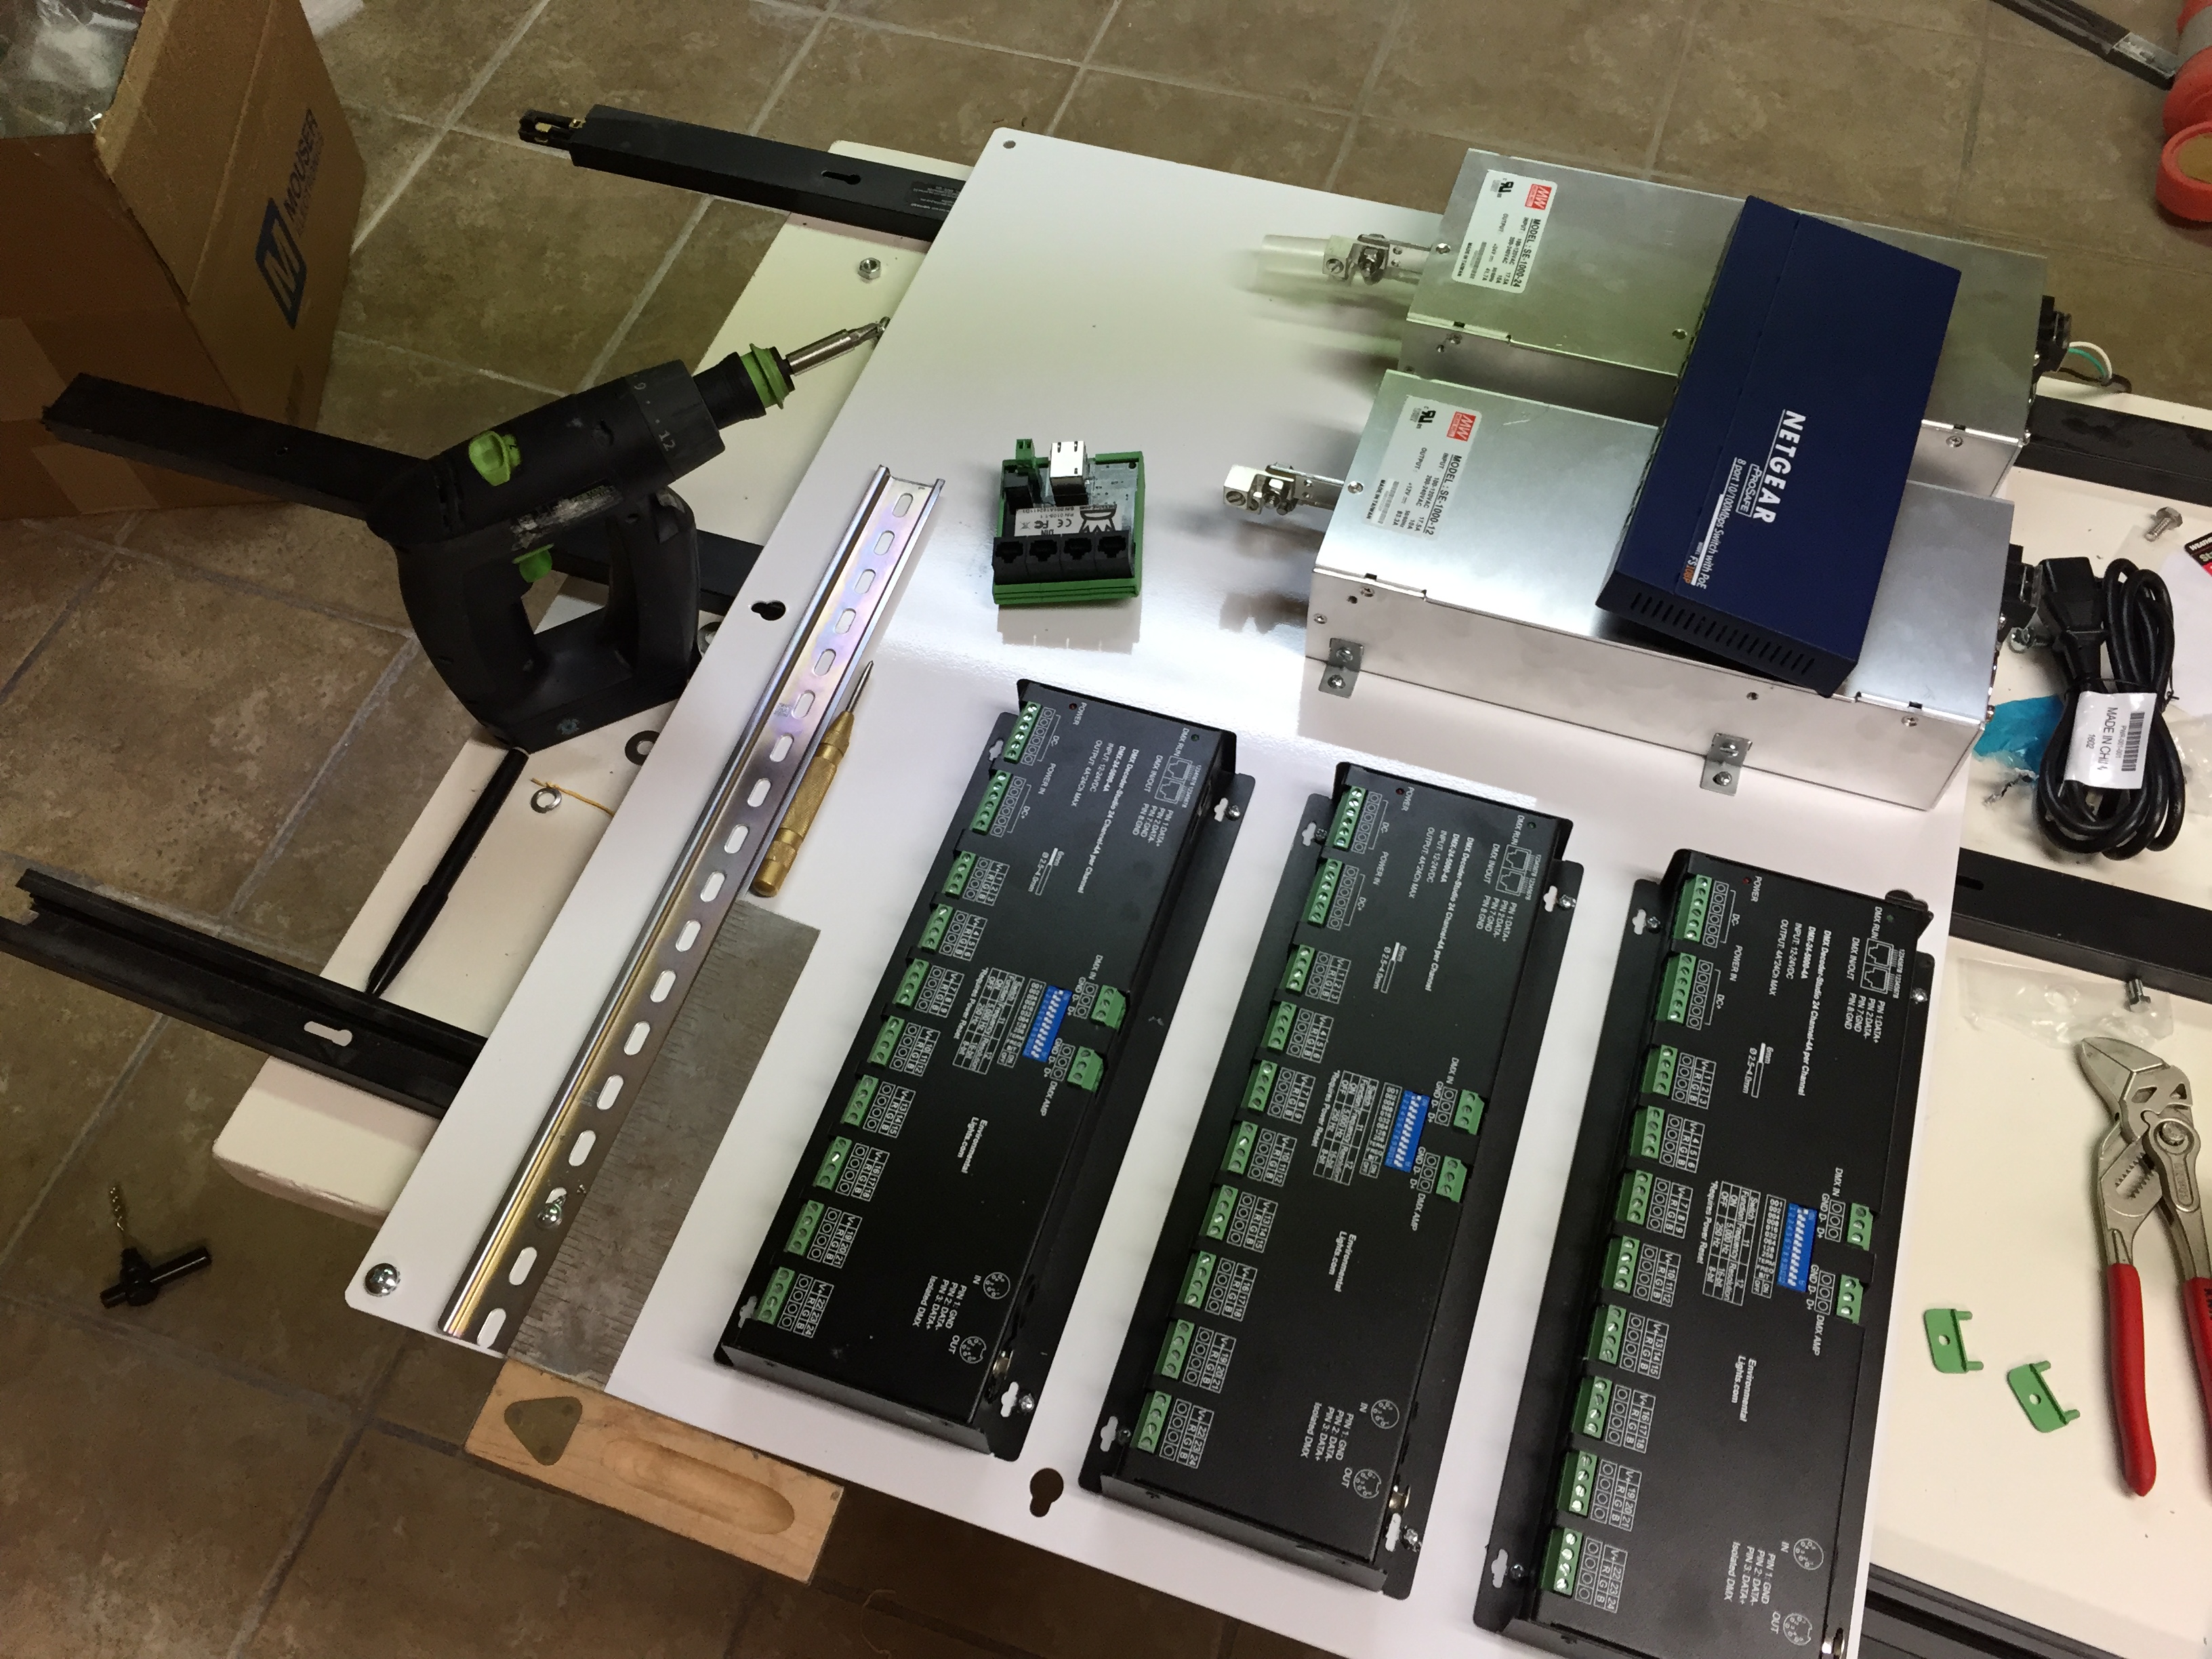
Here is the first version riser diagram, which shows all of the lighting system components: